
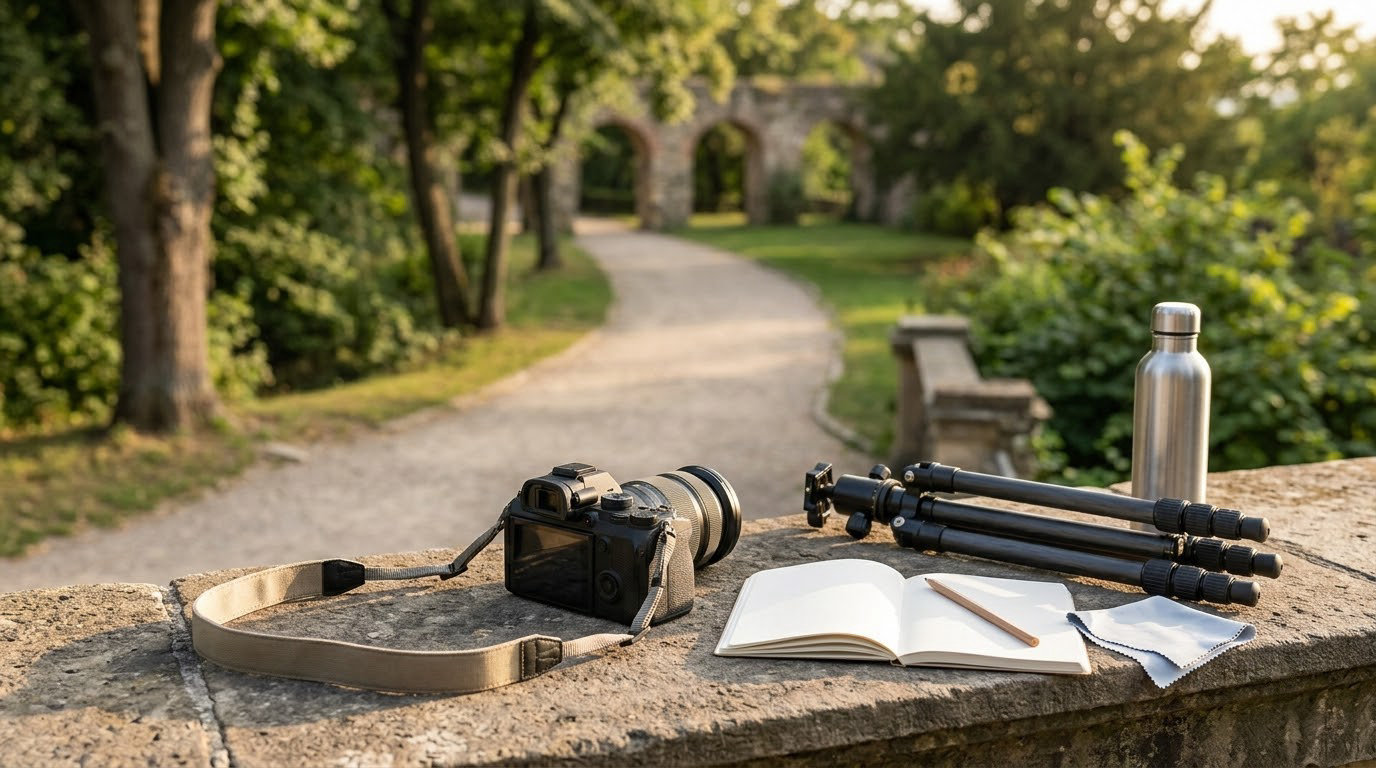
Most people head out with a camera and come home with forty near-identical frames of the same parking meter. Learning how to shoot a photo walk well is mostly about doing two unglamorous things: choose a route and a theme before you leave, then walk slowly enough to actually notice what is in front of you. Give yourself a reason to stop and the pictures take care of themselves.
A photo walk is a small group, usually under fifteen people, who walk a chosen route through a neighbourhood, stopping to photograph whatever catches their eye and comparing shots over coffee afterwards. A two-hour walk with roughly 90 minutes of shooting is the format that works most often. Beginners are welcome, phones count as cameras, and nobody is there to judge your gear.
What follows is the version I actually use, whether I am running a walk for eleven people or walking alone with one lens.
Table of Contents
What You Need
You need very little: a camera with one lens, comfortable shoes, spare power, and a single visual idea to hunt for. Everything else is optional.
| Pack this | Why it matters on the walk |
|---|---|
| Camera with one lens attached | A fixed or short zoom keeps you from fiddling with gear while the light is happening. |
| Phone | A cheap backup when the camera battery dies halfway through. |
| One spare battery, one spare card | People shoot far fewer frames than they expect, then panic about the opposite anyway. |
| Comfortable shoes | Enthusiastic walks quietly turn into 5 to 10 miles. Blisters ruin the second half. |
| Rain shell or compact umbrella | Also covers your camera bag when the drizzle turns sideways. |
| Small microfibre cloth | Fog and fingerprints appear the second you walk from cold air into a warm cafe. |
| Water and something to eat | Two hours of standing around outdoors adds up faster than you think. |
Optional extras: a small tabletop tripod for long exposures at dusk, business cards if you shoot street portraits, and a second memory card if you shoot video.
Leave the second camera body, the laptop bag, the heavy vest and the full filter kit at home. Overpacking is the most repeated complaint in walk discussions, because every extra thing slows you down and you drop back from the group.
Finish this list with an observational goal before you start: one colour to photograph, one material to look for, or one type of light to catch. A goal gives your walk an ending that is not “when everyone gets tired”.
How to Shoot a Photo Walk: Plan Before You Leave
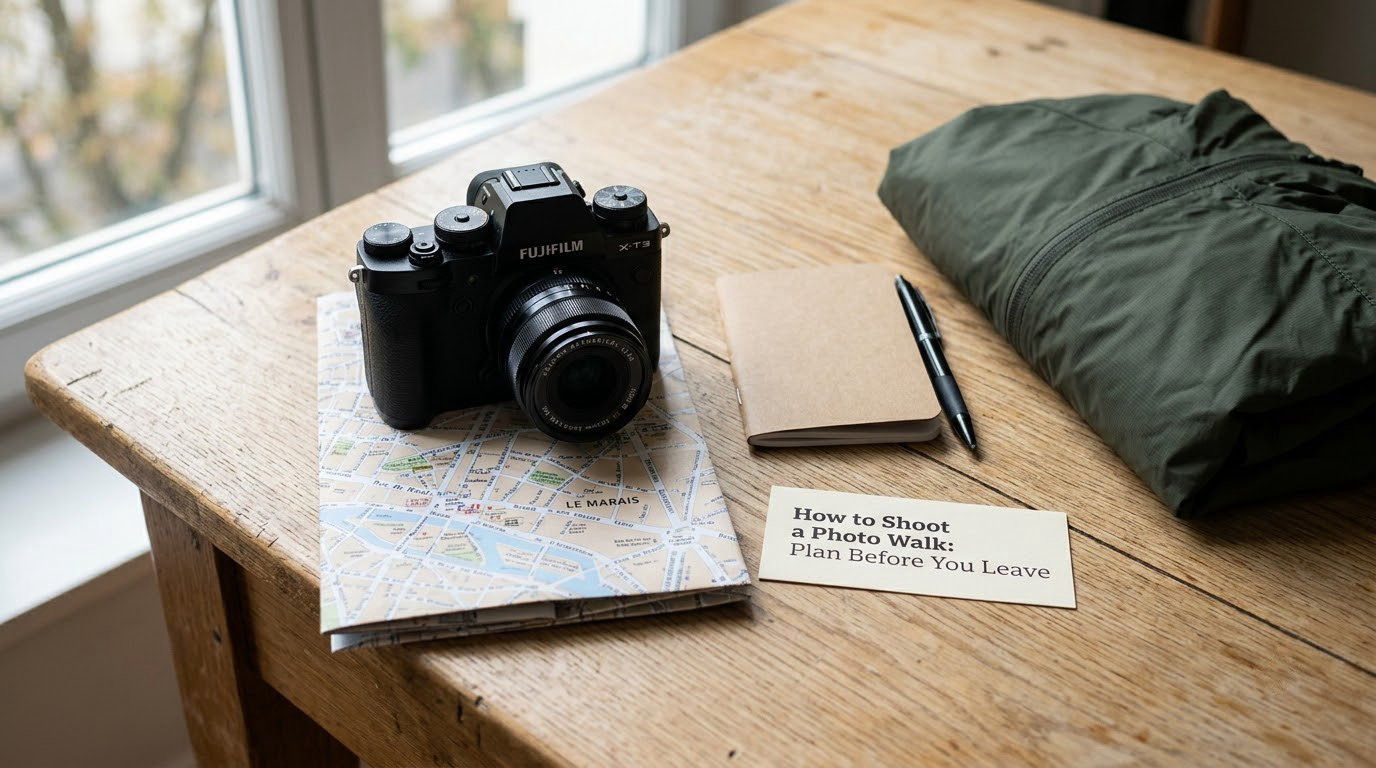
Plan the walk on paper first, then walk it yourself before you show anyone else.
Keep the route inside ninety minutes of actual walking. Two hours total, one and a half to three miles, and a loop that ends within ten minutes of where it began is a reliable shape. A point-to-point route works if the far end has somewhere to sit and a bus or train home.
Decide your theme in one sentence, because that sentence is what keeps a mixed-skill group shooting together instead of drifting apart. “One colour” or “shadows at midday” works better than “street photography”, which is too vague to keep anyone moving.
Check the light before the day. Note roughly when the sun clears the buildings and which direction the main street faces. Then check access: shop hours, park closing times, whether the streets you want are pedestrianised on your chosen day, and whether the buildings you are tempted by are private property. Walk the route once and note two indoor fallbacks so a downpour does not end the walk early.
Write the meeting point as a full sentence, not a place name. “Under the clock outside the station at 9am” beats “Central Station”, which is how one organiser ended up with fifty RSVPs and a single person who found him. Publish the route, the finish point and the plan for bad weather in the same message.
Step-by-Step
Seven moves cover how to shoot a photo walk properly. Everything else is just walking and paying attention.
Choose a Specific Theme or Story
Narrow the walk around one recurring idea so the frames feel connected instead of random.
Pick one of these and stick to it for the whole first hour: a single colour, reflections in glass or water, hard shadows, repeating shapes on fences and windows, people working rather than posing, or the way one building changes as the light moves across it.
A theme also solves the group problem. When everyone shoots the same subject at the same moment, the frames stop looking identical within about ten minutes because people start solving different visual problems.
Walk Slowly and Observe Repetition
Scan foreground, middle ground and background before you lift the camera.
Slow down until it feels slightly ridiculous. Most useful frames on any walk come from standing still for twenty seconds in one spot, not from covering ground.
Look for the third repetition: the third window, the third bicycle, the third identical shadow. Repetition is what turns a street into a pattern, and patterns are easier to compose than a messy scene.
Notice contrast next, hard light against shade, old brick against a new sign, a small warm subject inside a cold grey frame. Negative space works the same way. Empty wall above a single subject is a decision, not an accident.
Compose for a Clear Visual Story
Use leading lines, framing and layers so the viewer knows where to look first.
Let a kerb, a handrail or a row of bollards carry the eye to your subject. Shoot through doorways, arches and branches to frame the edges of the scene. Look for foreground objects that partly hide the background to create depth in layers.
Decide where the subject sits instead of centring everything by habit. Off-centre with room to look into works well for street scenes; centre works for symmetry, doorways and reflections.
If the background is busy, wait. People move, traffic clears, the light shifts. Ten seconds of patience usually beats ten more frames from the same spot.
Adjust Settings for Changing Light
Set the camera once for the light you have, then re-check it every time you move between sun and shade.
Stepping from open sun into deep shade can cost you several stops and leave a frame far too dark to rescue later. Watch the exposure indicator or the histogram as you walk into shadow, and adjust exposure compensation or the aperture until the indicator settles.
For most street work, f/5.6 to f/8 gives you enough depth of field that people at the edge of the frame stay sharp. Shutter speed matters more than aperture when you are moving, so pick a speed that will not smear a walking subject and let the camera choose the rest.
Shoot RAW if your camera offers it. Walk moves fast through mixed light, and RAW gives you room to fix the green cast of a shaded wall or the blown highlights on a white sky. If you are on a phone, tap the screen to lock focus and exposure, then lower exposure slightly on bright scenes to protect the sky.
If you would rather drop the colour altogether, our walkthrough on how to shoot black and white photos with a digital camera covers the conversion settings that actually survive a mixed-light street frame.
Make Several Variants of a Strong Scene
Change viewpoint before you change scene: step to one side, then the other, drop to a low angle, or shoot from above.
The classic drill is to photograph one subject wide, medium and close, then from eye level, ground level and above. Six frames, six options, and you will find the one you could not have planned.
These prompts keep a group busy when the light flattens:
- Photograph anything red, then anything yellow.
- Find five reflections and make them all horizontal.
- Shoot one doorway three ways: wide, detail, and the light falling inside it.
- Walk two blocks without photographing a single person.
- Find a pattern, then break it with one object.
- Photograph the same subject from standing, crouching and lying down.
- Make one frame with a clear subject and one with pure negative space.
- Photograph only shadows for ten minutes.
Variants beat bursts. Take a handful of frames while you are moving, then stop, choose one position, and work it.
Work With Ethics and Awareness
Public spaces are shootable, but permission and good manners are not optional.
Stay on public pavement, parkland and streets, and do not photograph people in private spaces such as gardens, courtyards, or inside buildings without the owner’s consent. Markets, museums, shopping centres and some national parks have their own photography rules, and national parks and airports usually restrict drones entirely. Check posted signage before you start, and put the phone away if someone tells you not to shoot.
With strangers, keep a normal shooting distance, avoid photographing children without a parent’s okay, and do not linger on one person. If someone asks what you are doing, explain plainly and offer to delete the frame. A short conversation ends almost every awkward moment; taking the shot anyway is what makes people unhappy about photographers.
A model release is a simple permission slip giving you the right to use someone’s image commercially. You rarely need one for a personal photo walk, and it is not a substitute for being decent.
After dark, a solo walk changes shape. Tell someone your route, stick to lit streets, keep the phone accessible, and reconsider quiet parks or underpasses entirely. Group walks at dusk are much easier to keep safe.
Review, Edit, and Select Your Best Photos
Edit down hard: most walks produce fewer keepers than frames.
Do a fast first pass and drop anything where the subject is unclear, the horizon is visibly crooked, or a passer-by’s elbow is in the middle of the frame. Judging technical quality first and emotion second is a workable order, and emotion is usually what survives to the end.
- Check exposure and white balance on every keeper, especially frames shot in mixed light.
- Correct verticals on architecture and leave most other crops alone.
- Apply contrast and sharpening lightly. Street frames usually need less than instinct suggests.
- Match the look across a final set so a sequence reads as one walk.
If you want a deliberate finish to the frame, a texture layer can add grit or grain to a flat file. Our guide to adding texture to a photo in Photoshop walks through it.
Then compare shots. Twelve that are technically tidy but all the same is worse than five with variety and one frame you still think about. Ask the group for one honest favourite each and see where the votes land.
Common Mistakes
These are the predictable failures, and each has a simple fix.
- Walking too fast. Set a pace where you can look up from the ground every ten seconds. The fix is to put the camera away for a whole block, then take it back out.
- Photographing without a subject. Ask what the viewer is meant to look at before you press the shutter. If there is no answer, move closer until there is.
- Ignoring the background. Step forward slightly, wait for the passer-by to clear, then shoot again. Most cluttered frames are fixed with two metres of movement.
- Using the same viewpoint as the rest of the group. When everyone is standing in one spot, walk twenty paces sideways and shoot back at the crowd.
- Waiting for perfect light. Overcast and harsh sun both produce photographs. Shoot through the bad light and pick the technical problems you can fix later.
- Taking forty nearly identical frames. Cap a scene at four frames, then walk away. The extras will not rescue it.
- Overpacking gear. One camera, one lens, and everything else stays at home or in the car.
- Skipping the debrief. End the walk with twenty minutes of comparison over coffee. It is the part that makes the next walk better.
If your frames are cluttered and everything in them fights for attention, the fix is often subtraction rather than a new lens. Working through simple minimalist photography ideas sharpens that instinct fast.
Frequently Asked Questions
What is a photowalk?
A photowalk is a group of photographers who walk a set route through a city or neighbourhood, stopping along the way to photograph anything that interests them, then comparing shots over coffee or lunch. Most run for around two hours, with about 90 minutes of actual shooting. A camera is helpful but not required, and phones are perfectly acceptable.
Is a photowalk good for beginners?
Yes. A photowalk is one of the friendliest ways to practise street photography, because the whole group is shooting the same subjects and you can see how others frame a scene without anyone evaluating you. Beginners often arrive with only a phone and leave with a shortlist of shots they want to improve. Choose a group of ten to fifteen rather than a large event and the pressure drops further.
What are some creative ideas for a photo walk?
Give everyone one constraint for the first hour: photograph only one colour, then only reflections, then only shadows. Other prompts include shooting a single subject wide, medium and close, or from eye level, ground level and above. Photograph five repeating patterns, one doorway from three distances, and one scene using only negative space. Constraints keep mixed-skill groups shooting together instead of drifting apart.
How long should a photo walk last?
About two hours works best: roughly 15 minutes of introductions, 90 minutes of walking and shooting, and 20 minutes comparing images afterwards. Longer walks often cover five to ten miles and leave people tired rather than inspired. If you want a slower pace, shorten the distance instead of the time. A loop route that finishes near the start is the easiest option for beginners.
What camera should I bring to a photo walk?
Bring whatever you already own. A compact camera with a fixed or short zoom works well, and a phone handles the same situations when daylight is good. One lens is easier than two because you keep moving. Bring a spare battery and one spare memory card, and skip the tripod unless you specifically want long exposures at dusk.
How do you plan a photo walk route?
Pick a loop that takes 90 minutes of walking, roughly one and a half to three miles, and ends near a cafe or park. Walk the route yourself first to check light direction, shop hours, pedestrian zones and any private property. Choose one visual theme, note two indoor fallbacks for bad weather, and describe the meeting point in a full sentence with a time and a specific landmark.
Start small: one camera, one lens, a two-hour loop near your own front door, and one colour to look for. Take the frames home, cut them down, and notice what your eye went to first. That answer is the theme you build the next walk around.