
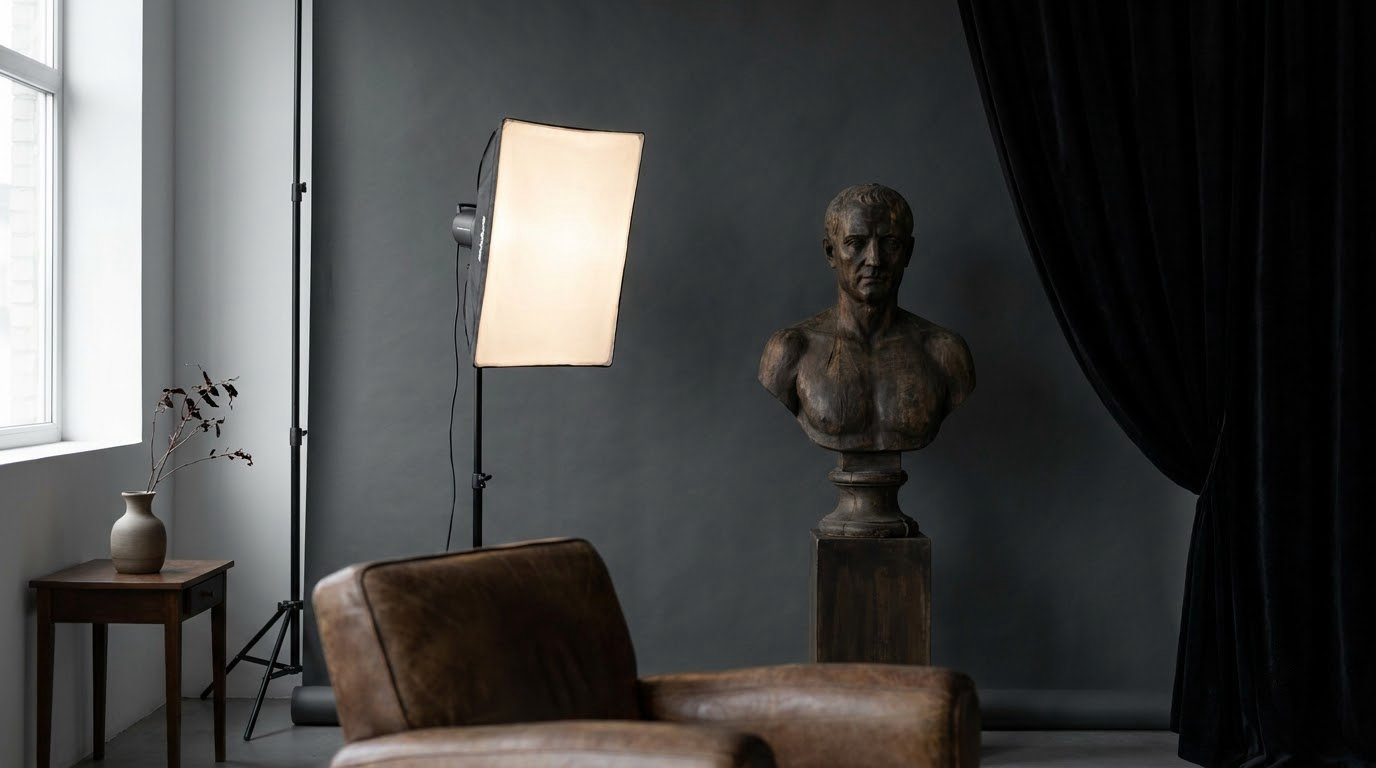
Low key portrait photography is a style where most of the frame sits in shadow and only part of the subject, usually one side of the face, is brightly lit. You create it by making the lit side several stops brighter than the shadow side, keeping your light off the background, and exposing so the shadows fall close to black without turning to mud.
The mistake almost everyone makes first is treating it as an exposure problem. Dial in two stops of underexposure, shoot, and you get a dark photo with a flat, lifeless face. Low key is a ratio problem, and the phrase that comes up over and over on photography forums is exactly that: the lit part of the face needs to sit many stops brighter than the shadow part.
Learning how to shoot low key portraits takes less gear than most people assume. One light, a dark room and about an hour will get you a convincing result, and the whole workflow below fits on one camera card.
Table of Contents
What You Need
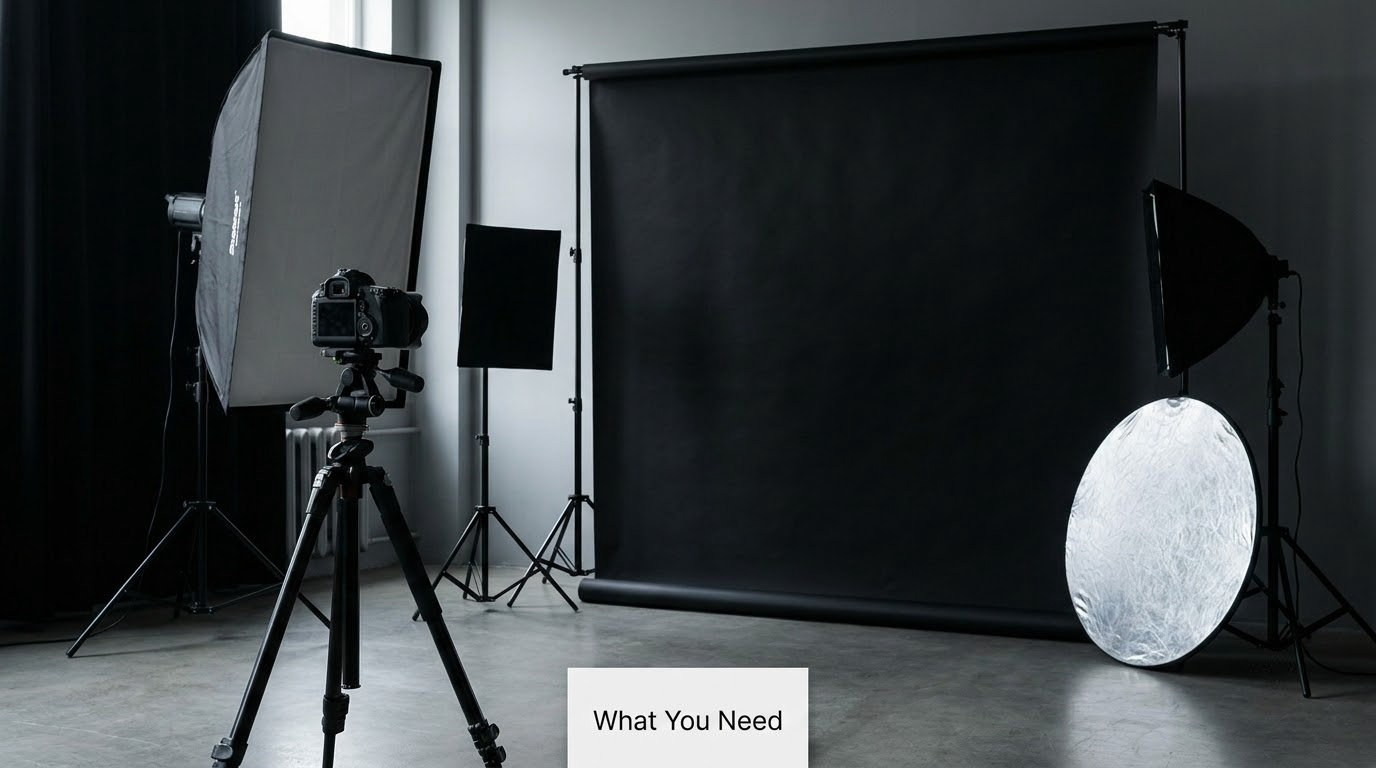
A camera you already own, any lens that focuses closer than your subject stands, and one light you can aim. That is the whole list. Everything else is a refinement for problems you hit later, like a grey background or an eyeglass reflection.
Beyond that:
- One light source. A speedlight, a continuous LED panel or a strobe head on a stand. A bare light works; a modifier just shapes it.
- A dark background. Black backdrop paper, a black foam board or a wall painted matte black. Glossy paint or a dark grey wall will bounce light back at you.
- A flag or a black card. A piece of black foam core on a stand does the job of negative fill and stops spill in a pinch.
- A reflector. A silver or white collapsible reflector for the rare moment you want to lift a shadow without flattening the shot.
- Something to trigger the flash. A remote, a radio trigger or a second body acting as the master.
- Editing software. Anything with curves and a dodge and burn tool. The workflow at the end works in Lightroom, Capture One, Affinity Photo or darktable.
Three tiers of gear, honestly assessed. A speedlight, a cheap reflector and a dark wall will carry you through every step in this guide. A strobe head with a small softbox gives you softer wrap and cleaner falloff on the background. A two-head kit with a grid, a snoot and proper flags is when you start controlling spill precisely instead of blocking it with your body.
Modifiers solve specific problems, and naming them saves guesswork. A grid narrows the beam so light misses the backdrop. A snoot throws a tight circle. A gobo blocks part of the beam to make a shaped shaft across the subject. An umbrella, either bounced or shot through, changes the quality of the light before it ever reaches the face.
Step-by-Step: How to Shoot Low Key Portraits
1. Choose a Dark Background and Simple Lighting
Turn off every light in the room that is not part of the setup, including the one you are using to see. A ceiling light you forgot about is the most common reason a beginner’s background stays stubbornly grey.
Set the background up before the subject arrives, then have the subject stand well away from it, three to four metres if the room allows. Light falls off with distance, so separation means the backdrop receives far less light than the face does. A white background can still produce a low key image if the key and fill never reach it and falloff is fast, which is worth knowing, but black or a wall in deep shadow is far less work.
Check it before you bring the subject in: shoot a frame of the empty background, underexposed, and look at it on the camera screen at full brightness. If the backdrop is visibly grey rather than black, move the subject further away or flag the light before anything else.
2. Set Up Dramatic Side Lighting
Put the key light about 45 degrees to the side of the subject and slightly above eye level, aimed at the near cheek. That angle puts the nose shadow across the far cheek instead of straight down, which reads as shaped rather than flat. Slide it further to the side and the shadow wraps toward the ear; push it further front and the shadow shortens under the eye.
Hard light comes from a bare speedlight or a snoot. It draws hard-edged shadows, sharp skin texture and a graphic, noir feel. Soft light comes from a softbox or umbrella and gives a gentler edge on the shadow side. Neither is more correct, but the one most people picture when they think low key is hard or semi-hard, because a crisp shadow edge sells the contrast.
Then decide how far to push the ratio, which is simply the number of stops between the lit side and the shadow side.
| Ratio | Stops | What it looks like |
|---|---|---|
| 2:1 | 1 stop | Soft modelling, still reads as a natural portrait |
| 4:1 | 2 stops | Moody, friendly, a good everyday starting point |
| 8:1 | 3 stops | Clearly dramatic, most low key portraits land here |
| 16:1 | 4 stops | Noir, most of the face sits in shadow |
To read the ratio on set, meter the lit cheek, note the shutter speed or ISO that gives you a correct exposure there, then meter the shadow cheek. The difference between the two readings in stops is your ratio. If you have no fill at all and no bounce, the ratio is effectively very high.
3. Expose for the Highlights: Metering for Low Key Portraits
Meter from the lit side of the face, using spot metering or the highlight warning. A raw file recorded on a bright forehead still holds highlight detail, but a JPEG clips at that point and the shine stays there forever. Underexposing by roughly one to one and a third of a stop from a correct reading on the lit side is a good starting point for the moody look.
Once you are happy with the key, move to manual exposure and lock it. Changing the aperture then changes the amount of light reaching the sensor, so the ratio you carefully set is no longer the ratio you set.
| Setup | Aperture | Shutter | ISO | Exposure |
|---|---|---|---|---|
| Speedlight at arm’s length | f/4 to f/5.6 | 1/160s | 100 to 400 | -1 EV |
| Strobe with softbox, 1.5m away | f/5.6 to f/8 | 1/200s | 100 | -1 to -2 EV |
| Window light, single room | f/2.8 to f/4 | 1/125s or faster | 400 to 1600 | -1 EV |
These are starting points, not rules. The distance between the light and the face changes everything, since moving a light from one metre to two metres costs you about two stops. Watch the histogram rather than the front screen: you want the data pushed toward the shadow end with a clean rolloff, not a pile-up of clipped pixels on the cheek.
4. Direct the Pose and Expression
Low key reads as serious because the pose is usually still, so direct stillness first. Ask the subject to drop their shoulders, lengthen the neck and think of the chin moving forward and slightly down. That alone changes the jawline more than any lighting tweak.
Turn the head a few degrees away from the light. A head facing the key gets a flat, evenly lit plane; a head angled away lets the far side fall away and gives the face shape. Keep the shoulders square to the camera for a formal, editorial feel, or angle the whole body for something looser.
Hands are where posing falls apart. Give them a job: fingers through the hair, one hand resting on the back of a chair, both hands out of frame with the arms crossing the body. Watch the gap between the arm and the torso, which reads as a hole if it opens up.
For gaze, aim the eyes away from the key light. A specular highlight on the iris in a low key frame pulls attention to the one bright thing in the picture, and usually you want that to be the cheekbone, not the eye. For fine-art work, ask the subject to hold an expression and breathe through it. For headshots, small movements between frames give you options later.
5. Create Separation and Control Reflections
Distance is your cheapest tool. The subject standing far from the backdrop means the face gets the most light and the background gets the least, so the dark shape of the head separates from a darker background without any extra gear.
Negative fill is the named technique most beginners miss. A black V-flat or foam core card placed close to the shadow side absorbs the light that would otherwise bounce back and lift the shadows. It costs almost nothing and it is the difference between a shadow that has shape and a shadow that has turned grey.
A rim or hair light behind the subject and above head height draws a bright contour along the shoulder and cheek, which reads as separation in black and white. Keep it weaker than you think, aimed at the backdrop side of the body rather than the face, and flag it so it does not spill toward the lens.
Then manage the shiny things. Rotate the head a few degrees and the reflection on glasses moves with it. On skin, powder or a touch of matte spray kills the oily highlight that a hard light turns into a blown patch. A strip softbox placed high and to the side gives a controlled, narrow highlight rather than the mess of a bare bulb.
6. Shoot a Controlled Test Series
Shoot a bracket at the start rather than adjusting mid-session. Take one frame as your control, then one stop brighter and one stop darker, and compare shadow density on the camera. Most photographers find their look is darker than the first frame they liked in the studio.
Change one thing at a time. Move the light, shoot, move it back, shoot again. Adjusting angle, power and distance together tells you nothing about which change did the work.
Check focus at 100 percent on the near eye before you go further. At wide apertures and low light, focus drifts, and a technically moody frame with a soft iris is wasted. Once a setup is right, capture a control frame with the subject holding still, so you have a reference for every variation after it.
7. Edit the Low Key Portrait
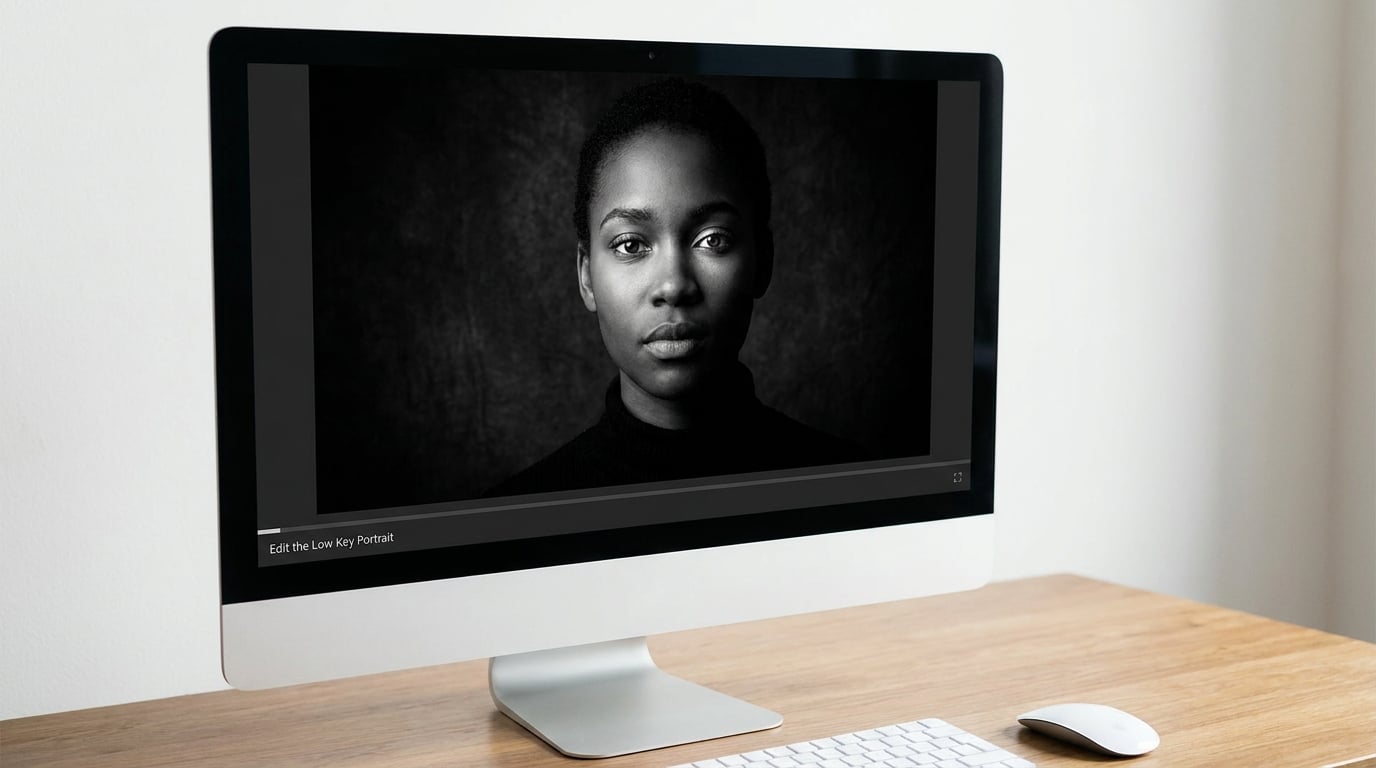
Keep the editing repeatable. Convert to black and white first if the mood calls for it, using the channel mixers rather than a preset, and watch the red and orange skin tones as you pull them down.
Then work in this order:
- Global exposure. Pull the overall brightness down about a third of a stop, holding the highlights you carefully protected.
- Set the blacks. Drop the black point until the background reads as black on a decent monitor, not just dark grey on a laptop.
- Shape contrast with curves. Steepen the midtones so the lit cheek separates from the shadow, and lift the shoulder end slightly so skin does not look dusty.
- Dodge and burn. Burn the background and the shadow side, dodge the cheekbone, the eye and the lip highlight. Build these on a new layer with a soft brush at low opacity.
- Clean the background. A gentle radial or brush pass removes stray hot spots where the subject moved during the exposure.
- Sharpen last. Add sharpening to the eyes and lips only, so the sharpening does not make the grain in the shadows scream.
In colour, the same order works, with white balance set from the lit cheek and saturation pulled back slightly so the moody contrast carries the frame rather than the hue.
Common Mistakes
The frame is dark but the face looks flat. You underexposed instead of increasing the ratio. Add negative fill or flag the light spilling into the shadow side, then bring the exposure back up.
The background is grey rather than black. Light is reaching the backdrop. Move the subject further away, add distance between the light and the background, or use a grid or flag. Metering the background two to three stops below the key is the target.
Fill light keeps sneaking in. Anything white or silver near the shadow side is a bounce card you forgot. Matte black surfaces only on that side, and keep the reflector out of the room until you actually want it.
Skin is clipped and the shine is permanent. You exposed for the average of the face instead of the highlight. Spot meter the brightest part of the lit cheek, dial in negative exposure compensation, and shoot raw.
Glasses or the eye catch a bright reflection. Rotate the head slightly, raise or lower the key a few centimetres, and ask the subject to tilt the chin. Each small move shifts where the reflection falls.
The subject merges into the background. Add a rim light behind the shoulder, or move the subject further from the backdrop so falloff separates them. In a dark frame, separation is often one bright edge away.
Shadows go to solid black with no detail. You pushed too far or the ratio is too high for the subject. Lift the shadow side slightly in post, or reduce the ratio by one stop on set. Shadows that fall to black should do so on purpose.
Frequently Asked Questions
What is lowkey photography?
Low key photography places most of the frame in shadow and lights only part of the subject, usually one side of the face, often with a bright rim along the shoulder. The result is high contrast and a serious, cinematic mood. It is created by light ratio rather than by underexposing the whole frame, so the lit side stays properly exposed while the shadow side is allowed to fall away.
What f-stop should I use for a low key portrait?
Start between f/4 and f/5.6 for a speedlight at arm’s length, and f/5.6 to f/8 for a strobe with a softbox about 1.5 metres away. Portraits with a single light need enough depth of field to keep the near eye sharp, but stopping down further makes the light softer and duller at the same power. Expose for the highlight and shoot raw.
Do you need a black background for low key portraits?
No. A white or light background still produces a low key image if neither the key nor the fill ever reaches it, and falloff is fast. In practice a black backdrop is far less work, because you only have to block spill rather than overpower bounce. Stand the subject three to four metres in front of any background and darken it by distance before you paint it out later.
How do I trigger an off-camera flash when I only own one speedlight?
Put the speedlight in manual flash mode, disable its own metering, and fire it from a second body, a remote or a radio trigger. Set the camera to manual exposure and a shutter speed the flash can sync with, usually 1/160s or faster. Test outdoors in daylight first, because the sensor fights you in a dark room and sync speed is the first setting to check.
What is the rule of three in portrait lighting?
The three-point lighting rule describes a key light, a fill light and a back light. The key provides the main illumination, the fill lifts the shadows the key created, and the back light separates the subject from the background. Low key usually removes or reverses the fill and leans on the back light, so the three points are still there but two of them work very quietly.
What is the 20 60 20 rule in photography?
It is a composition rule, not a lighting one. The idea is that roughly 20 percent of an image is visually dominant, 60 percent is supporting detail, and 20 percent is breathing space that keeps the eye moving. In a low key portrait the tones take on that structure naturally, with the lit face as the dominant area and the dark negative space doing the work of the quiet third.
Conclusion
Learning how to shoot low key portraits comes down to four things: a dark background, one key light at about 45 degrees to the subject, a pose that stays still, and an exposure that protects the lit cheek while the shadow side falls away.
Start with the setup that takes ten minutes. Kill the room lights, put the subject three metres in front of a black wall, put the light at 45 degrees and slightly high, shoot a bracket of three frames at f/5.6, 1/160s, ISO 200 and minus one stop, and see what the histogram tells you. Once that frame feels right, the only thing left to add is a flag or a black card, and the ratio is yours to push from there.