
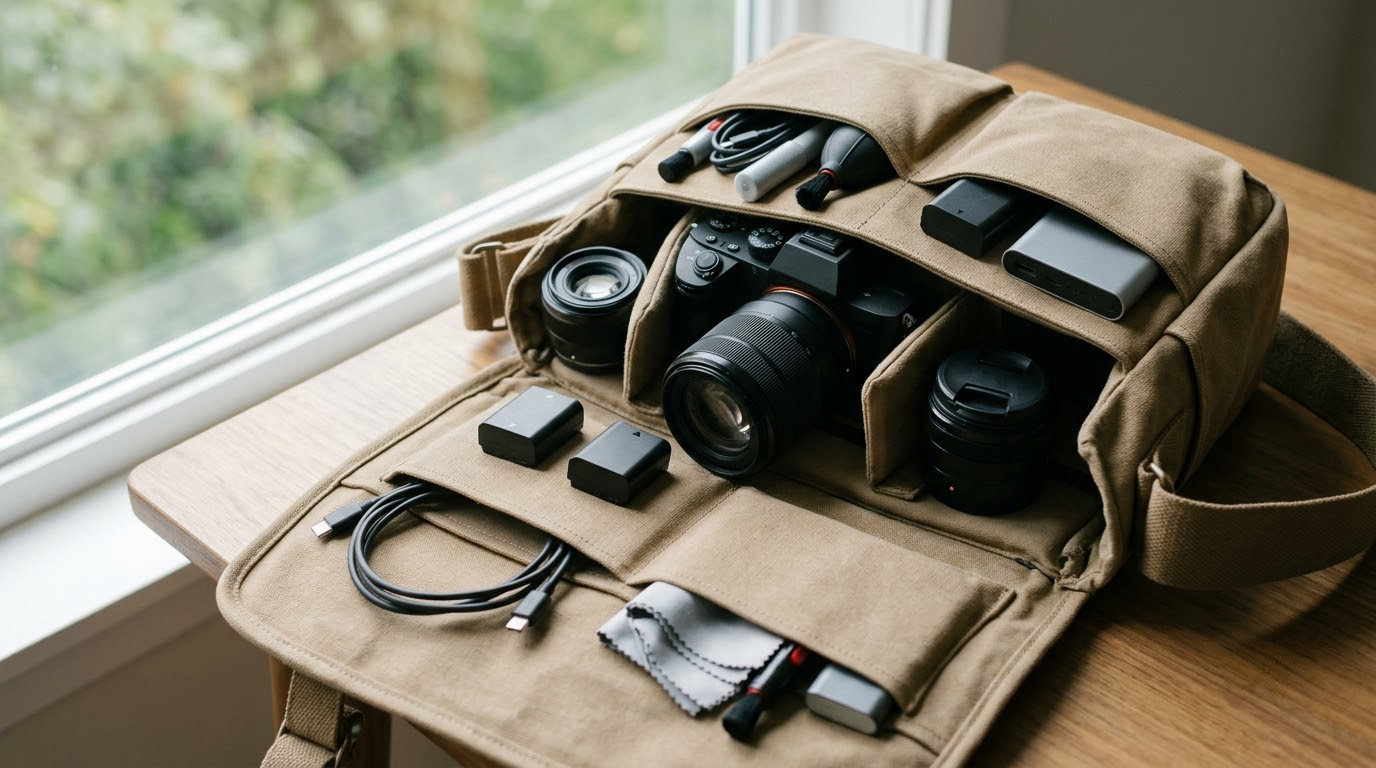
What to pack in a camera bag comes down to a short, boring list done properly: your body and lenses, spare batteries you actually charged, fast memory cards you actually formatted, a cleaning kit, the right cables, and a weather layer for everything else. Miss one of those on a long day out and the day gets harder than it needed to be.
I have rebuilt this list more times than I care to count, usually after something failed far from a shop. What follows is the version I now pack for almost every shoot, ordered the way I load the bag rather than the way it looks in a store.
Table of Contents
- What to Pack in a Camera Bag at a Glance
- 1. Camera Body
- 2. Primary Lens
- 3. Versatile Secondary Lens
- 4. Spare Batteries
- 5. Memory Cards
- 6. Storage Drive or Card Reader
- 7. Lens Cloth and Cleaning Kit
- 8. Tripod or Stabilizing Support
- 9. Remote Release or Interval Timer
- 10. Rain Cover or Weather Protection
- 11. Small Tool and Fastening Kit
- 12. Planning Materials and Personal Essentials
- Frequently Asked Questions
- Where to Start Tonight
What to Pack in a Camera Bag at a Glance
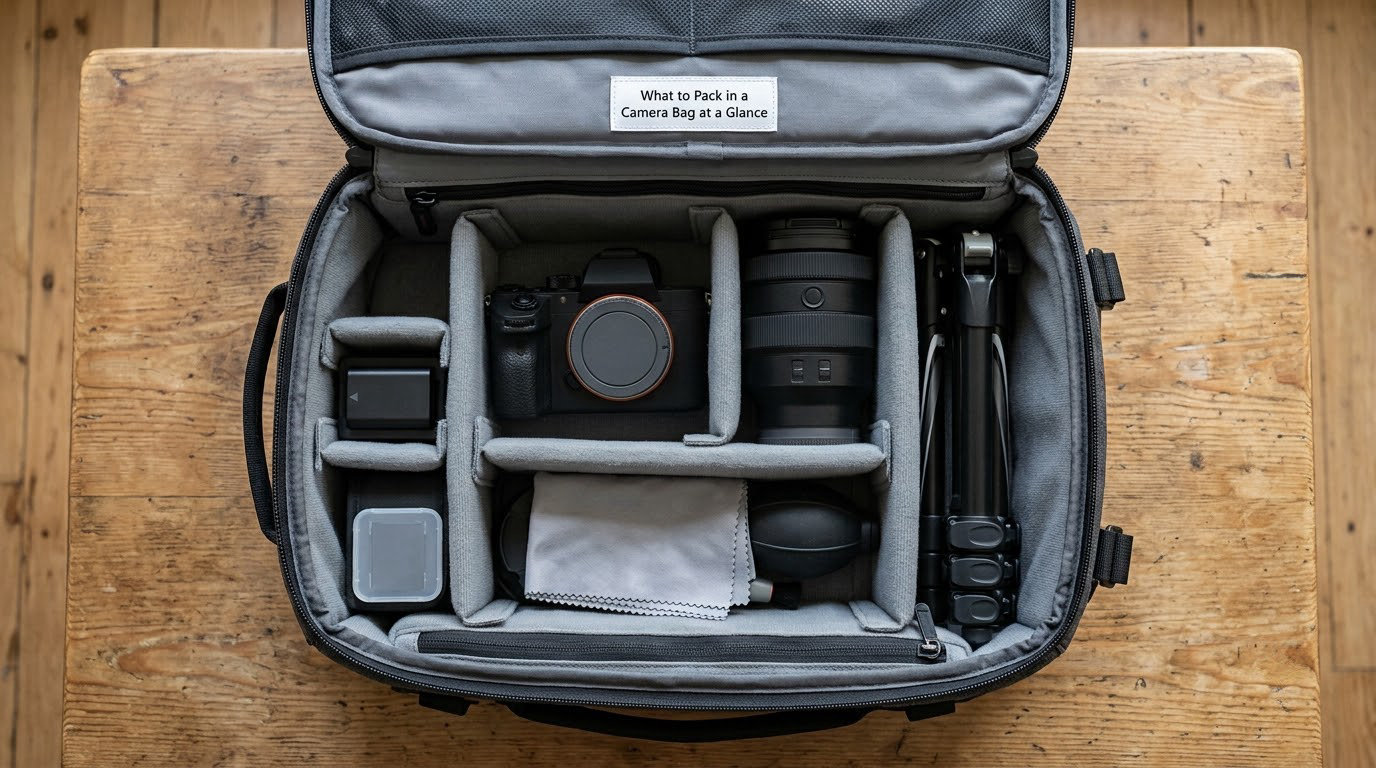
Core kit
- Camera body — the thing doing the actual work, checked and cleared before you walk out the door.
- Primary lens — chosen for the shoot you planned, not the shoot you hope happens.
- Secondary lens — one, only if it covers a range the first one cannot.
- Lens caps and hoods — cheaper than a replacement front element after a knock.
Power and storage
- One or two spare batteries — the single most common reason a shoot ends early.
- Fast memory cards — enough total capacity for the whole day, not one sequence.
- Card reader or SSD — so images get backed up before the card goes back in the bag.
- Charger, cables, power bank — the right cable for your body, plus one spare.
Care and protection
- Lens cloth and blower — dust and fingerprints come off before they scratch.
- Tripod or support — worth the weight only where you will actually use it.
- Remote release — two seconds of setup for every long exposure you take.
- Rain cover or dry layer — wet gear dries slowly and unpredictably.
- Hex key, cable ties, gaffer tape — small fixes that otherwise end a session.
- Shot list, reference images, water — the non-gear items that keep a plan on track.
1. Camera Body
A camera bag without a body in it is a very expensive bag of lenses. The primary body goes in the padded core section, strap folded rather than dangling, because a loose strap twists the body and knocks the mount against a divider on every step.
A backup body is worth the space in two situations: paid work where a failure costs someone else money, and trips where a repair or replacement is days away. For a weekend street shoot, it is dead weight and I leave it behind.
Before the door goes out, check three things: the card slot is empty or holds a freshly formatted card, the sensor glass has no smudge from a careless mount, and the firmware does not matter but the battery compartment latch does. Two minutes there saves an afternoon.
2. Primary Lens
Pick the lens that matches the work you wrote down. Portraits want a fast short telephoto, wide interiors want the widest glass you own, and general event coverage is usually fine with a single everyday zoom from about 24 to 70mm or its shorter APS-C equivalent.
Pack it with the front and rear caps on and the hood fitted. Glass takes most of its damage from being knocked cap-off against something metal, and the hood costs almost nothing to carry.
Give it a look through the front element in good light before you close the divider. A fingerprint smudge or a dusty zoom ring at the start of a shoot will make you distrust every frame after it.
3. Versatile Secondary Lens
How many lenses to pack in a camera bag
Two lenses is the practical ceiling for almost every non-specialist day. A third only earns its place when it does something the first two cannot, such as a very wide angle for interiors or a long lens for distant detail.
Think in crop factor if you shoot APS-C. A 35mm lens frames like a 56mm lens on a full-frame body, which means a kit covering 16 to 200mm covers a lot of ground without touching the third slot.
Watch for redundancy. Two similar zooms mean twice the weight and roughly twice the framing, which is a bad trade. A short telephoto paired with a wide zoom covers far more situations than two mid-range zooms.
4. Spare Batteries
Batteries drain fastest on the day you most need them, because burst shooting, live view and a bright screen all pull power at once. One spare is the minimum, two is comfortable, and cold weather multiplies drain enough that winter shooting deserves a third if the shoot runs long.
Charge cells the night before, not the morning of. A battery that has been sitting half-full since a shoot three weeks ago is a surprise waiting to happen.
Label them if you own more than two. A strip of tape with the date you charged it answers the question faster than testing each cell on a cold morning.
5. Memory Cards
Carry enough capacity for the entire assignment, not for one burst. A 64GB card fills quickly on a modern body shooting compressed stills plus video, and I would rather open a full bag of small cards than stop shooting to offload.
Match card speed to your body. A slow card in a camera that can fire thirty frames a second will buffer, and buffering during a decisive moment is its own kind of failure. If you are still working out what the numbers on a card label mean for your body, ISO explained for beginners covers the settings those cards feed.
Format cards in the camera before the shoot, not on a laptop afterwards. It writes a fresh table that the camera trusts, and it also proves the card reads properly while you can still swap it.
Keep cards in a small case so a full bag cannot bend one. Cards get crushed at the edges long before they fail electronically.
6. Storage Drive or Card Reader
A card reader is the minimum. It lets you offload to a laptop, an external drive or a drive at home without touching your body, and it gives you a way to check a card is healthy before you commit a whole day to it.
An SSD matters more the further you are from home. Back up onto it in the field, keep that drive separate from the bag, and a lost or stolen bag stops being a lost shoot.
The 3-2-1 habit covers most cases: three copies of an image, on two different kinds of media, with one of them somewhere other than your shoulder. On a trip, one copy in hand luggage and one in checked luggage is the practical version.
7. Lens Cloth and Cleaning Kit
Carry a blower and two or three microfibre cloths. The blower removes dust before you wipe, and wiping first grinds particles into the coating, which is the whole mistake people make.
Add sensor swabs and a small amount of sensor cleaning fluid if you shoot in dusty conditions or change lenses often. Safari and beach work are where a sensor kit earns its space.
Never spray anything directly onto glass. Fluid on a lens or filter can run under the barrel and reach the sensor, so the cloth gets the spray, never the element.
Keep cloths separate from the rest of the kit. One that has been in a dusty pocket will scratch the very glass it is meant to clean.
8. Tripod or Stabilizing Support
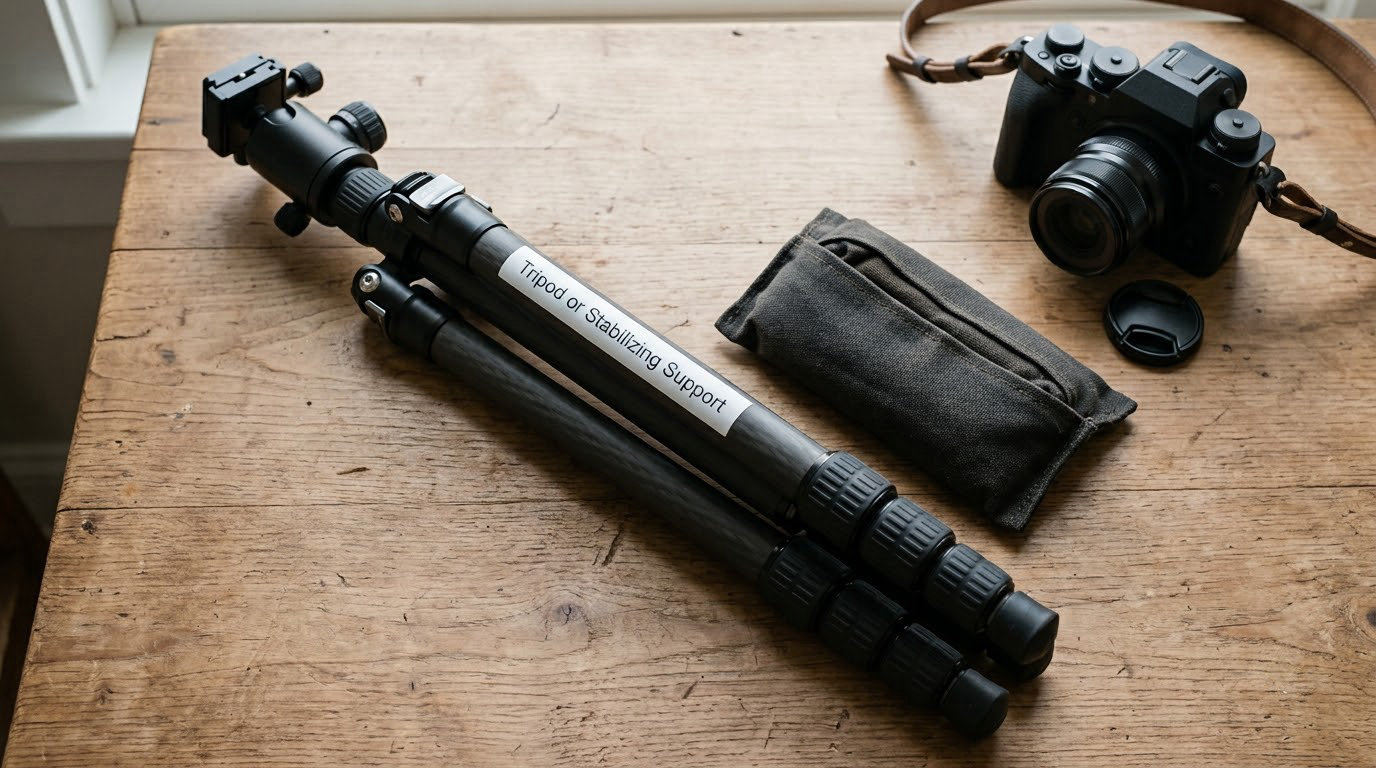
A tripod is worth carrying for dawn landscapes, long exposures, self-portraits, group shots and any work where you are working slowly. It is dead weight on a moving street shoot or when you are shooting from a vehicle all day.
Full-size tripods are stable and heavy. Travel tripods trade some of that away for a folded length that fits beside the bag rather than in it. If the platform never needs one, a beanbag or a small monopod gets you the same steadiness in a fraction of the space.
Load it into a side pocket or strap loop rather than the main compartment. Gear that shifts inside the padding against your body is gear that eventually gets knocked.
9. Remote Release or Interval Timer
A remote release or the built-in interval timer lets you trigger the camera without touching it. That kills shake on long exposures, keeps your hands out of the frame for self-portraits, and makes bracketed sequences and time-lapse runs automatic instead of something you babysit. Once you are comfortable with the settings behind those frames, shutter speed explained for beginners is a good companion read.
For long night exposures, a remote also means you can leave the camera running instead of standing beside it in the cold, which matters more than the savings from the tripod alone.
Carry the wired or wireless release in the same pouch as your batteries, and test it once before the shoot. Most models need pairing before they work.
10. Rain Cover or Weather Protection
A fitted rain cover is the cheapest weather protection you can own. Many camera bags ship with one tucked in a pocket, and most photographers never find it until they need it, so check before the first shoot.
Add a lightweight waterproof layer inside the bag rather than relying on the cover alone. If rain gets past the shell, the gear closest to the outer wall should be the gear you can dry fastest.
Never zip a wet lens into a padded case and leave it. Moisture trapped against glass and mirrors turns cloudy, and it usually clears slowly over days. Leave things open to air first, then pack.
In cold weather, keep batteries near your body rather than in an outside pocket. They lose charge faster than the air temperature alone would suggest.
11. Small Tool and Fastening Kit
A pocket-sized pouch of small fixers saves more sessions than any premium accessory. A hex key in several sizes loosens a stuck tripod plate or filter ring, cable ties group cords so they do not tangle, and a short roll of gaffer tape solves a loose strap, a cracked filter holder or a mark on a wall you were asked not to touch.
A multitool covers the rest. It is not a specialty item, and it is not an excuse to carry hardware store drawers.
The line here is thin. Every small addition has to survive one rule: does it prevent a lost shoot or fix a broken one? If it only tidies the bag, it stays home.
12. Planning Materials and Personal Essentials
Paper has failed me and saved me, and I now carry both. A shot list on a folded card plus reference images on a phone screen beats an improvised plan when a location has to cover eight setups in three hours.
A voice recorder belongs in video work. Notes typed on a phone during a shoot are useless; audio you can play back two hours later when you are editing is not.
The personal items are not optional extras. Water, sunscreen, a spare layer, a snack and any medication you take all decide whether you are still concentrating in hour six. Photographers routinely pack for the equipment and forget for themselves.
On a multi-day trip this list grows with the shoot plan: laptop and charging cables for offloading, plug adapters, and a headlamp for anything before sunrise or after dusk. If you work mostly in monochrome, our guide to shooting black and white photos with a digital camera covers the settings that change what you pack for a monochrome project.
Frequently Asked Questions
Can I use a regular backpack as a camera bag?
Yes, and most photographers do. A normal backpack works if you add a padded camera insert with adjustable dividers, which creates walls between the body and each lens. Put the heaviest items against your back, keep glass upright and separated, and skip the bag if it has no padding at all. Rain covers sized for hiking packs fit most models.
How do you properly pack a camera bag?
Pack in four layers. Bodies and lenses go in the padded core with dividers tightened so nothing shifts. Small consumables such as batteries, cards and cloths go in pouches above that. Weather gear and the card you will use next sit in the top pocket for fast access. Weight goes closest to your back or on your hips, and loose straps get tucked so they cannot twist a mount.
How do you go through TSA with camera gear?
Keep cameras, lenses, cards and drives in your carry-on, since checked bags get thrown. Spare lithium batteries belong in carry-on too, with terminals taped or the battery in its case, and large capacity cells may be screened separately at the gate. Solid-state drives are usually fine, but very large drives can draw an extra look. Staff can open and inspect your bag, so pack dividers so gear comes out easily.
What is the 20-60-20 rule in photography?
The 20-60-20 rule is a creative constraint rather than a packing rule. You use only 20 percent of your focal range, 60 percent of the light you are given, and 20 percent of your camera settings, and work within that. Photographers who overpack are usually doing the gear equivalent of touching every dial on every frame.
How much should a camera bag weigh when it is full?
A day pack for street and travel work usually lands around 4 to 7 kilograms, and anything heavier on your shoulders all day gets tiring by hour four. Landscape and wildlife kits run higher because of longer glass and support. If your full bag passes about a quarter of your body weight, cutting one lens will buy back more comfort than any strap upgrade.
What do photographers most often forget to pack?
Lens wipes and cloths top the list, followed by spare batteries that were never actually charged, the wrong cable for the camera body, lens caps left off, and the shot list. A small written checklist taped inside the bag solves nearly all of it. Forum threads about forgotten gear keep naming the same items, which is exactly the point of keeping a list instead of trusting memory.
Where to Start Tonight
Start with the unglamorous items: charge the spare batteries, format the cards in the camera, and find your blower, cloths and the cable that matches your body. Those four things cause more ruined days than any missing lens.
Then load the bag in the order you will actually use it, heaviest against your back and the things you need mid-shoot on top. Write the list down and tape it inside the flap.