
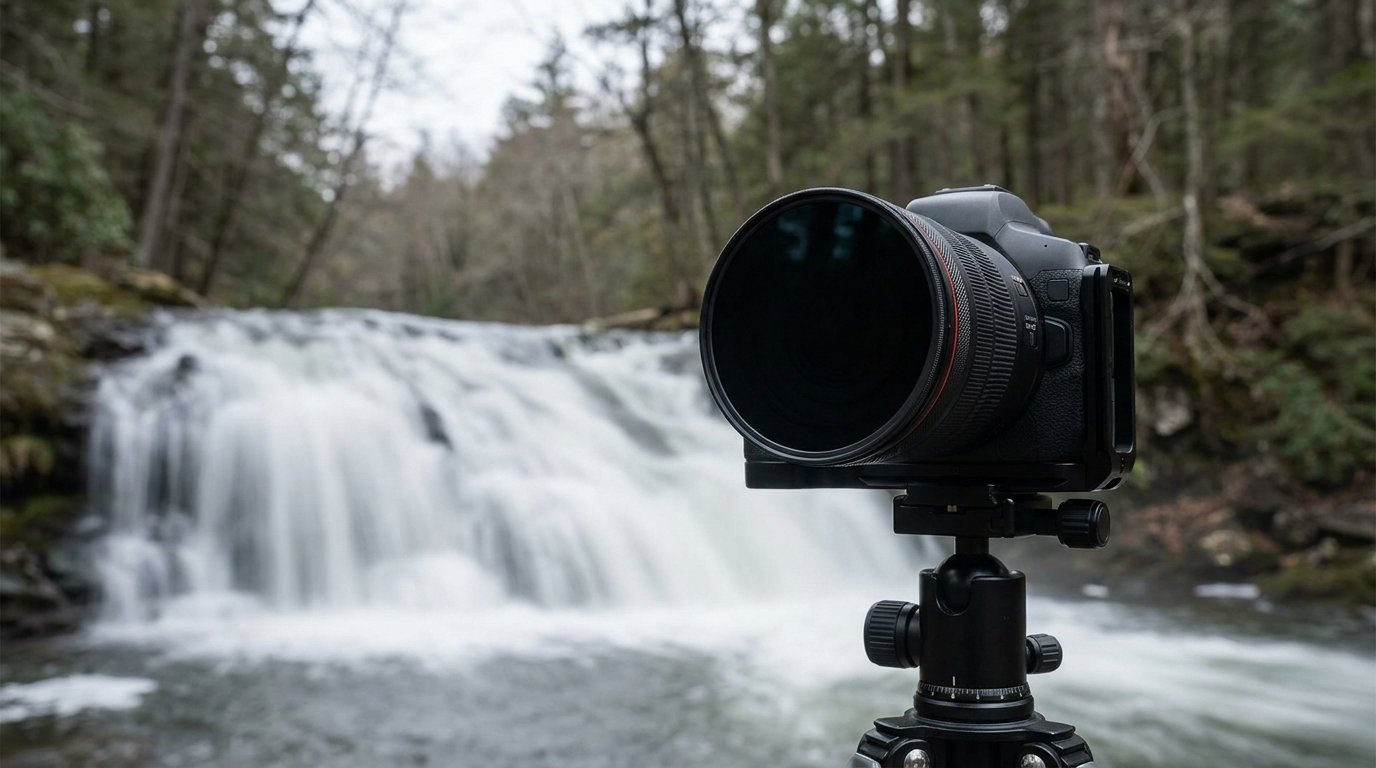
A neutral density filter is a piece of dark, neutral-tinted glass that screws or slides onto the front of your lens to cut the light reaching the sensor without shifting its colour. That lets you hold the shutter open for several seconds in full daylight to smooth water, streak clouds or blur passing people, and learning how to use a neutral density filter is mostly a matter of getting the order of operations right: meter first, fit the filter second, then multiply your base shutter speed. It takes about five minutes to set up and the difficulty is low, but the two things beginners get wrong — attaching the filter before focusing, and trusting the built-in meter once it is attached — are what turn a silky 30-second frame into a black or blurry one.
Everything below assumes a tripod, manual exposure mode and the ability to shoot RAW. If your camera is on a phone, skip the manual-focus sections and use the exposure compensation slider instead, but the maths still applies.
Table of Contents
What You Need
Start with the lens, because everything else has to match it.
- A camera with manual exposure mode and a manual or infinity focus option. Bulb mode helps but is not essential below 30 seconds.
- A lens you already own, with its filter thread size written on the front ring or the barrel.
- A neutral density filter in that thread size. A fixed 6-stop or 10-stop covers most daylight work.
- A filter holder or adapter ring if you want square or rectangular glass, or a step-up ring if the filter is smaller than your lens thread.
- A lens cloth and a blower — dust and fingerprints on the front element are the difference between a clean frame and one you retouch later.
- A tripod and remote release, ideally with a 2-second self-timer. Optional in the sense that you can shoot without them; not optional in the sense that any exposure past 1/60 will be soft otherwise.
- A grey card or exposure meter if you want to pre-measure your filter’s colour offset once. This is optional and it is a genuinely useful trick, covered further down.
One honest note about the camera meter before we start: it cannot see through a strong filter. It reads the darkness, assumes you are exposing incorrectly, and then helps you underexpose further. Every technique in this guide works around that.
Step-by-Step: How to Use a Neutral Density Filter
1. Choose the Right Neutral Density Filter Strength
Strength is sold in three labelling systems that all describe the same thing. Stops are the honest one: one stop halves the light. The ND number is the factor you multiply your shutter speed by, so ND8 means eight times longer. Optical density is the decimal form, where every 0.3 equals one stop.
| Stops | ND number | Optical density | Light transmitted |
|---|---|---|---|
| 1 | ND2 | 0.3 | 1/2 |
| 2 | ND4 | 0.6 | 1/4 |
| 3 | ND8 | 0.9 | 1/8 |
| 4 | ND16 | 1.2 | 1/16 |
| 5 | ND32 | 1.5 | 1/32 |
| 6 | ND64 | 1.8 | 1/64 |
| 7 | ND128 | 2.1 | 1/128 |
| 8 | ND256 | 2.4 | 1/256 |
| 9 | ND512 | 2.7 | 1/512 |
| 10 | ND1000 | 3.0 | 1/1024 |
| 15 | ND32000 | 4.5 | 1/32768 |
Which one you want depends on the effect you are after. A 2-to-4 stop filter (ND4 to ND16) is for shallow depth of field in bright sun and flash sync in daylight. A 6-stop (ND64) is the versatile default and turns a 1/125 into roughly 8 seconds. A 10-stop (ND1000) is the daylight long-exposure specialist and takes 1/125 to about 17 minutes. The 15-stop (ND32000) is for multi-minute and hour-long frames, and it makes autofocus effectively impossible.
If you only ever buy one, buy the 6-stop. Add the 10-stop when you want very long water or sky work in the middle of the day, and add a variable ND only if you shoot in genuinely changing light and can live with the colour shift discussed below.
2. Check Filter Size and Compatibility
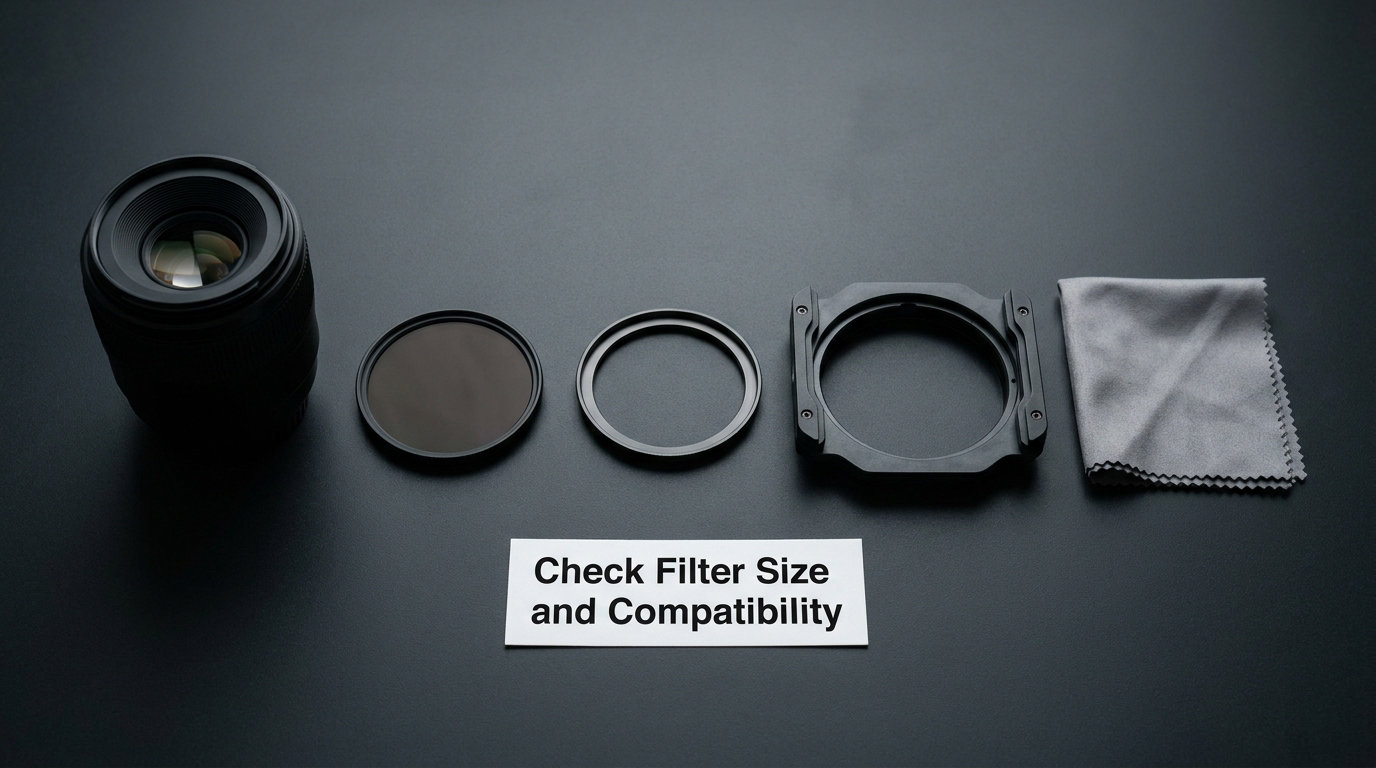
The filter thread size is a number in millimetres with a letter prefix, stamped on the front of the lens ring — 58mm, 67mm, 77mm and so on. A 58mm filter fits any 58mm thread, regardless of the brand of the lens.
If your filter is smaller than your lens thread, a step-up ring steps it up one size at a time. If it is larger, an adapter ring steps it down. Square and rectangular systems use a holder that clamps to a ring on the lens, usually 100mm glass, with adapter rings matching your thread.
A thin filter keeps a narrow vignetting profile. Thick screw-in glass on a wide-angle lens will darken the corners, and stacking two of them makes it obvious. That is the argument for square systems, not a rule.
3. Mount the Filter Without Cross-Threading
Clean both the lens thread and the filter thread with a blower and a cloth first, and keep the filter in its slot or its case so you never touch the glass.
Screw-in filters thread on clockwise, viewed from the front of the lens. Turn gently until you feel it engage, then no more than a quarter turn further by hand. If it resists before that point, back it out and start again rather than forcing it — a crossed thread ruins the thread on both parts and the filter will never seat properly.
Slide or drop-in filters go in one movement without any rotation at all. Never twist a filter that is designed to drop in, because the glass edge is thin and twists will chip it.
Give the camera a shake and listen. A rattle or a hollow tone means light is getting past the seal and around the frame.
4. Compose the Shot Before Changing Exposure
Frame the shot and set the tripod before anything else. Once a strong filter is on, the viewfinder goes nearly black and you will be squinting at a thumbnail, which makes fine adjustments painful.
Focus in this order, while the viewfinder still works: switch to autofocus or Live View, get the focus point where you want it, then switch the lens or body to manual focus to lock it in. A 10-stop filter cuts light by a factor of 1024, and most phase-detect systems simply cannot see through that. Manual is not a preference here, it is the only option.
For very close work, tape or otherwise secure the focus ring so a knock does not shift it later.
5. Set Exposure With the Filter in Place
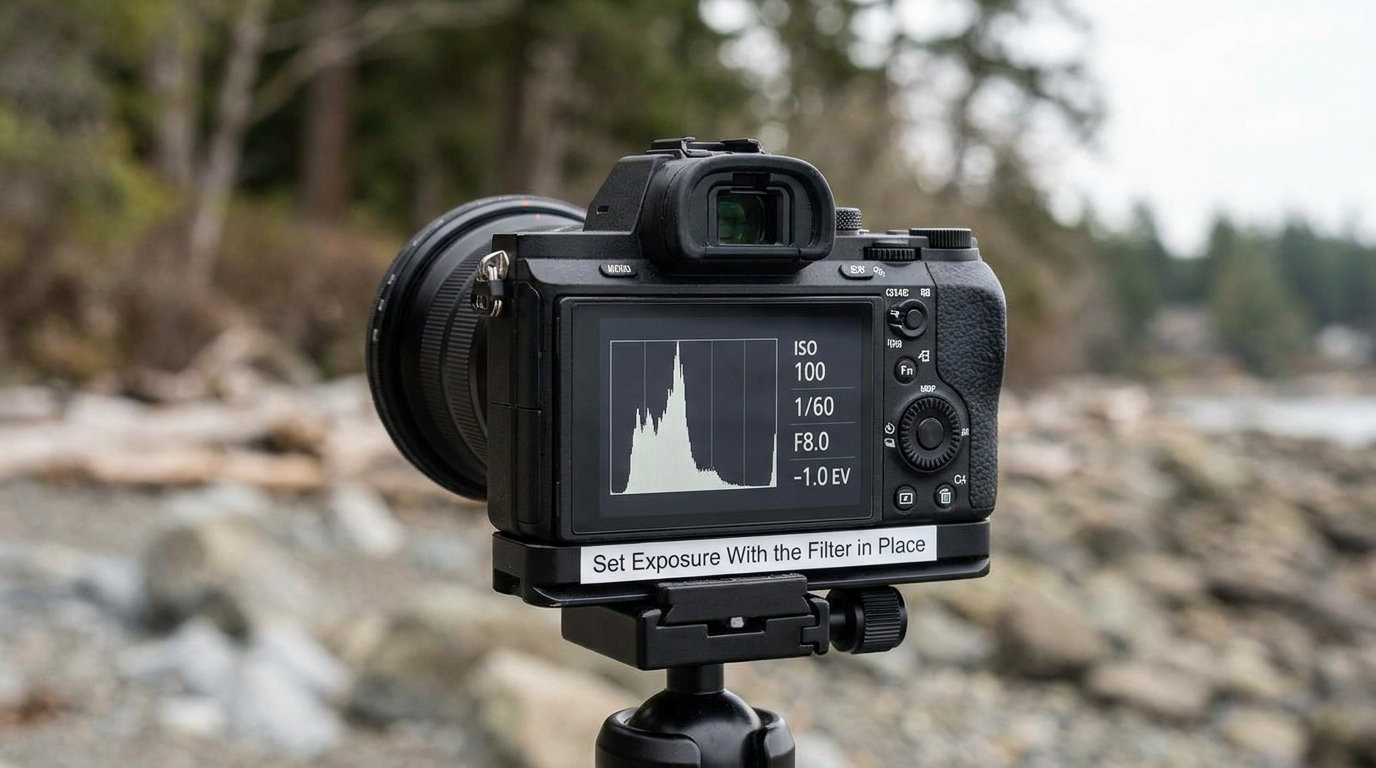
With the filter attached, take a base exposure with no filter on: manual mode, ISO 100, aperture stopped down to f/8 or f/11, and the shutter speed your meter suggests. That number is what you multiply from.
| Base shutter speed | With 3 stops (ND8) | With 6 stops (ND64) | With 10 stops (ND1000) | With 15 stops (ND32000) |
|---|---|---|---|---|
| 1/1000 | 1/125 | 1/15 | 1 second | 30 seconds |
| 1/500 | 1/60 | 1/8 | 2 seconds | 1 minute |
| 1/250 | 1/30 | 1/4 | 4 seconds | 2 minutes |
| 1/125 | 1/15 | 1 second | 8 seconds | 4 minutes |
| 1/60 | 1/8 | 2 seconds | 17 seconds | 8 minutes |
| 1/30 | 1/4 | 4 seconds | 34 seconds | 17 minutes |
| 1/15 | 1/2 | 8 seconds | 68 seconds | 34 minutes |
| 1/8 | 1 second | 16 seconds | 2.3 minutes | 68 minutes |
| 1/4 | 2 seconds | 32 seconds | 4.3 minutes | 2.3 hours |
Beyond 30 seconds your camera’s manual dial runs out. Switch to Bulb mode, set the shutter with the remote release or the intervalometer, and hold it down.
Now the warning that catches almost everyone: do not use exposure compensation with a strong filter fitted. Compensation is for scenes that are brighter or darker than the meter thinks, and the meter is reacting to the filter, not the scene. Leave it at zero, take a test frame, and check the histogram instead — if it is bunched hard against the right-hand edge you are clipping highlights, so drop to a faster shutter or close the aperture a third of a stop.
Filter ratings are approximate, so treat the table as a starting point. A cheap 10-stop that claims 1024x may behave like 800x, and you will see it immediately in the test frame.
6. Focus, Stabilize, and Capture
Re-check focus with the filter on using Live View magnification, but do not refocus — the filter is optically neutral in focus terms, so the focus you set in step 4 is still correct.
For anything past a second, turn stabilisation off. Image stabilisation fights the movement of a tripod and will soften your frame. Turn the centre column down, short or middle your tripod legs rather than going full height, and hang your camera bag low from the centre hook to add weight. If there is wind, shield the camera with your body.
Shoot with a 2-second timer or a remote release. Pressing the shutter on the body moves the lens enough to blur a long frame, and on some cameras it also jiggles the mirror.
7. Remove the Filter and Protect the Lens
Undo the filter by the same amount you tightened it. If it is stuck after a long session, warm it with your hands for a minute rather than levering it with a wrench.
Cap the filter and put it back in its slot or pouch straight away. Glass left face-up on a table picks up dust in seconds and fingerprints show up in every long exposure you take with it later.
Give the lens thread a quick look in good light and blow out anything you find. Before you walk away, check the frame you just shot for a soft corner, a coloured haze across the sky, or a gradient that has gone striped. All three are fixable in the field; none of them are fixable in RAW if the haze baked in.
Common Mistakes
Almost every ruined ND frame comes down to one of six things, and each has a different fix.
| Symptom | Cause | Fix |
|---|---|---|
| Blurry frame | Autofocus hunting with a strong filter, or the shutter pressed by hand | Focus before attaching, switch to manual, use the 2-second timer or a remote release |
| Blown highlights | Miscalculated exposure, or a filter weaker than rated | Check the histogram, not the meter; shorten the shutter and retest |
| Completely black frame | Exposure compensation set negative, or the shutter left on the base speed after fitting the filter | Zero the compensation and multiply the base speed properly |
| Magenta or blue colour cast | Filter coating shifting some wavelengths more than others, worse at higher strengths | Shoot RAW, calibrate white balance with a grey card, or pick a filter advertised as colour neutral |
| Hazy, low-contrast frame | Light leaking past the filter, or a dirty lens behind it | Clean both surfaces, check the seal, use the eyepiece shutter on a DSLR |
| Dark corners on a wide angle | Thick or stacked screw-in glass sitting outside the image circle | Use a thinner filter, a step-down ring, or move to 100mm square glass |
| Banding in a smooth sky | Cheap filter with uneven coating, or a variable ND pushed past its range | Avoid the extreme end of a variable filter, or use a fixed one |
Two of these deserve a bit more. The colour cast gets worse as the filter gets stronger, so a 10-stop that is a barely perceptible magenta can become a solid one, and the only reliable correction is white balance set against a known reference. The banding problem is specific to variable ND filters: photographers on photography forums report pushing a variable to its limit to get the length they need and getting stripes in the sky as a result, which is why fixed filters are preferred for the final frame of a landscape.
The haze deserves a specific fix for DSLRs. When the mirror lifts for a long exposure, light coming through the viewfinder can leak down the focusing screen and into the frame, and you get a milky wash over the whole image. Put the eyepiece shutter to use, or cover the eyepiece with a soft cloth taped over it. Mirrorless cameras with electronic viewfinders are not affected, because there is no mirror and no optical path.
Tips for Better Results
Calibrate your filter once with a grey card. This is the single most useful thing I have done with an ND. Shoot a frame of an 18% grey card in daylight at a base exposure, note your white balance, then repeat with the filter fitted. Whatever correction the camera suggests is that filter’s colour offset, and you apply it every time from then on. Ten minutes of work, done once.
Watch for reflections. A dark filter on a wide lens picks up the sky and your own hands. Shade the front element with your body, keep your face out of the reflection, and consider a filter with an anti-reflective coating if you shoot a lot of into-the-light frames.
Compare variable and fixed honestly. A variable ND is one filter instead of three, and it is brilliant when the light is changing mid-shoot or the subject is a video frame rate you cannot change. It also shifts colour, and it does not always hold a stated strength accurately, particularly at the extremes. If you are chasing a repeatable long exposure, a fixed filter wins.
Use a graduated ND when the sky is the problem. A graduated filter darkens one half of the frame and is a genuinely effective ND for holding back a bright sky while leaving the foreground alone. Shoot a little overlapping graduated filter rather than a hard edge, or the transition line will show.
Know when not to use one. A 1-to-2 stop reduction is largely redundant with a circular polariser, which you would fit anyway to kill reflections and deepen the sky. And an ND filter does not smooth anything by itself — it only buys you the time to let motion happen. No filter, no tripod and no patience means a still frame with slightly less light.
Check the light twice. A calculation worked out at 5.40pm can be a full stop dark by 5.50pm as the sun drops, and at 10 stops that error compounds fast. Take one test frame before you commit to a two-minute frame, and again if the sky has changed.
At night, you rarely need one. Night light is already low enough that no filter is required. The exceptions are a bright artificial source, a moonlit seascape where you want an even longer shutter, or a time-lapse that spans sunset into full dark and needs the density to stay constant across the sequence.
Stop down carefully. Once a filter is on you can afford a narrower aperture, but diffraction starts eating sharpness somewhere around f/16 on full frame. If you are chasing a wide-angle corner-to-corner sharpness target, f/11 is usually the practical limit.
Stack with care. Two screw-in filters on a wide lens compound the corner darkening, and stacking a polariser with an ND can flex the front element if the filters touch. A step ring between them costs nothing and prevents that.
Frequently Asked Questions
When should I use my ND filter?
Reach for a neutral density filter when the light is bright enough that your camera will not give you the shutter speed or aperture you want. That means full daylight when you want water to go silky, a wide-open aperture in bright sun for a shallow-focus portrait, or a city scene where you want traffic and pedestrians to blur. If you are already shooting at night or in heavy shade, you almost certainly do not need one.
Are you supposed to use ND filters at night?
Rarely. Night light is already dim, so your shutter can run long without a filter and you keep full detail in the shadows. The exceptions worth knowing: a moonlit sea or waterfall where you want an even longer exposure, a very bright artificial light source, and a time-lapse that runs from sunset into darkness and needs constant exposure. Even then, a 2 or 3 stop filter is usually enough.
Are neutral density filters worth it?
For anyone shooting landscapes, seascapes or motion in daylight, yes. Without one you either fast-freeze the water or stop down past f/16 and lose sharpness to diffraction, and there is no third option. For indoor, night or studio work they add nothing but cost and glass in front of your sensor. The single most useful purchase is a fixed 6-stop; add a 10-stop only when you shoot long exposures often.
Which ND filter strength is better for seascape and mountain work?
For seascape, a 10-stop (ND1000) is usually the right call, because milky surf and blurred water generally need anything from 10 seconds to several minutes. For mountains and forests, where the subject is mostly static and you are only softening moving clouds or water, a 6-stop (ND64) is enough and much easier to meter and focus. Many photographers carry both and swap depending on the water.
How many stops is an ND32000?
An ND32000 is a 15-stop filter, which means it divides the light by 32768. Its optical density is written as 4.5 in the decimal system, where every 0.3 equals one stop. In practical terms, a base shutter speed of 1/125 becomes roughly four minutes, and 1/60 becomes around eight minutes. Expect autofocus to be unusable and metering to need Bulb mode.
Why are my long exposures blurry when I use an ND filter?
Almost always focus or shake, not the filter. Attaching a strong filter makes autofocus hunt or fail, so the frame lands soft, and pressing the shutter by hand moves the lens enough to blur a multi-second exposure. Focus before you fit the filter, switch to manual focus, turn image stabilisation off when the camera is on a tripod, and release the shutter with the 2-second timer or a remote release.
Conclusion
Start by looking at the front ring of your lens and reading off the filter thread size, then order a fixed 6-stop filter in that size. On the first clear day, set the tripod, compose and focus with the filter off, take your base exposure at ISO 100 and f/8, and only then screw the filter on and multiply the shutter speed. That single order of operations, done consistently, is most of what there is to knowing how to use a neutral density filter well.