
Most phones can shoot monochrome in one tap, and almost none of them produce a good photograph that way. The reason is simple: the phone still captures colour, then throws away the hue information while the tone curve stays tuned for colourful images, so you get grey. The best phone camera settings for black and white photography are really capture settings first and grading settings second, and the single most useful habit is to leave the camera in colour and convert the file in an editor where you control contrast, blacks, whites and grain.
Street, portrait and architecture frames all tell the same story: the colour original wins nearly every time. This guide covers the exact tap paths, the exposure and focus behaviour you want, and two copyable editing recipes with real slider numbers. Allow about 15 minutes to set it up once, then the workflow is a normal photo session with a conversion step at the end.
Table of Contents
- What You Need for the Best Phone Camera Settings for Black and White
- Step-by-Step: Dial In a Monochrome Camera Setup
- How to Set Exposure, Focus, and White Balance
- How to Create Contrast, Texture, and Fine Detail
- How to Add the Right Amount of Grain
- Common Black-and-White Phone Mistakes and Fixes
- Frequently Asked Questions
- Should I shoot black and white in color or use my phone’s monochrome mode?
- What is the best white balance setting for black-and-white photography?
- Does a phone camera have a true black-and-white filter?
- Should I edit black-and-white photos in Lightroom or the phone gallery?
- How do I reduce grain in a black-and-white phone photo?
- What settings should I use for black-and-white portraits with a phone?
- Conclusion
What You Need for the Best Phone Camera Settings for Black and White
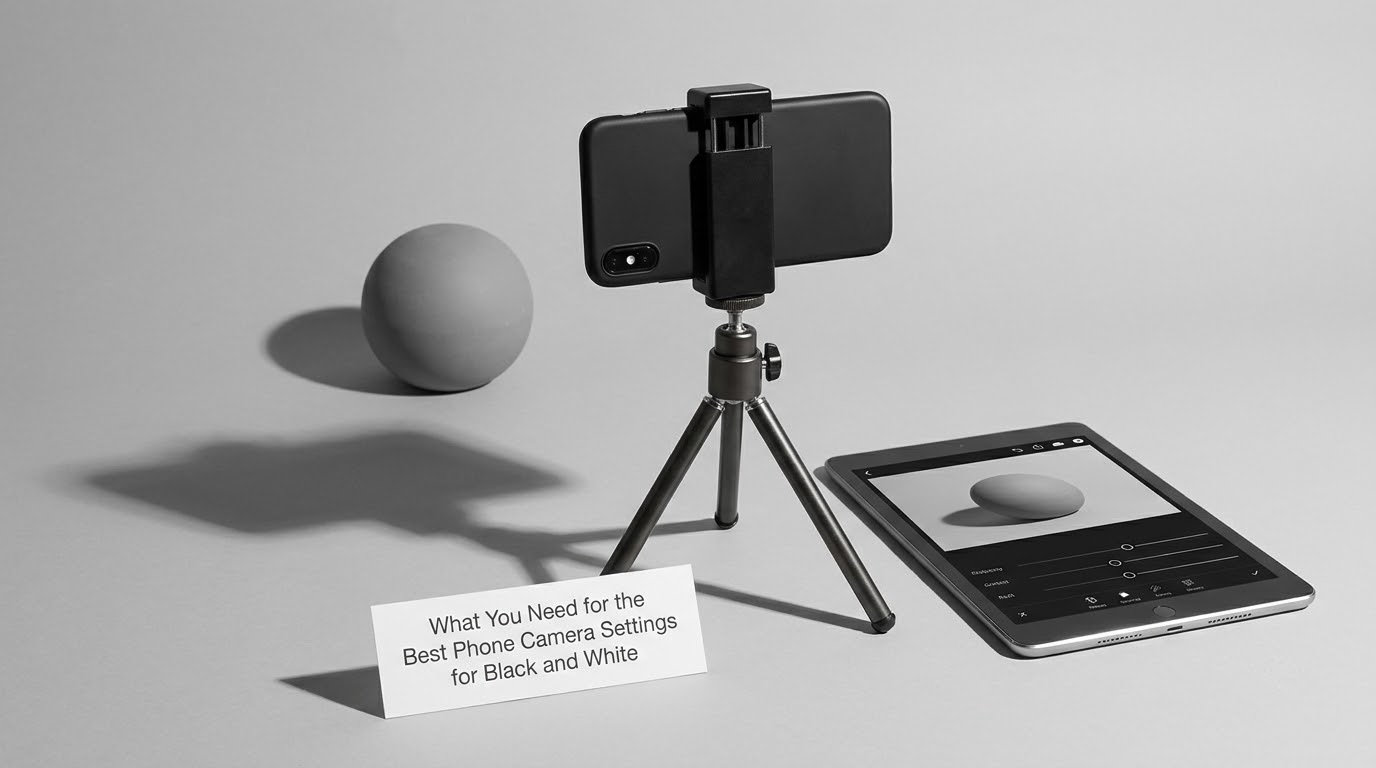
You need a phone with a working camera app, a subject with real tonal separation, and an editor with tone controls. That is the whole list, and every part of it matters more than the phone model.
Start with the camera app already on your phone. On an iPhone that is the stock Camera app; on most Android phones it is the OEM camera, and on Samsung Galaxy devices it is the One UI camera, which has more manual access than the iPhone. If you plan to shoot in low light or lock white balance, a manual-control app such as Halide, ProCam or Blackmagic Camera is the one extra thing worth installing. On the iPhone that step exists because the stock app does not expose manual white balance at all.
Next, look for a subject with genuine light-and-dark structure. A face lit from one side, a building with deep window recesses, a wet road reflecting a bright sky, a hand against a wall. Monochrome photography deletes colour, which is normally the thing separating your subject from its background, so you need shape, shadow or texture doing that work instead.
Finally, pick an editor before you start shooting. Snapseed is free on both platforms and its tone tools are genuinely good. Lightroom Mobile is also free for the basics and gives you a proper black and white mix panel. Download the one you will actually use, because choosing in the middle of a session wastes light you cannot get back.
Step-by-Step: Dial In a Monochrome Camera Setup
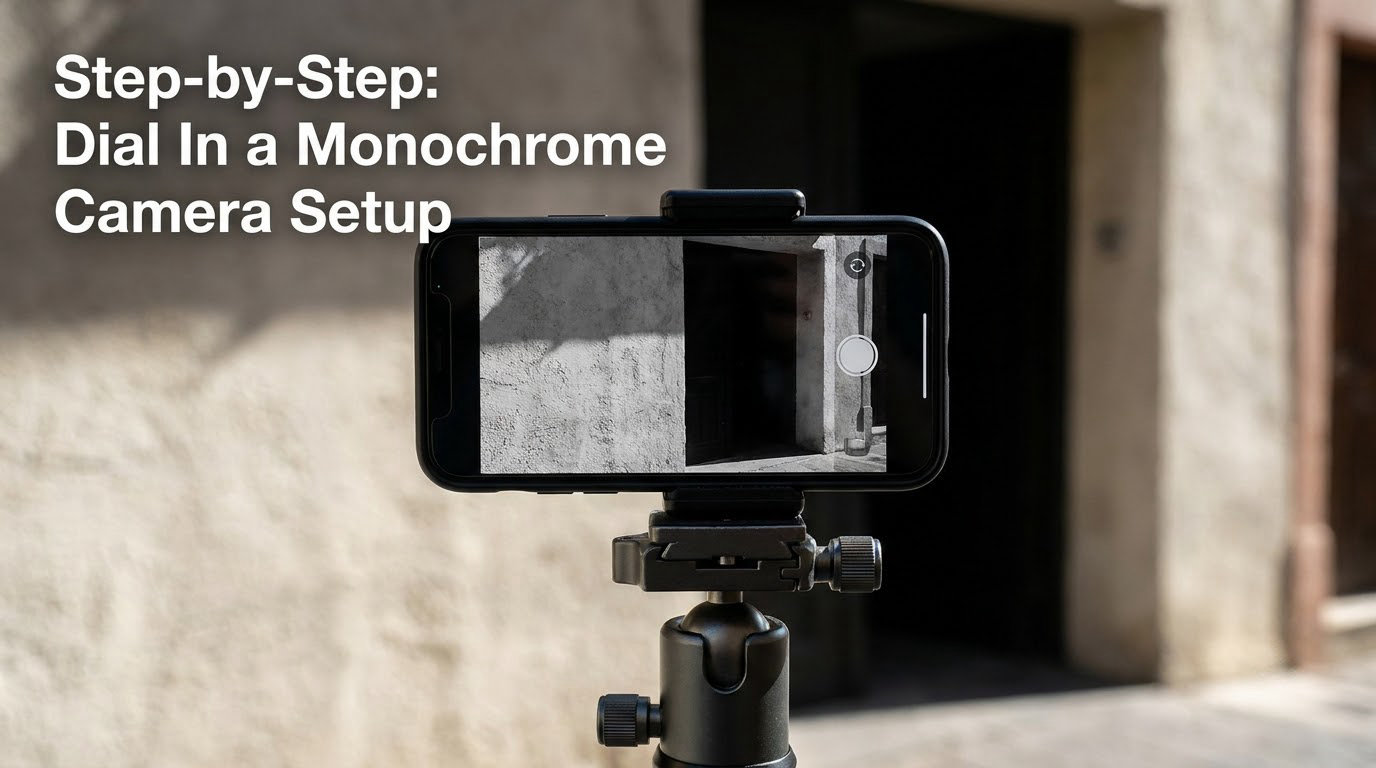
A repeatable setup takes five steps, and the first one is free: clean the lens. A fingerprint on the front of a camera in daylight costs you detail in the shadows, and in monochrome you notice it immediately because there is no colour noise to distract from the softness.
1. Clean the lens and pick the right lens
Wipe the lens with a cloth, then open the camera and use the widest lens at 1x. Digital zoom smears detail, and smear plus monochrome reads as a bad photo every time. On a phone with an optical telephoto, stepping up to 2x or 3x is fine and it genuinely separates tonal planes.
2. Turn off the automatic stacking where you can
On iPhone, go to Settings, then Camera, then Formats, and turn Macro Control and Lens Correction off if you shoot close subjects. On Samsung, open the camera funnel menu and switch from High Resolution to 12 MP if the file size is not what you need; it processes faster and you lose nothing at print size.
3. Shoot in colour, which is where the best phone camera settings for black and white begin
Do not enable Mono or B&W mode for a graded workflow. You will still use those modes later, for quick social frames and for the cases where the light is genuinely good. For anything you plan to edit, capture colour and keep the file.
4. Set exposure before you focus
Tap the subject once, then drag the sun icon up or down. Aim to keep the brightest area just under clipping. Monochrome files tolerate under-exposure far better than over-exposure, because a blown highlight has no colour left to hide behind, while a slightly dark frame can be lifted without a trace.
5. Stabilise and shoot in short bursts
Rest the phone against something solid or use a tripod, tap to focus, and take three frames. Handheld shots in shade pick up noise, and in monochrome that noise is the first thing your eye finds. Compare the burst and keep the sharpest one.
Those five steps cover the capture side. The values below are what I actually set, and they are the settings to fall back on when a scene changes.
| Setting | What it controls | Daylight | Overcast | Low light |
|---|---|---|---|---|
| Capture format | Grading latitude | ProRAW or RAW | ProRAW or RAW | RAW, accept noise |
| Lens | Detail and separation | 1x, or 2x for portraits | 1x | 1x only |
| Exposure | Highlight detail | -0.3 to -1.0 EV | 0 EV, check sky | 0 EV, brace the phone |
| Focus | Subject sharpness | Single AF, then lock | Single AF, then lock | Single AF on nearest edge |
| White balance | Tone consistency | Daylight, locked | Locked at capture | Locked, do not chase |
| Night mode / long exposure | Shadow lift and motion blur | Off | Off | On for static subjects only |
| Stabilisation | Sharpness at low light | Optional | Off | On, plus a tripod if you have one |
Two notes on the table. Night mode stacks several seconds of frames and will blur anything that moves, including people, so it is a static-subject tool only. And white balance matters less for a final monochrome file than you would think, because the editor can neutralise a colour cast in two seconds, but a locked setting stops your tone shifting between frames of the same scene.
How to Set Exposure, Focus, and White Balance
Expose for the highlights, focus once, and lock white balance if your phone lets you. Those three decisions account for most of the difference between a flat phone monochrome frame and one with depth.
Expose for highlights, not for brightness
Most people underexpose a monochrome frame until the screen looks comfortable in daylight, then take that setting indoors at night and lose the shadows. Judge tone in the app, not in the room. If the histogram is available in your camera or your editor, turn it on and watch the right edge. Right edge touching means clipped whites. Pull exposure down a third of a stop and retake.
For portraits in open shade, aim for a small underexposure. For architecture with bright sky, protect the sky and let the walls go darker, then lift the walls in the editor where you can do it gently. Dynamic range on a phone is generous, but only for one scene at a time, and a frame is either exposed for the sky or for the faces, never both.
Tap to focus, then lock it
Single autofocus with the focus lock held is more reliable than continuous tracking on a moving subject, because tracking hunts and you get a soft frame at the wrong moment. Press and hold the subject to lock, then check the little sun or AE/AF badge. If your camera offers manual focus, use it for a fixed scene such as a still life or a building, where a slow, deliberate rack from foreground to background is possible.
Lock white balance, or know why you cannot
White balance is the most-missed setting in phone monochrome work. Auto white balance shifts between frames, and on a multi-lens phone it can shift noticeably when you change focal length, so the same grey wall is a different tone in every shot. iPhone users hit this constantly, and the usual answer is a manual app such as Halide for a locked Kelvin value.
On iPhone, tap the sun icon beside the shutter and choose from the lighting options to remove the automatic shifting, then keep the camera pointed the same way for the whole scene. On Samsung, the Pro mode in the camera app exposes white balance directly. If you stay on auto, shoot fast and grade the whole set at once, so mismatched frames never sit next to each other.
How to Create Contrast, Texture, and Fine Detail
Contrast in monochrome comes from light first and from sliders second. No amount of editing rescues a scene lit flat from directly overhead, and no gentle scene is improved by pushing contrast hard.
Look for directional light. Side light describes a surface, and texture only reads when light rakes across it at a low angle. A brick wall photographed at noon in full sun is a flat grey rectangle; the same wall at 4pm with side light has a lit face and a shadowed face, and the texture appears by itself. Morning and late afternoon are the easiest hours to find this on a phone because you are looking for shadow length, not a forecast.
In the editor, structure the work in this order. Exposure and contrast first, then the B&W mix, then highlights and shadows, then blacks and whites to set the endpoints, then texture and grain last. Doing grain early makes every later adjustment harder to judge.
The Snapseed recipe
Open the image, tap Edit, then work down the tool list once:
- Tune Image: set Brightness to about +5, Contrast to +20, Saturation to 0.
- Details: Structure to +15, Sharpening to +10. If edges look crunchy, halve Structure first.
- Curves: pull the black point up slightly to about 5, and the white point down to about 95, then add a gentle S-shape with a midpoint near 50.
- B&W: set Filter Response to Neutral, Red to about -25, Yellow to about -20, Green to about -15. This darkens skin and brightens most clothing, which is the usual way a flat conversion gets rescued.
- Grainy: choose Grainy 1, set Style to X-Small, Strength to about 25.
- Details again: sharpening back to +20 for the grain edges to read cleanly.
- Vignette: External amount to -10 if the corners are pulling attention.
The Lightroom Mobile recipe
Lightroom Mobile exposes the tone sliders most people expect, plus a mix panel that most phone editors do not:
- Open the B&W Mix panel. Set Tint to 0, then pull Red down to -30, Yellow to -20, Green to -10, Blue to +10.
- In the Light panel, set Exposure to -0.10, Contrast to +15.
- Set Highlights to -40 and Shadows to +25, then check the Histogram and trim anything still touching either edge.
- Set Whites to -10 and Blacks to -8. This is the step that adds density. Most flat monochrome files are not low contrast, they have no true black and no true white.
- In Detail, set Structure to +10.
- In Optics, set Vignette Amount to -12.
- In Effects, set Grain Amount to +20, Size to 25, Roughness to 60.
Getting the best phone camera settings for black and white right is mostly a sequence problem: change one variable at a time and re-check the histogram before the next slider. Clipping is invisible on a phone screen in daylight, which is the honest limit of judging tone on the device that took the picture.
How to Add the Right Amount of Grain
Add grain to unify the tones and to hide the artefacts that come with heavy shadow lifting, not to fake a film camera. In monochrome, grain reads as texture rather than dirt, which is why a grainy frame is far more forgiving than the same frame in colour.
Start at 20 on a 0 to 100 scale in Lightroom Mobile Effects, or about 25 on Grainy Strength in Snapseed, and go up only if the shadows look plastic. More than about 40 starts to obscure facial detail at phone viewing size, and on a skin close-up you will see it immediately. Grain belongs in the midtones and shadows, which is why the highest-quality digital noise reduction in the camera is working against you here.
Capture grain is different from added grain. It comes from a high ISO in dim light, it is uneven by nature, and it is the honest version. Shoot grain deliberately for a documentary or street look rather than adding it afterwards to a clean file, and leave it off entirely for architecture and high-key work, where every speck shows.
Common Black-and-White Phone Mistakes and Fixes
Almost every disappointing monochrome phone photo comes from one of a handful of fixable problems. The first is treating grey as a colour choice rather than a broken black point.
- Flat and lifeless, everything mid-grey. Blacks and whites were never set. Pull Blacks down until the darkest parts sit near the bottom of the histogram, and Whites up until highlights approach but do not touch the top.
- Blown highlights. In monochrome a clipped highlight is a white hole with no recovery. Underexpose a third of a stop and retake rather than trying to pull it back.
- Blocked shadows. No shadow detail at all usually means the computational HDR stack crushed it. Expose for the shadows, accept a darker sky, then lift shadows by 20 to 30 in the editor rather than 60.
- Crushed midtones after an S-curve. Move the curve’s pivot up a few points so the midtone band stays open. A portrait that looks dramatic on the screen can be unusable at print size.
- Digital zoom. Detail smear plus a heavy structure slider looks crunchy. Use the optical lens or move your feet.
- Shooting at midday. Overhead light flattens everything. Wait, or find a subject with cast shadow to work with.
- Over-sharpening. Structure above about 25 on a phone frame produces halos around contrast edges, which read as smudge. Sharpening should be the last thing you touch, never the first.
- Stuck in monochrome mode. On iPhone, open Settings, then Camera, then Formats, then Camera Formats, and set Mono to Off. To get back to colour in the viewfinder, swipe through the filter strip back to the Original. On Samsung Galaxy, open the camera funnel menu and change B&W back to Live. Plenty of people get stuck in a B&W mode, and the path above is the answer on current versions.
- You wanted the screen grey, not the photos. Display grayscale is an accessibility setting and has nothing to do with the camera. On iPhone it is Settings, Accessibility, Display and Text Size, Color Filters, Grayscale. On Android it is Settings, Accessibility, Color correction, Grayscale, and most versions deliberately keep the Camera app in colour so you can still take real pictures.
One more worth naming: the in-camera mono filter and the auto HDR stack are tuned for colour. That is why the built-in mode returns compressed grey even when the light is good, and it is the whole reason to keep shooting colour.
Frequently Asked Questions
Should I shoot black and white in color or use my phone’s monochrome mode?
Shoot in colour and convert in an editor. The built-in monochrome mode maps your three colour channels onto one luminance value after the phone has already made its own contrast, colour and noise decisions, which compresses the tonal range and leaves grey. A colour original gives you the mix sliders, and a RAW file gives you the headroom to recover highlights and open shadows afterwards.
What is the best white balance setting for black-and-white photography?
There is no correct value, but a locked one beats an automatic one. Auto white balance shifts between frames and can shift when you switch lenses, so the same grey wall lands on a different tone each time. Use daylight or cloud preset and keep the camera pointed the same way, or set a fixed Kelvin value in a manual app such as Halide, ProCam or Blackmagic Camera.
Does a phone camera have a true black-and-white filter?
Yes, and it is worth knowing where it lives. On iPhone, enable Settings, Camera, Formats, Camera Formats, Mono, then pick the Mono filter in the viewfinder. On Samsung Galaxy, open the camera funnel menu and choose Bu0026amp;W. Both process a colour capture on the fly. You can dial the filter strength on iPhone, but neither gives you the tonal control you get in an editor, so use them for quick frames.
Should I edit black-and-white photos in Lightroom or the phone gallery?
Use Lightroom Mobile for control and the phone gallery for quick correction. Lightroom gives you a black and white mix panel, curves, whites and blacks, and grain amount, which is what a graded monochrome file needs. The built-in Photos or Gallery editor is fine for a filter, a contrast nudge and a crop. Snapseed is a close third and completely free on both platforms.
How do I reduce grain in a black-and-white phone photo?
Start at the capture stage, because added grain cannot be undone. Shoot in daylight or shade rather than dim light, keep the phone steady on a tripod or against something solid, and clean the lens. In the editor, keep added grain around 20 on a 100 scale and avoid lifting shadows past 30, since lifting amplifies the noise underneath. High-ISO capture grain is the honest kind, so keep it if the scene suits it.
What settings should I use for black-and-white portraits with a phone?
Shoot in colour in RAW, underexpose by about a third of a stop to protect skin highlights, and lock focus on the near eye. Use the 2x lens if your phone has one, since it separates the head from the background. In the editor, set the Bu0026amp;W mix red channel to -30 so skin lightens, drop blacks to -8, raise shadows to +25, and finish with grain near 20 and a light vignette.
Conclusion
The best phone camera settings for black and white come down to a short sequence you can repeat on any phone. Clean the lens, prop the phone up, underexpose by a third of a stop, tap to focus, and shoot in colour. Then convert in Snapseed or Lightroom Mobile using the numbers above, starting with the B&W mix, then blacks and whites, and grain last. Keeping a colour original is what turns a quick monochrome filter tap into a photograph with a real tonal range, and none of it has changed in 2026.