
To meter for film photography, set your meter to the film’s speed, measure the light where your subject actually is, then choose shutter speed and aperture. On color negative film, bias that reading toward the shadows; on slide film, protect the highlights. The whole process takes about ten seconds once your fingers know it.
Film punishes metering mistakes more than any other medium. There is no preview screen, no histogram, no second chance, and a roll you misjudge is money in the bin. But metering is not physics beyond your comfort — it is a measurement plus a bias, and both parts are learnable in an afternoon.
This guide walks through the full workflow, from setting the film speed to reading the camera’s display, then covers what to do when the scene is high contrast, when the film is rated, and when your only tool is a phone. If you are starting from scratch, the beginner notes under each step are the ones to slow down on.
Table of Contents
What You Need to Meter for Film Photography
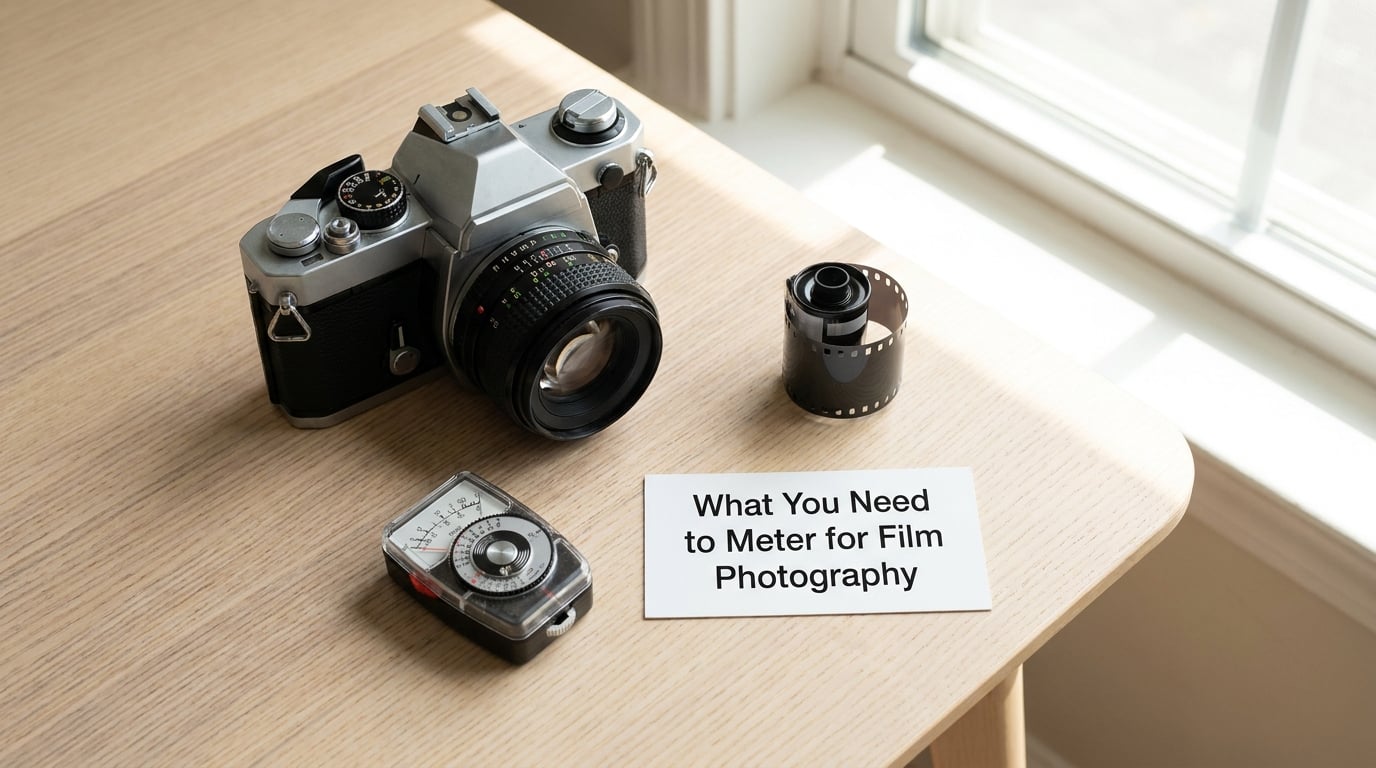
Four things, and you probably own three of them already. Everything else is refinement.
A camera that gives you a reading
That reading comes from one of three places. A fully manual body like an OM-1, an FM2 or a Hasselblad gives you nothing — you need a handheld meter. A camera with a built-in meter reads through the lens and either suggests a speed or sets it for you in a program or aperture-priority mode. A digital body is also a meter, and a useful one, because its display is instant and free to practice on.
A way to read the light
A handheld incident meter is the classic tool: a dome you hold above the subject’s head, facing the light. Sekonic’s L-308 and L-358 class meters come up most often in community recommendations, the L-758DR shows up when flash metering matters, the Gossen Lunasix and Profisix get named for their build and reliability, and a used Pentax Digital Spot Meter is the common budget route into spot metering. Phone apps work too, with limits I cover below.
The film’s speed, and the speed you intend to use
Box speed is what the box says: 400 for a roll of Portra 400. The speed you meter at is the effective speed after you decide to develop normally or push. Rating a roll one stop down at 200 is the most common habit in the film community, and it exists because shadows are what color negative film recovers badly. You are not required to do it, but you should do it deliberately rather than by accident.
Basic exposure knowledge
You need three numbers in your head, not on paper: middle gray sits at 18 percent reflectance, a properly exposed negative puts that gray at Zone V on the Zone System, and each stop doubles or halves the light. Everything else in this guide is an application of those three facts.
Step-by-Step: How to Meter for Film Photography
1. Set the camera or meter to the film speed
Dial in the speed you plan to develop at, not the number printed on the canister. On a digital body set the ISO to match, then set the exposure compensation to zero. A handheld meter takes the same number through its ISO or film-speed dial, and a rangefinder-style body takes it on the film-speed collar or in the frame counter assembly.
This is where most beginner errors start. Shoot a roll of Portra 400 at 400 and you are trusting the negative’s full latitude with no help. Meter it at 200 and the lab develops it for 400, but the shadows gained an extra stop of protection on the negative. The picture looks better, and a scan looks like what you saw.
2. Measure the light in the subject area
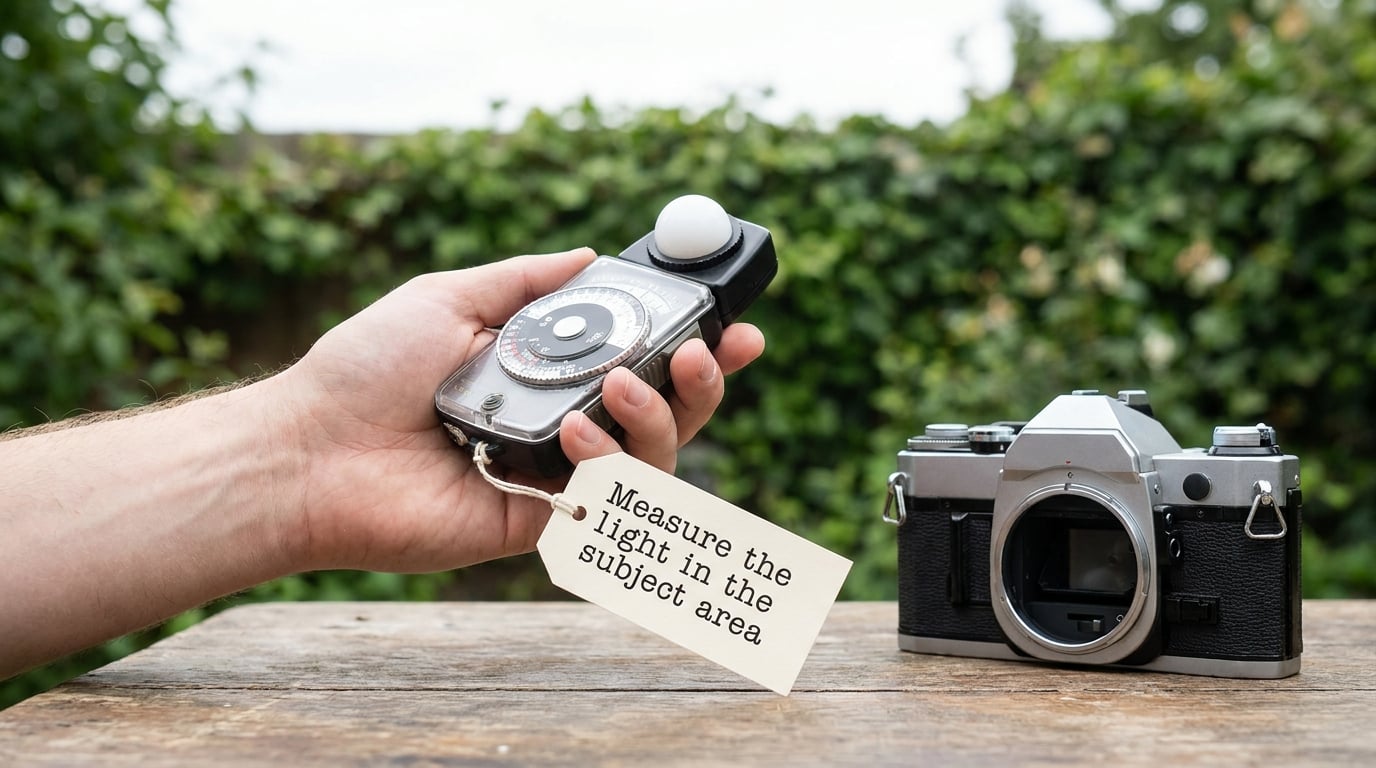
Hold an incident meter a few inches above your subject’s head, dome facing the direction the light comes from, and take the reading. If you are outdoors in sun, meter in open shade rather than in the sun itself. Open shade approximates the light actually falling on a face in the shade, and it is where a surprising number of blown-out film frames come from — people aim the meter at the brightest patch they can find.
For reflective or spot readings, put the meter against the subject and read the tone you want rendered as middle gray. An average portrait reads well off a face in open shade. A backlit portrait, with the sun behind the head, will read several stops hot if you meter the background — meter the face instead and accept the bright rim as a choice. On snow, sand or a white wall, the meter sees a bright subject and underexposes, so dial compensation back in or meter the shadow beside the snow.
3. Choose a shutter speed
With a reading in hand, set a shutter speed your hands can hold. For people standing still, 1/125 second is the floor. 1/250 is safer for a family group and 1/60 or slower needs a tripod or something to lean on, because camera shake is not recoverable in post.
Speed also controls motion. A cyclist at 1/60 with a fixed-focus lens is a smear; the same lens at 1/500 is sharp. Fast film helps here, which is part of why 800-speed tungsten-balanced emulsions became the default for night shooting rather than a compromise.
4. Choose an aperture
Every stop you move from shutter speed has to come from the aperture. Metered at f/8 and 1/125, you can go to f/2.8 and 1/500, or f/11 and 1/60. What you gain is depth of field on one side and light or motion control on the other.
Two practical limits. Below about f/5.6 on a 35mm lens, diffraction softens the whole frame, so extremely small apertures on digital sensor-sized or film-sized formats buy you nothing. And wide open, a fast film lens loses contrast in the corners on some emulsions, so a stop of extra exposure is often worth paying for a cleaner, flatter look.
5. Use the camera’s exposure display
On a camera with a built-in meter, a center-weighted or matrix reading reflects light across the frame, and a spot reading reflects the small circle the viewfinder marks. When the camera is in aperture priority, it picks the shutter speed and you judge whether it landed where you wanted. A steady +1 or -1 suggests you metered something unusual in the frame, usually a dark wall or a blown sky.
Do not treat a suggested setting as a command. On color negative, a suggested reading is a starting point, and I commonly add half a stop to a stop of light. On slide film there is no second chance at all, so meter a midtone carefully and consider a bracketed frame at half a stop either side when the contrast is wide.
TTL metering works on film cameras the same way it works digitally — a sensor through the lens measures reflected light and converts it to a value — but old cells drift with age, and batteries matter. A camera with a healthy battery and a clean sensor gives a reading within a third of a stop of reality. One with a tired battery can be a full stop off before anything looks broken.
6. Check the result with test frames
Exposure index is a guess until a lab confirms it. Shoot a bracketed sequence on one roll: the metered frame, then one stop under, then one stop over. Development times vary enough between labs that your personal film speed will settle only after a few rolls, and those test frames are what reveal the truth.
Develop at normal times, compare the three frames side by side, and write the result down. If two stops over still holds shadow detail, your lab runs hot and your working film speed is higher than the box. If the metered frame is already muddy, your effective speed is lower and you should meter one stop down from now on.
7. Adjust for the scene and film stock
Different emulsions want different biases, and the bias is the part that separates a mediocre roll from one you keep. Color negative has the widest latitude of the common formats, tolerating roughly three stops of overexposure before shadows go muddy and about two stops of underexposure before highlights block up. Overexpose it slightly and pull back in scanning, or print it straight — most photographers find one to two stops of extra light to be the sweet spot.
Black and white film is the opposite profile. Shadow detail is held and highlight detail collapses fast, so the highlight is what you protect. Meter for the brightest important area, accept deep blacks, and develop for the contrast you want afterward. Shot in bright sun, a black and white roll at its box speed is often a stop hot on the top end.
Slide and transparency film has almost no latitude in either direction. A frame shot one stop over is clipped and unrecoverable; one shot a stop under is muddy orange. Meter the most important midtone, watch for hot spots in faces near the sun, and bracket when the scene crosses three or more contrast zones.
Rated film changes the arithmetic. If you push a 400-speed roll to 1600 in development, meter at 1600 and the shadows lose the latitude you would have had at 400. If you pull to 200, meter at 200 and expect a flatter, cleaner result with less grain. Expired film needs more light too, typically a stop per decade past the expiry date, though the variable that matters most is how the emulsion has been stored.
Common Metering Mistakes and How to Fix Them
Metering a bright background with a backlit subject. The most common blown frame in film photography. The meter reads the sky, the face goes dark, and the negative has no compensation. Fix: meter the subject, or spot meter the face, and treat the bright background as intentional.
Leaving the film speed at box speed by accident. Common on cameras with a mechanical film-speed ring and a habit of loading and shooting. Fix: make it part of the loading routine, and say the number out loud when you advance the film.
Trusting a bright LCD as a brightness reference. Screens auto-brighten, phone apps apply their own calibration, and both drift with ambient conditions. They are useful for relative comparisons — is the north wall twice the brightness of the south wall — and unreliable for absolute exposure. Use them to spot ratios, then confirm with a real meter or a bracketed frame.
Exposing for the highlight and losing the face. Protecting highlights is right for slide film and wrong for a backlit portrait. Ask which zone the scene is really about: if the subject matters, meter the subject; if the range matters, meter the range.
Averaging two unrelated readings. Taking one reading of the sky and one of the ground and splitting the difference gives you a number that describes neither. A meter measures what it is pointed at. Move it, or average several readings of the same thing.
Forgetting that the film was rated. If you shot at 200 and developed at 400, a scan that looks two stops dark is not a scanning problem. The negative really is that way. Fix: tell the lab the rating with the film, every time, in writing.
Relying on the meter in very low light. Phone apps and small reflected meters get noisy as the light drops, and a noisy reading is a guess with extra steps. In low light, give the film its box speed, shoot wide open, and lean on what the Sunny 16 rule says about deep shade.
Frequently Asked Questions
Do I need a light meter for film photography?
No. A manual camera with no built-in meter can be shot entirely on the Sunny 16 rule, and plenty of people do it for years. A meter helps most when light changes fast, when you shoot high contrast scenes, or when you are working with slow film indoors. If you already own a digital body, you have a meter: set the ISO to your film’s rated speed, pick an aperture, and read the shutter speed it suggests.
Can I use my phone as a light meter for film?
Yes, in good light, and the readings are usually close enough to expose a roll of color negative. Most lux-reading apps give you a usable value; some apply their own correction for a presumed subject, which is a different thing from a straight exposure reading. The weak spot is low light, where the sensor noise makes the number jump around. Treat phone readings as a starting point and bracket the important frame.
Is TTL metering on a film camera reliable?
It is, as long as the battery is good. TTL reads reflected light through the lens and converts it to a suggested speed, and the main failure mode on an older body is a tired battery or a corroded cell, which can put the reading a full stop off before anything looks wrong. Metered-needle cameras also drift with age, so a first-roll test bracket is worth the film. A TTL reading is a suggestion, not a command, on any camera.
Should I meter for shadows or highlights on color negative film?
Shadows. Color negative tolerates overexposure far better than underexposure, and most photographers meter normally and then add half a stop to a full stop of light. Highlights on a negative have to bleach through two or three stops before they start to lose color and detail, while shadow detail can be muddied in a single stop. Rating a 400-speed roll at 200 is a common way of building in that extra shadow protection before you even take the reading.
How do you meter for slide film?
Meter the most important midtone and stop down if the frame is in bright sun. Slide film has almost no latitude: one stop over clips to solid color and one stop under goes muddy, with nothing to recover in post. Protect the brightest important area, not the background. When a scene spans three or more contrast zones, shoot a bracketed sequence at half a stop either side, since the cost of a mistake is a ruined frame rather than a soft scan.
What is the Sunny 16 rule and does it actually work?
In full sun, set f/16 and use a shutter speed of 1 divided by the film’s ISO: 1/100 at 100, 1/400 at 400, 1/1600 at 1600. It gets you within roughly a stop in open sun, and film has the latitude to survive being one stop off. The rule covers four light levels: f/16 in sun, f/11 in light overcast, f/8 in overcast, and f/5.6 in heavy shade. It is a good backstop and a poor substitute indoors.
If you take one thing from this, do it in this order: know the film speed before you load, decide the speed you will develop at, and only then take a reading. Most metering problems are not measurement problems — they are decisions made in the wrong sequence, before the meter was ever involved.
After that, the bias is the part that rewards you. Add light to color negative, protect the tone for slide, and hold the highlight on black and white. Shoot a bracketed roll, look at it next to your meter and the mismatch teaches you more than another paragraph ever will.