
You find abstract photos in everyday objects by removing context, not by finding rare subjects. Take something ordinary, move close or change your angle until the viewer can no longer name it, then let one quality — shape, texture, colour, light or motion — fill the frame. It takes about an hour to get your first usable shot, and a phone is enough to start.
The most common beginner mistake is shooting the object rather than a quality of it. A clean photo of a colander is a photo of a colander. The same colander, lit hard from one side and cropped so only three holes and a shadow edge remain, is a photograph about curve and contrast.
There is history behind this, even if you never studied it. Alfred Stieglitz photographed clouds and staircases in the 1910s and 20s as studies of shape, Man Ray put objects directly onto photosensitive paper to make rayographs, and Minor White spent decades photographing rocks, shells and tree bark. Every one of them worked with plain material and one clear idea.
Table of Contents
- What You Need
- Step-by-Step: How to Find Abstract Photos in Everyday Objects
- Common Mistakes
- Frequently Asked Questions
- What everyday objects make the best subjects for abstract photography?
- Do I need a DSLR to find abstract photos in everyday objects?
- How can I make an ordinary object look more abstract?
- Should I shoot abstract photos in black and white or color?
- What camera settings work best for abstract still-life photos?
- How do I know when an abstract photograph is too cluttered?
- Conclusion
What You Need
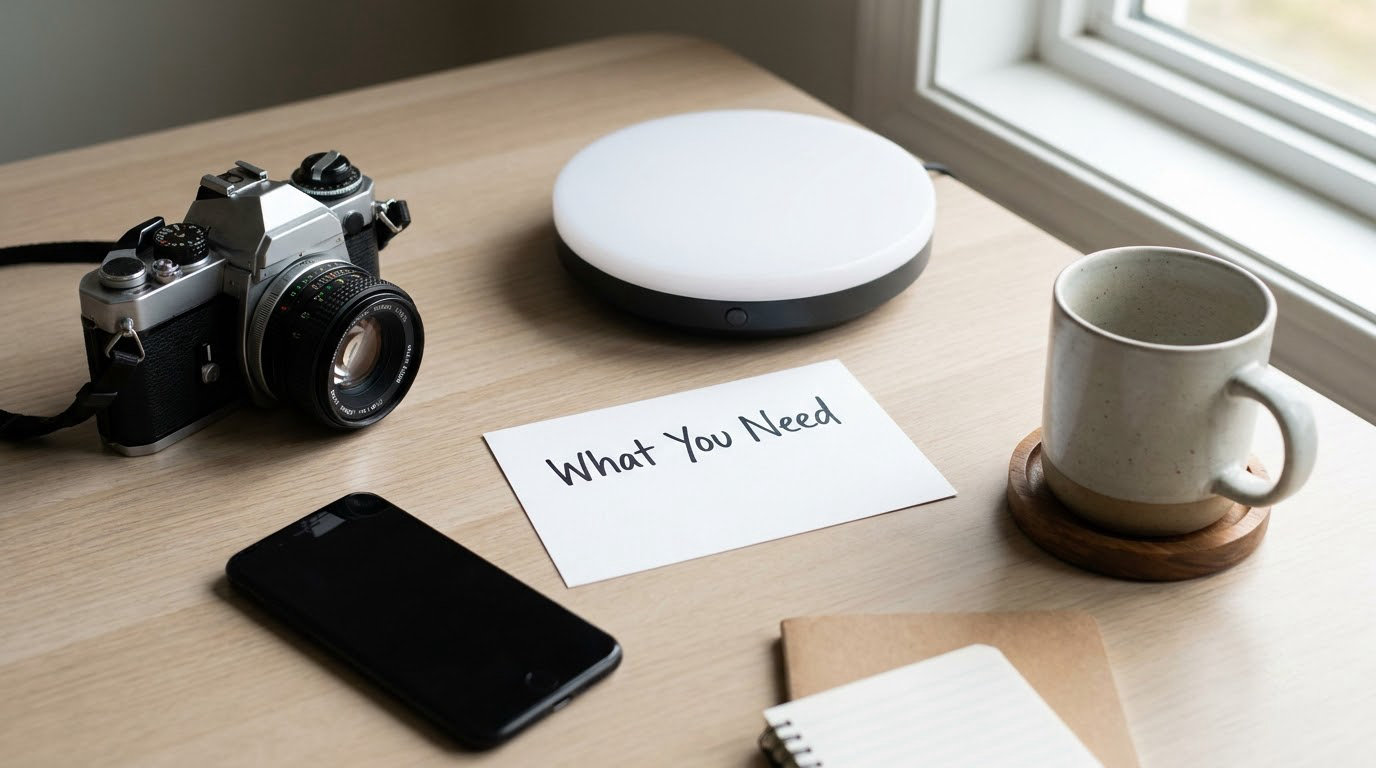
A camera is the easy part. A phone’s default camera handles abstract still life well, because you rarely need a fast shutter or wide dynamic range. A mirrorless or DSLR body helps when you want manual aperture, but nothing about this technique requires one.
Light matters more than the camera body. One directional source — a desk lamp, a window with the sun behind it, a single LED panel — does ninety percent of the work. Overhead room lighting is the enemy here, because it flattens texture and leaves almost no shadow to photograph.
A surface matters too. A sheet of black card, white card, or plain matte paper gives you a background with no detail competing with your subject. If you have no paper, a clean table or a bed sheet does the job.
Skip the reflector, the colour gel set and anything else you would buy for this. Add gear later, and only when you know which problem you are trying to solve.
Do you need a macro lens? No. It is optional, and the honest answer is that most abstract work can be done with what you already own. Getting close is what creates abstraction, and you can get close with a kit lens turned up to its minimum focus distance, a reverse lens adapter, a clip-on close-up filter, or simply by cropping a frame you already shot. Buy a dedicated macro lens when you want true 1:1 reproduction and edge-to-edge sharpness on a small subject, and not before.
Step-by-Step: How to Find Abstract Photos in Everyday Objects
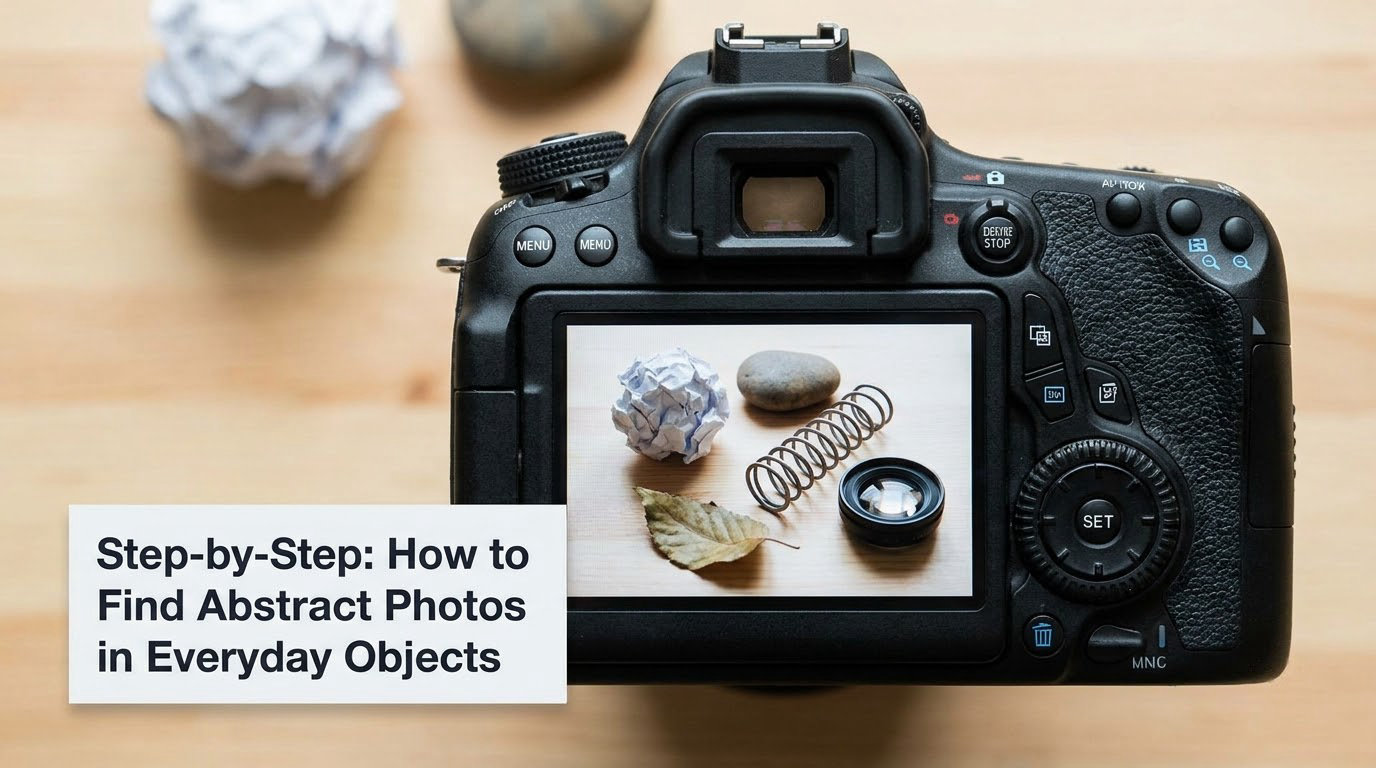
Five shifts do most of the work: get closer, change your angle, remove context, simplify the frame, and use one light source. Each step below covers one of them, plus how to judge whether the result worked. The starting settings table underneath gives you a workable baseline per technique, so you are not guessing numbers on your first attempt.
| Technique | Aperture | Shutter speed | ISO | Focus | Lens or adapter note |
|---|---|---|---|---|---|
| Macro close-up | f/5.6 to f/8 | 1/125s or faster | 100 to 400 | Manual, single point on the subject | Kit lens at minimum focus distance, or a close-up filter |
| Motion blur | f/8 | 1/4s to 1/15s | 50 to 200 | Manual, on the object, then move during exposure | Any lens; a tripod steadies the frame |
| Long exposure trails | f/8 to f/11 | 2s to 20s | 50 to 100 | Manual, at infinity or far end of the frame | Tripod essential; shoot string lights, screens or a phone torch in a dark room |
| Selective focus | f/1.4 to f/2.8 | 1/250s or faster | 400 to 1600 | Single point on the sharp edge | Wide aperture; string or holiday lights are the usual subject |
| High-key flat lay | f/8 to f/11 | 1/125s | 100 | Manual, about half the frame height | Overhead position, white surface, one soft light |
On a phone, tap the screen to set focus and exposure, then swipe the exposure slider down slightly to hold detail in a bright surface or up in a dark one. Lock focus with a long press if you can, and use a burst or a timer rather than hoping the frame is sharp first time.
Look for shapes, patterns, and negative space
Start by ignoring what the object is. Look for the curve on its edge, the diagonal of a handle, the gap between two parts, the row of identical holes. A spiral staircase, the stripes a colander throws on a wall, and the slivers of light between closed shutter blinds are all shapes before they are objects.
Negative space does the heavy lifting in this genre. Frame so the empty area is at least half the picture and the subject sits inside it as a graphic shape, and the eye reads form rather than content.
Here is a list of ten everyday objects that make strong abstract subjects, each with the technique that works on it:
- Paperclip — shoot macro from the side so the coil fills the frame as a repeating spiral.
- Colander — use a single hard light and photograph only the shadow it throws, not the bowl.
- Tea strainer mesh — backlight it against a window so the pattern reads as a grid of light.
- Washing machine door seal — get close to the rubber gasket, light it raking, and frame the folds.
- Kitchen towel — lay it in overlapping folds from above and shoot flat, so texture becomes topography.
- Straws in a glass — shoot from below the rim so the lines cross and the straws become a graphic lattice.
- Houseplant leaf — backlight it and fill the frame with the vein structure alone.
- Wall socket and cable — place the cable in a single clean curve and let the socket sit off to one side.
- Cutlery in a drawer — arrange four or five handles so their diagonal repeats, then shoot from directly above.
- Soap bubble — fill the frame with the surface colours, which shift second by second and never repeat.
You will notice the pattern: with every one of these, the technique matters more than the object. The colander is not interesting. The shadow it throws is.
Use light and shadow to create structure
Even lighting is why most first attempts look flat. When there is no shadow, there is no structure, and the frame has nothing to organise the eye.
Move one lamp to the side and slightly above the subject, and turn off everything else. Hard light gives sharp-edged shadows and high contrast. Soft light from a lampshade or a diffused panel gives smooth gradients and shows curve instead of edge.
Raking light, held low so it travels almost parallel across a surface, is the cheapest texture tool there is. Run it across fabric, plaster, rust or a wooden cutting board and the surface stops being flat. Try it a few centimetres above the surface rather than a metre away.
Shadow can also become the whole subject. Put a wire object or a perforated container a few inches from a plain wall, light it hard, and photograph the shadow alone with the object outside the frame or heavily out of focus.
Change your viewpoint and perspective
Perspective is the cheapest way to find abstract photos in everyday objects, because it costs nothing and you can test it in seconds.
Shoot from directly above and the object becomes a plan. Shoot from below and it becomes architecture. Move in until the frame is filled and the scale information disappears, which is usually the moment abstraction begins — roughly when a viewer could not tell what the thing is, or at least would not agree on it straight away.
That test is the useful one. Take the frame, look at it for three seconds, and ask whether you would need the caption to explain it. If you would, crop tighter. If you still cannot identify it after cropping, you have crossed from close-up into abstraction, and everything after this is refinement.
Play with odd focal lengths too. A wide lens close to a subject distorts edges in a way that a longer lens never does, and those warped straight lines are the raw material for half of abstract work.
Experiment with reflections, textures, and motion
Glass, water and polished metal all give you a second version of a scene, and two versions of the same thing make an abstract frame almost automatically.
Put a spoon or a metal handle in a shallow tray of water and shoot straight down. The reflection above and the object below drift out of alignment as the water moves, and the interesting part is usually a fraction of a second before they line up again. For something even more transient, drop a few drops of oil into a glass of water and watch the bubbles rearrange.
Partial obstruction is the other trick worth learning. Push a leaf, a leaf-shadow, a chain or a rolled paper close against the lens so part of the frame is soft and dark and part is sharp. The result stops reading as documentation of an object.
Motion turns a static subject into a pattern. Drag a spoon through water during a half-second exposure, or sweep a string light across the frame at 1/8s. On a phone, shoot video and grab a single frame at the point where a trail looks deliberate — it is a crude version of the same idea, but it works.
Refine the frame and make the image intentional
Most weak abstract frames fail at the edges, not the centre. Walk around the set and check all four edges for a stray handle, a highlight, a cable, a bright corner. If something is cut off, either include all of it or move so none of it shows.
Crop to one dominant element. Ask what the eye lands on first, then give that thing the space it needs and push everything else quieter.
Check the tones before you edit anything. If the image is technically abstract but visually flat, the fix is in the shooting, not the slider — go back and add a second light or deepen the shadow.
Choose black and white when the image’s strength is shape, texture or tone. Choose colour when the strength is the relationship between two hues. Forgetting to ask that question is how images end up looking like filters rather than photographs.
Editing should be restrained. Crop and straighten, lift contrast a little, pull saturation up slightly or drop it entirely, and stop. Over-processing is the most common way a beginner’s abstract work fails, because pushing contrast and saturation on an image that is already flat just makes a bad photo louder.
Common Mistakes
Six mistakes account for nearly every failed abstract frame, and each has a one-line fix.
The subject is still too recognisable. You framed the whole object when the abstraction lives in a fragment of it. Fill the frame edge to edge, or crop so the identifying part is out of shot.
Everything is lit flat. Even light removes shadow, and shadow is what gives a frame structure. Turn off the room lights and use one source at an angle.
Too many objects in shot. A still life of six items is a still life, not an abstraction. One object, one idea, one dominant shape.
Distractions at the frame edge. A bright corner or a cut-off handle pulls the eye out of the picture. Check every edge before you shoot, not after.
You shot one frame and moved on. The best advice from photography communities is to shoot a set, not a single frame. Pick six objects, take four frames of each, then keep two. Volume is how you learn what works, and beginners almost always keep the first frame instead of the fourth.
You pushed the edit too far. Heavy contrast, posterisation and saturation turn a photograph into an effect. Cut each adjustment in half and look again.
Two smaller habits help. Turn the camera off auto-everything for at least some of the set, because auto ISO and auto white balance will shift frame to frame and you lose the ability to compare. And shoot a reference frame of each object straight on before you start abstracting it, so you can check later whether the abstraction actually improved on the original.
Frequently Asked Questions
What everyday objects make the best subjects for abstract photography?
Objects with strong geometry, repeating patterns or obvious texture work best: paperclips, colanders, tea strainers, cutlery, straws, fabric folds, plant leaves, soap bubbles and rust. What matters is not the object but a quality you can isolate, such as the curve of a handle, the grid of perforations, or the shadow a shape throws. Choose the object for its shape, not for what it is used for.
Do I need a DSLR to find abstract photos in everyday objects?
No. A smartphone handles this style well because you rarely need a fast shutter or wide dynamic range, and the technique is about framing and light rather than equipment. A DSLR or mirrorless body only helps if you want manual aperture, long exposures of several seconds, or manual focus at very close range. Most first projects are finished on a phone.
How can I make an ordinary object look more abstract?
Move close enough that the object no longer identifies itself, then change your angle so scale information disappears. Fill the frame edge to edge, put the empty area in charge of the composition, and light the subject from one side so shadow gives the shapes definition. Test your result by asking whether you would need a caption to explain it. If yes, crop tighter.
Should I shoot abstract photos in black and white or color?
Convert to monochrome when the strength of the image is shape, texture or tone, because removing colour stops the eye from using hue as a shortcut. Keep colour when the point is the relationship between two hues, or when a single colour does something the shapes cannot. Deciding on this before you edit is what keeps an image from looking like a filter.
What camera settings work best for abstract still-life photos?
For macro close-ups start around f/5.6 to f/8, 1/125s, ISO 100 to 400, with manual focus on a single point. For motion blur use f/8 at 1/4s to 1/15s and move the subject during the exposure. For long exposure trails, f/8 to f/11 at 2s to 20s on a tripod. Selective focus needs a wide aperture, f/1.4 to f/2.8, at a fast shutter.
How do I know when an abstract photograph is too cluttered?
An abstract frame usually has one dominant element and a clear area of empty space around it, often half the image or more. If your eye cannot settle anywhere, or if a second object competes with the first, the frame is too cluttered. Remove objects, move the camera to exclude the edges, or crop tighter until one shape holds the frame on its own.
Conclusion
Pick up the nearest object with an interesting edge, move close enough that its scale disappears, and light it from one side. Shoot four frames of it, vary only your angle between them, and look at the set with fresh eyes. That is the whole process, and the reason it works is that the material was already in your kitchen the whole time.