
Photoshop actions record and replay a series of tasks so you can apply the same edit to one image or many with a single click. Learning how to use Photoshop actions takes about ten minutes for the basics: open the panel, press record, work normally, press stop. The payoff arrives the first time you resize and sharpen twenty exports by hand and realise you could have done it once.
This guide covers Adobe Photoshop on desktop, Windows and Mac, as of 2026. The mobile app has no Actions panel, so every menu path below assumes the desktop app. We will load a free action set, record your own action, pause it with a stop command, and fix the four things that most often go wrong.
Table of Contents
- What You Need
- How to Use Photoshop Actions Step by Step
- Common Mistakes
- Frequently Asked Questions
- Where are Photoshop actions stored?
- Can I use the same Photoshop action on multiple images?
- Why does a Photoshop action change my colours unexpectedly?
- How do I stop a Photoshop action halfway through?
- Are third-party Photoshop action files safe to install?
- Can Photoshop actions record every editing command?
- Start with One Small Action
What You Need
Four things, and only one of them costs money.
- Adobe Photoshop on desktop. Windows or Mac. The iPad and phone versions do not include the Actions panel.
- An open image. Actions operate on the active document, so you need a file loaded before you press record.
- The Actions panel. Built in, hidden behind a menu path. No download needed.
- Permission to install trusted .atn files. Third-party action packs are just files with an .atn extension. Running one executes recorded commands inside Photoshop, so install only what you trust.
Photoshop ships with a set of built-in actions already installed, grouped into sets named by category. Third-party sets look identical once loaded. The difference is provenance: built-ins come with the program, third-party sets were recorded by someone else and could contain steps you did not expect.
Photoshop’s own documentation defines an action as a sequence of recorded tasks, such as menu commands, tool operations, and panel adjustments, that you can play back on a single file or across multiple files. That definition is the whole idea in one sentence.
How to Use Photoshop Actions Step by Step
1. Open the Actions Panel
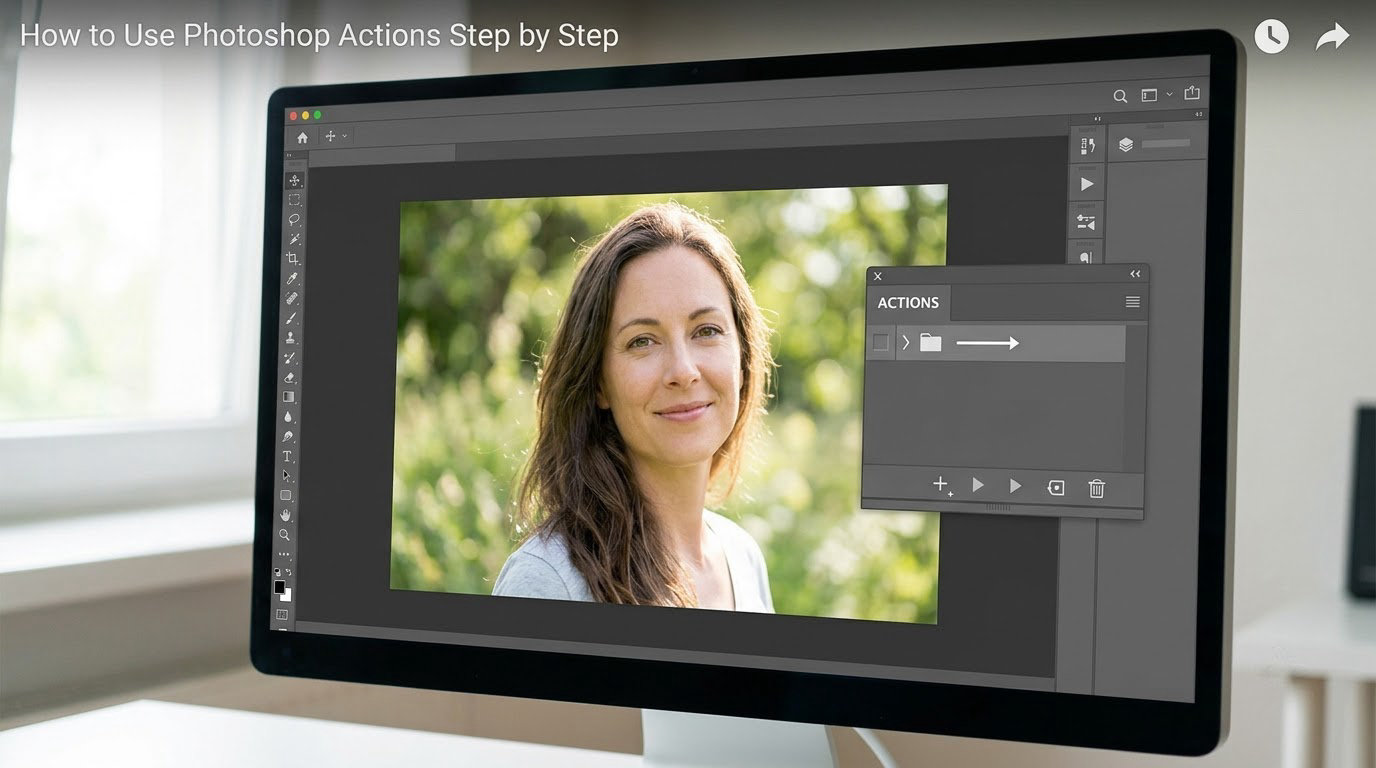
Go to the top menu bar and choose Window > Actions. The panel appears as a floating window you can drag anywhere, then dock by dragging its tab to the left or right edge of the workspace.
On Windows you can also press Alt + F9; on Mac it is F9. You will know it worked because a narrow panel with a red circle, a square, a triangle, a folder icon, a page icon and a trash can appears. Those are record, stop, play, new set, new action and delete.
The play button greys out until an action set and an action inside it are both selected. That greying out is the panel telling you nothing is selected yet, not that the panel is broken.
2. Load a Photoshop Action Set
Click the panel’s flyout menu, the small hamburger icon in the top right corner of the panel, and choose Load Actions. Navigate to the .atn file and open it.
You will see the set appear at the bottom of the panel’s set list, often highlighted in red because the colour is unused so far. Expand it with the arrow to the left of the folder name and you will see the individual actions inside. Selecting one replaces the panel contents with the list of recorded commands it contains.
Third-party sets usually contain an Instructions action or an read me text file. Play that one first. It is the author telling you which actions to run in which order, and skipping it is the most common beginner mistake with downloaded packs.
3. Create and Run an Action
Click an action name in the set, then click the triangle. Photoshop replays every recorded step on your open document, and the small progress bar at the bottom of the panel shows it moving.
You will know it finished when the bar disappears and the panel buttons return to normal. Look at the Layers panel next: most actions leave their work on new layers named after the action. If the image looks wrong, press Ctrl + Z (Windows) or Command + Z (Mac) immediately and undo is still clean, because actions usually do not lock your history.
Try the same action on a second image before running it on anything important. That two-minute habit has saved more shoots than any other habit in this guide.
4. Record a Photoshop Action
Hit the red circle to create a new action. Give it a name that describes the result rather than the steps, something like Social square 1080 sharpened rather than layer resize mask blur. You can also assign a function key right here in the New Action dialog, which saves you opening the panel every time.
Press record, then perform your edits exactly as you would by hand. Every menu command, adjustment layer and tool operation gets logged with the settings you used. When you finish, press the square to stop. Your action is saved into the selected set immediately.
Two habits keep recordings clean. First, flatten nothing and delete nothing: instead of erasing the background, hide it. Second, record the action on a document of the same size and layer structure as the files you will run it on later.
5. Control Playback with Stop Commands
An action plays straight through with no questions asked, which is exactly what you want on a batch and exactly what you do not want while learning. Insert Stop is the pause button.
Select the command in the action’s list where you want a pause, click the panel flyout and choose Insert Stop, then save the action. When that action plays later, Photoshop freezes on a dialog asking whether to continue, play the remaining commands, or stop.
Use it for anything you cannot predict: a layer named Subject that may not exist on every file, a blend mode you might want to change, a filter with a radius you want to set per image, or a save step where the destination folder differs. I use one stop in almost every action I record.
Delete a stop the same way: click the command before it, choose Delete from the flyout menu, and save.
6. Edit and Test an Action
Click Edit Mode in the panel flyout to open the recorded command list. Each row toggles on and off with its checkbox, so you can disable the sharpening step and run the rest without rebuilding anything.
Use it as a diagnostic. If an action produces a colour shift, switch off one command at a time and play again; the moment the shift disappears tells you exactly which step caused it.
Other panel commands worth knowing: Duplicate makes a copy so you can try a variation, Play runs the selected action only, Play from the set folder runs everything inside it in order, and Record lets you add steps to an existing action mid-way through. Right-click any action to change its colour group, which is how the built-in sets stay organised.
7. Save and Reuse the Action
Actions live in folders, not in your document. Photoshop’s default location is the Presets folder inside the Adobe folder under your user directory. On Windows the path is C:Users[your name]AppDataRoamingAdobeAdobe Photoshop [version]PresetsActions. On Mac it is ~/Library/Application Support/Adobe/Adobe Photoshop [version]/Presets/Actions.
Anything you record is saved to that folder automatically. To move your work to another machine or share it, drag the action set folder out of that directory and send the folder, or use Save Actions from the panel flyout to write a single .atn file you can load on any compatible version of Photoshop.
For the multi-file version of this workflow, combine actions with File > Automate > Batch, or drag an action onto the desktop to create a droplet you can drop files onto. If you mostly need resize-and-save with no other editing, the Image Processor command under File > Automate does that job faster than an action and asks for your settings each run.
Common Mistakes
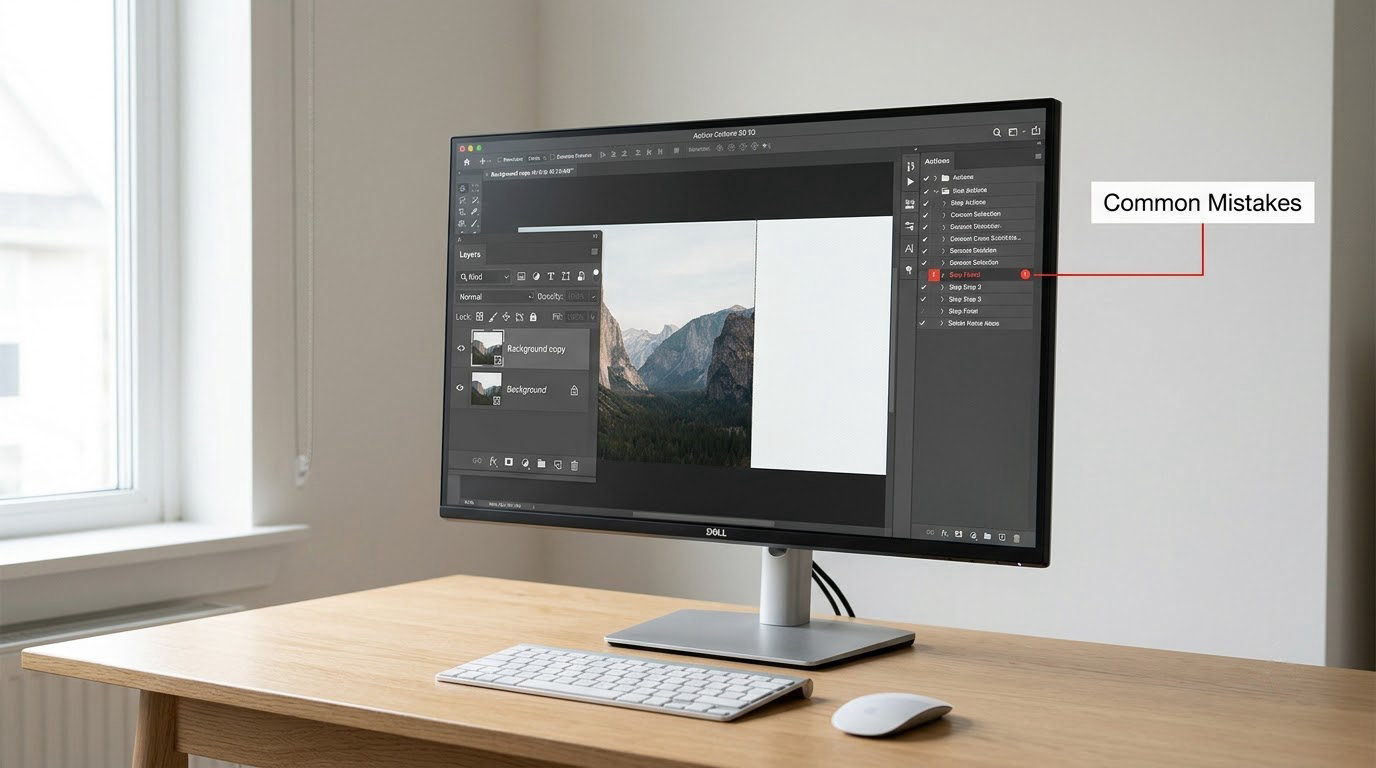
Almost every action problem comes down to one of six things.
| Symptom | Cause | Fix |
|---|---|---|
| The action is missing from the panel | The set was loaded from a different folder, or Photoshop has not been reopened since a manual folder copy | Load the .atn again through the panel flyout, then restart Photoshop if it still does not show |
| The action stops partway with a red X | A recorded command failed on this file, often a layer or selection that does not exist | Play in Edit Mode, disable the failing command, or add a stop before it so you can correct the layer by hand |
| Colours shift on some images but not others | An adjustment layer was recorded with a soft blend mode or an opacity set for a different image | Re-record the step with a neutral blend mode and a lower opacity, then compare two files |
| Nothing visible happens | The new layer is hidden, below another layer, or behind a mask that was baked into the recording | Check the Layers panel after playing; drag the action result above the image and set opacity to 100% |
| Undo does not restore the original | A history state was set during playback, or too many actions played in one session | Duplicate the file before testing and close without saving; on long batches use a copy, not your only original |
| It works on the recorded image only | The action depends on a specific layer name, canvas size or an open dialog | Record on a duplicate of the file type you will batch, and add a stop where sizes differ |
Long-time users have mixed feelings about the refreshed Actions panel, and one recurring complaint is that undo behaves oddly right after a play. That is usually the history state being set during playback, not data loss. If a run went wrong, close the file without saving and work from the copy.
On downloads, treat any site offering free Photoshop actions with suspicion. Adobe’s built-in sets need no download at all, and creators like PiXimperfect publish their own actions on their own sites. If a pack asks you to disable antivirus protection, that is your answer.
Frequently Asked Questions
Where are Photoshop actions stored?
Actions live in the Presets folder inside your Adobe user directory, in a subfolder called Actions. On Windows the path ends in AppData/Roaming/Adobe/Adobe Photoshop [version]/Presets/Actions. On Mac it is ~/Library/Application Support/Adobe/Adobe Photoshop [version]/Presets/Actions. Anything you record saves there automatically, and dropping an .atn file into that folder makes it appear the next time Photoshop opens.
Can I use the same Photoshop action on multiple images?
Yes, and that is the main reason to record one. Open each image and press play, or use File u0026gt; Automate u0026gt; Batch to run the action across an entire folder without opening anything. The closer the new image matches the one you recorded on, in canvas size and layer names, the more predictable the result. Where they differ, add a stop so you can adjust before the action continues.
Why does a Photoshop action change my colours unexpectedly?
It usually means a step was recorded with a blend mode or opacity tuned to one specific image. A Soft Light layer at 60 percent looks natural on a bright frame and heavy on a flat one. Re-record that step using a neutral blend mode such as Normal or Color Dodge at a lower opacity, then compare the action on two very different images before trusting it with a client batch.
How do I stop a Photoshop action halfway through?
Press the square stop button in the Actions panel and the run halts immediately, leaving earlier steps applied. To build that pause into the action itself, select the command where it should happen, open the panel flyout menu and choose Insert Stop. When played, the action will pause and offer to continue, play only the remaining commands, or stop, which is how you keep per-image decisions inside an otherwise automatic run.
Are third-party Photoshop action files safe to install?
An .atn file is not executable code, so it cannot install a virus, but it can contain recorded commands that overwrite, delete or flatten your work. Read the creator, check whether they link to their own site, and never disable antivirus protection to install one. Any action that warns it is for a specific Photoshop version should be treated as untested. Running unfamiliar actions on a duplicate costs nothing.
Can Photoshop actions record every editing command?
No. Actions log most menu commands, tool operations and panel adjustments, but open documents, paths and the contents of a selection do not record reliably, and dialogs that need a decision will block playback until you answer. Navigation actions like Fit on Screen are deliberately not recorded. Anything that depends on a specific canvas size or layer name needs a stop command if you want control over it later.
Start with One Small Action
Record one action today: resize a copy to a square social size, sharpen it with Unsharp Mask, save it as a flattened file. Keep it on a separate layer so nothing destructive happens, and add a stop where the file format matters.
Test that on two different photos before you build anything more complicated. Once it works, the second action writes itself, and a personal set of five or six does more for a delivery workflow than any downloaded pack. If you want the surrounding skills, start with how to use blend modes in Photoshop and adding texture to a photo, then making a photo look like a painting, since actions replay every one of those steps exactly.