

Short answer: Capture One wins for tethered studio, fashion and product work, where precise manual color control and a session-based workflow matter more than anything else. Lightroom wins for catalog-heavy editing, AI masking, cloud and mobile access, and anyone already living inside the Adobe ecosystem. Neither produces a measurably better RAW file.
Both programs are non-destructive RAW developers that read the same file and give you a different starting interpretation of it. The choice is really a choice about how you want to work, organize and deliver photographs for the next several years, not about image quality in the abstract.
Table of Contents
- Capture One vs Lightroom at a Glance
- What Is Capture One Best At?
- What Is Lightroom Classic and Lightroom Best At?
- How Do RAW Editing and Adjustments Compare?
- Which Has Better Color and Black-and-White Tools?
- How Do Tethering and Live View Workflows Compare?
- Which Is Easier to Learn and Use?
- How Do Pricing and Subscription Options Compare?
- Which Should You Choose?
- Frequently Asked Questions
- Conclusion
Capture One vs Lightroom at a Glance
The table below is the short version. Features change between versions, and licensing differs by country and region, so treat every row as a description of the general approach rather than a promise about a specific build.
| Criterion | Capture One | Lightroom | Leaning toward |
|---|---|---|---|
| Best fit | Studio, fashion, product and commercial photographers who shoot tethered | Wedding, event, travel, wildlife and high-volume hobby shooters | Depends on genre |
| RAW development | Contrastier, more saturated default render; manual control first | More neutral default render; strong automated tools layered on top | Depends on taste |
| Organization model | Sessions and folders on disk, plus a catalog index | Single searchable catalog database, backed by cloud sync | Lightroom |
| Tethering | Built for live studio work, with C1 Connect and per-camera session control | Tethered capture exists, but it is not the design centre of the program | Capture One |
| Color tools | Color Tools panel with color wheels, Color Mixer, Point Color, and per-photo color grading | Color Mixer, Calibration panel, Advanced Color Editor and a Skin Tone slider | Capture One for manual work, Lightroom for speed |
| AI features | Smaller, more selective set; more of the work is done by hand | Deep AI stack: masking, Denoise, Generative Remove, Super Resolution, depth effects | Lightroom |
| Collaboration | Session folders that a retoucher can open directly; optional review tools | Shared catalogs, cloud sharing and review features in the cloud app | Depends on team setup |
| Learning curve | Steeper. More concepts to learn before it feels fast | Gentler. Fewer panels doing similar jobs, with guided tools | Lightroom |
| Licensing | Historically a perpetual license option, alongside annual plans | Subscription, with different apps included at different tiers; Classic is a separate product | Depends on how long you plan to shoot |
| Platforms and mobile | Desktop only, on macOS and Windows | Desktop plus mobile and tablet apps, with cloud-linked catalogs | Lightroom |
| Known gaps | No mobile app, no real cloud workflow, no Hasselblad RAW support, steeper interface | Subscription dependency, flatter default rendering, weaker tethered experience | Both have gaps |
What Is Capture One Best At?
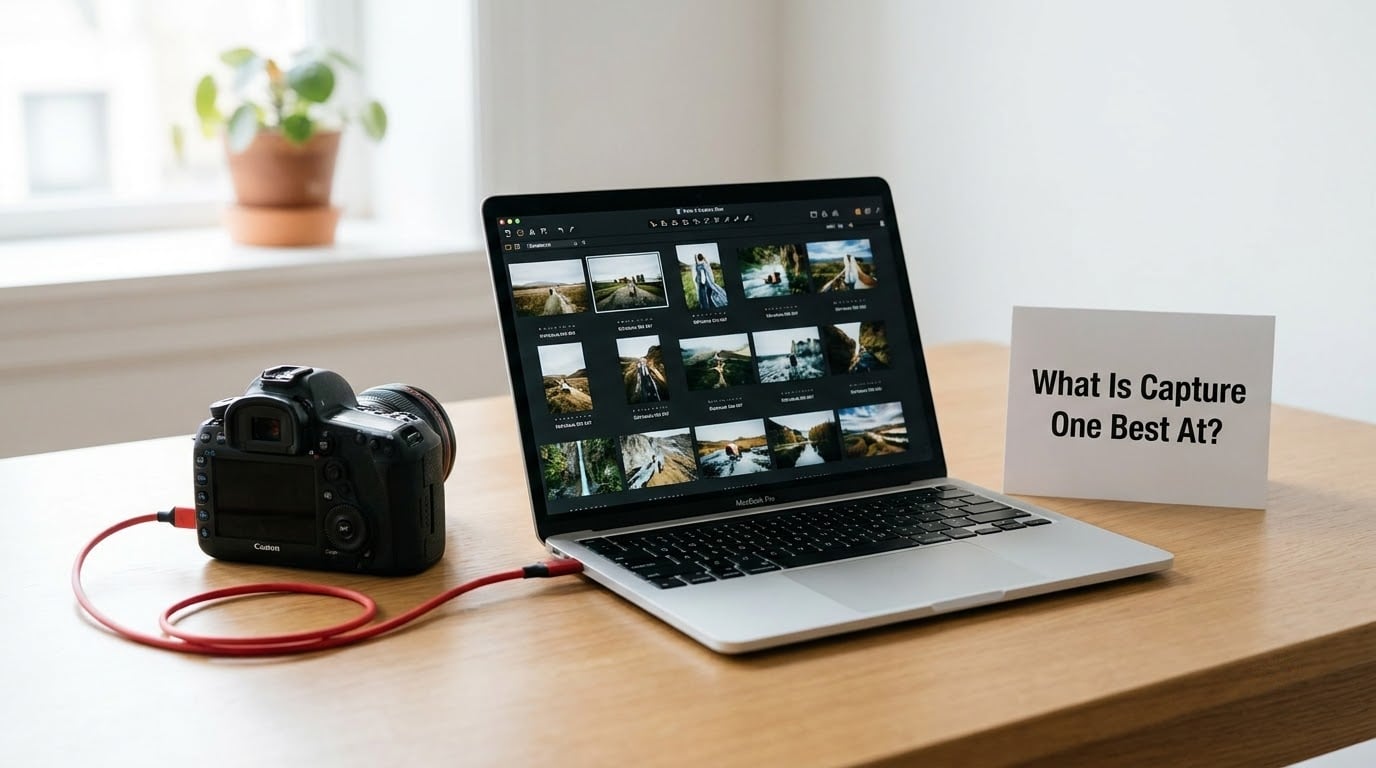
Capture One was designed around a specific job: a photographer sitting in a studio, tethered to a camera, culling a set of frames on a large display while a client waits.
Its tethered tools are the clearest example. C1 Connect handles camera connection and session control, live view can be driven from the program on supported bodies, and the grid layout gives you a full session on one screen with the tools you need to rank, flag and move frames quickly. Capture verification, focus and trigger behavior, and on-screen overlays are all part of that studio loop rather than an afterthought bolted on later.
Color is the second strength, and it is a manual one. The Color Tools panel puts color wheels, a color balance triangle and tint controls in front of you, and the Color Mixer and Point Color tools let you shift a single hue family in a specific range without touching the rest of the frame. For a product shoot where the client insists the packaging red is wrong, that is worth a lot more than an automatic slider.
Take a fashion session as an example. You shoot 400 frames tethered, cull to 30, adjust the color on a chosen frame by hand, then apply that look to the rest with copy-paste or a style. Capture One handles that sequence without leaving the program. The same session in Lightroom is possible, but the tethered half of it will not feel as purpose-built.
The tradeoff is honest: there is no Capture One mobile app, no meaningful cloud editing, and no Hasselblad RAW support. It is a desktop tool that expects you to be at the desk when you use it.
What Is Lightroom Classic and Lightroom Best At?
Lightroom is where most photographers meet RAW editing, and the confusion starts with the name. There are two products sharing it.
Lightroom Classic is the traditional desktop program most people picture: a local catalog database on your own drive, with full-resolution files on disk and no cloud dependency for basic editing. Lightroom, the newer cloud-first app, uses a different catalog model where files are managed in the cloud, and the two do not share a catalog directly. Many working professionals keep Classic for local editing and open the cloud app for sharing, delivery and quick edits on the move.
So the right Lightroom option depends on your editing setup rather than on a feature checklist. If your originals live on your own drives, you edit from a desktop, and you want the catalog to keep working offline, Classic is the closer fit. If you shoot on a phone, hand off images to a client, or work from more than one computer, the cloud app earns its place.
Where Lightroom is genuinely strongest is the catalog. Search, keywords, collections, culling flags and face detection live in one database that handles decades of images without asking you to restructure folders. Batch editing with copy-paste settings, sync across devices, and delivery to clients are all well-trodden paths.
The AI stack is the other half. Subject masking, people masking, Select Sky, Select Subject, AI Denoise, Generative Remove, Super Resolution and depth-based blur effects are the reason a lot of photographers never look past Lightroom. They are the fastest route to a decent result on a large edit, and Adobe ships them faster than most competitors.
Photoshop integration is a practical point too. One-click round trips, smart objects, and stack-based compositing make Lightroom the natural front end if your business already runs on Creative Cloud.
How Do RAW Editing and Adjustments Compare?
Both programs read the same RAW data and neither recovers detail that was never recorded. The visible difference between them comes from the default render: Capture One starts with more contrast and depth, Lightroom starts flatter and more neutral, and you adjust from there.
Highlight and shadow recovery
Both handle blown highlights and blocked shadows well, and both are non-destructive, so you can go back at any time. Lightroom tends to hold a smoother, more predictable roll-off on a difficult high-contrast frame, which is why it batches more consistently. Capture One’s default is punchier, so a raw file can look more recovered on screen before you touch anything, then need less work after.
For a mixed set shot on a backlit wedding, Lightroom’s predictability saves time. For a controlled studio frame with known lighting, Capture One’s starting point usually needs fewer corrective moves.
Masking, local adjustments and denoising
This is the widest gap. Lightroom has the faster tools: paint a broad mask, let Select Subject or Select Sky refine it, then adjust inside it. AI Denoise handles high-ISO files with a single checkbox, and Generative Remove cleans up distractions without cloning.
Capture One takes a more precise route. Local adjustments, linear gradients, brush masks and a layer stack with blend modes and opacity give you fine, repeatable control, but the masks are things you build rather than things the program guesses for you. A user on the Capture One subreddit put it plainly: Capture One is the more powerful tool when the work is color and skin, and the organization is not as good.
Noise reduction exists in both. Lightroom tends to be the one you apply quickly; Capture One’s manual approach can be more surgical on a specific area, at the cost of time.
Capture One vs Lightroom for daily panel work
When the work is a hundred frames of a single setup, Lightroom’s guided tools and preset system move faster. When the work is one frame that has to be exactly right, Capture One’s layered, manual path gives you more room. Most hybrid photographers end up using both: a Lightroom catalog for the library, Capture One for tethered studio jobs.
Which Has Better Color and Black-and-White Tools?
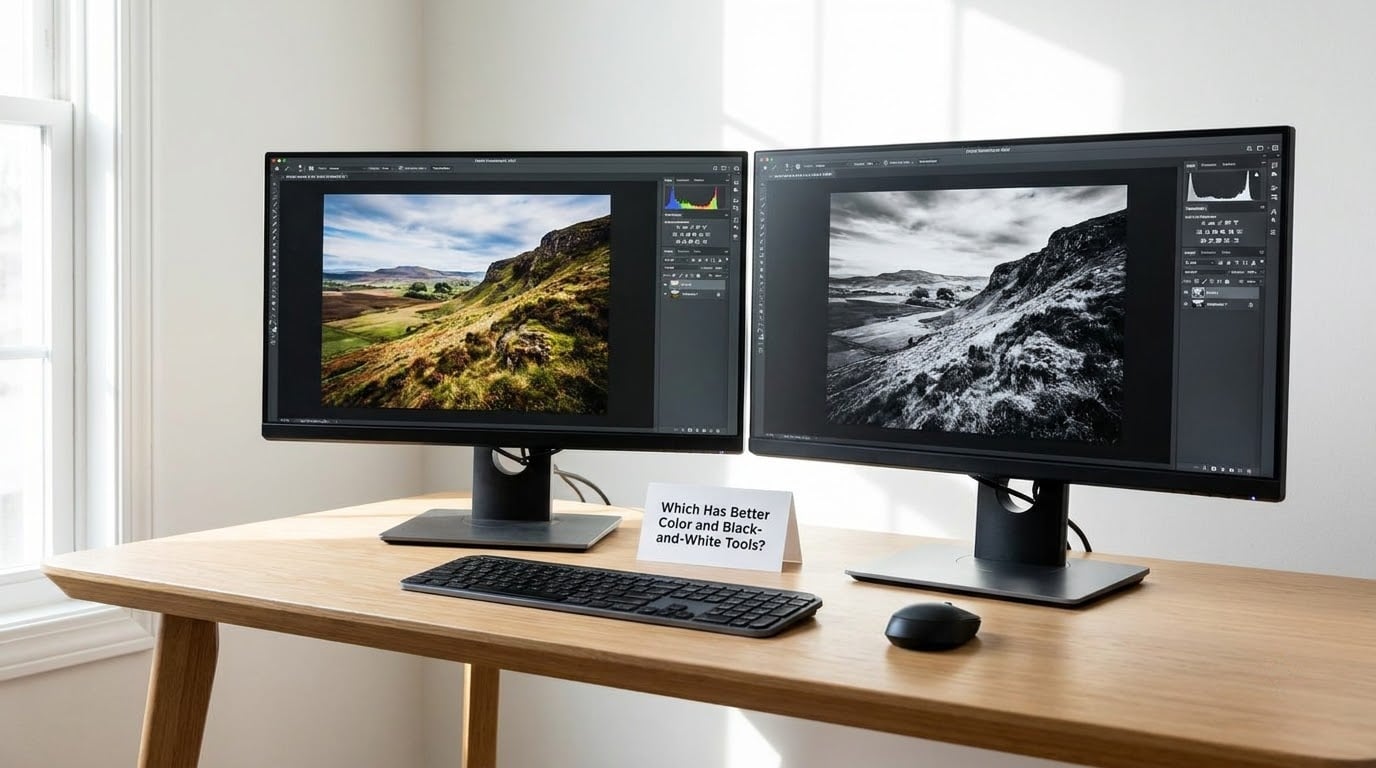
For color, both programs now offer real wheels rather than old-school channel mixer sliders. Capture One’s Color Tools group is more exposed by default, so a colorist can reach for a wheel without digging, and the Color Mixer and Point Color tools target specific hues and ranges inside the frame. Lightroom concentrates the equivalent power behind the Calibration panel and the Advanced Color Editor, with a Skin Tone slider that shifts tones in a targeted band.
Three examples make the difference concrete. On a portrait, Capture One’s wheels make it fast to pull red out of skin while keeping a warm background; Lightroom’s Skin Tone slider and Color Mixer do the same job with fewer steps. On a product photograph, both handle neutralizing a dominant color cast, and Capture One’s range-specific tools make it easier to fix one object without shifting the set. On a fine-art monochrome conversion, both offer detailed black-and-white mix controls, and a Capture One layer stack with blend modes gives more room for a printed, gallery-facing image than a single adjustment panel does.
One historical note worth knowing: on a dpreview forum thread, a user comparing the two on Fujifilm .RW2 files concluded that Lightroom had produced results as good as Capture One for some time, and that Lightroom is simpler to use. The gap narrows as versions move, so treat older comparisons with suspicion.
Verdict: if you want to dial color in by hand, Capture One. If you want to move quickly with a Skin Tone slider and a point color picker, Lightroom.
How Do Tethering and Live View Workflows Compare?
Tethering is the clearest functional difference between the two programs.
Capture One is built around it. Camera connection, session control and live view are first-class, and the grid layout is built for reviewing a large batch on one screen. Capture verification means a client can see frames as they arrive, which is why the tool is common in portrait, fashion and product studios where the photographer is often standing next to a client.
Lightroom can tether too, on supported camera bodies, with live view control and grid overlays. What it does not do is make the tethered session the centre of the program the way Capture One does, and experienced studio photographers consistently report that the Capture One experience is smoother under a full day of live shooting.
Some versions add or change tethering features, camera support and live view behavior, so check the release notes for the version you are running and the camera body you shoot with before committing. Bodies supported for tethering differ between the two programs, which is worth verifying early if your studio camera is not a mainstream DSLR or mirrorless model.
For on-location work, tethering matters less. Outdoors, on a laptop in a café, or on a wedding shoot, the catalog, the mobile apps and the AI tools decide the day, and that is Lightroom’s territory.
Which Is Easier to Learn and Use?
Three different answers, depending on who is learning.
For a first-time editor: Lightroom. The interface has fewer overlapping panels, the import process is straightforward, and the guided tools do more of the work for you. Most beginners reach a finished edit in an afternoon. Capture One asks you to understand sessions, catalog structure, tool space and color tools before it feels efficient.
For an experienced Lightroom user: Capture One is a real curve. The concepts are different rather than merely harder: sessions versus catalogs, a more technical tool layout, and a color workflow that assumes you know what you are adjusting. People who switch usually report the same thing, that Capture One is more powerful but more cumbersome, and that the speed arrives only after a few weeks.
For a professional studio team: Capture One, if you shoot tethered. Sessions are folder-based, which makes it easy to hand a client or retoucher a directory of files and adjustments. For teams that live in Creative Cloud and deliver through the cloud, Lightroom’s shared catalogs and review features win instead.
Migration runs the other way too, and it is worth planning for. Moving a Lightroom catalog into Capture One means choosing a session structure and reorganizing how files sit on disk, which is the single most-cited switching blocker in photographer forums. Presets and styles do not translate one-to-one either, so expect to rebuild a look library on the other side.
Keyboard control and interface customization go deep in both programs, and both let you rearrange panels. That is an advantage for professionals and irrelevant to beginners.
How Do Pricing and Subscription Options Compare?
Neither company publishes prices that stay fixed, and Adobe in particular changes tiers often, so check the official US product pages before you decide. What matters is the shape of the deal, which is stable enough to plan around.
| Aspect | Capture One | Lightroom |
|---|---|---|
| Purchase model | Annual subscription plans, with a perpetual license option traditionally offered for a one-time purchase | Subscription, tied to a Creative Cloud or standalone plan; Lightroom Classic is licensed separately from the cloud app |
| Updates | Perpetual license holders have historically received a defined upgrade path, such as an upgrade year, rather than every future version | Updates and new AI features arrive with the subscription; some older releases keep working offline |
| What is bundled | Straightforward: the editing program, with camera and lens support listed by version | Different tiers include different apps, and the cloud Photography plan bundles Lightroom with cloud storage and mobile editing |
| Account requirement | Account needed for licensing and for the tethered tools that communicate with camera software | Adobe account required; cloud features, sync and mobile editing all depend on it |
| Storage and sync | Local files and folders; no cloud editing or mobile access to speak of | Cloud-backed library, sync across devices, and mobile and tablet apps |
| If you stop paying | A current perpetual license keeps working; a subscription lapses | Editing on the desktop continues in the short term, but cloud access, sync and mobile editing stop |
| Best for | Photographers who want to own their tool and work offline at the desktop | Photographers who want AI tools, cloud delivery and the wider Adobe ecosystem on one bill |
One practical note. If you already pay for Creative Cloud for Photoshop, adding the Photography plan is usually the cheaper path into Lightroom than a standalone plan, and the reverse is true for people who only shoot tethered. That single question, not the sticker numbers, decides the cost comparison for a lot of professionals.
Which Should You Choose?
Pick by workflow, not by image quality.
Choose Capture One if you shoot tethered in a studio, work in fashion, product or commercial retouching, want manual color control above all, or prefer owning your software with a local session structure. Choose Lightroom if you shoot weddings, events, travel or wildlife, lean on AI masking and Denoise, need mobile and cloud access, or already pay Adobe for Photoshop.
Choose Lightroom Classic specifically if you want a desktop catalog that keeps working without a cloud connection. Choose the cloud Lightroom app if you edit on a phone or tablet, share libraries, or hand off client galleries from anywhere.
There is also a third option that experienced photographers mention more than any other: use both. Keep Lightroom as the library and delivery layer, and open Capture One for tethered studio sessions. The only cost is learning two programs.
Your first step, whichever way you go: pick an important project, import the same representative RAW files into both, run the same edit in each, and time yourself on the tasks you actually do every week. Tether a body for an afternoon if you shoot that way, and pull a random set of 200 images from your archive and try to find a specific one. The trial periods exist for exactly this.
Frequently Asked Questions
Is Capture One better than Lightroom for image quality?
No, not in a measurable sense. Both develop the same RAW data non-destructively, and neither recovers detail the sensor did not record. Capture One starts with a contrastier, more saturated default render, so frames often look crisper on screen. Lightroom starts from a flatter, more neutral baseline and offers guided AI tools to speed up large edits. Choose on workflow, not on file quality.
Can Capture One and Lightroom open the same photo catalog?
No. They use fundamentally different structures, and this is the main reason switching is work. Lightroom keeps everything in a single catalog database on your drive. Capture One organizes images into session folders on disk, with a catalog as an index. You can point either program at the same images, but you cannot open a Lightroom catalog in Capture One or read Capture One sessions as a Lightroom catalog, so expect to rebuild your organization.
Which software is better for tethered studio photography?
Capture One, and most studio photographers say so clearly. Its tethered tools are designed around live shooting: camera connection and session control, capture verification so the client can see frames arriving, and a grid layout built for ranking a large batch on one screen. Lightroom can tether on supported bodies with live view control and overlays, but it is not the centre of that program.
Is Lightroom Classic better than Capture One for beginners?
For most beginners, yes. Lightroom Classic has fewer overlapping panels, a straightforward import process and guided tools that produce a finished edit quickly. Capture One has more concepts to absorb, including sessions, catalog structure and a denser tool layout, and experienced users describe it as more powerful but more cumbersome until the speed arrives. Give Lightroom Classic a month before deciding you need something more technical.
Can I use Capture One or Lightroom on macOS and Windows?
Both run on macOS and Windows, so your choice is not decided by operating system. What does differ is everything around the desktop: Capture One is desktop-only, with no mobile app and no cloud editing, while Lightroom adds phone and tablet apps, cloud storage and sync. If you shoot and deliver from a phone or travel between computers, that difference matters more than the platform.
Conclusion
Capture One vs Lightroom is not a fight over image quality. It is a choice between a manual, session-based, tethering-first tool and a catalog-based, AI-assisted, cloud-connected one. Photographers working in a studio under a client’s eyes tend to land on Capture One; photographers editing thousands of frames across years, or on the road with a phone, tend to land on Lightroom.
Before subscribing, do the unglamorous test. Import an important project into both, run one representative RAW file through the same edit, and time the two tasks you repeat every week. If you shoot tethered, tether for an afternoon and count the friction. Then pick the one that fits how you already work, rather than the one with the longer feature list.