
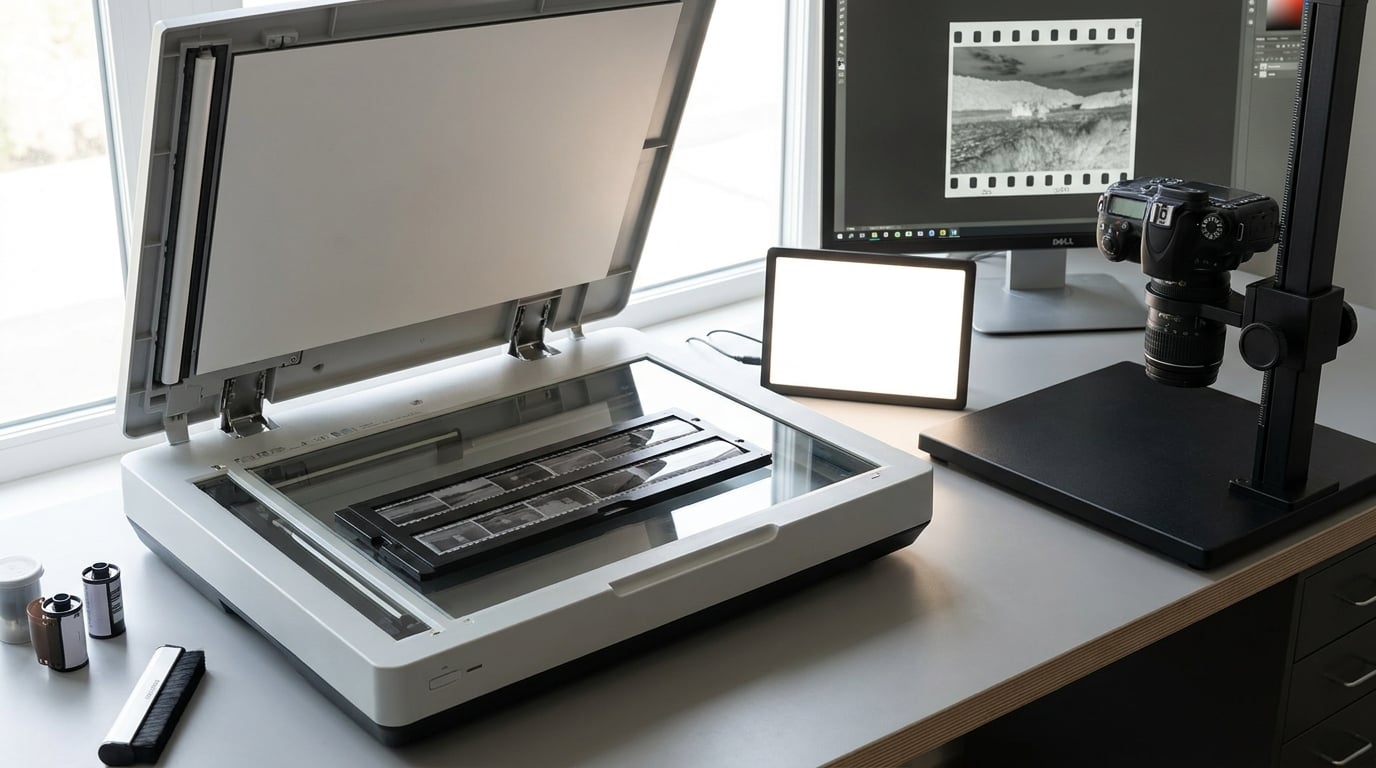
Scanning film negatives takes three routes: a flatbed scanner fitted with a transparency unit, a DSLR or mirrorless camera on a copy stand, or a phone held over a light source. Whichever you pick, the workflow is the same: identify the film, clean it, get the right side facing the sensor, preview, then capture at a resolution that matches what you plan to do with the file. Here is how to scan film negatives properly, step by step, whether you are digitizing a shoebox of family pictures or backing up your own rolls.
For most people the whole job takes about a minute or two of attention per frame once the setup is built, and the setup itself is an afternoon’s work. Nothing here is difficult, but the order matters. Skipping the preview is how people end up rescanning a whole roll because the film sat upside down.
Table of Contents
- What You Need
- Step-by-Step: How to Scan Film Negatives
- Common Mistakes
- Frequently Asked Questions
- Can a regular flatbed scanner scan film negatives?
- What resolution should I use to scan film negatives for printing?
- Should I scan color negatives as RGB or grayscale?
- How do I remove small dust spots and scratches from a negative scan?
- What is the difference between a negative scan and a photographic print?
- Can damaged or faded film negatives still be scanned?
- Conclusion
What You Need
The short answer on equipment: you need a light source brighter than daylight, a sensor you can point at film, and a way to hold the film flat and still. Everything else is comfort.
Required
- A film-capable scanner or camera. A flatbed with a transparency unit or a dedicated film attachment lights the negative from above and pulls it against the platen. A camera on a copy stand, tripod, or tall-enough table works just as well. A phone camera also counts.
- A negative holder or mask. This is a thin tray or cardboard cutout that frames one 35mm frame, a strip, or a 120 frame so light from the lens or scanner cannot spill onto the surroundings.
- A clean handling surface. A large, lint-free cloth or a light table with a glass top. A soft brush and a bulb blower for dust. Nitrile gloves if you are handling unprocessed film.
- Inversion software. Film scanners that speak raw negative formats often do the conversion for you. Camera setups need separate conversion software, plus an editor for cleanup and colour work.
Optional but useful
- A high-CRI LED light panel or a daylight-balanced scanning light source, rather than a household lamp with a warm colour cast.
- A two-second self-timer or a remote shutter release, so your hand never shakes the camera at the moment of exposure.
- A small spirit level to confirm the camera sensor sits parallel to the film.
- Negative cleaning fluid rated for the specific film type, if the negatives are dirty rather than merely dusty.
On software, worth knowing who does what. Dedicated film-scanning drivers such as VueScan handle the raw negative conversion and let you save a settings file so every roll in the same film type scans identically. Negative Lab Pro converts a camera RAW file into a positive image and lets you sample the unexposed edge of the film for colour correction, which is why so many people land on it. For editing afterwards, anything that reads 16-bit TIFF will do.
Step-by-Step: How to Scan Film Negatives
1. Identify the Negative Type and Intended Use
Hold the strip up to a light and look at it before touching anything else. Colour negative film looks orange or brown, because that orange mask is part of how the dyes are balanced. Black and white negative film looks grey to clear with dark areas where the image is dense. Reversal film, sold as slides, is already a positive image and looks like a finished photograph, with the sky usually blue.
That distinction decides your workflow. Colour negatives and black and white negatives both need inverting. Reversal film does not, and scanning it as a negative will produce an unusable image.
Next, decide what the files are for. If the goal is an archive that survives on a hard drive for decades, resolution matters less than a lossless master and honest colour. If you want to print at 20 by 30 inches, resolution is the whole ballgame. If you are scanning family negatives mainly to look at them and share them online, 2000 to 3000 pixels per inch is plenty and the files stay manageable.
2. Inspect and Clean the Negatives
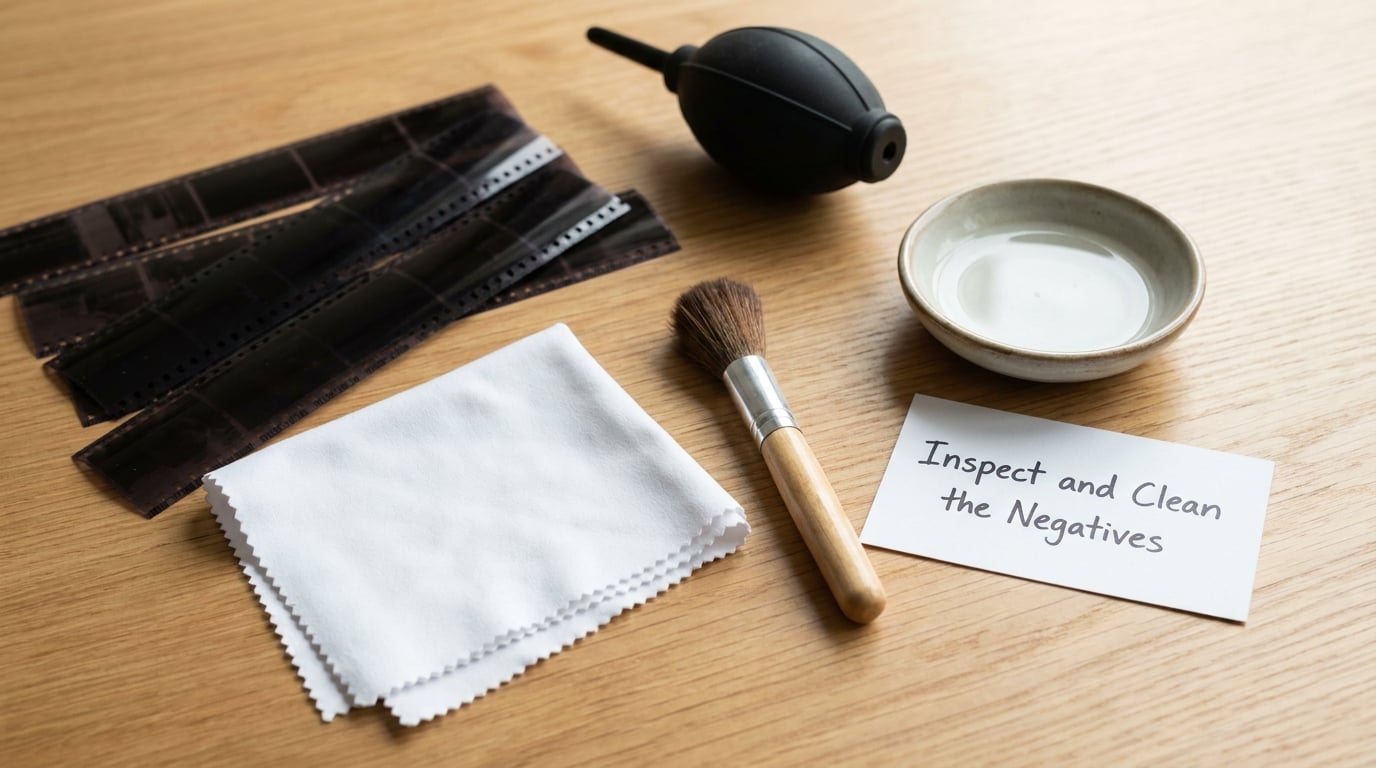
Lay the strip on the clean cloth and read it end to end with the light behind it. You are looking for two things: physical damage such as cracks in the emulsion, curled edges, or a sticky patch, and simple dirt such as fingerprints and dust.
For dust, the blower does most of the work. Hold the strip edge-on and blow dust off from the side so it lifts away rather than being pushed along the frame. Follow with the soft brush, moving in one direction only.
For grime, put cleaner on the cloth, never on the film, then draw the base side of the strip across the damp area. Wipe dry with a second clean cloth and let it air dry fully before it goes near a platen or a holder. Do not dip film in a tray of fluid unless the film type and the fluid are explicitly rated for immersion, and do not use a household glass cleaner.
Cracked or curling negatives are common in boxes from the 1950s through the 1970s. Keep them at a steady room temperature, handle them as little as possible, and scan them before anything else in the box.
3. Prepare the Scanner and Software
Start with a clean path. Wipe the scanner glass or the copy stand baseplate with a lens cloth, then check it under a light for dust specks that will otherwise appear on every frame you scan.
On a flatbed, choose the transparency source in the software rather than the default document or reflective setting, and select the correct negative type, positive or negative, and colour or greyscale. A flatbed without a transparency unit will return a black frame or an unreadable dark image, because the document lid blocks the light instead of passing it through the film.
On a camera, set the image file type to 16-bit RGB or RAW, turn off any automatic corrections, and keep the colour space wide. If your software has a working colour space setting, choose Adobe RGB or ProPhoto RGB rather than sRGB, because the wider space leaves room to adjust the colour without clipping.
Load one frame and confirm the software sees the entire frame, edge to edge, before you invest time in the full roll.
4. Set the Scan for the Negative Format
Load the negative into the holder so light passes through it straight to the sensor. The holder masks everything around the frame, which stops the scanner or camera from picking up stray light that would lower contrast.
Orientation is where most people trip. The shiny, smooth side you can often see your reflection in is the base side; the dull, matte side is the emulsion. For a flatbed, place the emulsion side down so it sits against the glass, because the scanner lights from above and a soft emulsion surface diffuses the light more evenly. For a copy stand with the light behind the film, put the emulsion side toward the lens.
Then make a low-resolution preview, maybe 600 to 1200 pixels per inch, and check three things: is the frame square in the preview, is it centred, and is the brightness reasonable. Fix any of those now rather than after capturing the whole roll.
5. Choose Resolution, Color Mode, and File Format
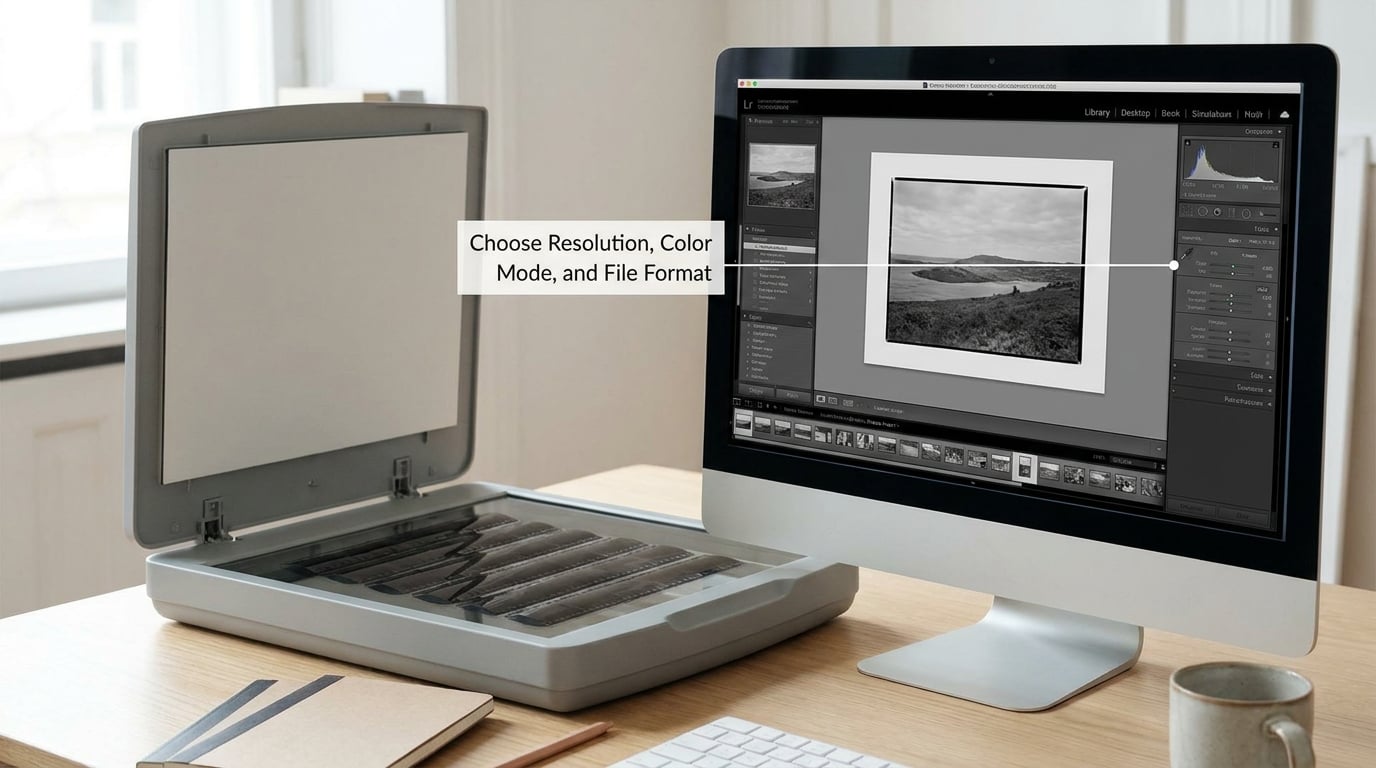
Scan resolution is quoted in pixels per inch, which is different from a printer’s dots per inch. The rule is simple: divide the negative’s width by 25.4 to get its real size in inches, multiply that by your target print resolution, and that is how many pixels wide you need.
A 35mm frame is about 1.4 inches wide. A 6 by 6 centimetre negative is about 2.4 inches. Here is what the common resolutions give you:
| Scan resolution | 35mm frame | 6×6 medium format frame | Good for |
|---|---|---|---|
| 1200 ppi | about 1700 px wide | about 2850 px wide | screen viewing, contact sheets |
| 2400 ppi | about 3400 px wide | about 5700 px wide | web sharing, small prints |
| 3200 ppi | about 4500 px wide | about 7600 px wide | prints up to 8 by 12 inches |
| 4000 ppi | about 5600 px wide | about 9500 px wide | larger prints, cropping room |
Beyond about 4000 ppi on 35mm you are mostly adding file size and scan time, not visible detail.
For bit depth, use 16-bit colour for negatives, or 16-bit greyscale for black and white. An 8-bit scan has only 256 steps per channel and clips the dense shadows and bright highlights that colour negative film stores. Greyscale scanning of a colour negative will throw away colour information you cannot get back.
Save as TIFF for the master. JPEG compresses permanently each time you re-save, and TIFF keeps every bit of data.
6. Scan and Check Focus, Density, and Color
Capture one frame at full resolution and open it before doing the rest. On a camera setup, magnification is set by moving the whole camera up or down, not by turning the lens focus ring, and the frame should fill as much of the sensor as your focus allows. If the edges are soft but the centre is sharp, the camera is tilted: check it with the level and adjust the feet of the copy stand.
Look at the raw capture and judge four things. Sharpness: is fine lettering legible, or is there a general smear? Density: are highlights completely blank and shadows completely black? That means clipping, and those areas cannot be recovered later, so lower exposure or raise the light level and shoot again. Dust: look at the brightest smooth areas in the frame, where specks show most clearly. Colour: on a colour negative the inverted raw file will look orange or cyan, which is normal before conversion.
Fix dust, streaks and colour casts in software with non-destructive adjustments. Do not go back and physically clean the film again for a few specks, and never apply aggressive sharpening to hide a soft scan. Sharpen once, at the end, on a copy.
7. Edit, Export, and Organize the Final Scans
Work in a restrained order. Invert the image and neutralise the colour cast first, using the unexposed edge of the film as your reference if your software supports it. Then set levels or curves so the histogram spans the full range without clipping. Then clean dust. Then sharpen lightly. Turning the cleanup tools up before the tone curve is set is what leaves strange smudges on faces.
Keep the unmodified capture exactly as it came off the scanner or camera. Every correction belongs on a copy, so you can go back if you decide the grade was wrong in six months.
Name files so they sort usefully: roll-frame-date style names, for example portra400-1998-07-12_14.tif. Build a folder structure by camera or year, and keep the master scan, the edited version, and the delivery copy in separate places or clearly separate subfolders. Once you have a roll you like the look of, save the scanner settings or the conversion preset so every roll of that film type matches.
Then back the masters up in at least two places. A single hard drive is not an archive.
Common Mistakes
Scanning with a plain document lid. The film comes out black or the software reports an empty frame. Correction: use a transparency unit, a camera setup, or a dedicated film scanner.
Loading the negative the wrong way round. Results look flat and hazy, and dust shows up in a strange pattern. Correction: put the matte emulsion side toward the light source, then check with a preview.
Dirty glass. Every frame has the same specks in the same place. Correction: clean the platen or baseplate before the session, not midway through.
Copying the scanner’s preset instead of choosing the negative source. You get an orange or cyan cast that is really an inversion error. Correction: set the source and negative type manually every session.
Scanning colour negative as greyscale. All the dye information is discarded at capture, not later. Correction: use 16-bit RGB, and greyscale only for true black and white film.
Rough dust removal on grainy film. Automatic dust and scratch filters read grain as defect and smear faces. Correction: set the dust threshold by hand, or spot-clean with the healing tool.
Over-sharpening to rescue a soft scan. You get halos along every edge. Correction: fix focus and parallelism, then sharpen once at low strength.
Saving only JPEGs. Each export loses a little more. Correction: keep a 16-bit TIFF master and export a compressed copy for sharing.
Reusing one file name for the whole roll. You cannot tell frame 12 from frame 34 later. Correction: number your filenames as you scan.
Frequently Asked Questions
Can a regular flatbed scanner scan film negatives?
Only if it has a transparency unit or a dedicated film attachment that lights the negative from above. A document-only flatbed blocks the light and gives you a black or empty frame. If you want to use a flatbed you already own, check the manual for a transparency or film holder option, or buy a separate film-scanning attachment. Otherwise a camera on a copy stand is the common upgrade path.
What resolution should I use to scan film negatives for printing?
Match the resolution to the print size, not to the scanner’s maximum. A 35mm frame is roughly 1.4 inches wide, so 3200 ppi gives about 4500 pixels across and prints well to 8 by 12 inches. For a 6 by 6 medium format frame, 2400 ppi already exceeds 5700 pixels. Below 2400 ppi on 35mm, grain and scanner artefacts start to look worse than the print.
Should I scan color negatives as RGB or grayscale?
Scan colour negatives as 16-bit RGB, because the orange mask and the dyes are all part of the image. Greyscale mode throws that information away at the moment of capture and no later edit can restore it. Greyscale is the right choice only for true black and white film, where it produces cleaner tones and smaller files with no loss.
How do I remove small dust spots and scratches from a negative scan?
Clean the film first with a blower and brush, since spot work is slow. For what remains, use the healing or spot-removal tool on a copy of your master scan, at a small brush size, working on the tone-corrected image. Set any automatic dust filter by hand rather than leaving it on defaults, because on grainy film it mistakes grain for dust and leaves smudges on faces.
What is the difference between a negative scan and a photographic print?
A scan is a digital capture of the original film, so it keeps the full recorded detail and stays at whatever resolution you captured. A photographic print is the film image exposed onto paper, so its quality depends on the enlarger, the paper, and the printing process, and it adds grain and contrast along the way. A scan can be reprinted and regraded indefinitely; a print is a fixed object.
Can damaged or faded film negatives still be scanned?
Usually yes. Faded colour negatives scan fine, though the colours come back flatter and more orange than when the film was new, so expect to do more grading work. Cracked emulsion and curled strips also scan, but handle them at a steady room temperature, hold them by the edges, and scan them before anything else in the box. Where the emulsion has lifted or the film is stuck together, professional restoration is the safer route.
Conclusion
The order that works every time is short: identify the film type, clean the strip, put the matte emulsion side toward the light, make a low-resolution preview, then capture at a resolution matched to your print size and save a 16-bit TIFF master. Do those five things and most of the problems people describe online never come up.
Start with one roll you know well, the one whose pictures you can picture in your head, and check the result against what you remember. That single frame tells you whether your orientation, exposure and conversion settings are right before you commit a whole afternoon to the rest.