
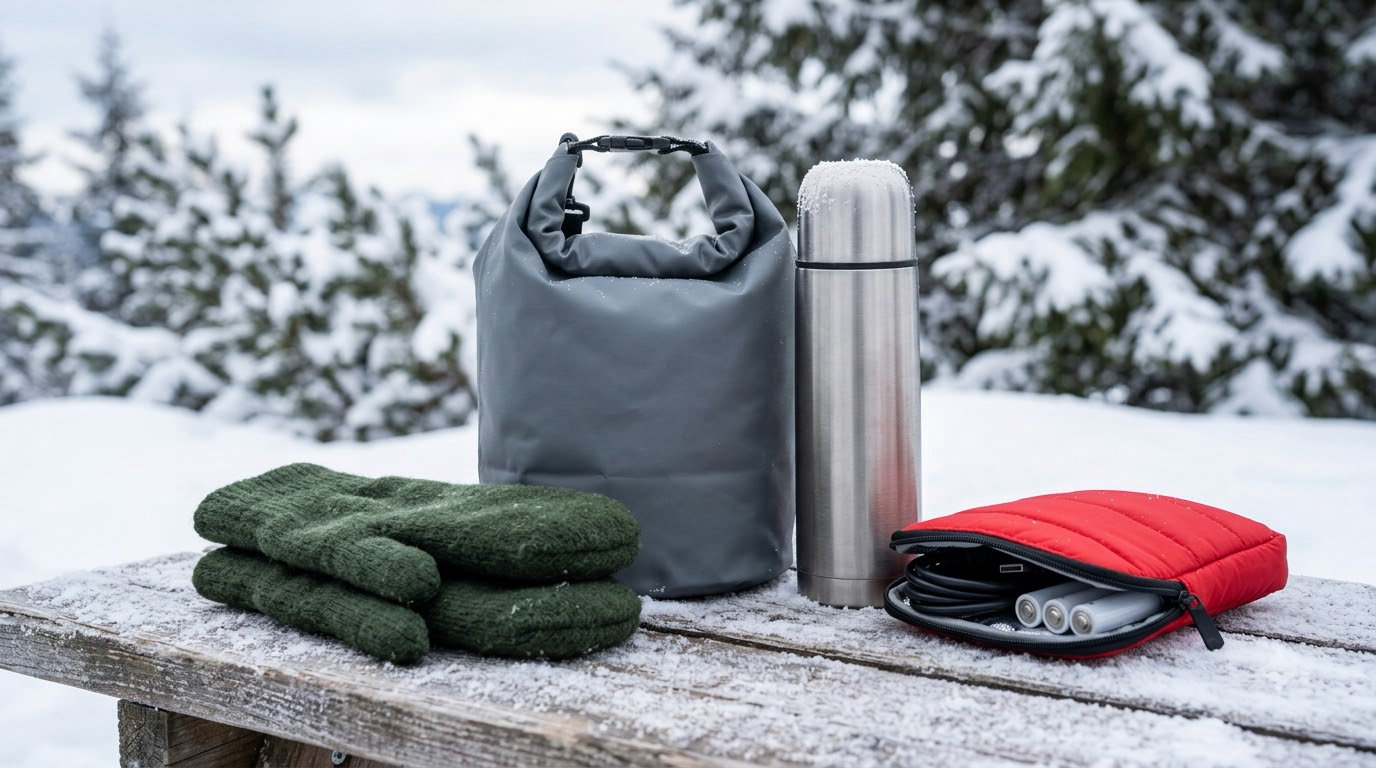
To protect gear in cold weather you have to manage three separate threats: batteries that drain far faster than normal, condensation that forms the moment cold equipment meets warm indoor air, and moisture or frost on the body and lens. The single most important habit takes about ten seconds: seal your camera in an airtight bag before it comes inside, then let it warm up with the bag still closed.
Most cold damage is quiet. Nothing sparks or smokes. A lens fogs on a January evening, you wipe it, and the fungal bloom that grows in that moisture weeks later costs many times more than a dry bag and a spare battery.
Here is the field routine I use, from packing the car at 5am to locking the door on a house at night. It assumes outdoor shooting near or below freezing, which covers winter landscape work, snow, ski resorts, wildlife, astrophotography and outdoor weddings.
Table of Contents
- What You Need to Protect Gear in Cold Weather
- Step-by-Step: Preparing, Shooting, Coming Back In
- Common Mistakes That Cause Winter Damage
- Frequently Asked Questions
- How do I prevent condensation when bringing a camera inside after shooting in the cold?
- Should I remove the camera battery when storing it overnight in cold weather?
- Can I use a cold camera lens in falling snow or rain?
- How should I dry a camera or lens if moisture gets inside?
- Do camera batteries need to warm up before I use them in the cold?
- Is it safe to leave camera gear in a car during winter?
- Final Winter Gear Checklist
What You Need to Protect Gear in Cold Weather
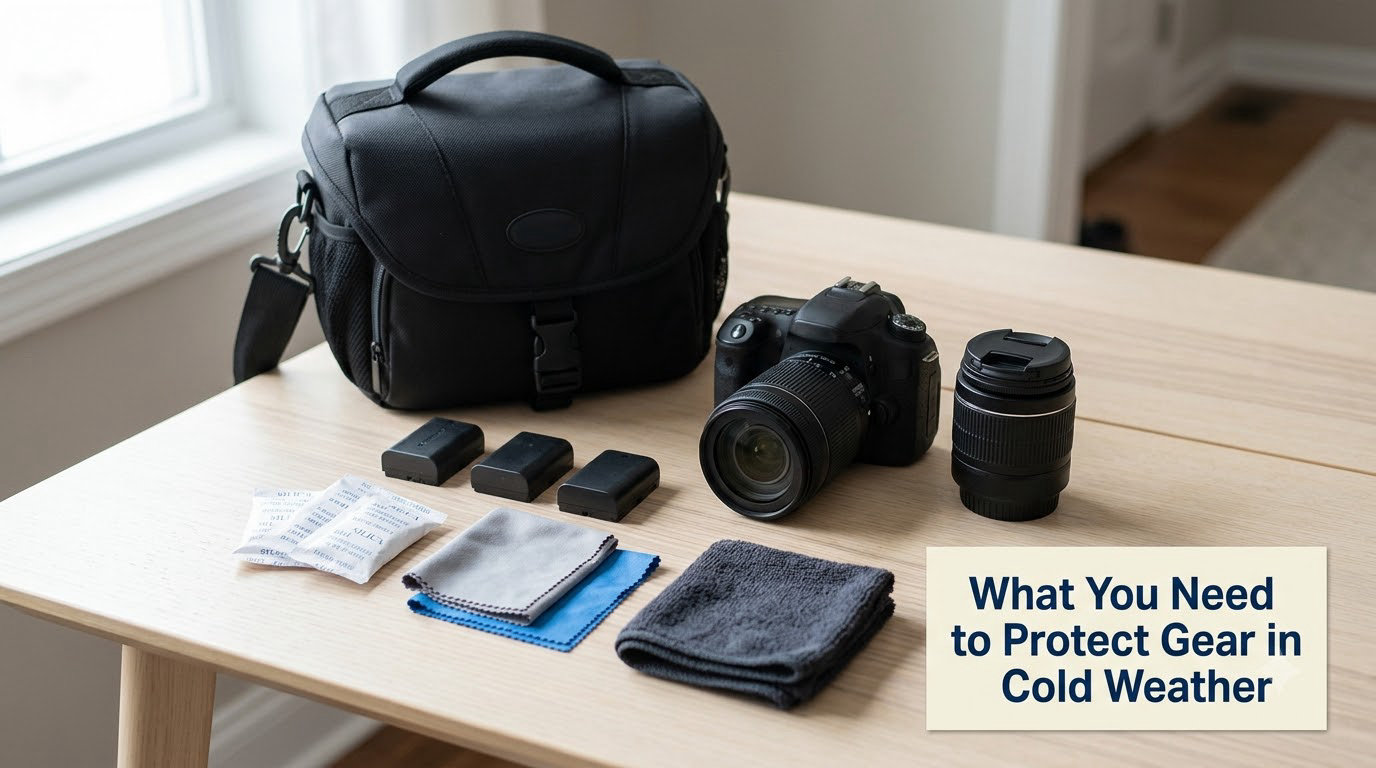
The essentials are few. Everything else is optional, and I have marked which is which, because a heavy kit bag gets left at home more often than a small one gets used.
- Airtight sealable bag (essential). A heavy-duty zip-lock, a roll-top dry bag, or a sealed food tub with a gasket. This is the single item that does the most work. It has to be genuinely airtight and big enough for the whole body plus attached lens.
- Silica gel packets (essential). Two or three desiccant packets tossed in the bag. They pull moisture out of trapped air and speed up drying after a wet shoot. A damp bag closed at room temperature stays damp for days without them.
- Spare batteries, and more than you think (essential). Cold raises internal resistance and cuts usable capacity, so plan on roughly double your normal count for a full day outdoors below freezing.
- Microfiber lens cloths plus a blower (essential). Cleaning cloth for droplets, blower for snow and grit. Never use a coat sleeve, a glove, or breath.
- Weather-resistant camera bag with padding (essential). Your normal padded camera bag works, but it needs to be closed, not worn open for quick access.
- Waterproof rain cover (optional but recommended for snow). Snow is water in another form. A cheap cover saves you in a sustained flurry.
- Two-glove system and hand warmers (optional, personal). Numb fingers cause missed shots long before cold damages the gear. Thin liner gloves under bulky mitts keep you able to hit the shutter and work the dials.
- A protected changing area (optional). A vestibule, a car boot, or even a large plastic tub where you can unpack without hauling a cold body through a warm house.
Two things get skipped that I would not skip. A neck gaiter redirects your breath away from the front element during long waits, and a small towel catches snow that otherwise melts and runs down into the body seam.
Step-by-Step: Preparing, Shooting, Coming Back In
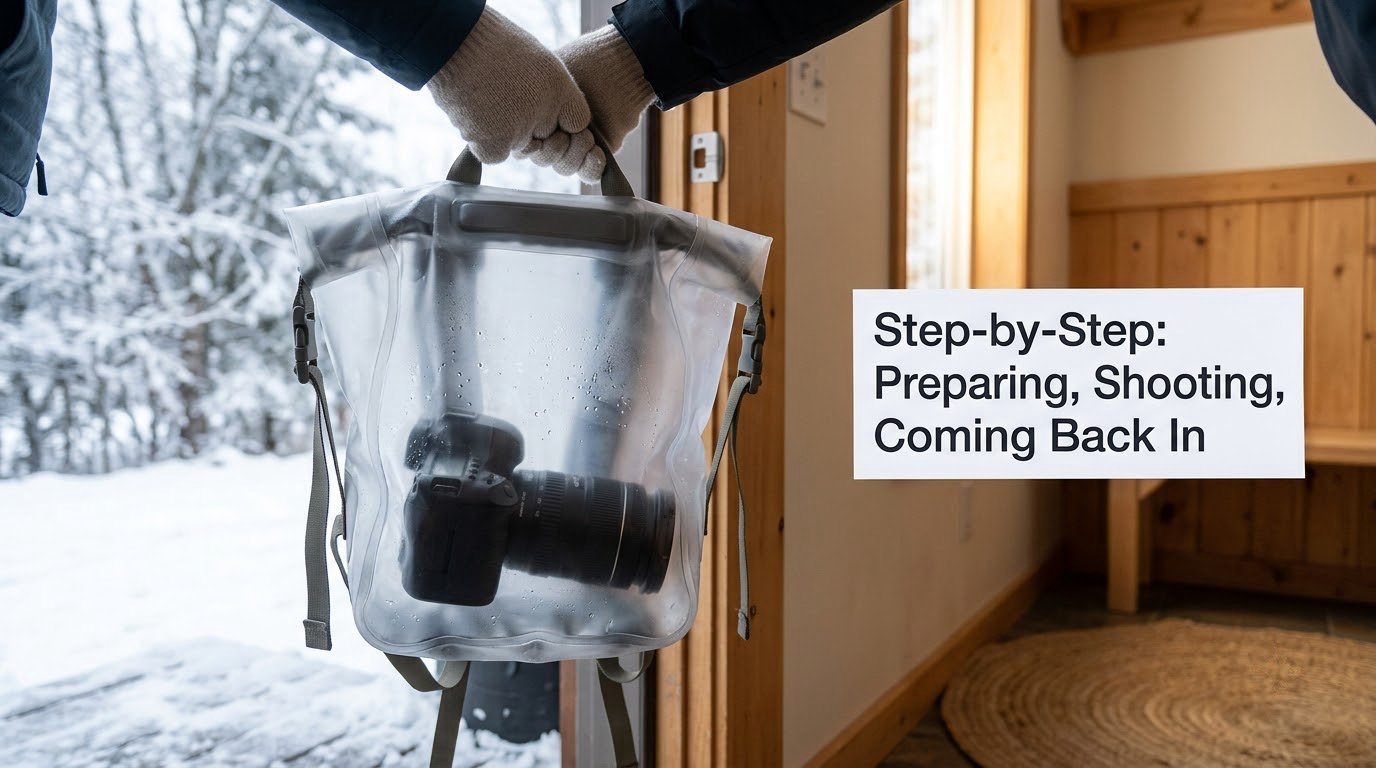
The routine runs in three phases, and each phase has its own rule. Prepare warm, shoot warm, and seal cold.
Prepare camera batteries before you leave
Charge every battery to full indoors, right before you go out. Battery chemistry delivers poor performance when cold, so a pack that is warm when it leaves the house gives you the most frames per charge.
Keep spares in an inner jacket pocket against your body rather than loose in the camera bag. A battery next to your chest sits several degrees warmer than one in a bag sitting on snow. Swap packs only inside your jacket, so the fresh one never touches the outside air cold.
Rotate rather than hoard. Two batteries in the camera bag, one warming against your chest, one in the camera, and a cycle when the frame count drops. Most cameras cope down to freezing or slightly below, but batteries run down much quicker in cold weather. Mirrorless bodies with small screens and constant live view usually drain fastest, so those shooters need more spares than the two-battery rule suggests.
Work the camera warm, not cold
While you are outdoors, keeping the body near your body is correct, and most guides get this half wrong. Keeping a camera warm under a coat causes condensation only when you bring it into warmth while it is still damp or still cold. Keeping it warm during a two-hour shoot causes nothing at all.
Do change lenses only inside the bag or the car, never in wind-driven snow, where fine crystals drive straight past the mount into the sensor and the rear element. If you must swap outside, face away from the wind, turn the camera away from you so your breath travels elsewhere, and use a hood that reaches past the front element.
Snow on the front element is moisture waiting to happen. Knock it off with the blower or a cloth, do not smear it. If a clear filter is already fitted, it takes the abuse instead of the glass.
Prevent condensation when moving indoors
Cold air holds very little moisture. Bring cold gear into a warm, humid room and the warm air dumps its water onto the colder surfaces, including the inside of your glass. Sealing the gear while it is still cold keeps all of that condensation on the outside of the bag.
Here is the sequence:
- Put the camera, lenses and accessories into the airtight bag while still outside or in an unheated space. Do not open the camera or change anything.
- Seal it. Press out excess air and close the zip or roll-top firmly.
- Carry the sealed bag inside. The bag can be opened once it no longer feels cold to bare skin.
- Leave everything alone while it warms. If the glass fogged on the way in, the moisture is on the outside of the bag and on the surface, which is the good outcome.
- Open only when the gear has reached room temperature. Wipe the outside, swap batteries indoors, and check for fog before mounting a lens.
How long you wait depends on how big the temperature jump was, not on the clock. A rough guide:
| Difference between outside and inside | Suggested sealed wait |
|---|---|
| About 10 degrees Celsius (18 F) | 30 to 45 minutes |
| About 20 degrees Celsius (36 F) | 1 to 2 hours |
| 30 degrees Celsius (54 F) or more | 3 hours or longer |
A padded camera bag on a cold car seat is fine for the trip home, as a rough substitute for a bag-in-bag. A camera carried loose from a freezing porch straight into a heated living room is how fungus starts.
How cold is too cold for camera gear? Most bodies are rated around 0 to 40 degrees Celsius (32 to 104 F) for operation, and many mirrorless and DSLR bodies cope below that without trouble. Beyond roughly minus 20 degrees Celsius (minus 4 F) expect reduced battery output, sluggish autofocus hunting and stiff dials. Digital photo files are not damaged by cold itself; the recorded images are fine unless the card freezes or you shatter the screen by flexing a frozen LCD.
Store it and recover from moisture afterwards
Between shoots, keep gear dry at room temperature with the silica gel packets inside the bag, and remove batteries for long storage. Cold does not ruin a battery, but leaving a pack sitting in a damp bag for a week does.
If condensation has already formed inside the lens, do not wipe it, do not swap lenses, and do not power the camera on. Leave it sitting in a dry, ventilated room with the front and rear element open to the air, and give it a day or two. Wiping damp internal glass spreads the film and can scratch coatings. If fogging keeps coming back after it dries, or you see haze a week later, treat it as fungus and budget for a professional clean.
What to check before you pack the car again
Wipe the body down, blow snow out of the lens hood and mount, and confirm cards read back to your laptop before you format anything. Tripods and carbon legs are the quiet losers in winter: check the leg locks for grit that freezes in the mechanism, and treat carbon fibre as dry at all times.
Flash units, triggers and remote releases get left in cold bags for hours. Bring them to room temperature before charging or updating firmware, and keep spare AA cells out of a cold car.
Common Mistakes That Cause Winter Damage
Five mistakes account for most winter camera problems I have seen, and each has a simple correction.
Carrying a cold camera straight into a warm room
This is the single most expensive error on the list. The fix is the sealed bag: bag the gear before it crosses the threshold, keep it sealed through the warm-up, and accept the wait.
Changing lenses in blowing snow
Snow granules carry past the rear element and grind into the sensor when you focus or wipe. Change lenses in the bag or the vehicle, or work behind your back with the camera tilted away from your breath.
Leaving spare batteries in the cold bag
They cool, then they cool further sitting unused. Keep spares in an inner pocket in a rotation, and bring the whole set to room temperature before charging.
Wiping moisture straight off glass
A wet cloth on a damp front element smears grit and can scratch coatings. Use the blower first, dab with microfiber, never rub in circles across a wet surface.
Storing gear near a heater or fireplace
Rapid heating is the same thermal shock in reverse, and it drives condensation faster than a slow warm-up. Store at stable room temperature away from radiators, hot vents and damp basements.
A few field tips worth keeping in your head. Keep the camera in its bag while it is not actively shooting, since falling snow rarely respects an open mount. Change cards and lenses indoors when you can. And if breath keeps fogging the viewfinder, a small piece of tape over the eyepiece stops it from frosting while still letting you frame.
Frequently Asked Questions
How do I prevent condensation when bringing a camera inside after shooting in the cold?
Put the whole body and any attached lens into an airtight bag while still cold, seal it, and carry the sealed bag indoors. Leave it closed until the gear reaches room temperature, which can take 30 minutes for a small temperature jump and several hours for a large one. Condensation then forms on the outside of the bag instead of on your glass.
Should I remove the camera battery when storing it overnight in cold weather?
It does not matter much for a night in a dry cold bag, since cold alone does not damage lithium-ion cells. Remove the battery for anything longer, and for storage in a damp location, because a powered camera in a closed damp bag encourages corrosion. Bring packs to room temperature before charging them, and never charge a battery that has come out of the cold.
Can I use a cold camera lens in falling snow or rain?
Yes. Most weather-sealed bodies handle snow and drizzle without trouble for short periods, and light snow is generally fine. What causes real problems is grit, driven snow and moisture sitting against the glass. Keep the lens cap on between shots, use a hood that reaches past the front element, fit a rain cover in sustained weather, and clear snow with a blower rather than your glove.
How should I dry a camera or lens if moisture gets inside?
Do not wipe internal glass and do not power the camera on. Set the body in a dry, ventilated room at room temperature with the lens elements open to the air, and leave it for a day or two. If fogging returns after it dries, or you see haze in the glass a week later, treat it as fungus and pay for a professional clean rather than opening the barrel yourself.
Do camera batteries need to warm up before I use them in the cold?
Warm ones perform better, which is why spares belong in an inner pocket rather than the bag. A cold pack still works but delivers noticeably fewer frames, and autofocus can slow down as it draws more power. Warm packs against your chest and swap them inside your jacket so the fresh one never meets the outside air, and carry roughly double your usual count for a day below freezing.
Is it safe to leave camera gear in a car during winter?
A car is a poor storage place. Glass and metal swing between freezing nights and heated daytime temperatures, which produces exactly the condensation cycle you are trying to avoid, and a warm cabin dries batteries slowly while a cold one drains them. If you have no choice, put the gear in an airtight bag, remove the batteries, and pack silica gel inside before you lock up.
Final Winter Gear Checklist
If you do only four things, do these. Keep spare batteries warm against your body and rotate them instead of letting them sit in the bag. Keep precipitation off the camera with a closed bag, a hood and a lens cap between shots. Seal cold gear in an airtight bag before it comes into any warm space. Then let it acclimatise fully before opening anything.
The rest, silica gel, a two-glove system, hand warmers, a printed checklist in the top pocket, is there to make those four easier to keep. Cold damage is almost always a timing problem, not a product problem, and timing is something you control before you pick the camera up.