
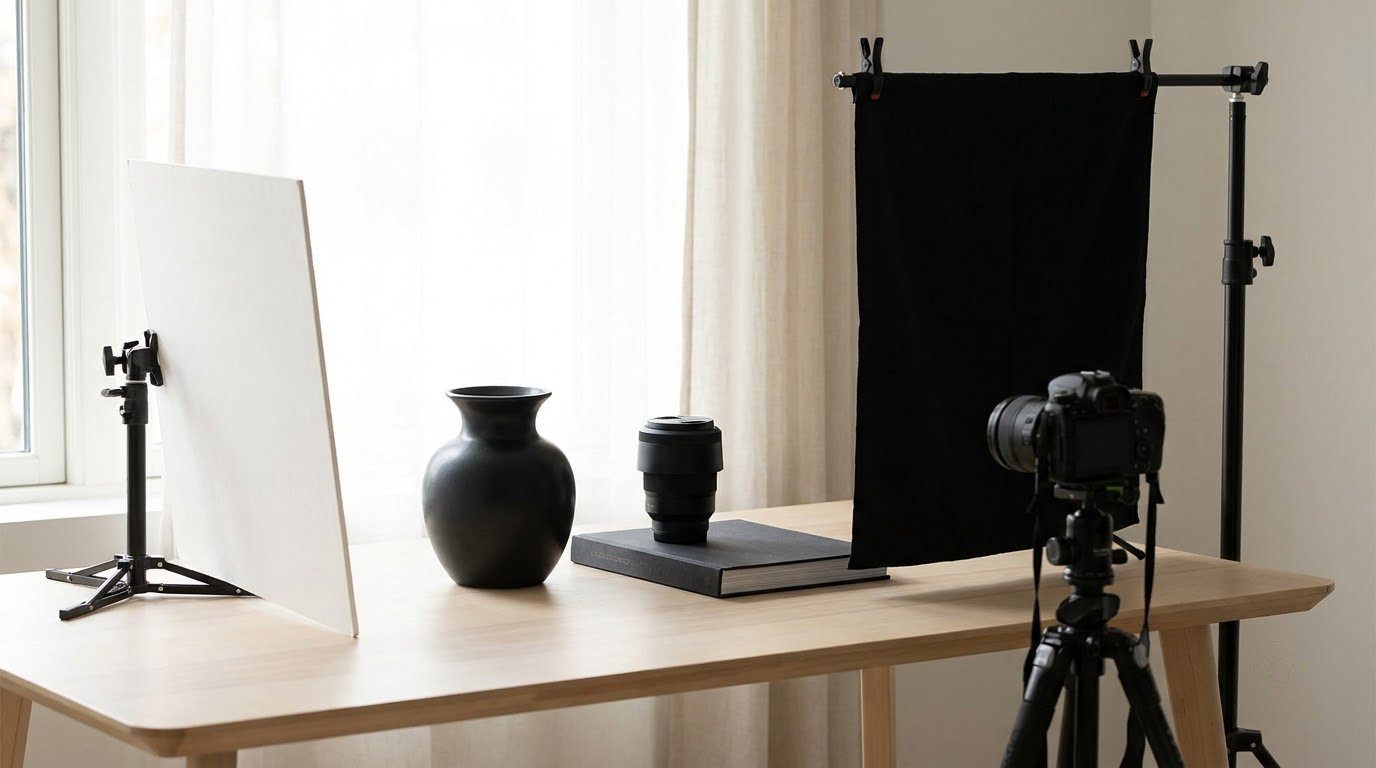
If you want to know how to photograph black objects, the short answer is this: light them from the side or from behind so they read by their highlights and edges, expose for the brightest part of the surface, and put them against a background a little lighter than themselves. Black is not a lighting problem you solve with more power. It is a separation problem.
A matte black surface reflects roughly 3 to 5 percent of the light that lands on it. Your camera’s meter is calibrated to turn 18 percent grey into middle grey, so it sees a black object as a very dark mid-grey and underexposes the shot to match. The result is a featureless blob. Almost every problem people have with shooting dark subjects traces back to that one fact.
None of this needs a studio full of strobes. A window, a desk lamp, a white piece of card and a black piece of card will do most of the work. Here is the setup first, then the reasoning behind each step.
Table of Contents
- What You Need
- Step-by-Step
- Common Mistakes
- Frequently Asked Questions
- How do you photograph a black object without losing all its detail?
- Why does my black object look gray or washed out in photos?
- What is the best lighting setup for black products and objects?
- How do I photograph matte and glossy black surfaces differently?
- Should I use a black or white background for a black object?
- Can I photograph black objects with a phone camera?
- Conclusion
What You Need
The genuine requirement is a single light source you can move. Everything else either shapes that light or records it accurately.
- A controllable light. A desk lamp, a single LED panel, one flash head, or a window. Moveable matters far more than powerful.
- A white card. A sheet of foam board, a piece of printer paper taped to a book, a white towel. This bounces light back into the shadow side and is the single fastest fix for a subject that looks flat.
- A black card or dark cloth. This is negative fill. It absorbs stray light and deepens the shadows you did not want.
- A camera with manual exposure. Every mirrorless and DSLR has one. So does every phone, in a different place.
- A tripod, or a stable surface. Dark scenes tempt you into long shutter times, and you will want the camera still when you get there.
- RAW capture. If your camera shoots JPEG, switch it. You want the shadow data before it has been thrown away.
Worth adding when you have them: a small softbox or a diffusion panel for the main light, a grid or snoot to keep spill off the backdrop, and a grey card for checking your whites. None of that is required to get a good photograph of a black object. It just makes the good photograph faster to get on the second and third try.
A phone camera is genuinely capable here. Tap the object on the screen to lock exposure, drag the exposure slider up one or two notches, and use a sheet of white paper as the reflector. The one thing you give up is the ability to see the histogram, so check the screen for clipped highlights instead.
Step-by-Step
Here is the whole process in short form, then each step explained.
- Decide what the picture should show: silhouette, shape, texture or material.
- Place one large light to the side or behind, not from the camera’s position.
- Switch to manual exposure and dial in settings rather than trusting the meter.
- Meter off the brightest highlight, not the centre of the object.
- Focus on the edge or texture that has to be sharp.
- Put a slightly lighter surface behind the object, or light the object and leave the background unlit.
- Check the histogram, then recover shadows selectively rather than brightening the whole frame.
Choose the Look Before You Arrange the Lights
Decide first what the object needs to say, because the lighting follows from that and not the other way round. A silhouette needs backlight and nothing else. A material shot needs raking side light to bring up texture. A dimensional product shot needs a soft key with the falloff running across the surface so the curve reads.
Most disappointing black object photos come from lighting built out of habit rather than intent. A lamp on a stand behind the camera produces an even, boring wash that shows nothing.
Use Large, Controlled Light Sources
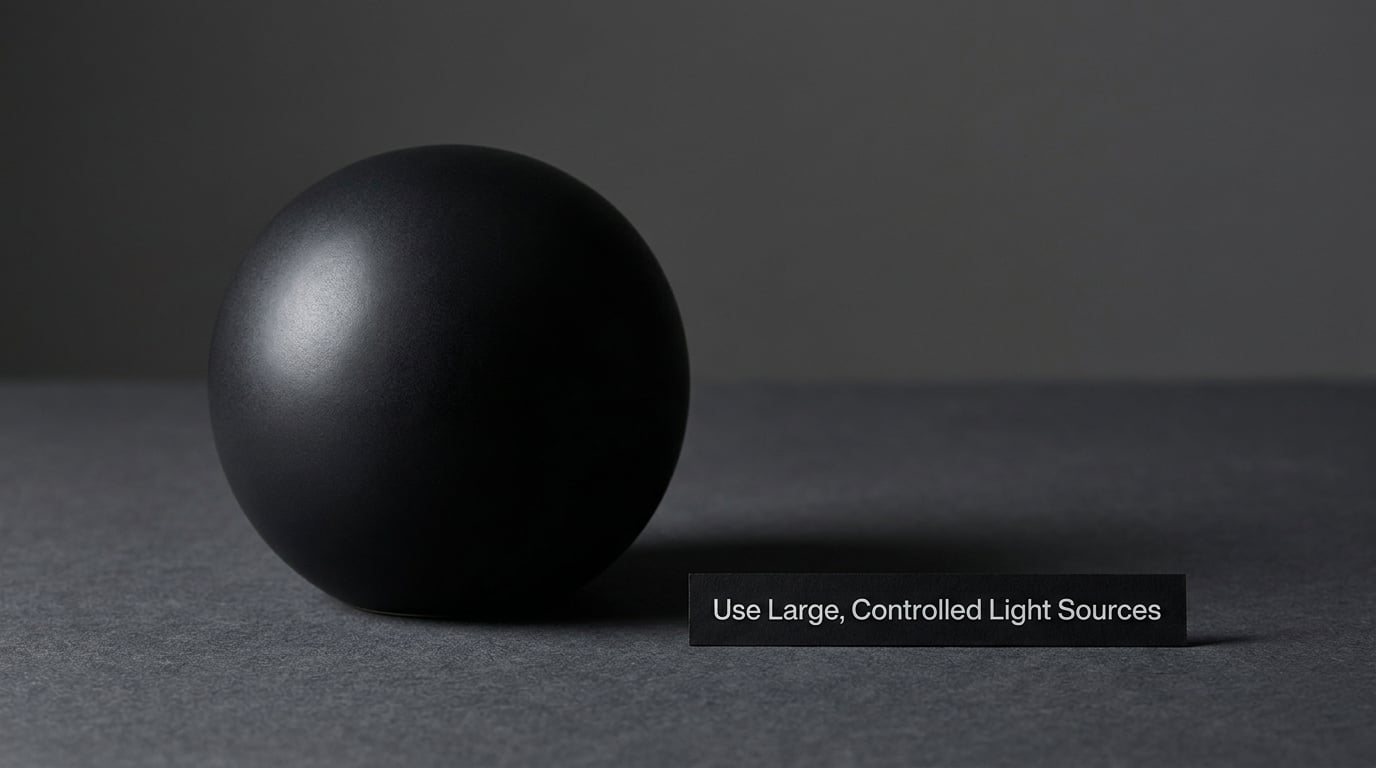
Size is what separates a shape from a blob. A large source close to the object gives soft gradients that wrap around curves, and a small source gives hard edges and crisp specular hits. For a curved black object, a large soft source at 45 degrees to one side is the workhorse: it lays a soft-edged band of light across the curve, and the shape emerges from how that band fades.
Three arrangements cover almost everything.
One light, 45 degrees to the side and slightly above. The default. It reveals form and texture and still leaves a shadow side to shape with a reflector. You will know it worked when the object has a lit side, a gradient, and a dark side rather than one flat value.
Two lights, one behind and to each side. This is rim light. Place the sources low and behind the object, out of frame, so they draw a bright line down each edge. The rim is what separates the object from the background, and for a glossy black subject it is often the only light you need. Keep the lights off the backdrop, or the background goes grey and you have lost the effect.
Window light. Put the object a foot or two inside a window, rotated so the light crosses the surface rather than facing it. A sheer curtain or a sheet of baking paper on the window gives you the softness a softbox would. On an overcast day the window becomes a giant softbox and a black ceramic vase will look better than anything you can light indoors with a flash.
The named technique worth knowing for black glass, dark glossy objects and jewellery is dark field lighting. The light sits behind or below the subject and is hidden from the camera by a black gobo, so the background stays black and only the edges and transmitted glow register. You end up with a black object that is unmistakably three-dimensional on a pure black background. It takes a light, a piece of black card and two white reflectors, and it scales down to a table lamp and a piece of bristol board if that is all you have.
Set the Camera for Texture, Not Just a Black Silhouette
Turn off any automatic exposure mode. The meter will consistently underexpose a black subject because it is trying to place a 3 percent surface at middle grey, and no amount of compensation changes the fact that you are fighting the meter for every frame.
In manual, start somewhere sensible and adjust. For a product-sized object on a stand, f/8, 1/125s, ISO 400 is a workable baseline. Open up to f/2.8 or f/4 for shallow depth of field on a small object, drop the shutter to 1/60 and use a tripod, or raise ISO to 800 when you are chasing a fast-moving subject and accept some grain. Shoot RAW so the shadow information survives.
Meter the frame off the brightest specular highlight rather than the centre. Centre-weighted and evaluative metering will aim for the average, which on a black object means a compromise that satisfies nobody. Spot metering on the highlight, then check that the highlight is not clipping.
If the camera insists on auto, exposure compensation of plus one to plus two stops is closer than you might expect. Watch the histogram, because a black object against a black background can still meter wrong even with compensation, and the compensation is a patch on a decision the meter should not have made.
Curves beat sliders here. Lift the shadow end gently and pull the highlight shoulder down, rather than raising brightness globally, which turns the blacks grey. A little noise reduction applied only to the shadows, held back with masking, cleans up what the lift exposes.
Focus on the Detail That Must Be Sharp
On a black object the part you focus on should be the part that describes the object: the edge where it turns, the seam, the stitching, the catchlight in a polished surface. Single-point autofocus placed on that specific point beats zone or wide-area AF, which will hunt on a low-contrast dark subject and settle anywhere.
Manual focus is fine and often faster here. Zoom in to 100 percent, focus on the detail, and check the focus peaking highlight on a bright edge if your camera has it. The characteristic failure is focus slipping into the background because the camera locked onto the gap between the object and the backdrop.
If autofocus keeps hunting, give it something to see. Turn on a light aimed at the area you want sharp, or move the object further off the background so the two are not the same brightness.
Separate the Object from the Background
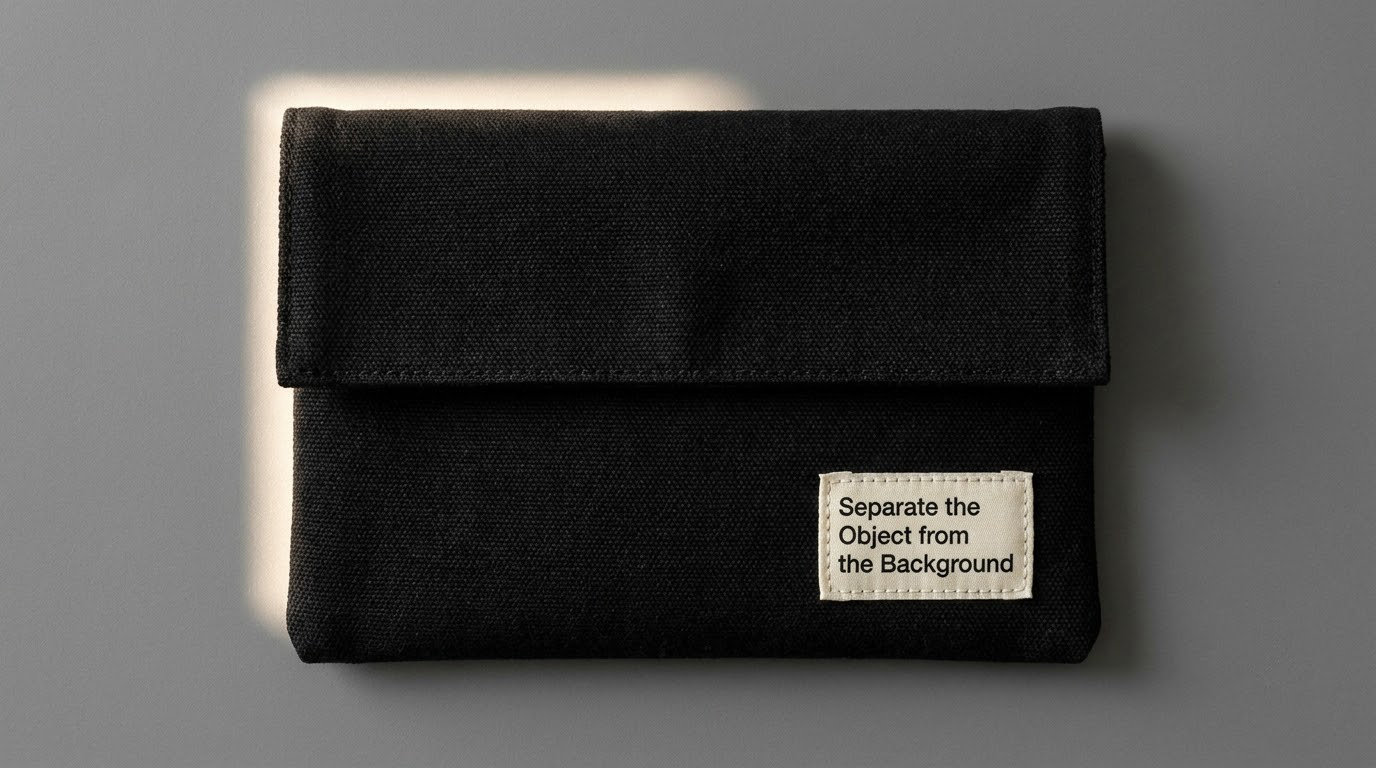
Black on black is the default failure and the reason most black object photos look empty. If the object and the background are the same tone in the same light, the photograph has no information to work with. You have three ways out.
Light the object and leave the background unlit. This is the classic answer and the one experienced photographers reach for. A beam aimed at the subject, falling off well before the backdrop, leaves the background dark and the object bright. Falloff is steep: double the distance and you lose roughly three quarters of the light, so a light placed a foot or two in front of the backdrop is often enough to keep the background in shadow.
Put the object on a lighter surface. Mid-grey, pale wood, a light grey seamless. A black object against a mid-tone background reads instantly as a silhouette with a clear outline, and it costs nothing.
Make the background brighter than the subject. A white or near-white surface behind a black object gives the strongest outline, and works well for jewellery, glass and glossy product shots. It is a bigger tonal jump than most people expect and flatter than it sounds.
Once the object and background are separated, use the white reflector to lift the shadow side just enough to hold detail, and the black card to take back anything that goes too far. Negative fill is a tool, not a moral position. The people who overcorrect often add too much fill and land back where they started, with a grey subject and no contrast.
Compose for Shape and Reveal Hidden Detail
Check the histogram, not the screen. You want the shadow end stopping short of the left wall, so detail exists in the blacks, and the highlight end stopping short of the right wall, so specular hits are not clipped. Turn on zebra highlights if your camera has them and let them tell you where the clipping is instead of guessing.
Then adjust the file deliberately. Dodge and burn the areas that describe the form. Lift a specific shadow region rather than the whole image. Add a touch of local contrast to texture that the light found but the sensor barely recorded.
Then look at it fresh. The common complaint is a black object that has gone chalky and grey, and that almost always comes from a global brightness lift. Pull the whole frame down half a stop, deepen the blacks on the curve, and put the brightness back only where the subject needs to read.
Match the Technique to the Surface
Matte and glossy black are different problems. Matte surfaces scatter light and need raking light to show texture. Glossy surfaces mirror whatever is in front of them, so the technique is about controlling what they reflect. Treating them the same is the most common technical mistake in this whole subject.
| Surface | Why it fights you | What works | Typical failure |
|---|---|---|---|
| Matte black | Absorbs almost everything, no specular highlight to describe shape | Large soft source at 45 degrees, raking across the surface | Featureless blob with no visible form |
| Satin or semi-gloss | Holds a soft highlight that shifts with every small move | Strip light or narrow source for a long clean highlight | Highlight too broad, the object looks flat |
| Glossy lacquer and car paint | Mirrors the whole room, including your lights and your face | Long soft source, high and at an angle, with a black gobo shaping it | Hotspots and window reflections across the panel |
| Textured black, leather, fabric | Texture reads only where light crosses it at a low angle | Hard side light skimming the surface at a shallow angle | Texture invisible, material reads as plastic |
| Translucent, dark glass | Light passes through instead of bouncing off, so the front stays dark | Dark field lighting from behind or below, black gobo, edge reflectors | Flat dark shape with no interior glow |
For a phone, the same table still applies. The limitation is that you cannot flag the light or judge the histogram, so choose the setup that needs the least correction: a window, a mid-grey background and a sheet of white paper.
Common Mistakes
Crushed shadows. The object reads as a hole in the frame with no detail at all. The cause is usually underexposure from the meter plus an underexposed file. Fix it in the file, not by re-shooting, and lift selectively rather than globally. If there is no data to lift, the light was too weak and you need another stop or two on the subject.
Blown highlights. The opposite problem, and it usually hits gloss and specular hits first. Spot meter the highlight and watch zebras. Bringing the exposure down fixes it in the file, at the cost of shadow depth you may not be able to afford.
Harsh reflections and hotspots on gloss. A bare light source reflected in a curved panel. Flag it with a black gobo, move it, or replace it with a longer, softer source that spreads the reflection into a readable band.
One setting for everything. The same f-stop and shutter that flatters a matte ceramic bottle will lose a dark pet in the shade. Set exposure per subject, per light position, and once more if you move anything.
Black object on a black background. The single most reported failure in photography forums for this topic. Light the object and leave the background unlit, or move to a mid-tone surface. Just accept that the two cannot be the same brightness in the same light.
Wrong white balance. Auto white balance wanders on dark frames and the result shifts between shots, which makes a set look inconsistent. Set it manually and check a grey card.
Overprocessing. Sliders pushed until the blacks turn grey and the object loses weight. Black is supposed to be near the bottom of the scale. Global brightness, clarity and vibrance all pull in the same wrong direction here; use the curve and dodge and burn instead.
Fill from the camera axis. Lighting from behind the lens flattens everything, and on a black object it does it twice, because the only thing you get is an even wash across the front. Move the light off axis and the shape comes back.
A useful habit from experienced practice: shoot one frame, check the histogram, change one variable, shoot again. Small deliberate changes tell you far more than twenty frames made on autopilot.
Frequently Asked Questions
How do you photograph a black object without losing all its detail?
Light it from the side or behind so the shape reads from its highlights, then expose for the brightest highlight rather than the overall scene. A black surface reflects only about 3 to 5 percent of the light hitting it, so the camera meter will underexpose it badly. Shoot in manual, check the histogram, and lift the shadows selectively in editing instead of brightening the whole frame.
Why does my black object look gray or washed out in photos?
Almost always because of a global brightness lift in editing, or because the light came from the camera axis and flattened the surface. A black object that reads as medium grey has had its shadows filled and its black point raised. Pull the exposure down half a stop, deepen the blacks on the tone curve, and add light off to one side so the shadow side can go dark again.
What is the best lighting setup for black products and objects?
One large light at roughly 45 degrees to the side and slightly above, a white reflector on the shadow side, and a black card anywhere you need to absorb spill. Keep the background unlit so it falls away, or shoot against a mid-tone surface. Add a second light behind the subject for a rim if the object is glossy or you need a stronger outline.
How do I photograph matte and glossy black surfaces differently?
Matte black scatters light, so use a large soft source raking across it at 45 degrees to reveal form and texture. Glossy black mirrors its surroundings, so the job is controlling what it reflects: use a long soft source placed high and at an angle, flag it with a black gobo, and check for hotspots before shooting. Glossy surfaces need control of reflections, matte surfaces need control of angle.
Should I use a black or white background for a black object?
A pure black background works only if you light the subject and leave the backdrop unlit, or use dark field lighting to catch the edges. It is the harder option. A mid-grey or light surface gives an instant, unmistakable outline and is the safer default. White behind black is the strongest contrast you can get and suits jewellery, glass and glossy product work.
Can I photograph black objects with a phone camera?
Yes. Tap the object to lock exposure, nudge the exposure slider up a stop or two, and use a window or an open shade as your light. A sheet of white paper as a reflector and a mid-grey surface behind the object cover most of what you lose without manual mode. Shoot RAW if your phone offers it, and watch the screen for clipped highlights since you will not have a histogram.
Conclusion
Photographing black objects comes down to three things every time: light the subject from the side or behind so its edges and texture catch, expose for the highlight instead of the scene average, and give the object a background it can be told apart from. That is the whole method, and it works with a lamp and a piece of card.
Here is what to do first, in order. Turn off the automatic exposure and shoot in manual, because the meter is working against you on every dark subject. Put one large light at 45 degrees to the side, off the camera axis. Then look at the histogram and the highlights before you change anything else, since most problems people blame on the light are really exposure and background problems.
Everything after that, the reflectors and the flags and the curve work, is refinement on top of those three. Get them right and the rest stops being difficult.