
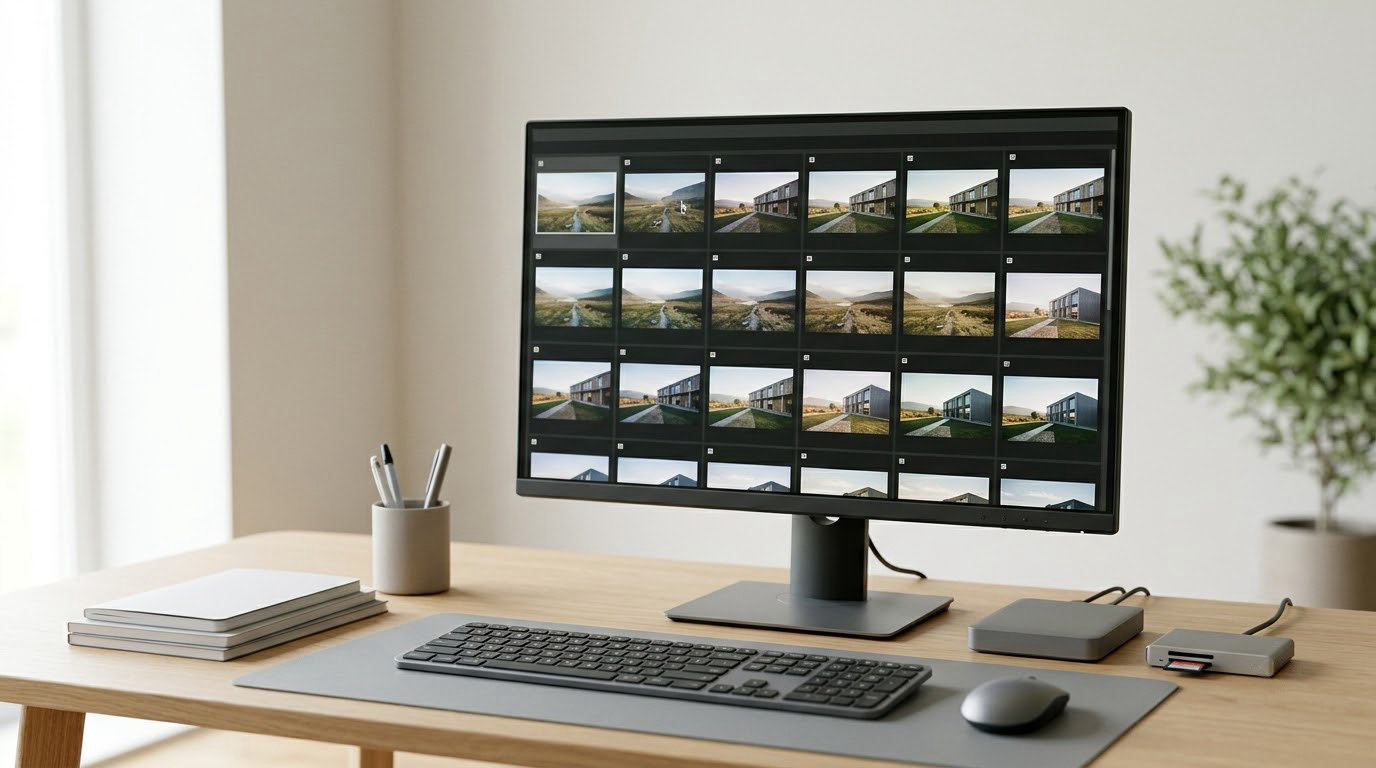
If you want to know how to batch edit photos, the short answer is this: edit one frame until it looks right, push those exact settings to every other photo in the set, then walk back through and fix the handful of frames that need something different. That last part is what separates a consistent gallery from a flat, lifeless one, and it is where most tutorials stop talking.
Whether you shoot a mirrorless, a DSLR, or a phone, the mechanics are the same. The tools differ, the sequence does not. I have watched people burn an entire evening nudging the same three sliders across 200 frames one at a time, and it is almost never because the software was missing something. It was because nobody decided on a baseline first.
Here is the workflow I use, in the order that saves the most time.
Table of Contents
- What You Need
- Step-by-Step
- 1. Organize and Back Up the Photo Batch
- 2. Choose Photos That Belong in the Same Batch
- 3. Set a White Balance and Exposure Baseline
- 4. Apply the First Edit to the Entire Batch
- 5. Refine Shadows, Highlights, and Color
- 6. Add Final Sharpening and Output Preparation
- 7. Review, Export, and Save a Preset for Next Time
- Common Mistakes
- Frequently Asked Questions
- Conclusion: Start With a Small Test Batch
What You Need
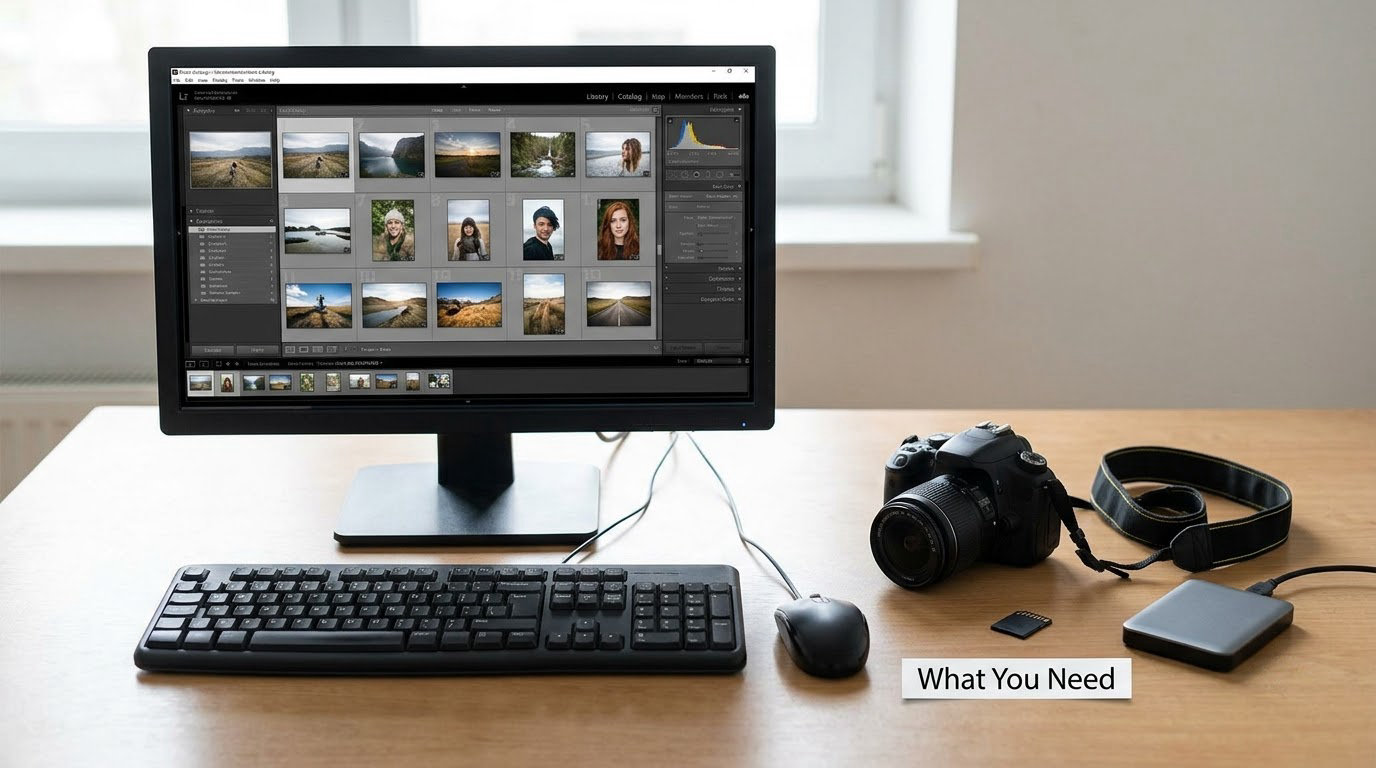
You need a catalog-based editor for the batch itself. Adobe Lightroom Classic is the common answer, but Adobe Lightroom and other catalog apps work the same way: you select a group of photos and one edit applies to all of them. For pixel-level work you still want Photoshop, though most of the time you can stay in the catalog and skip it entirely.
What you do not need is a subscription to every tool that claims to do this. Plenty of good batch work happens in software you already own.
Presets versus synced edits: know which one you are using
A preset is a saved set of instructions. It applies the same numbers to every photo it touches, and it knows nothing about the individual frame. Synced settings work the same way in the moment, but you build them by hand on one photo and push them across a selection, which means you can exclude the frames that would break.
That distinction matters more than people expect. If you shoot a wedding, the ceremony frames and the reception frames do not want the same settings, and no preset will know that. Sort first, sync second.
Format, naming, and backups
Shoot RAW if your camera offers it. A RAW file holds the exposure data that lets you recover a blown window or fix a green cast later, and a batch edit is exactly the kind of work that benefits from it. If you shoot JPEG, keep the batch small and treat the edits as final sooner.
Naming is what makes the next session painless. Use folders like 2026-06-14_market-street rather than Untitled Folder 3. When you come back in 2026 to a job you shot months ago, the folder name tells you where to start without opening a single image.
Then do the boring part. Copy the card to two separate drives before you import anything. Batch editing is safe precisely because your edits are non-destructive, but non-destructive does not mean immune to a drive failure, and a sync mistake on four hundred frames is much easier to live with when the originals still exist somewhere else.
Step-by-Step
1. Organize and Back Up the Photo Batch
Before opening any editor, get the files off the card and into a folder you understand. Copy, verify the copy finished, then format the card. Import the folder into your catalog as read-only reference, or add it as new files if the originals live somewhere you trust.
Never edit files directly on the camera card. Some tools will let you, and the failure mode is a corrupted card halfway through a 400-image sync.
How do you know it worked? Open ten random frames from the copied folder in a viewer and confirm they are the ones you shot. That check takes a minute and saves an afternoon.
2. Choose Photos That Belong in the Same Batch
Filtering is the step that keeps a batch coherent. Sort by capture date and camera, then walk through and reject the frames nobody would print: blinks, focus misses, the one where somebody walked behind you. Those edits are wasted work, and worse, they drag your average rating down when you are culling later.
Then group what remains by lighting, not by time. Twelve frames from a shaded porch go in one batch. Twelve frames shot under open shade plus six under direct sun go in two. This is the step people skip, and it is exactly why synchronized edits sometimes look wrong: the settings were right for the group, and the group was wrong.
3. Set a White Balance and Exposure Baseline
Pick the most representative frame in the batch, usually a midtone with a face or a neutral surface in it. Set white balance using the eyedropper on something you know should be neutral, then watch the histogram rather than your eyes. A screen showing a midtone around 45 to 55 percent is a reasonable place to sit.
Lightroom Classic has Match Total Exposures, which evens out small metering differences between frames without flattening the actual contrast in the scene. It is useful on a set of near-identical shots and unhelpful on a set with real light changes, which is another reason to group by lighting first.
If you are working from a fixed setup, a custom camera profile or a calibrated gray card is worth the ten minutes. One accurate reference beats eyeballing every frame.
4. Apply the First Edit to the Entire Batch
Finish one photo properly, not partially. This is the frame that carries the look for the whole set, so spend the time here: exposure, highlights and shadows, whites and blacks, texture and clarity, and the color you want the set to hold.
Then select the rest of the group and choose Settings, then Sync Settings. Lightroom walks you through the settings it will copy, and you can untick anything the group does not share. A cleaner path is to copy the settings with Ctrl+C or Cmd+C, select the target photos, and paste with Ctrl+Shift+V or Cmd+Shift+V.
Exclude the frames you flagged rather than fixing them after. A single bad frame in a sync is a five-second correction; fifty bad frames in a sync is an hour of undo.
5. Refine Shadows, Highlights, and Color
The synced pass handles the set. Local adjustments handle the exceptions. If one face is a stop darker than the rest, a brush or radial mask on that face is cleaner than dragging the global shadows slider and wrecking the background.
Reach for vibrance before saturation. Vibrance lifts the muted colors and leaves skin tones alone; saturation pushes everything, including the things you liked, and it is the fastest way to make a set look processed. For a coherent palette, our guide to color grading photos in Lightroom covers the tint and temp work that follows.
For a set that is going monochrome, convert through the black and white mix in the B&W panel and use the color mixer to pull the red and orange luminance down so skin does not turn into a gray smear. That panel is worth a full read on its own if you shoot it regularly: how to edit black and white photos in Lightroom.
How do you know when the batch is done? Put the frames side by side in a grid and look for the one that jumps out. That frame gets another pass, and then the set is finished.
6. Add Final Sharpening and Output Preparation
Sharpening goes last, after contrast and clarity, because both of those change how much detail the file has to sharpen. Apply it for the size you are actually delivering. A radius around 0.8 to 1.2 works for a screen image at typical viewing distance; going much further looks great at 100 percent and terrible on a phone.
Check it by viewing the file at 100 percent, not zoomed out on a grid. Then decide the output once for the whole batch: crop orientation, long edge in pixels, color space, format, and quality slider. Set them in the export dialog as a preset so every file matches, and always write exports to a separate folder.
For large sets, Lightroom’s export dialog handles the whole queue in one pass, and smart previews keep it from choking on big files. More on that in our guide to sharpening photos the right way.
7. Review, Export, and Save a Preset for Next Time
Review from a distance first, then at full size. A full contact-sheet pass catches the wrong white balance and the accidentally synced frame; a zoomed pass catches focus and sharpening. Fix the outliers individually, using selective copy and paste rather than a second global sync.
Export, then keep your catalog intact. The catalog is the record of the edit, and the exported JPEGs are not a substitute for it.
Finally, if the look worked, save it. In Lightroom that is the New Preset button in the Develop panel, and you can choose to include process versions and camera raw settings so it survives a catalog move. A good preset is a starting point, not a finished image, and applying it should still leave you adjusting two or three sliders per frame.
Common Mistakes
Synchronizing across mixed lighting. One exposure and one white balance across a room with windows and a flash will look wrong somewhere, always. Sort by lighting first and the problem mostly disappears.
Editing before culling. If you have not rejected the unusable frames, you are syncing settings onto photos that will never be delivered.
Leaning on a heavy preset too early. A strong preset applied to a full batch leaves you correcting 200 frames. Start lighter than looks right on your screen and add contrast in a second pass.
Skipping faces and highlights. Global edits treat a face and a wall identically. Check the skin tones and the bright spots on every frame you are about to deliver.
Exporting destructively. Exporting over your originals, or exporting in a format you cannot reopen, is the one mistake that is genuinely unrecoverable. Write to a new folder, always, and keep the catalog.
Believing sync makes frames identical. Same settings, different frame. Lighting, subject position, and the camera metering all differ, and a handful of individual corrections per group is normal, not a failure of the batch.
Running out of undo. If a sync went wrong, Ctrl+Z steps back through it one photo at a time, which is slow on a large selection. Because edits are non-destructive, the reliable recovery is to close without saving and reopen the catalog rather than trying to undo four hundred frames.
Frequently Asked Questions
Can I batch edit photos without using Lightroom?
Yes. Any editor that applies one edit to a selection will do the job, and some of the best options are free. RawTherapee and darktable both support copying an edit across multiple selected images, Affinity Photo has Actions for recorded command sequences, and simple tools handle resize, convert, and rename across whole folders. What you lose without Lightroom is the catalog, which is what makes a 1000-image set manageable.
What is the easiest way to batch edit photos for beginners?
Start with copy and paste rather than presets. Edit one photo, select the others, and paste the settings. It is one shortcut and no setup, so there is nothing to configure and nothing to undo. Once that feels natural, save the same edit as a preset. Beginners often try presets first, then spend an evening fighting a look that was never right on the frame it started from.
Should I use presets when batch editing a photo set?
Presets are good for the parts every photo shares: a profile, a lens correction, a general color direction. They are poor at the parts that differ, because a preset cannot see the frame. Treat one as a starting point rather than an answer, apply it to the group, then make the two or three adjustments that separate the images. If every frame still looks wrong afterward, the preset was the wrong tool for that set.
How many photos can I edit at once in Lightroom?
There is no hard limit, and people regularly sync several hundred frames in one action. What slows you down is not the number of photos, it is how large the files are and how much local adjustment is in the settings you are copying. On a large set, turn on smart previews first, keep the Camera Raw cache generous, and defer any heavy AI masking until after the global sync is done.
Can I batch edit black-and-white and color photos together?
Not well, and it is worth knowing why. The conversion itself is a single checkbox, but every color adjustment you have applied does not carry over cleanly, and the red and orange luminance values that keep skin from going flat are specific to a conversion you have already tuned. Convert in two passes instead: finish the color edit on the color frames, then handle the monochrome set as its own batch with its own mix.
Conclusion: Start With a Small Test Batch
Back up, sort by lighting, set one neutral baseline, edit a single master frame properly, sync it to the group, fix the outliers with local adjustments, sharpen last, and export to a new folder with one saved preset waiting for the next shoot. That is the whole method, and it works the same whether you are on a 2026 mirrorless body, an old DSLR, or a phone.
Before you run it on a full job, take five to ten photos from the same scene and treat them as the entire batch. Look at them side by side, see which corrections the sync could not solve, and adjust the process. Doing it small once is far cheaper than doing it small never and discovering the problem on four hundred frames.