
Smart Objects let you place an image, logo, or shape into Photoshop and still change it later without degrading it. Learning how to use smart objects in Photoshop comes down to one menu path: Layer > Smart Objects > Convert to Smart Object. Give it about ten minutes to learn the basics and an hour to make it part of how you work.
The idea is simple enough that it borders on obvious once you hear it. A normal layer in Photoshop is pixels, and every scale or filter bakes new pixels on top of the old ones. A Smart Object is a container holding the source data separately, so the pixels never actually get overwritten.
Table of Contents
What You Need Before You Start
You need a Photoshop document with at least one layer you want to protect, and the original file for that image if you still have it. Source files matter more than people expect — a Smart Object can only resample up to the resolution it was built from, not past it.
Nothing else is required. Smart Objects have shipped in every Photoshop version since CS4, and the menu labels have stayed stable since CS6. Newer versions changed one thing worth knowing: File > Place now defaults to placing a file as a Smart Object, and you pick between Embedded and Linked as part of the import.
Two limits to keep in mind up front. You cannot paint, dodge, burn, or clone directly on a Smart Object layer — it is a container, not a drawing surface. And each embedded Smart Object adds the full weight of its source to your file, so a template with a dozen of them can get heavy.
How to Use Smart Objects in Photoshop Step by Step
Open or Place a Smart Object
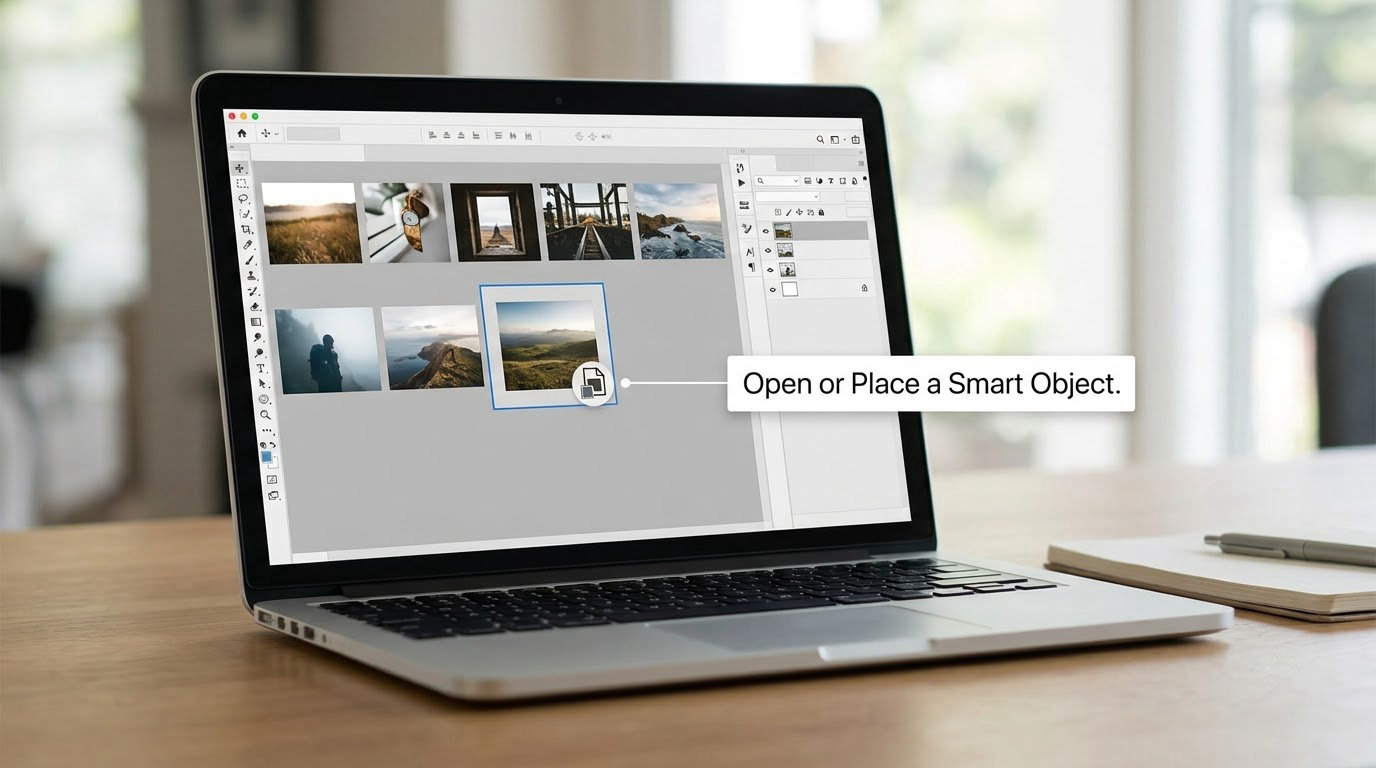
Use File > Place Embedded when the file should travel inside your PSD, and File > Place Linked when it should stay on disk and update live. Both land in the document as a new Smart Object layer named after the file.
Drag the corner handles to size it, press Enter to commit, and check the Layers panel: a small badge sits in the bottom-right corner of the layer thumbnail. No badge means you placed it as a regular layer, and you can fix that in the next step.
Convert an Existing Layer to a Smart Object
Right-click the layer in the Layers panel and choose Convert to Smart Object. The keyboard route is Layer > Smart Objects > Convert to Smart Object. Your badge appears instantly, and nothing about the layer’s appearance changes.
That is the fastest route for a layer you already adjusted. One caveat: if you already applied filters or flattened detail into the pixels, that baked-in work stays baked in. The Smart Object preserves the layer as it is now, not as it was when you opened the file.
Edit the Contents of a Smart Object
Double-click the Smart Object thumbnail in the Layers panel. Photoshop opens the contents in a separate tab above the main document.
Paint over blemishes, crop tighter, or adjust curves inside that tab. Press Ctrl+S (Cmd+S on Mac) and close the tab — the change appears in the main document and updates every copy of that object in the file at once.
How to Use Smart Objects in Photoshop to Resize Without Losing Quality
Select the layer and press Ctrl+T (Cmd+T) for Free Transform. Move, scale, rotate, or drag the corner handles to warp. Press Enter to commit.
The difference shows up on the second pass. Scale a regular layer down 50% then back to full size and you have thrown away real detail. Do the same to a Smart Object and it recomputes from the source each time. Just don’t upscale far past the original resolution — no filter can invent pixels that were never captured.
If a transform gets out of hand, Layer > Smart Objects > Reset Transform puts it back to its original size and position.
Change or Replace the Contents of a Smart Object
To swap in different artwork, right-click the layer and choose Replace Embedded Objects (or Replace Linked Objects for a linked file), then pick the new file. The layer keeps its position, size, mask, blending mode, and layer style. Everything else updates.
That is the trick behind mockups and client templates: a rectangle-shaped Smart Object sits inside a frame in a mockup, and the client swaps the artwork without touching the layout. If you want to keep a version of the original, duplicate the layer before you replace it.
Linked objects are worth the extra care. If the source file moves or gets renamed, the layer throws a missing-file warning and shows a placeholder. Keep linked files in one folder and move the whole folder, never individual files.
Apply Layer Styles, Masks, and Blending
Everything you can do to a normal layer works on a Smart Object. Add a layer mask, change opacity, pick a blending mode, drop in a layer style like a drop shadow or bevel, or use one as a clipping mask for the layer below.
For combining two images, mask the top Smart Object and paint on the mask to reveal what sits underneath. My photo composite guide walks through that combination more fully, and the blend modes guide covers how the modes behave.
Filters are where Smart Objects really separate themselves. Applying Camera Raw, Liquify, or any regular filter to a Smart Object adds it to a Smart Filters stack underneath the layer, where you can reopen it, toggle it, or reorder it. On a normal layer that same filter is permanent.
Export or Save a Rendered Copy
Saving the PSD keeps everything editable. Right-click the layer and choose Export Contents to write the Smart Object’s artwork out as a separate file — handy for grabbing the clean artwork without the shadow and mask. To flatten a single layer without flattening the document, use Rasterize Layer as a safety copy.
For a flattened deliverable, merge the visible layers and export normally. Save the working PSD first; the flattened JPEG will not come back with any of this structure.
Common Mistakes and Quick Fixes
You cannot paint on the layer and nothing happens. Expected. A Smart Object is a container. Double-click it to edit the contents, or add a new layer above it with Ctrl+Shift+N (Cmd+Shift+N) and paint there.
The image goes blurry after you scale it up. You have hit the resolution ceiling of the source. Work from the largest original you have, or use Camera Raw’s Super Resolution on the source before you place it.
The linked file is unavailable. The external source moved, was renamed, or was not sent along with the PSD. Photoshop is telling the truth — relink it, or embed the contents to make the file self-contained.
Transform handles disappear. You may be on a layer locked in the Layers panel, or the layer is inside a locked group or an art layer with a clipping mask. Unlock the layer first, then try again.
The PSD is suddenly enormous. Each embedded Smart Object stores its full source. Rasterize a duplicate of layers you no longer need to edit, or start from a smaller source.
Document built on Windows looks off on a Mac. Usually a color profile mismatch baked into the embedded object. Convert the source to sRGB before you place it, and check Edit > Convert to Profile.
Tips for a Cleaner Smart Object Workflow
Rename layers the moment you create them. A file with six layers called Layer 1 copy will hurt you later.
Keep nesting shallow. A Smart Object inside a group inside a Smart Object is legal and genuinely hard to find.
Commit to size before you go further. Once you have the transform you want, press Enter — Photoshop stores the new dimensions as the smart size and discards the invisible overflow.
Duplicate before you rasterize. Keep the original Smart Object on a hidden layer, then rasterize the visible copy.
Add a label to linked layers. A tinted layer name is a five-second warning for anyone who opens the file later.
If you work with photos rather than designs, the double exposure tutorial uses the same container logic for combining two exposures.
Frequently Asked Questions
Why can’t I edit a Smart Object in Photoshop?
Usually one of three reasons. The layer is a Smart Object, which is a container rather than a drawing surface, so you need to double-click its thumbnail to edit the contents in a separate tab. The layer may be locked in the Layers panel or sit inside a locked group. Or the file may have been rasterized, which converts the Smart Object into ordinary pixels with no source data left.
What is the point of a Smart Object in Photoshop?
A Smart Object keeps the original source data of an image, shape, text layer, or adjustment layer, so you can resize, rotate, filter, and re-edit it repeatedly without quality loss. Filters land in an editable Smart Filters stack. Replace Embedded Objects swaps in new artwork while keeping the layer’s mask, blending mode, and styles intact.
What is an example of a Smart Object?
The most common one is a product photo dropped into a mockup so the artwork can be replaced later. Others include a vector logo placed from a file, a shape layer converted so it scales without pixelation, and an adjustment layer wrapped in a Smart Object so its settings stay editable. Any layer you convert qualifies.
How do I convert an image to a Smart Object?
Right-click the layer in the Layers panel and choose Convert to Smart Object, or use Layer u0026gt; Smart Objects u0026gt; Convert to Smart Object. A badge appears on the layer thumbnail to confirm it worked. From there, use File u0026gt; Place Embedded instead if you want the source file imported as a new Smart Object layer.
What is the difference between embedded and linked Smart Objects?
An embedded Smart Object stores the source data inside the PSD, so the file is portable and self-contained but larger. A linked Smart Object points to an external file and updates automatically when that file changes, but breaks if the source is moved, renamed, or not shared with the recipient. Linked suits shared asset libraries; embedded suits client hand-offs.
Do Smart Objects increase file size?
Embedded ones do, because each one carries its own full source data. Linked ones add almost nothing to the PSD. A template with a dozen embedded objects can grow considerably, and the easiest fix is to rasterize a duplicate of any layer you no longer need to edit.
Conclusion
Start with one layer. Right-click it, choose Convert to Smart Object, then scale it far past the size you actually need and commit — that single test teaches the whole point of the feature. Once that feels normal, try a Camera Raw filter on it to see the editable Smart Filters stack, and add a layer mask to blend it into another image. From there, Replace Embedded Objects turns any layout into a template you can hand to a client.