
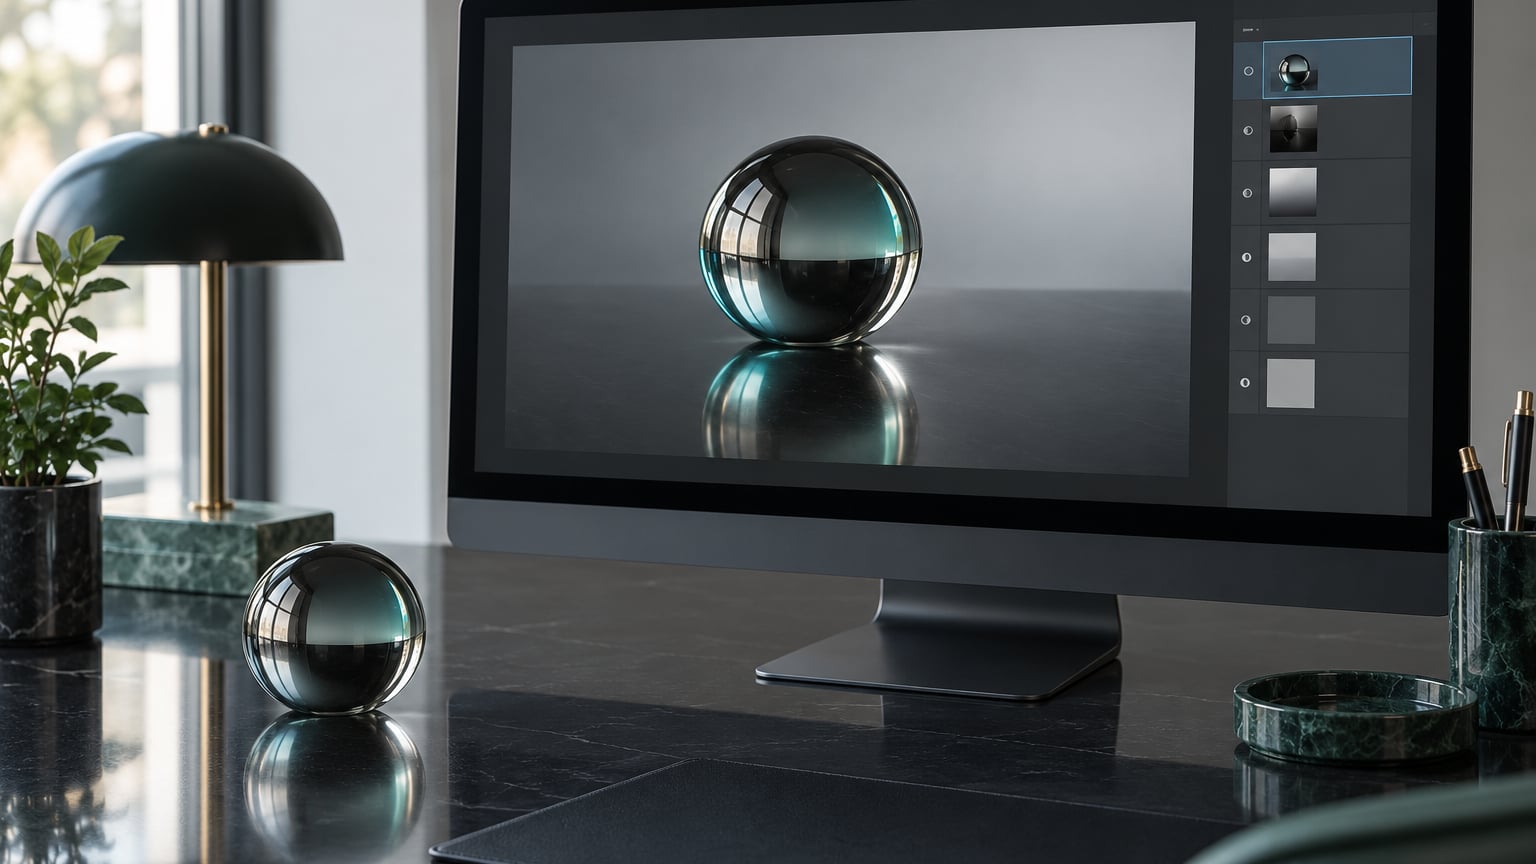
To add a reflection in Photoshop, you duplicate the subject layer, flip the copy vertically, slide it so its top edge touches the bottom of the original, then hide the hard edge with a layer mask and a black-to-transparent gradient. Drop the opacity to around 80% and blur it a few pixels, and the flat subject suddenly looks like it’s standing on glass, polished metal or still water.
The whole thing takes about fifteen minutes once you’ve done it twice, and no plugin or fancy AI feature is required. The hard part isn’t the flip, it’s the perspective: a reflection that recedes into the surface looks real, and a reflection that doesn’t looks like a sticker.
Everything below is written for desktop Photoshop on Windows and Mac, menu names included. The same commands exist in Photoshop Elements with slightly different dialog names, and I’ll flag where they differ.
A reflection in Photoshop is a second copy of your subject, mirrored and faded, that sits on a surface you invented.
Table of Contents
What You Need
Not much. A working copy of Photoshop, one photo or graphic with the subject clearly separated from its background, and about fifteen minutes.
The photo matters more than most tutorials admit. Look for a subject with a clean bottom edge, shot either level with the surface or from a shallow angle, on a surface that could plausibly reflect. r/photoshop threads on this are consistent on one point: reflections are easy when the camera is at the same height as the subject and genuinely difficult when you shot from directly above, and no amount of masking rescues a top-down shot.
Before you start, convert your subject to a smart object so every transform stays reversible. My guide to smart objects in Photoshop explains why that’s worth the extra click.
- Photoshop desktop, or Photoshop Elements (see the Elements notes at the end)
- Your subject on its own layer, with the background hidden or a surface built underneath it
- A surface to reflect on: a gradient, a solid fill layer, or a texture
- Optional: an Embed.ai or similar generate-and-fill tool for the water version, or Photoshop’s own Generative Fill
Step-by-Step: How to Add a Reflection in Photoshop
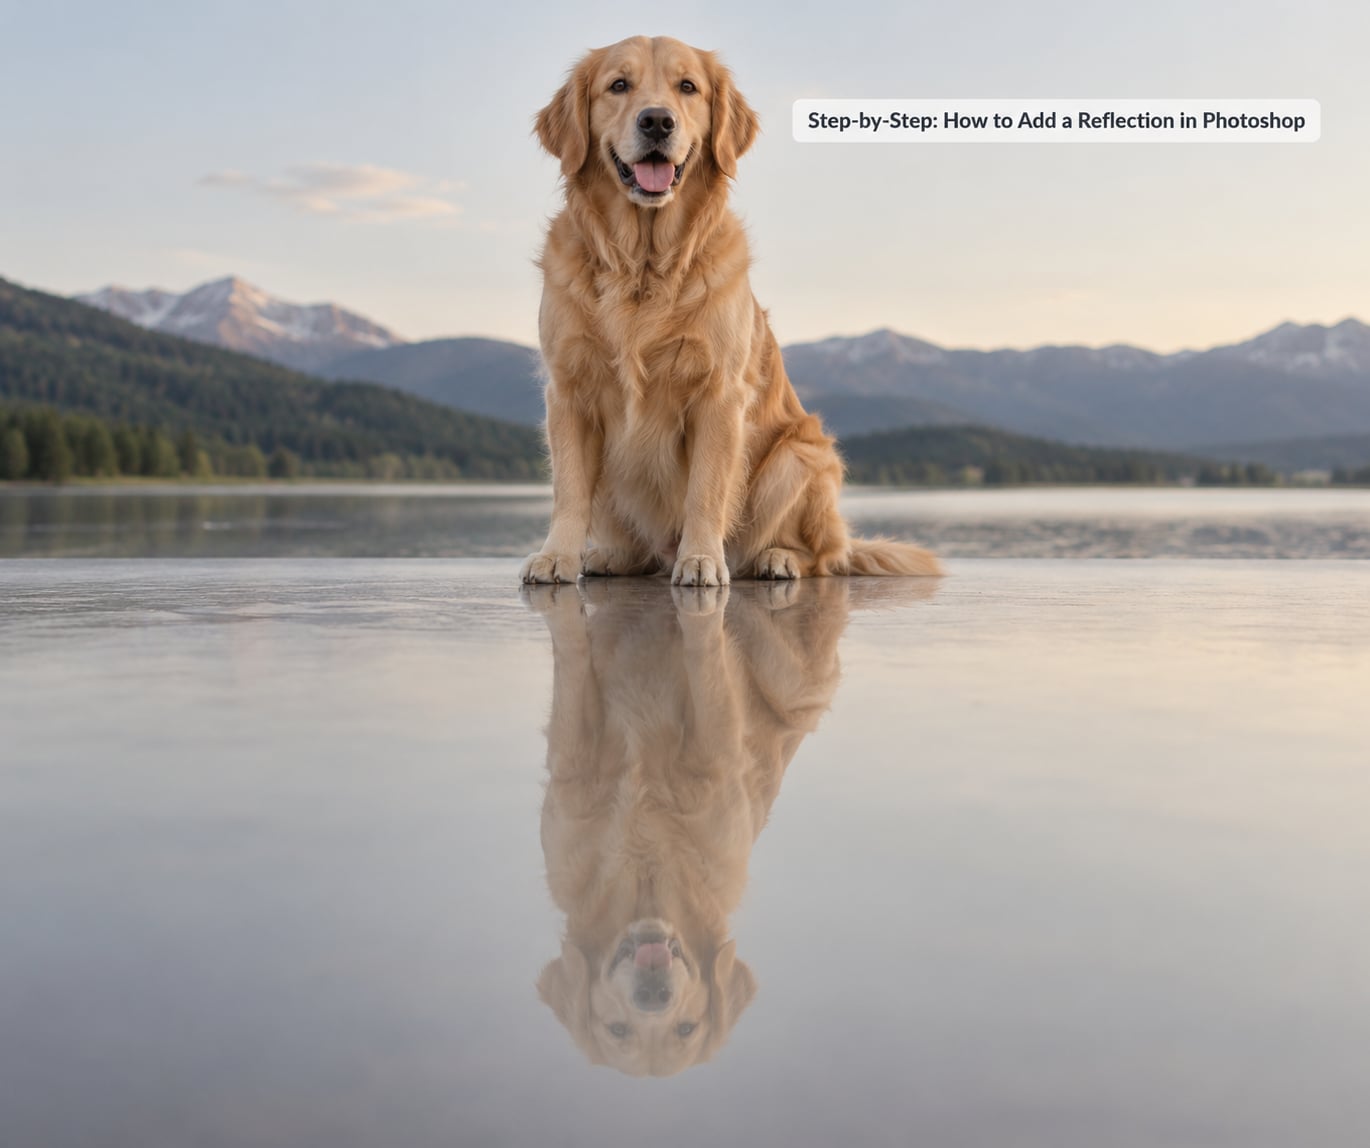
Here is the method in order, with the numbers to type in.
- Duplicate the subject layer with Ctrl+J (Cmd+J on Mac).
- Open Free Transform with Ctrl+T (Cmd+T) and choose Transform > Flip Vertical.
- Drag the copy down so its top edge meets the bottom edge of the original. No gap, no overlap.
- Add a layer mask to the copy: hold Alt (Option) and click the Add Layer Mask button at the bottom of the Layers panel.
- With a black-to-transparent gradient in the foreground swatch, click once near the top of the reflection and drag downward. That single click paints the fade.
- Set the copy’s opacity to 80% or lower and add a Gaussian Blur of roughly 5 px via Filter > Blur > Gaussian Blur.
Prepare the Subject and Background
You need room to work. Go to Image > Canvas Size, set Height to 200%, and in the anchor grid click the top-center square so the extra space is added below rather than split evenly. Leave Width alone.
Then build a surface. A solid fill layer in a mid-grey or deep tone makes a good neutral base, and a soft gradient from dark at the contact point to darker at the bottom edge gives the subject something to sit on. If your subject is still sitting on its original background, select it with the Object Selection tool, add it to a selection, and either mask that layer or put it on its own layer with a layer mask.
For a hard-edged rectangular subject, a product on white, the reflection will read as a solid block. Soften it: lower the mask’s own density or paint with a large soft black brush at 30% flow so the base fades out instead of ending in a straight line.
Duplicate and Flip the Reflection
With the subject layer selected, press Ctrl+J on Windows or Cmd+J on Mac. Name the copy something honest like Logo reflection, because you’ll have six layers named Layer 1 copy 3 by the time you’re done.
Press Ctrl+T, then in the transform bar choose Flip Vertical, and press Enter to commit. If you only have the keyboard, the menu path is Edit > Transform > Flip Vertical. Ctrl+E is Merge Down, not duplicate, and that distinction trips up a lot of beginners.
Now use the Move tool (V) and drag the copy straight down until the pixel that was the top of the copy lines up exactly with the pixel at the bottom of the original. Zoom to 100% and check. A one-pixel seam is visible; a two-pixel overlap hides the gap and is safer.
Transform the Reflection
A vertical flip is a mirror, but a real reflective surface recedes, so the reflection gets shorter and dimmer the farther it gets from the subject. This is where the perspective adjustment happens, and it’s the step people skip, which is why so many reflections look pasted on.
Hold Ctrl (Cmd) and drag a corner handle inward to scale the copy down slightly, or use Edit > Transform > Distort and pull the bottom edge up. For a surface seen at a slant, use Edit > Transform > Perspective and drag the far corners toward the horizon line. A 5 to 10% compression is usually plenty; more than 15% and the reflection reads as squashed.
Keep the top edge of the copy locked to the contact point while you do this, or the seam reappears. If your subject was shot from above rather than level, this is the step that will save the image, and if it was shot straight down the result will still be a compromise. Compressing the far edge until the reflection looks like it lies on the ground is the best available fix.
Mask and Fade the Reflection
A reflection with a hard top edge or a hard bottom edge looks like a cut-out. A layer mask fixes both without deleting anything.
Select the reflection layer and hold Alt (Option) while clicking Add Layer Mask at the bottom of the Layers panel. That gives you a white mask, which shows the whole layer. Now set your foreground swatch to a black-to-transparent gradient: click the swatch, click the gradient bar next to it, and pick the preset that fades from black on the left to transparent on the right, then click the little reverse arrow so black sits at the top.
With the mask selected, click once near the top of the reflection and drag straight down. One click is all it takes. The mask controls visibility only, so the underlying pixels stay intact and you can drag the gradient’s Opacity field up to 20% for a longer, softer fade.
One thing beginners get wrong: you paint on the mask, not the layer. If your black brush smears the reflection itself instead of hiding it, check that the white thumbnail and the linked picture thumbnail are the ones highlighted in the Layers panel. Painting on the mask is the point.
Match Color, Contrast, and Lighting
Real reflections are dimmer and slightly cooler than the thing reflecting them, because the surface absorbs light. Drop the layer opacity to 80% and go a little further if the surface is dark.
For control, add a Curves adjustment layer above the reflection and pull the top of the curve down, which darkens the reflection without touching the original. If you’re compositing a reflection shot from a different image, a Hue/Saturation or Color Balance adjustment set to a Blend Mode of Color pushes the reflection’s color toward the original’s. My guide to blend modes in Photoshop covers which one to pick.
Then soften it. Filter > Blur > Gaussian Blur at 3 to 5 px is enough for glass. Water needs more, around 8 to 12 px, and wet asphalt wants 4 to 6 px plus a little noise. If you need blur while keeping the layer editable, convert to a smart object first; the filter then becomes non-destructive and you can go back and change the radius later.
Add Realistic Reflected Light and Texture
For water, the flip alone won’t do it. The trick is a displacement map: a separate layer of noise that warps the reflection into ripples.
Make a new layer the size of the canvas and fill it with 50% grey. Then Filter > Noise > Add Noise at 400% with Uniform checked, followed by Filter > Stylize > Emboss to turn that grey mush into a ridged texture. Select the reflection layer, go to Filter > Distort > Displace, choose Custom for the horizontal and vertical scale (10 to 50 is a good range), and feed it the noise layer. The reflection breaks up into waves.
To add ripples rather than random wobble, set the Displace map layer’s blend mode to Displace, draw a few soft light and dark strokes on it, and increase the scale. That gives you directional current instead of soup.
For glossier surfaces, Layer Style is faster than painting. Inner Glow and Bevel > Slick on a shape layer under the subject reads convincingly as polished metal or a car’s clearcoat, which is the route a few people on r/photoshop reach for when they’re faking a reflection on a can or a body panel.
Photoshop’s own Generative Fill is now a legitimate shortcut for water. Select the area below the subject, run Generative Fill, and prompt for a reflective puddle that matches the lighting. Readers on r/photoshop rate it well for water and other reflective surfaces, and Adobe pushes it as the fast route. The tradeoff is obvious: you give up the layer stack, the mask, and the ability to nudge the result six months later. I’d use it for a rough concept and the manual method for anything a client will zoom into.
Final Checks and Export
Zoom to 100% and look at three things: the contact point where the subject meets the reflection, the far edge for a hard line, and the color for a mismatch between the two halves.
If the seam is visible, nudge the copy up one pixel. If the bottom is too sharp, extend the mask with a soft black brush at 30% flow. If the whole thing looks flat, add a contact shadow: a soft dark ellipse on a new layer under the subject, 40% opacity, heavily blurred, which visually glues the subject to the surface.
Export with File > Export As and save a flattened JPEG for web, or keep the layered PSD if this is going into a design file. If the subject is a levitating object rather than something standing on a surface, the same mask and opacity work but you skip the contact shadow entirely; my levitation photo walkthrough covers that variant.
Keyboard Shortcuts for the Whole Process
| Action | Windows | Mac |
|---|---|---|
| Duplicate layer | Ctrl + J | Cmd + J |
| Free Transform | Ctrl + T | Cmd + T |
| Canvas Size | Ctrl + Alt + C | Cmd + Alt + C |
| Add layer mask from Alt-click | Alt + click | Option + click |
| Curves adjustment | Ctrl + M | Cmd + M |
| Merge Down (not a duplicate) | Ctrl + E | Cmd + E |
| Move tool | V | V |
| Flip Vertical | Edit > Transform > Flip Vertical | Edit > Transform > Flip Vertical |
| Gaussian Blur | Filter > Blur > Gaussian Blur | Filter > Blur > Gaussian Blur |
| Displace with a map | Filter > Distort > Displace | Filter > Distort > Displace |
Common Mistakes
The reflection is too sharp
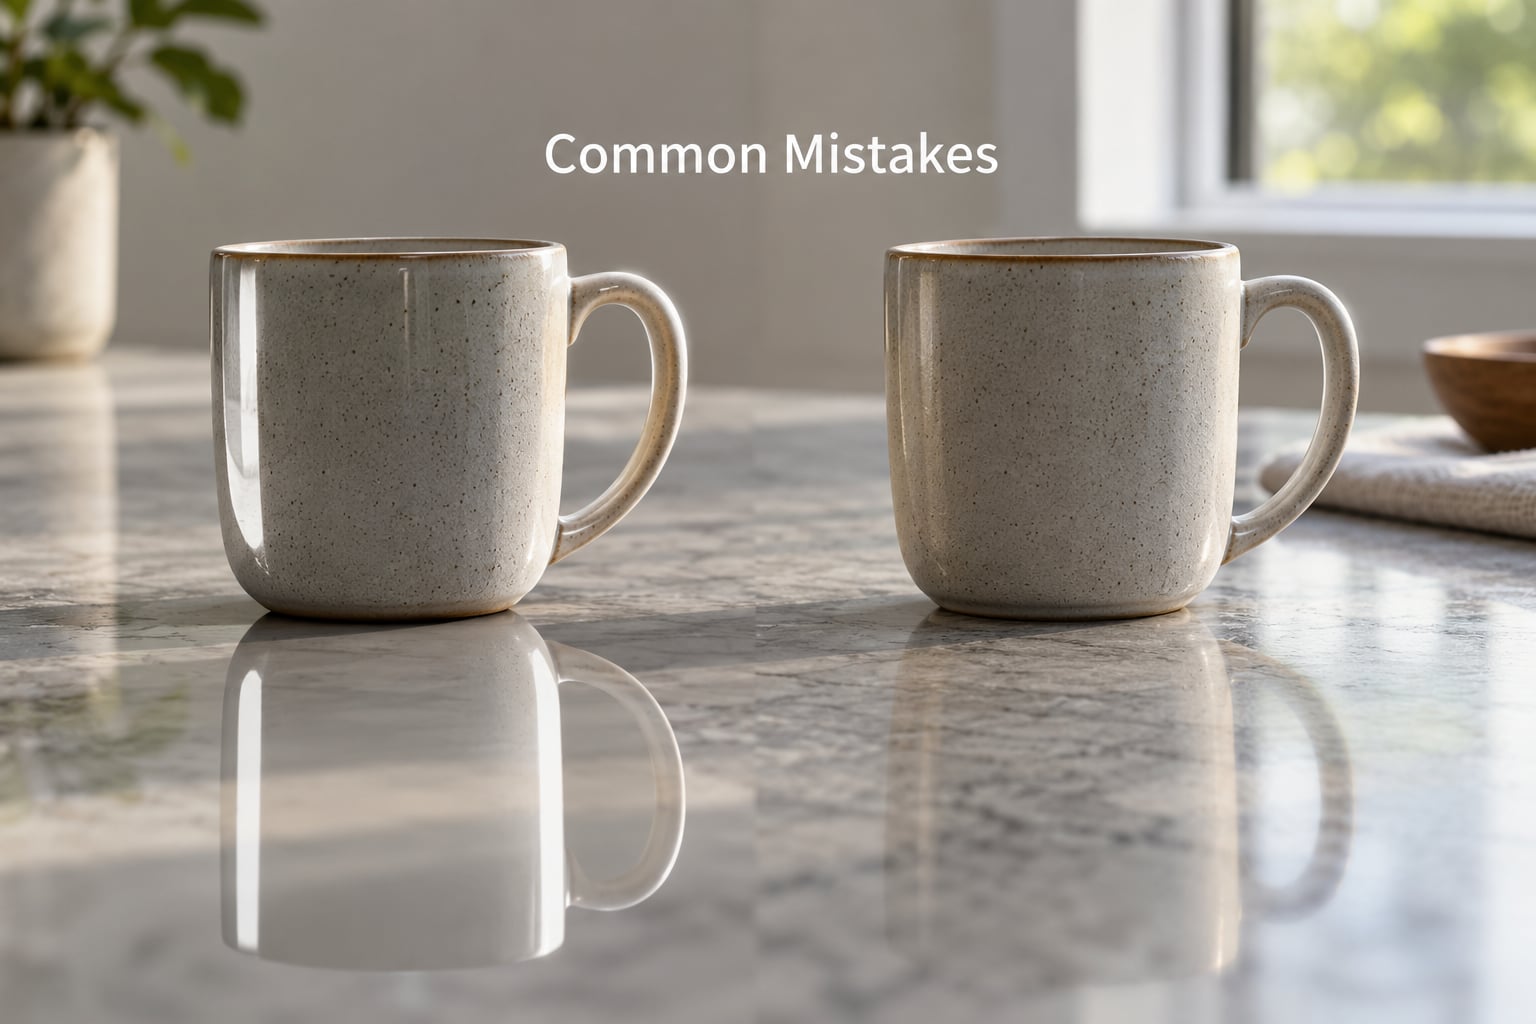
That’s the giveaway. A mirror reflects sharply, but water, glass with any texture, and anything outdoors with dust on it never do. Add 3 to 8 px of Gaussian Blur, and if you want it non-destructive, right-click the layer and choose Convert to Smart Object before blurring.
It’s too opaque
At 100% the reflection looks like a second object. Set the layer opacity to 80% and drop it further for dark surfaces, 50 to 60%, where there’s less light bouncing back. A Curves layer pulling the highlights down does this more naturally than the opacity slider because it fades the bright parts more than the dark ones.
There’s a visible seam or gap
Zoom to 100% and check the pixel row where the two layers meet. The flip puts the copy’s top edge at the original’s top edge, so the copy has to travel exactly its own height downward. Overlap by two pixels and nobody will know.
No perspective at all
The reflection is the same size as the subject, which no reflective surface produces. Compress the far edge with Ctrl+drag, or use Edit > Transform > Distort and pull the bottom up by 5 to 10%. This is the single change that makes the biggest difference, and it’s the one people skip because the flip alone already looks plausible at thumbnail size.
The paint smears the reflection instead of hiding it
You’re on the layer, not the mask. Click the mask thumbnail, not the picture thumbnail, before painting black. A layer mask only controls visibility, so anything you paint there can be undone by painting white back over it.
The colors don’t match
That happens when the reflection comes from a different photo. Add a Hue/Saturation or Curves adjustment above the reflection layer and set its blend mode to Color, so the reflection takes the hue of the original while keeping its own brightness. Watch for the opposite problem too: a reflection that’s too neutral looks like a ghost.
The subject reflects as a rectangle
A product on a hard white background has a hard bottom edge, and the flip turns that into a block. Mask the subject itself with a soft brush before you duplicate, or build the surface as a gradient and fade the reflection’s base into it.
Two habits keep this manageable. Keep every subject on a smart object, and name your layers as you go. The moment you need to change the fade length after a client asks for a shorter one, a stack of six layers called copy 2 is going to cost you an afternoon.
On Photoshop Elements: the flow is the same, with two differences. Canvas Size has no anchor grid, so position the image yourself with the Move tool after resizing, and Elements has no Generative Fill, so the water method has to be built manually with Add Noise, Emboss and Displace.
Frequently Asked Questions
What does Ctrl+E do in Photoshop?
Ctrl+E on Windows, or Cmd+E on Mac, is Merge Down. It welds the selected layer into the one below it and destroys that layer’s independent opacity, blend mode and mask. Beginners hit this constantly while making reflections because the key sits right next to Ctrl+J, which duplicates the layer. The fix is simple: undo with Ctrl+Z immediately, and use Ctrl+J for the duplicate step. If you already merged and lost a mask, go back in the History panel, or Cmd+Alt+Z on Mac, to the step before the merge.
How do I make something look reflective in Photoshop?
Dim it, soften it and bend it. Set the duplicated layer’s opacity to 80% or lower, add 3 to 8 px of Gaussian Blur through Filter Blur Gaussian Blur, and hide the edges with a layer mask painted with a black-to-transparent gradient. Then compress the far edge 5 to 10% so the reflection recedes. Real reflective surfaces are never as bright or as sharp as the object above them, so if your reflection reads as too clear, drop the opacity and add blur until it looks slightly like glass.
How do I make an image look like a water reflection in Photoshop?
Build a displacement map. Fill a new layer with 50% grey, run Filter Noise Add Noise at 400% with Uniform checked, then Filter Stylize Emboss. Select the flipped reflection layer, open Filter Distort Displace, set Custom scale to 10 to 50, and load the noise layer as the map. The reflection warps into ripples. Fade it with a layer mask, blur 8 to 12 px, and drop opacity to 50 to 70% so it reads as water rather than a second copy.
Is there a way to mirror an image in Photoshop?
Yes, two ways. For a single image, open Free Transform with Ctrl+T (Cmd+T on Mac) and tick Flip Horizontal in the options bar, or use Edit Transform Flip Horizontal. To mirror a layer without transforming it, right-click the layer thumbnail and choose Transform Flip Horizontal. For a reflection underneath a subject you want the vertical version instead: Flip Vertical, then drag the copy down so its top edge meets the bottom of the original.
Why does my Photoshop reflection look fake?
Four things cause it almost every time. The reflection is too sharp, so it keeps every edge and pore. It is too opaque, so it reads as a solid second object. It has no perspective, so it never recedes from the contact point. And it is the same brightness as the source, while real surfaces absorb light and come back dimmer. Fix those in that order: add 3 to 8 px of blur, drop opacity to 80% or below, compress the far edge 5 to 10%, then add a Curves adjustment that darkens the reflection further.
Can I create a reflection with Generative Fill instead?
You can, and for water it is genuinely good. Select the area beneath your subject, run Generative Fill, and prompt for a reflective puddle that matches the scene’s lighting and perspective. Adobe positions it as the fast route to realistic water and glossy surfaces, and readers on r/photoshop rate it well for that use. The limitation is editability: Generative Fill returns pixels, not a layer stack, so you cannot go back and adjust the fade, the opacity or the perspective afterwards. Use it for concepts, use the manual method for final work.
Where to Start
Do the first four steps on any logo and you’ll have a usable reflection in about ten minutes. That is duplicate with Ctrl+J, Flip Vertical in Free Transform, drag the copy down until the edges meet, and add a layer mask with Alt-click.
Then add the gradient fade, set opacity to 80%, and stop there for a week. Once the geometry feels automatic, come back and work on the two things that separate a believable reflection from an obvious one: compressing the far edge so it recedes, and dimming it with a Curves layer so it looks like light bouncing off a surface rather than a second photograph.