
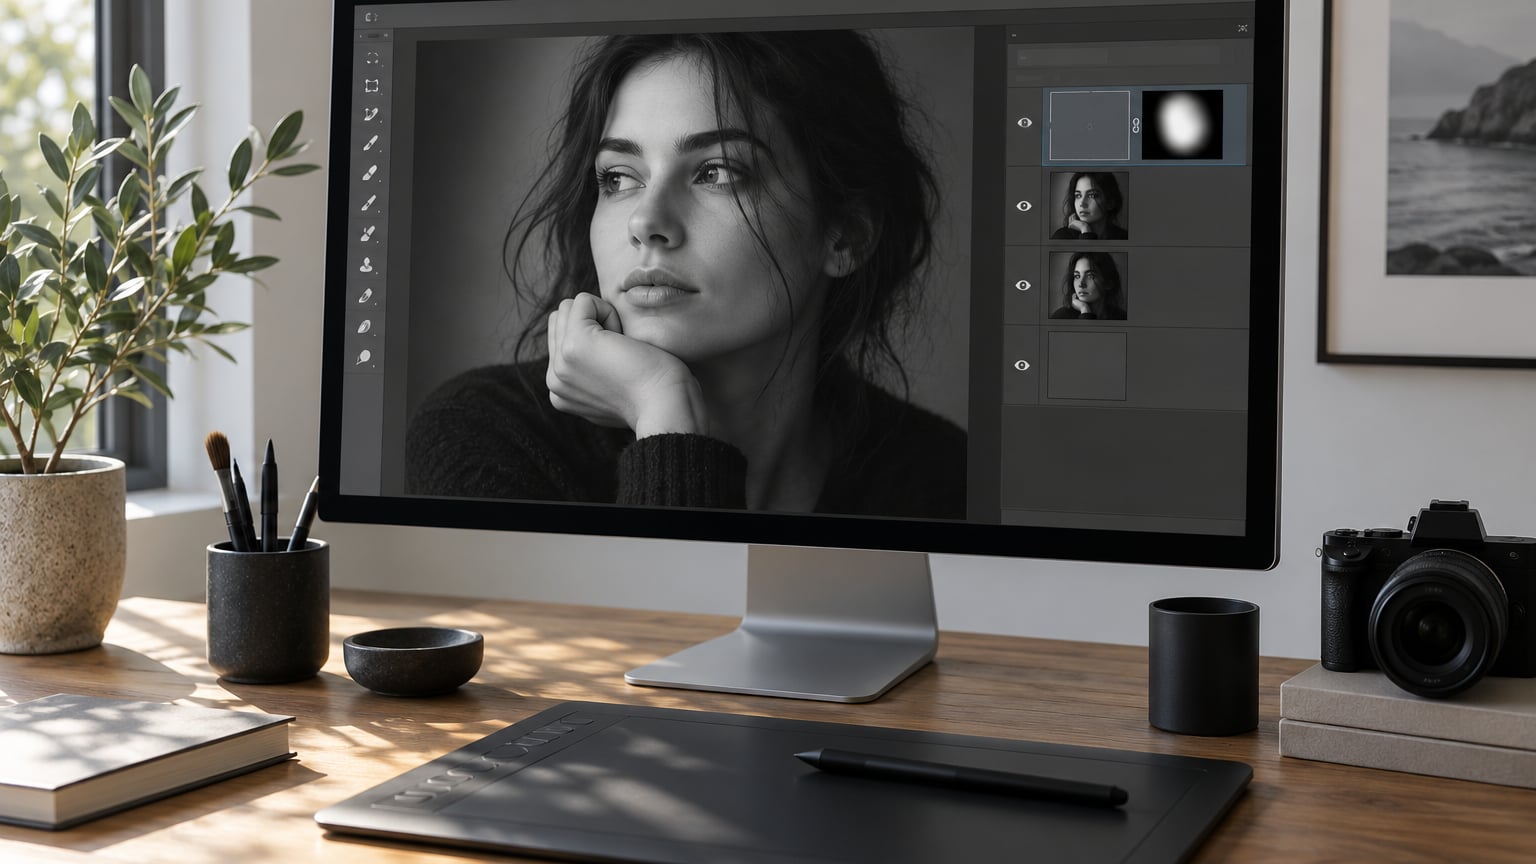
The fastest way to remove shadows from a face in Photoshop is a Curves adjustment layer clipped to a face selection, painted on with a soft black brush at low flow. Generative Fill is quicker for small, hard cast shadows, and the Healing Brush handles stubborn patches. The rule that decides whether it looks real: fix the brightness first, then correct the colour.
Shadows on a face are not one problem. A window frame across a cheek, a hat brim on the forehead and a flash reflection in the eyes are three different fixes, and treating them with the same tool is why so many retouched portraits end up looking flat. Once you know which kind of shadow you are dealing with, the actual editing takes a few minutes.
On a soft shadow, most of the information is still there and you only need to lift the tones. On a hard-edged cast shadow, the pixels under it were never recorded, so you are rebuilding them. Before you start, check which one you have: hold the cursor over the shadow and look at whether skin texture is still readable. If you can see pores, you are lifting tones. If the area is a flat grey block, you are reconstructing.
Table of Contents
- What You Need
- How to Remove Shadows from a Face in Photoshop: Step-by-Step
- 1. Duplicate the portrait and create a working layer
- 2. Select the face without cutting off the ears or hairline
- 3. Build a Curves adjustment layer to remove shadows from a face in Photoshop
- 4. Mask the adjustment to the face and refine the edges
- 5. Reduce the correction in areas that need detail
- 6. Compare the edited face with the original and export
- 7. Use a more targeted method for hard-edged cast shadows
- Common Mistakes
- Frequently Asked Questions
- Should I remove every shadow from a face?
- Is the Clone Stamp or Healing Brush better for facial shadows?
- Why does my edited face look pale or fake after brightening it?
- Can I remove shadows in Photoshop Elements or older versions?
- How do I keep a face mask from showing around the hairline or jaw?
- What is the best way to remove a dark shadow from only part of a face?
- Conclusion
What You Need
Current versions of Photoshop give you Generative Fill, which older builds do not. Everything else in this guide works in Photoshop Elements and in releases going back many years, only the tool names shift slightly.
A pressure-sensitive tablet makes the masking and dodge-and-burn stages faster, but it is not required. A mouse works if you lower the flow and use smaller strokes, which is what I do on photos where I only have one pass at the file.
Two preparation habits save trouble later:
- Work on a duplicate layer. The original pixels stay untouched, so you can always go back and compare.
- Zoom to 100 percent before you judge anything. At fit-to-screen, shadows look worse than they are and skin texture looks like noise.
- Note the shadow’s hardness. Soft gradient shadows, hard-edged shadows and small spots each want a different approach.
- Decide how subtle the fix should be. Most portraits look better with the shadow reduced rather than deleted.
One honest caveat before the steps. A face lit entirely from one direction still needs some shading to look three-dimensional. If you flatten everything to one tone, the face reads as a mask. Photographers on Adobe’s community forums say the same thing repeatedly: the goal is to make a shadow less noticeable, not to erase it.
How to Remove Shadows from a Face in Photoshop: Step-by-Step
1. Duplicate the portrait and create a working layer
Open the photo and press Ctrl+J on Windows or Cmd+J on Mac to duplicate the Background layer. Rename it by double-clicking the name field, something like “shadow work” tells you in three months what the layer was for.
How to tell it worked: the new layer sits above the original and the original thumbnail still looks unchanged. If you hide the top layer with the eye icon and the image looks exactly like the camera original, your pixels are safe.
Check the layer mode too. It should say Normal. A layer left on Multiply from a template will darken everything you add above it.
2. Select the face without cutting off the ears or hairline
Go to Select, then Subject. On portraits with messy hair or a busy background, use Select, then Object Selection, click the face, and drag a rectangle around it before pressing Enter.
Look at three edges before you move on: the hairline, the ears and the jaw. If the selection skips into the background near the hair, add to it with the Quick Selection tool on a smaller brush. To trim an edge that crept into your hair, hold Alt and paint with Quick Selection to remove.
Expand the selection by 1 to 2 pixels with Select, Modify, Expand so you do not leave a rim of untouched shadow along the edge. That rim is the single most common cause of the dark halo people complain about.
3. Build a Curves adjustment layer to remove shadows from a face in Photoshop
With the face still selected, add a Curves adjustment layer from the bottom of the Layers panel. Photoshop attaches a mask automatically because you had an active selection, which is exactly what you want here.
In the histogram, click the darkest part on the left to place a black point, then drag the top handle up gently. Small moves are the whole game: three or four gentle lifts beat one big drag every time. If you see the midtones going grey and lifeless, you have pushed too far.
Keep an eye on two things while you drag. Watch the brightest skin, because once shadows match highlights the face flattens. And watch the texture, because lifting shadows also lifts noise, and noise is what makes retouched skin look plastic. If you want a gentler, more gradual lift, use a small S-curve in the lower third instead of a straight lift.
For a wider tonal range, place the black point and white point first, then use the middle input handle to control the face. The Curves walkthrough covers this in more detail if the graph feels unfamiliar.
4. Mask the adjustment to the face and refine the edges
Your mask arrived white, meaning the whole adjustment applies. Press Alt and click the mask thumbnail to hide it, then paint back with a soft round brush in black or grey. Black removes the correction, grey softens it.
Set the brush to about 40 to 60 percent hardness and a flow between 6 and 10 percent. At 100 percent flow you will find the jaw edge in three strokes and have to undo. Low flow means you can build the correction gradually and stop at the right value.
Work the transition areas last: the jaw, the ears, the hairline and the neck. Feather the brush edge by pressing Shift+F once while the brush is selected, which smooths the stroke and avoids visible banding.
Three checks at normal size and at 100 percent: is there a light or dark rim along the jaw, is the neck brighter than the face, and does the correction fade before it reaches the ear. A 5 to 10 percent flow pass over the transition usually settles it.
5. Reduce the correction in areas that need detail
This is where portraits are won or lost. Nostrils, eyelid folds, smile lines, the crease under the lower lip and the shadow under the jaw are structural. Paint them back on the mask in black so they stay darker than the cheek around them.
Lower the mask layer opacity to about 60 or 70 percent if the whole face still feels too bright in patches, rather than fighting it with the brush stroke by stroke. It is a faster adjustment and keeps the texture you worked to preserve.
Alternate between close inspection and viewing the image at fit-to-screen. Close up you see texture and noise, zoomed out you see whether the face still has shape. A correction that passes both views is done.
6. Compare the edited face with the original and export
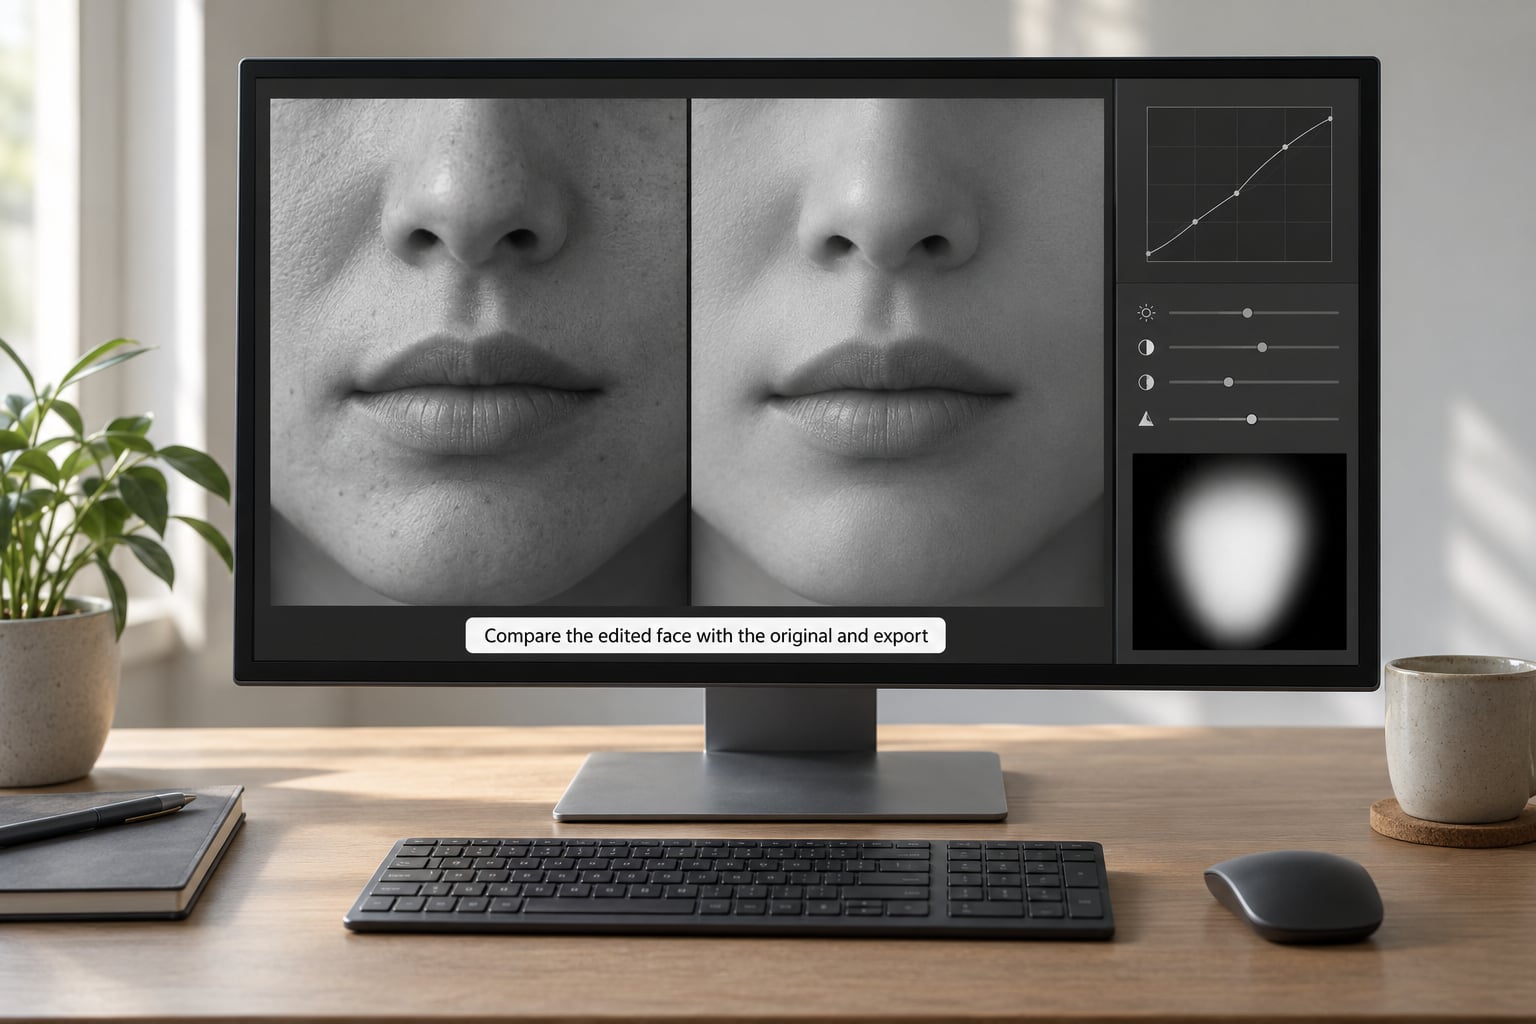
Toggle the working layer’s eye icon back and forth three or four times rather than once. Your eye adapts to each version separately, so the flicker is what makes small mismatches obvious.
Run through this list before you export:
- Skin texture still visible at 100 percent?
- Skin colour in the lightened area matching the lit side?
- Nostrils and eyelid folds still darker than the cheeks?
- No halo along the jaw or hairline?
- Background brightness unchanged?
- Any area clipping to pure white or pure black?
Then fix the colour. Shadows render cooler and less saturated than lit skin, so brightening one often reveals a blue-grey cast that was hidden before. Add a Hue and Saturation adjustment clipped to the same face mask, nudge saturation up by a few points, and pull the blue slider down slightly. Do this after the luminance work, never before, or you keep chasing the colour as the tones move.
To save a flattened copy for delivery, use Image, Duplicate, flatten it, then Save As. Keep your layered working file as a PSD untouched. The guide to recovering shadows explains why layer-based corrections are worth keeping around.
7. Use a more targeted method for hard-edged cast shadows
When a shadow has a sharp border, such as a hat brim or a railing, one Curves layer is not enough. You need to move the actual pixels.
Sample a patch of clean lit skin from the cheek or forehead. Set the Clone Stamp to that source, hold Alt, and click over the shadow in short strokes. Sample often, because skin tone shifts across a face, and reuse of the same source is what gives away a cloned area.
For blotchy results, switch to the Healing Brush. It blends texture and colour as it copies, which suits skin better than the Clone Stamp on larger patches. Sample generously so the brush has enough clean skin to work with, and keep the brush diameter smaller than the shadow.
Healing blends what it covers rather than reconstructing it, so a large flat shadow will stay flat. For those, add a new layer set to Soft Light, brush dark over the shadow at about 15 percent, and let the texture below show through the shading. Reclaim darker areas from a pass that went too far with the Levels sliders rather than with more brushwork.
Generative Fill handles small hard shadows quickly. Select the shadow, press Ctrl+I on Windows or Cmd+I on Mac, leave the prompt empty and press Generate, then cycle variants with the arrows in the contextual taskbar. It works well on a window frame edge. It is unreliable on skin texture because it invents pores, and the invented pores are usually the give-away.
Common Mistakes
The face looks pale and fake. You matched the shadow to the brightest part of the lit skin instead of its average. Grab the eyedropper, sample the midtone of the lit cheek, and reduce the lift until both areas match. A face with no shading at all reads as plastic no matter how clean the texture is.
Grey or blue patches appear after brightening. That is the colour shift showing itself. Match saturation to the lit side using the Info panel’s saturation readout, then pull blue down a few points in a Hue and Saturation adjustment clipped to the same mask.
A visible edge sits around the jaw or hairline. Too little feathering. Use a 40 to 60 percent hardness brush at low flow and press Shift+F between strokes. If the edge has a bright rim, the selection clipped the shadow rather than including it, so expand the selection and repaint.
Skin texture looks repeated. You cloned from one source across a large area. Re-sample every few strokes and vary the direction slightly. For large flat areas, the Soft Light dodge-and-burn layer described above avoids the problem entirely.
A dark halo surrounds the lightened area. The mask edge is too tight. Select the mask, choose Select, Modify, Expand, and set it to 3 to 5 pixels, then paint black around the transition to soften it.
Pores look stamped or smeared. Healing and Clone were applied at too large a brush size. Go back one step with Ctrl+Z and redo the patch at a brush diameter around a quarter of the area.
You spent two hours and cannot tell whether it worked. Toggle the layer visibility instead of scrubbing back and forth. Each toggle shows you the real difference, which painting back and forth never does.
Two workflow tips that save most of this trouble. Work at 100 percent zoom but step back to fit-screen every few minutes, because the eye lies to you at both extremes. And decide the target before you start: if the shadow needs to drop by 40 percent rather than disappear, stop when it drops by 40.
Frequently Asked Questions
Should I remove every shadow from a face?
Usually not. A completely shadow-free face looks flat, because real faces always carry some directional shading. Photographers on Adobe’s community forums treat reducing a harsh shadow as the goal rather than erasing it. Match the shadow to the average tone of the lit cheek, not to the brightest highlight, and stop as soon as the shadow stops drawing attention.
Is the Clone Stamp or Healing Brush better for facial shadows?
Healing Brush for small patches and blotchy results, Clone Stamp for hard-edged shadows that need pixel-level control. Healing blends texture and colour together, so it suits skin, but it leaves large flat areas looking flat. Clone Stamp moves real texture, so sample a fresh patch of clean skin every few strokes to avoid visible repetition.
Why does my edited face look pale or fake after brightening it?
Usually one of three things: you lifted the shadow to match the brightest highlight instead of the average lit tone, you flattened all shading so nothing gives the face shape, or you lifted far enough that noise and texture came up with the tones. Sample the midtone of the lit cheek with the eyedropper and dial the lift back until both areas read as the same tone.
Can I remove shadows in Photoshop Elements or older versions?
Yes, with one exception. Layers, masks, Curves and the Healing Brush all exist in Elements and in very old Photoshop builds, so the main workflow runs unchanged. Generative Fill does not. It arrived in a recent Photoshop release and needs a subscription and an internet connection, so on Elements or an older build you are limited to the Curves, mask and clone methods.
How do I keep a face mask from showing around the hairline or jaw?
Expand the selection by 1 to 2 pixels before you mask so the edge includes a little untouched shadow, then refine with a brush set to 40 to 60 percent hardness and flow around 6 to 10 percent. Press Shift+F while the brush is selected to feather each stroke, and check the result at fit-to-screen where a hard rim shows up more clearly than at full zoom.
What is the best way to remove a dark shadow from only part of a face?
Mask it locally rather than correcting the whole face. Make the selection, add the adjustment layer so it inherits the mask, then paint the correction in with black on the mask and keep it out with grey. Set mask opacity to 60 or 70 percent for a gentler overall strength, and add a Hue and Saturation adjustment clipped to the same mask to correct the colour cast.
Conclusion
Start with three things: duplicate the layer, select the face, and test a small Curves correction on the masked adjustment layer. Check it at normal viewing size before you refine anything, correct the colour cast once the brightness is right, and save the layered file rather than flattening over your original.
Working out how to remove shadows from a face in Photoshop is mostly restraint. Lift the tone, keep the modelling, and stop while the face still looks like a face.