
Submitting photos to a gallery means sending a curated set of your finished photographs to a gallery that may exhibit, represent or sell them, following that gallery’s published guidelines. Most people spend two to three weeks getting ready: a shortlist of targets, correctly prepared image files, a 150 to 300 word artist statement, a one-page CV, and a list of prints with prices. It is slower than it sounds and much less mysterious than the forums make it.
One thing to clear up first. A gallery here means a physical space that hangs work on walls. If you meant uploading finished photos to a website so clients can view them, that is a different process, and the FAQ at the end of this guide covers it.
I have watched a lot of photographers hold perfectly good bodies of work hostage because they were not sure whether they were allowed to send anything at all. The rules are simpler than the anxiety suggests, and this guide walks through them in order.
Table of Contents
- What You Need
- How to Submit Photos to a Gallery: Step-by-Step
- Step 1: Research galleries that fit your work
- Step 2: Check the gallery’s submission requirements
- Step 3: Select and sequence your strongest photographs
- Step 4: Prepare a professional digital submission
- Step 5: Write your artist statement and application answers
- Step 6: Send the submission and record the details
- Step 7: Follow up politely after the stated response time
- Common Mistakes
- Frequently Asked Questions
- Conclusion
What You Need
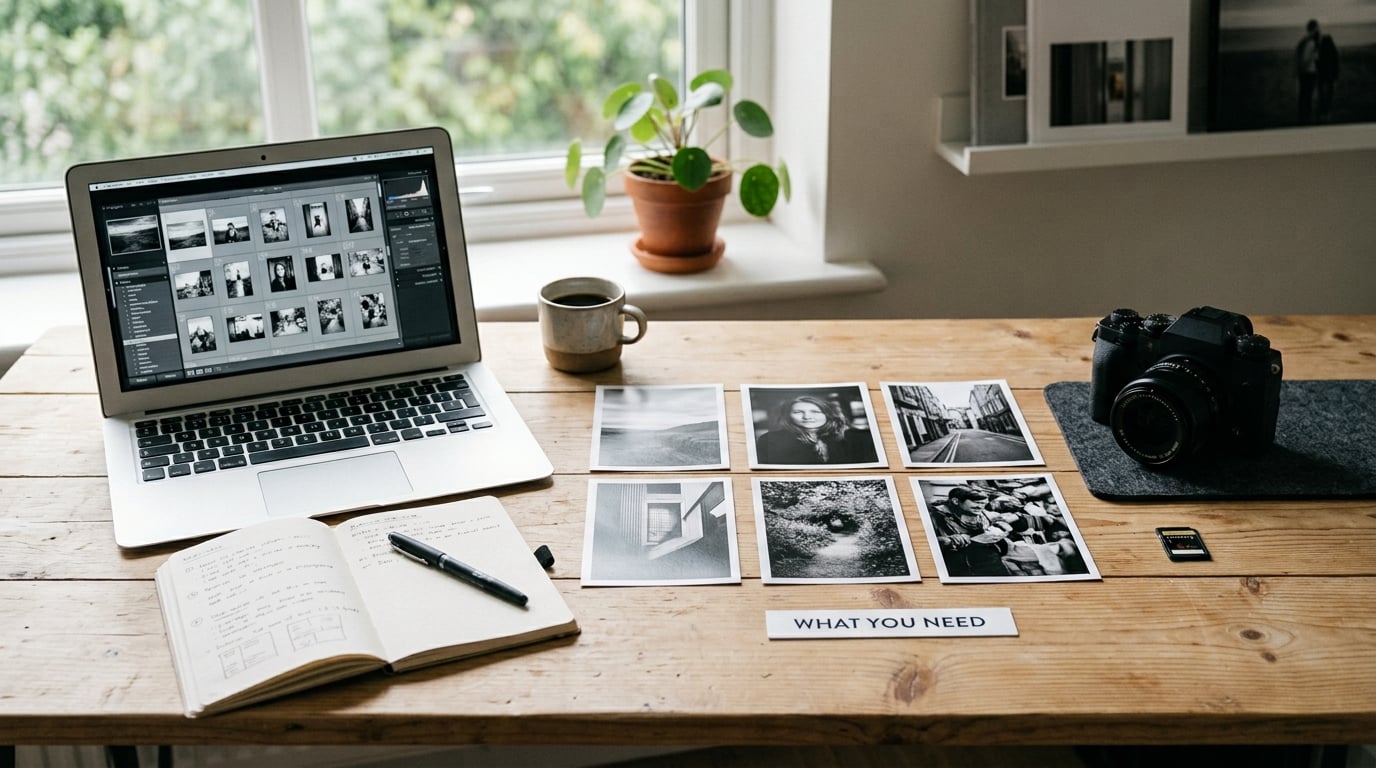
Getting these items together first turns the actual submission into a twenty-minute job instead of a month of fiddling.
- A finished body of work. A project with a beginning and an end, ideally eight to fifteen photographs that clearly belong together. Not your archive, not your best shots from the last four years.
- Correctly prepared image files. High-resolution JPEGs at 300 DPI, at least 1920 pixels on the longest side, saved in sRGB for anything viewed on screen. High-quality TIFFs only if a gallery asks for them by name.
- A color reference photo. One shot of each work in place with a color reference card and a gray scale in frame, taken in even, calibrated light. This is your proof that the color is accurate.
- An artist statement. 150 to 300 words. Longer than that and nobody finishes it.
- An artist CV. One page. Name, contact details, exhibitions, education, residencies, awards, publications, collections.
- A print and price list. Title, year, medium, dimensions, edition size, and retail price for each piece you would consider selling.
- A link to your online portfolio. Hosted somewhere that does not require a login and does not expire.
- A shortlist of galleries. Five to ten researched targets with the name of the person who handles submissions.
That is the whole kit. Anything beyond it is polish.
How to Submit Photos to a Gallery: Step-by-Step
Step 1: Research galleries that fit your work
Start where your work already lives, not where you wish it lived. Look at the current roster of each gallery and ask whether your photographs sit comfortably beside them in subject, tone, scale and price. A gallery showing large color work from a coastal region is a poor target for a quiet black-and-white study of a suburban street, however good your prints are.
Then check the basics: do they represent photographers, or only painters? Do they show emerging artists, or only established names? Is the location workable for you, and does the price band on their current work leave room for yours? A gallery director spends a few seconds on any submission, and those seconds are usually spent deciding whether you belong on the wall.
Confirm the gallery is real and active. Look for a physical address, a current roster updated within the last year, recent exhibition documentation, and a named director with a traceable history. Listing yourself in a fake call for entry costs money and produces nothing but a wasted afternoon, and there is no way to know which listings are real without checking.
Where do you find these lists? Call for Entry platforms, your regional arts council, guild and association directories, open call listings, and the exhibition pages of galleries you already admire. Keep a running list as you go. You will be glad of it in step six.
Step 2: Check the gallery’s submission requirements
Read the guidelines twice before you prepare anything. The second read is where you catch the details that get submissions discarded, such as an image count you had doubled, a required file size ceiling, or a form that has to be filled in rather than emailed.
Note down five things: how many images they want, what format and resolution, whether there is a submission fee, what the deadline is, and who to address it to. If the gallery says it does not accept unsolicited submissions, that is a complete answer, not a brush-off. It means the door is closed and there is nothing you can do about it. Move to the next name on your list. A surprising number of beginners read that sentence as a verdict on their work, and it is not one.
If there is no published policy at all, email one short question first: whether the gallery reviews unsolicited work, and to whom it should be addressed. That single message saves you from sending fifteen files into a void.
Step 3: Select and sequence your strongest photographs
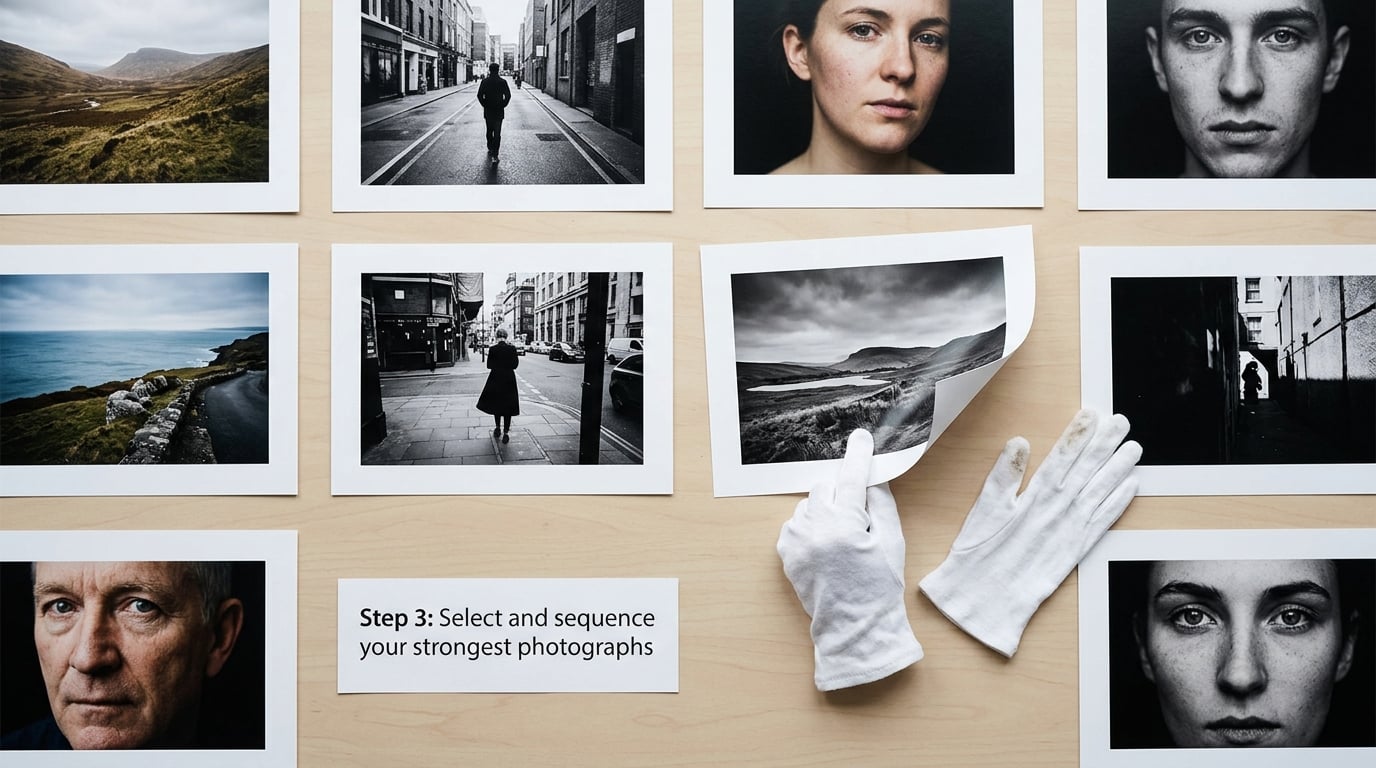
Editing a body of work down is the hardest part of the whole process. Most people send forty images when the guidelines ask for eight, and a curator opening a folder of forty images is not reading a story, they are looking for a reason to close the tab.
Edit honestly, in this order. Cut anything that repeats what another frame already says better. Cut anything technically compromised. Then cut your personal favorite, the one you are proudest of, because pride and strength are not the same thing and the frame that carries the project is rarely the one you love most.
Sequence what remains as if it were a sequence rather than a set. Open with the image that establishes place or scale. Let the middle move. Close with something quieter than the loudest frame you have. A gallery director flipping through your images in order should be able to describe what the work is about without reading your statement, and that is the test.
Step 4: Prepare a professional digital submission
Most galleries review submissions on a screen, so prepare for a screen and treat your files accordingly.
Export at 300 DPI with the longest side at 1920 pixels or more. Going larger is fine if their upload limit allows it, but there is no reason to send a 200-megabyte file to a portal built for thumbnails. Keep the longest side under roughly 4000 pixels and keep total file sizes well inside any stated limit. Save in sRGB for screen viewing, and mention in your note that you can supply Adobe RGB or TIFF files for print reproduction if the gallery needs them.
Name files so they make sense to a stranger. A workable convention is LastName_Title_Year.jpg, with the title carrying no spaces and no special characters. Include the medium and dimensions in your list rather than cramming them into the file name, where they get truncated.
Do not watermark submission images. It obscures the work, invites suspicion and makes your color look wrong. Do not send RAW files either. A RAW file is an unprocessed capture, not a photograph, and galleries need finished, color-corrected work. Keep the originals in your own archive.
Assemble a single PDF with the images in sequence, the artist statement, the CV and the price list, unless the guidelines specifically ask for separate files. One document is easier to forward internally, and forwarding is how a submission reaches a decision. Then open the PDF on a second device and check it before it goes anywhere.
Step 5: Write your artist statement and application answers
The statement is not a biography and it is not a mood. It is a 150 to 300 word explanation of what you photograph, what you are looking at, and how you work. Four parts, in this order:
- What drives the work. The place, subject or question that keeps you returning.
- What you are exploring in it. The tension, theme or contradiction underneath.
- How you make it. Format, process, working method, any technical choices that matter to the result.
- Why this body of work, and now. What changed, and what you want to happen next.
Write plainly. Short sentences. No jargon a stranger has to decode, and no claims about influences you did not study. The most common failure is a paragraph of adjectives where a paragraph of specifics was needed.
A weak line tells the reader your work is a deeply personal exploration of the human condition. A strong line tells them you photographed the same four blocks of a coastal town every Sunday for eleven months, at the hour when the light turns flat, and something about repetition started to look like a decision. The second version cannot be written by someone who has not done the work.
Application form fields get the same treatment. If a box asks for your statement in under a hundred words, cut your 300 and keep the first three parts. Answer what was asked, in the space provided, and never paste a paragraph into a single-line field.
Step 6: Send the submission and record the details
Now you actually submit photos to a gallery, and the mechanics matter more than people expect.
Address the message to a person, not to info@. A short subject line such as Submission for representation, followed by the artist name, is enough. Keep the body to a few sentences: who you are, what the work is, where you found their guidelines, and one line thanking them for their time.
Attach exactly what was requested, check the file actually attached before you hit send, and read every form field one more time. A typo in the artist’s name in the heading of the PDF is the sort of thing that stays in someone’s memory.
Record the submission the same day. Note the gallery, the contact, the type of submission, the date sent, the stated response time and the date you will follow up. A simple spreadsheet with those columns takes five minutes to set up and turns a scattered pile of emails into something you can actually manage when you have twelve of them in flight.
Step 7: Follow up politely after the stated response time
Silence is the most common experience in this whole process, and it is worth saying plainly: a gallery is under no obligation to reply to an unsolicited submission. Most are run by two or three people who already have a full inbox and a deadline that week. Silence usually means the submission did not reach the top of the pile, not that anyone is holding a grudge.
Wait for the response time the gallery states. If none is stated, wait six to eight weeks, which covers the range most directors work within. Then send one short reminder, no attachments, referencing the date and title of your original message. Something like: I wanted to follow up on the photographs I sent on 12 March for your spring open call. I understand these take time, and I appreciate your consideration.
If there is no reply after that reminder, stop. One follow-up is professional. A second is a nuisance, and it can count against you with a director you may need later. Close the file, note the date, and move your energy to the next name on the list. If the gallery publishes a general submissions address, that is the address to use for your next attempt with them, and a second, better-edited submission a year later is a completely legitimate move.
Rejection itself is the normal outcome of this process, not a verdict on your worth as a photographer. Galleries show what fits their current program and their wall space. Getting a no means that body of work and that gallery were not a fit right now, and the useful question is never whether you are good enough. It is which of the ten galleries on your list is actually the right one.
Common Mistakes
These are the errors that get a submission closed before anyone looks at the photographs, and every one of them has a straightforward fix.
Sending when the gallery does not accept unsolicited work. The guidelines say what they say. Respecting a closed door is basic professional conduct, and it costs you nothing to move to the next name.
Sending forty images to a gallery that asked for eight. Extra images do not read as generosity. They read as an inability to edit, and they give a curator more chances to find something to criticize. Match the stated count exactly.
Delivering a folder of unrelated favorites. A gallery shows a body of work, not a highlight reel. If your images only connect thematically, pick a theme and shoot it properly before you write to anyone.
Ignoring the format, resolution or naming rules. A submission that violates the published spec is frequently discarded unread. Export at 300 DPI, at least 1920 pixels on the longest side, sRGB, named LastName_Title_Year.jpg, and re-read the guidelines the night before you send.
Sending RAW files or watermarked previews. Both get flagged immediately. Galleries need finished, color-accurate images, and a watermark is a request not to be taken seriously.
Submitting with no artist statement or a copy-pasted bio. A generic statement signals that you sent the same packet to thirty galleries. Write one in your own words, about your own work, and change it for each target where you can.
Forgetting the artist CV. One page, reverse chronological, no paragraphs of prose. Exhibitions, education, residencies, awards, publications, collections. If it does not fit comfortably on one page, you are writing an essay.
Following up too fast, or three times. One polite reminder after the stated window is fine. Anything beyond that reads as pressure and can close a door that was slowly opening.
A few professional habits cover most of the rest. Keep a submission tracker. Tailor the first paragraph of each message to the gallery’s current show. Print a small contact sheet and mark the sequence on it before you export, so the order on your screen is the order in the PDF. And update your CV the day something happens, not the night you are assembling a package.
One more that comes up more often now: if any part of your work is AI-generated, say so. A number of curators screen for undisclosed AI work, and being asked directly about it after the fact is a far worse position than volunteering the information. Volunteering costs you nothing, and a short disclosure line in your cover note settles it.
Frequently Asked Questions
How much does it cost to submit photos to a gallery?
Most galleries charge no submission fee at all, and non-profit and juried group shows are almost always free to enter. Costs usually appear later, once work is accepted: large-format fine art printing, framing, matting and glazing, and the transport of framed pieces. Ask the gallery directly what it covers before you commit, and get any arrangement in writing before you start spending.
Can I submit photos to a gallery by email?
Usually yes, but only if their guidelines say so. Many galleries use an application portal or want a single PDF rather than loose attachments, and a few accept nothing by email at all. If the policy is unstated, send one short message asking how they want to receive work, address the director by name, and use a clear subject line.
How many photos should I submit to a gallery?
Follow the stated number, which is commonly six to twelve images. If no count is given, eight to twelve is a safe range for a review. The number matters less than coherence: a tight sequence of eight photographs that clearly belong together is far stronger than forty of your best frames pulled from a decade of work.
What size prints should I make for a gallery show?
Ask before you print anything, because formats vary widely by gallery tier and by wall space. Prepare a range of standard sizes, list what you can produce on short notice, and confirm framing and matting conventions with the gallery. Sending unframed, unmatted prints for a curated show is the safer default unless you are told otherwise.
Why did my gallery submission get rejected?
You will probably never be told, and that is normal. Common reasons are a body of work that does not match the gallery’s current roster, too many images, weak or inconsistent documentation, a missing artist statement, or a mismatch with their price range. Treat a no as a fit problem rather than a judgement, edit harder, and send it somewhere it fits better.
Can I exhibit photography without a gallery?
Yes, and many photographers do. Art fairs, co-op and member-run spaces, community and non-profit shows, restaurant and salon walls, print-on-demand shops, and your own online sales gallery all work without a commercial gallery relationship. Each has trade-offs, but a first exhibition through an open call or a local council program is a good way to learn how the process actually works.
Conclusion
Start with one gallery, not ten. Research a single space where your work genuinely fits, read its guidelines twice, and put together one properly edited sequence with a statement and a one-page CV. Send that one submission, record the date, and wait the period they stated before you follow up once.
That single complete cycle teaches you more than a month of reading about the process. Do it, note what you would change, and then send the next one. Updated for 2026.