
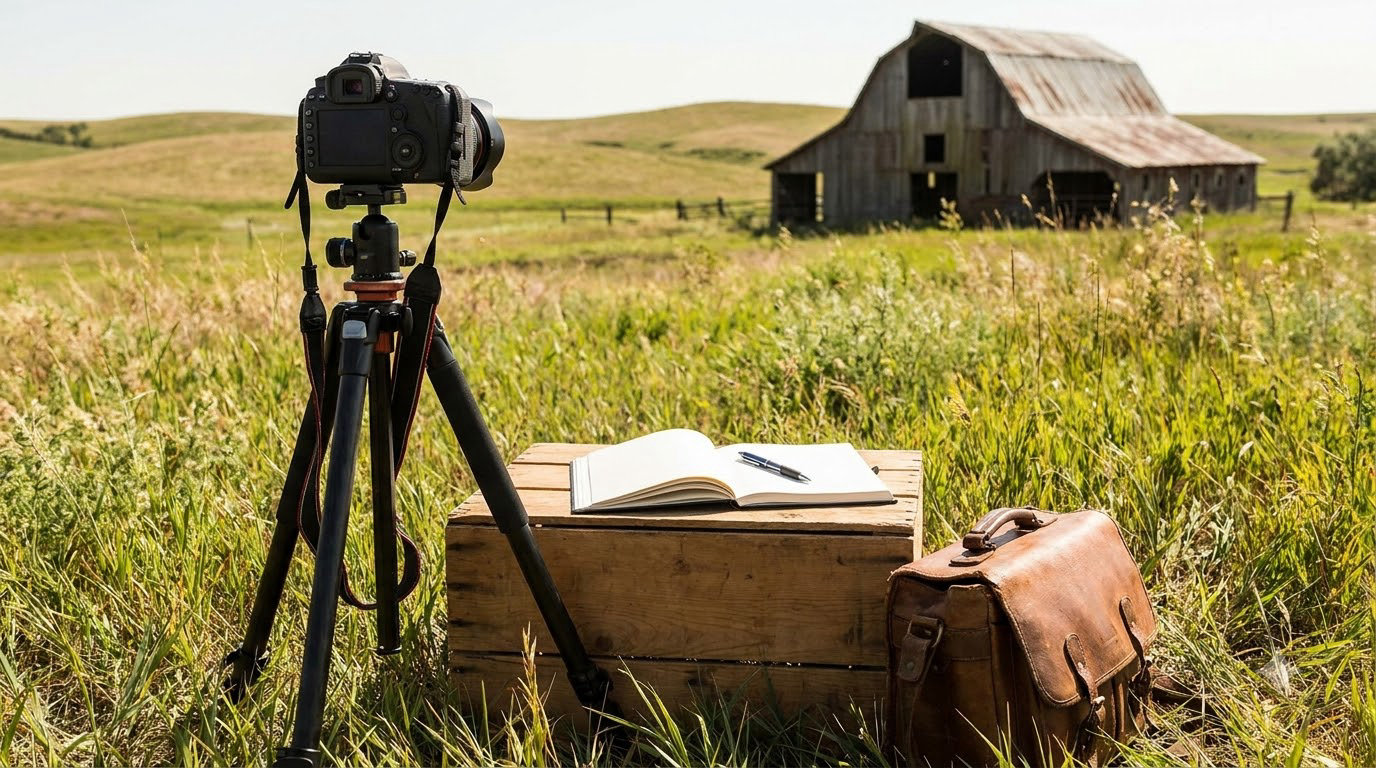
Scouting a location means visiting and evaluating a place before shoot day. You check its light, access, backgrounds and practical limits, take a few reference frames, and decide whether it is worth committing your gear, your client and your schedule to it.
If you want to know how to scout a location before a shoot, the method is simple: define the photographs you need first, research the place from your sofa, then walk it at the same time of day the shoot will happen. That last part is the one people skip, and it is the one that decides whether the visit was useful.
Roughly 60 to 90 minutes on site is enough for most spots, plus travel. A second visit is worth it when the light matters more than the walk. The rest of this guide walks through the whole process, from the shot list you write before you travel to the backup plan you leave with.
Table of Contents
What You Need
A scouting trip is not a shoot, so the gear list is short. What matters is that you can look, measure and record without turning the visit into an evening of image sorting.
- The brief and a short shot list. Five lines on paper beat a mood board when you are standing in the rain trying to remember what the client actually asked for.
- A camera with a wide lens and a short telephoto. A 24mm or so for the establishing frame and a 70-200mm to check what the background looks like when you compress it. Photographers on photography forums make one point over and over: scout with a camera, not just a phone, because compositions that work wide often fall apart when you crop in.
- A tripod. Not to shoot with, but to mark a camera position and set a test frame in seconds.
- Sun and moon position apps. PhotoPills, The Photographer’s Ephemeris and Sun Seeker each answer a different question about where the light will be. Free versions are usually enough for scouting.
- Maps, downloaded offline. Mobile signal drops in exactly the places with the best light. Google My Maps or an OS Maps account lets you drop pins for anything you find.
- A notebook and a pen. Paper does not need charging, and parking bay numbers, toilet locations and door codes do not fit well in a phone note you cannot read in the dark.
- Water, boots and a layer. Ground that looks walkable in a car park can be a bog twenty minutes in.
- Someone local, if you have one. A resident or a local photographer can tell you in thirty seconds when the park floods, when the gates shut, and which tree is a bad idea to stand under in a gale.
Add a compass if you care about sun direction and your phone battery is unreliable. Everything else is optional, and most of it you will end up doing on your phone anyway.
Step-by-Step: How to Scout a Location Before a Shoot
The workflow below moves from a written brief to a timed, prioritised plan with a backup attached. Work through it in order, because each step saves you from a mistake the next one would have exposed.
1. Define the Photographs You Need
Start on paper, not on a map. Write the subject, the mood and the specific frames you have to deliver, then add the practical constraints: what direction the light needs to come from, how much space the subject needs, and which backgrounds are non-negotiable.
Five to ten reference images beat a vague ambition. When you find a spot that looks beautiful but faces the wrong way or sits in a car park’s shadow, you will know immediately that it cannot deliver the frames on your list.
For portrait work, add the human constraints now. Where does the subject get changed, is there anywhere quiet enough to hear a direction, and is there room for a wheelchair or a nervous teenager to sit down for ten minutes.
2. Research the Location Before You Visit
Most candidates die at this stage, which is the point. Satellite and street-level imagery tell you the terrain, the entrances and how close the buildings are. Map data tells you where parking legally sits and which approaches are public.
Recent photographs taken by other people tell you what the place looks like now. A wall of near-identical frames from the same angle usually means the location is well worn and you will need a different idea, not a better execution of the same one. A sparse or unremarkable collection often means there is room to make something of your own.
Weather records for the date tell you which way the light will behave. So do the sun position apps: check where the sun rises and sets relative to the subject’s position, and note the times for your planned shoot date rather than for today. If you are travelling far, do this check again a week out, because nothing on the ground stays fixed for long.
Treat anything you read online as a hint rather than a fact. Gates, parking restrictions and construction change without notice, and a review written last summer tells you nothing about this weekend.
3. Check Permissions, Access, and Safety
Ask one question on arrival: is this public or private, and who actually controls it. Public parks and open landscapes are usually straightforward for personal work, though a local authority may have its own rules about tripods, tripods on pedestrian routes, or anything that looks like a commercial setup.
Private property needs a conversation with the owner, and for anything commercial you may need a written permit, insurance certificate and property release. Landlords want to know when you arrive, how long you stay and what you will not do to the grounds. Get it before the shoot, not on the morning.
Then walk the practical route. Where do you unload, how far is the carry, are there stairs or a locked gate at the wrong end of the day, and is the ground uneven enough to be a problem for a tripod or a wheelchair? For portraits, note where people walk and when it is quietest, because a person crossing the frame ruins a long exposure and most other shots besides.
Safety deserves its own look. Check edges, drops, water depth, ice, mud and how isolated the spot is after dark. If you cannot get to it safely with full kit, that is an answer.
4. Study Light Throughout the Day
Walk the site once at your planned hour and again at least two hours earlier or later. Light you did not expect will show up in the second visit, and it costs you nothing but time.
Write down the sun direction, the shadow length, the colour of the light and how fast it changes. Note which walls or buildings block the sun and at what hour, and where windows throw usable light indoors. That gives you the difference between front-lit, side-lit and backlit options, and it tells you which one you can rely on for a specific time.
Where the topic suits it, monochrome decisions come from the same walk. If you are shooting for black and white photographs with a digital camera, the shapes and tonal separation you log on the scout are the whole decision, and a second visit under flat cloud is often more useful than another sunny one.
Finish with a bad-weather note. If the sky closes in, where would you stand instead, and would an overcast sky actually suit the subject better than the sun you came for? Write the Plan B while you are standing in it.
5. Scout Backgrounds, Foregrounds, and Sightlines
Stand where your subject will stand, then look at everything behind them at eye level. Distractions that vanish on a map are obvious in the real thing: a lamp post, a bin, a car park sign, a bright doorway, a cable strung across a wall.
Then look for what works. Depth comes from layers, so check for something in the foreground that gives you scale, a middle distance and a background. Leading lines that are obvious on satellite imagery often disappear at ground level, so test them with the camera rather than trusting the map.
Reflections, texture and negative space all change through a day as the sun moves. If you are drawn to a sparse, uncluttered look, shooting minimalist photography puts extra weight on what you can delete from the frame, which is exactly the judgement a scout visit improves.
6. Test Key Compositions and Camera Positions
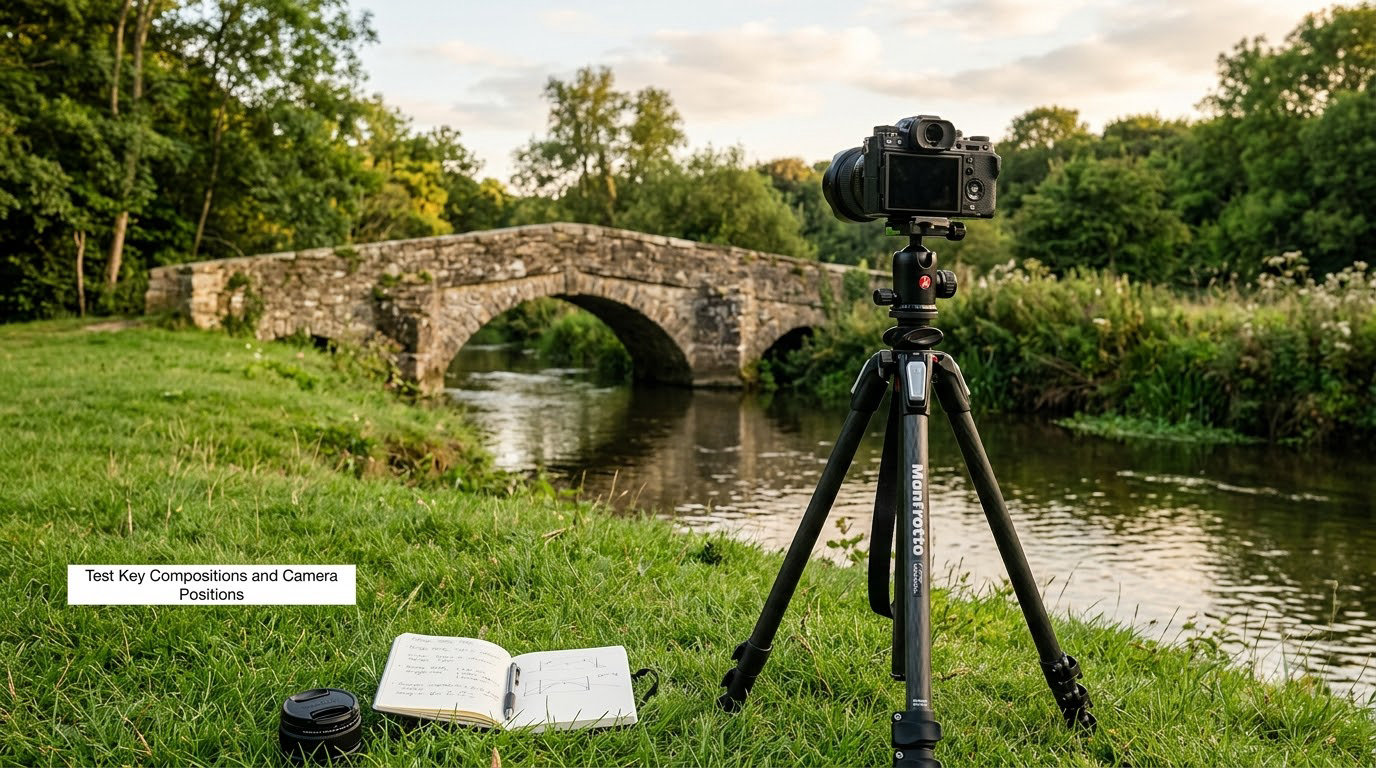
Set the tripod in each position you think you might use and make one frame from each. You are not trying to make a good photograph, you are testing whether the idea survives contact with the camera.
Work through the formats you will actually deliver. A horizontal landscape frame and a vertical portrait frame of the same scene rarely behave the same way, and square crops have their own rules, which we cover in how to shoot in square format. Make one close-up and one detail frame too, because the shot list often needs them and you will not think of them standing in a car park.
Mark each position on your map as you go, with a number. On the day you will be setting up in bad light with a client asking questions, and a numbered pin saves you ten minutes of walking in circles.
7. Build the Final Shot List and Backup Plan
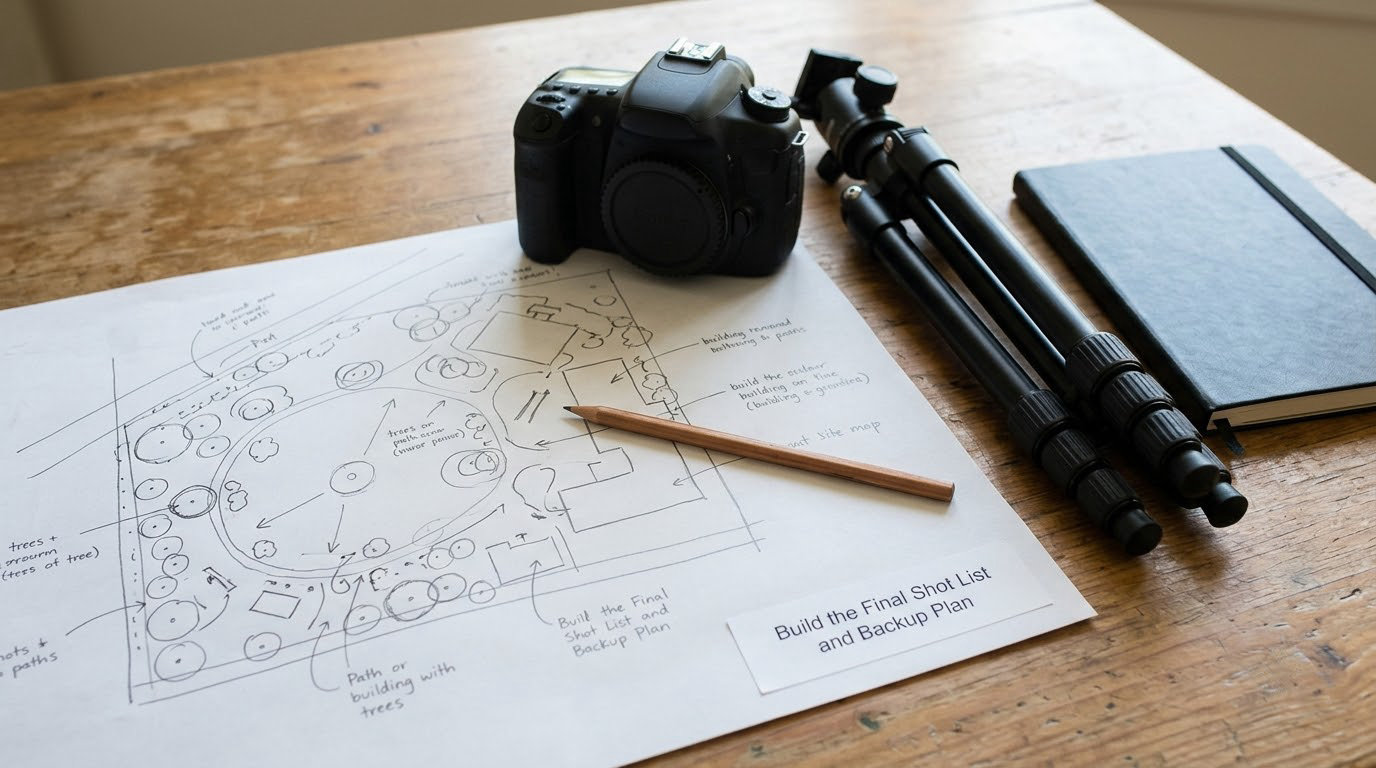
Consolidate everything into one page you can actually use in the field: the map with numbered positions, the timed light notes, the parking bay, the gate code, the toilet, and a prioritised list of the photographs in the order you want them.
Prioritising matters more than people expect. If you can only make four of the ten frames, which four protect the job? Put those first in the list so that a lost afternoon still ends with a usable set.
Hold a backup location, not just a hope. Identify somewhere within a short drive that works in overcast conditions or bad ground, and note why it works. Weather, a closed gate or a bus full of tourists should cost you one frame, not the shoot.
If you are shooting several spots in a day, cluster them. Locations within walking distance let you work with the light instead of driving through it, and the middle of the day can become travel time while you wait for the good hour. That habit of grouping a morning cluster and an afternoon cluster is the most useful thing a scouting trip teaches you.
The On-Site Scouting Checklist
This is the page to take with you. Tick the third column mentally as you walk, because any single disqualifier is usually enough to move on.
| Check | What to look at | What disqualifies the spot |
|---|---|---|
| Light | Sun angle, shadow length, colour at your planned hour | Fully shaded at the hour you need |
| Access | Entrances, stairs, walking distance, surface | No legal entry or unwalkable footing |
| Parking | Spaces, vehicle size, permit or time limits | Nowhere legal to unload the car |
| Noise | Traffic, aircraft, generators, crowds | Levels that rule out long exposures or recorded sound |
| Power | Outlets, distance to supply, battery needs | No power and a long battery day ahead |
| Toilets | Nearest public facility and its hours | No facilities on a long session |
| Crowds | Weekday against weekend footfall | Constant movement through the frame |
| Ground | Mud, gravel, ice, grass, trip hazards | Surface that damages kit or blocks the subject |
| Seasons | Foliage, water levels, snow, building work | The frame only works in a month you cannot travel |
| Permissions | Public land rules, owner contact, permit needs | Access that depends on one person’s goodwill |
| Safety | Edges, water, isolation, emergency access | Risks you could not control on the day |
| References | Existing images from this exact spot | A wall of near-identical frames already there |
Common Mistakes
Visiting once, at whatever hour was convenient. A 10am visit tells you about 10am light. Fix: return at the shoot hour, and if the trip is long, check sun position for that date on an app before you commit to the second visit.
Ignoring what is behind the subject. The composition works in your head and fails because of a lamp post. Fix: stand at subject height, not at the camera height, and check at the focal length you will really use.
Assuming the location is open to you. Fix: ask at the scout visit, in person, and get anything commercial in writing before the day.
Testing one camera position and calling it done. Move twenty steps sideways and the light, the background and the foreground all change. Fix: number at least three positions and note what each one is for.
Testing only one focal length. A wide frame that looks great can have an unusable background when you shoot closer. Fix: make the same frame wide and long.
Treating the scout as a guarantee. The preview tells you what usually happens there, not what will happen on your date. Compare the real frame with your reference image afterwards: if the sun direction matches and the backgrounds are as you logged, the scout held. If they are not, work out which note was missing and add it for next time.
Over-planning the day. Ten locations in eight hours means ten rushed locations. Three or four nearby spots beat nine spread across a map, and the hours when the sun is unhelpful are better spent travelling or eating.
Frequently Asked Questions
How long should I scout a location before a shoot?
Scout about a week before the shoot, and visit at the same time of day the photographs will be taken. That timing gives you time to fix a permission, a parking problem or a background you misjudged. Allow 60 to 90 minutes on site for a single spot, more if it involves a carry, a permit or a walk across rough ground. Return a second time if the light matters more than the location.
What time of day should I scout a photography location?
Scout at the hour you plan to shoot, and at least once far from it. A single midday visit tells you nothing about the low, warm light you will actually be working with. Note the sun direction, shadow length and colour at the planned hour, then check the same spot two hours earlier or later to see how fast conditions change. If you cannot visit twice, use a sun position app to predict the angles and write them down.
How do I scout a location when the weather is bad?
Rain and overcast skies are useful scouting conditions, not wasted ones. Flat light shows every distraction in the background, which is exactly what you want to catch. Wet ground reveals puddles and reflections that dry weather hides, and moving cloud makes you watch how fast light changes across a scene. Just add two things to your notes: what the spot looks like in flat light, and where you would stand if the sun breaks through.
Do I need permission to scout a photography location?
In most places you can visit and photograph a public park, beach or street without asking anyone. Scouting on private property without the owner’s consent is different, and so is any commercial or professional use, which may need a permit, insurance and a property release. If a tripod or a small crew might block a path or attract attention, ask the managing authority. The scout visit is the easiest moment to start that conversation.
Should I return to a location after the first scouting visit?
Yes, whenever the light is the deciding factor. A second visit at a different hour or in different weather reveals compositions, backgrounds and access routes the first one could not show you. Return when a scout frame looks promising but only works under conditions you have not seen yet. Keep the reference frame from the first visit, compare it with what you get on the day, and note anything you missed.
Conclusion
The whole method reduces to three things: know which photographs you need, know where the light and the access actually are, and leave with a short list of tested positions plus a backup.
Start today by writing your five most important frames on paper. Then pick your top location, check the sun position for your shoot date, and spend an hour on site at that same hour with a camera and a notebook. What you write down there is what makes the day itself go smoothly.