
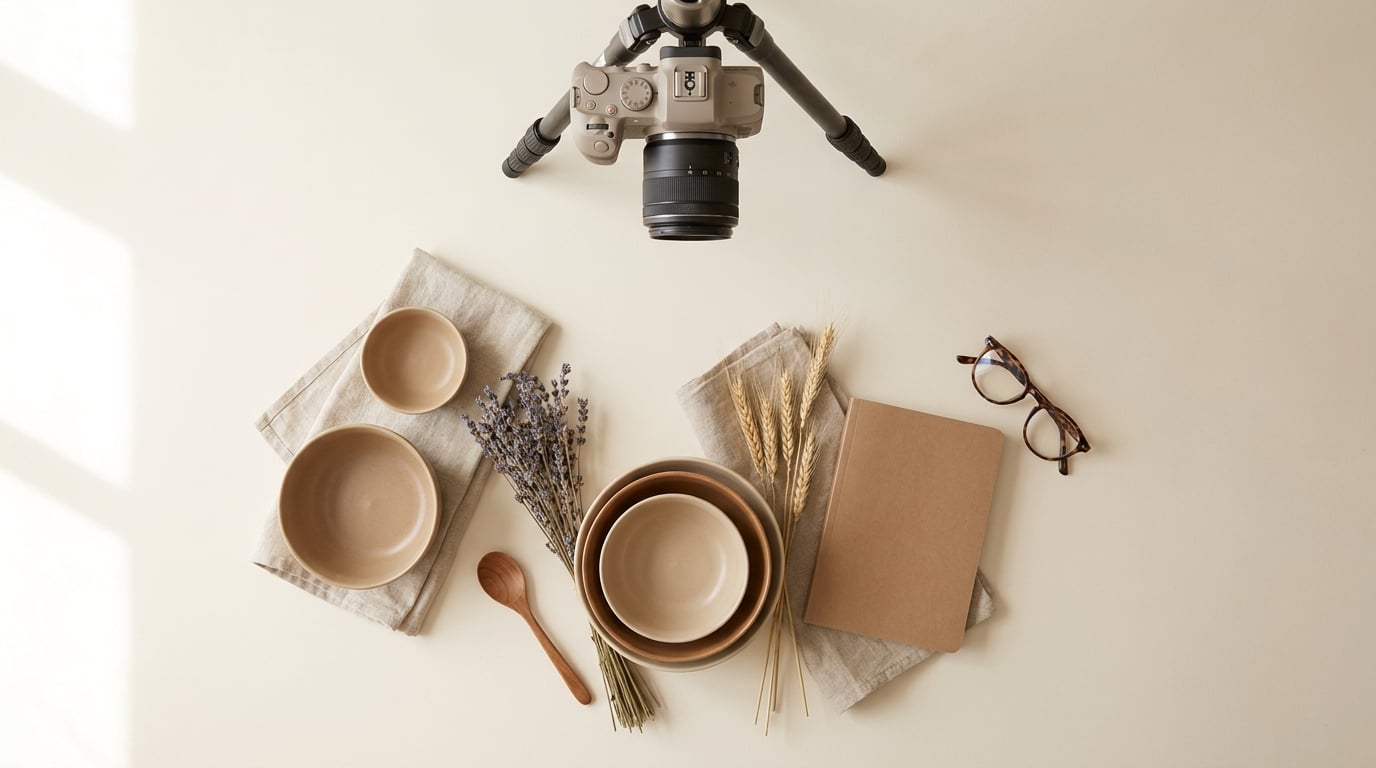
Flat lay photography is a still-life shot taken from directly above, with the camera pointing straight down at objects arranged on a flat surface. To shoot one well you need soft even light, a background that stays out of the way, and a camera held perfectly parallel to that surface. A phone and a window will get you most of the way there.
Learning how to shoot flat lay photos takes about an afternoon and almost no gear. Most of the work is deciding what belongs on the surface, then giving it light soft enough to show texture instead of glare. Below is the workflow I would hand a beginner: pick three objects, put them beside a window, and shoot one frame before you touch anything else.
Table of Contents
- What You Need to Shoot Flat Lay Photos
- Step-by-Step
- 1. Plan the Flat Lay Concept
- 2. Choose and Clean the Background
- 3. Arrange and Style the Objects
- 4. Set Up Soft, Even Lighting
- 5. Set the Camera and Exposure
- 6. Focus on the Important Details
- 7. Check the Frame and Capture Variations
- 8. Review, Refine, and Save Your Images
- Common Mistakes
- Simple Techniques to Improve Your Results
- Frequently Asked Questions
What You Need to Shoot Flat Lay Photos
You need six things, and four of them are free. Here is the honest list.
- Camera. A phone with a native 2x lens is a genuine starting point. Beyond that, any mirrorless or DSLR with manual exposure will do, and a 50mm lens is the one worth adding first.
- Support. A tripod that can hold the camera over the surface at 90 degrees. This is the piece people skip and then wonder why their images are soft.
- Surface. A matte board or sheet of paper. Glossy magazine covers and polished counters reflect your light and your own silhouette back at you.
- Light. A window, a sheet of white foam board to bounce, and a piece of white fabric or tracing paper to hang in the window if the sun is direct.
- Styling. Props with different heights, textures, and one or two colors that relate to each other. Household objects work fine.
- Editing. Whatever you already use. Crop, white balance, and a dust brush are the only tools this genre really needs.
Two cheap extras pay for themselves quickly. A remote shutter or Bluetooth clicker stops the shake that comes from pressing the button, and lets you step out of your own shadow. A set of small clamps or a sandbag solves the tip-over problem that shows up the moment a tripod arm extends over a table and the centre of gravity leaves the legs.
If you want a controlled setup without chasing daylight, build a lightbox. Line a large cardboard box with white foam board, cut a hole in the lid for the lens, and tape a sheet of white fabric over it. Flat lay shooters on r/AskPhotography and r/productphotography report that a steady rig is what turns a hobby into a repeatable one.
Step-by-Step
1. Plan the Flat Lay Concept
Decide what the photo is for before you touch a prop. A product listing, a seasonal mood, and a recipe shot all need different objects, and choosing with the purpose in mind stops you styling a scene that says nothing.
Pick a small group. Three to five objects work better than nine, because each one gets room to breathe. Sketch the rough arrangement on paper while you gather them, and you will spend less time rearranging on the floor.
2. Choose and Clean the Background
Choose a matte, quiet surface with enough room for the arrangement plus a hand’s width of empty margin on every side. Warm wood, painted MDF, matte grey board, and unglazed ceramic all behave well. Avoid anything reflective, and skip pure white unless you are prepared to expose carefully because it clips easily.
Then clean it. Dust, fingerprints, and a single hair are far more visible from above than they are in any other genre. A lint roller or a damp cloth takes ten seconds and saves the frame.
3. Arrange and Style the Objects
Start with a hero item, the largest or most important object, and build outward from it. Add supporting props in odd numbers, vary their height, and overlap a few edges so the layers read as depth rather than a row of stamps. If you have never styled one, how to shoot flat lay photos safely means repeating this build three times and keeping the version that reads fastest at thumbnail size.
Balance matters more than symmetry. A tall object on one side wants a low, wide object opposite it. Use negative space deliberately instead of filling every corner, and give your color palette two or three related tones rather than a scatter of competing hues.
Contrast does the heavy lifting here, whether it is a matte ceramic bowl against glossy silk or a warm wooden spoon against a cool grey board. A little imperfection, a prop sitting slightly off-center, is usually what makes a layout feel handled instead of staged.
4. Set Up Soft, Even Lighting
Large and soft is the goal. Put your subject beside a window and as close to it as you can, then hang a sheer curtain or a sheet of white fabric to spread the light out. Direct sun creates hard, long shadows that pull the eye away from your objects.
Angle the light slightly to one side rather than straight overhead, since a small shadow under each prop gives the image depth. A white foam board on the opposite side bounces light back into the darkest corner.
Two things trip people up. Your own head and arm cast a shadow when you lean over a window, so work from the side and check the frame before each shot. And mixing a warm bulb with daylight from a window gives you a color cast that will not match between sessions, so pick one source and set your white balance to it.
5. Set the Camera and Exposure
Mount the camera directly overhead, level it with a bubble level or the grid guide, and turn off stabilization since a tripod already handles that job. These are the starting values most flat lay photography calls for.
| Setting | Start here |
|---|---|
| Support | Tripod, arm locked, camera level |
| Focal length | 50mm, or 2x on a phone |
| Aperture | f/5.6 to f/8 for edge-to-edge sharpness |
| ISO | 100, raised only if the light demands it |
| Shutter | 2-second timer or remote release |
| White balance | Fixed manually to your light source |
| File format | RAW if your camera has it |
Manual exposure works well here because the light does not change while you rearrange. On a phone, tap and hold on the brightest object to lock exposure, then lower exposure slightly so white surfaces keep their detail.
6. Focus on the Important Details
With the camera parallel to the surface, focus on the hero object and switch to manual focus so nothing hunts mid-frame. Stop down enough that the far edge of the arrangement stays sharp, which is why f/5.6 to f/8 beats a wide-open aperture here.
Watch for the two classic failures. A wide-angle lens held too close bends items at the edges of a large layout, and autofocus landing on the background leaves your actual subject soft. Step back or zoom in to fix the first. Check your focus point before every capture to fix the second.
7. Check the Frame and Capture Variations
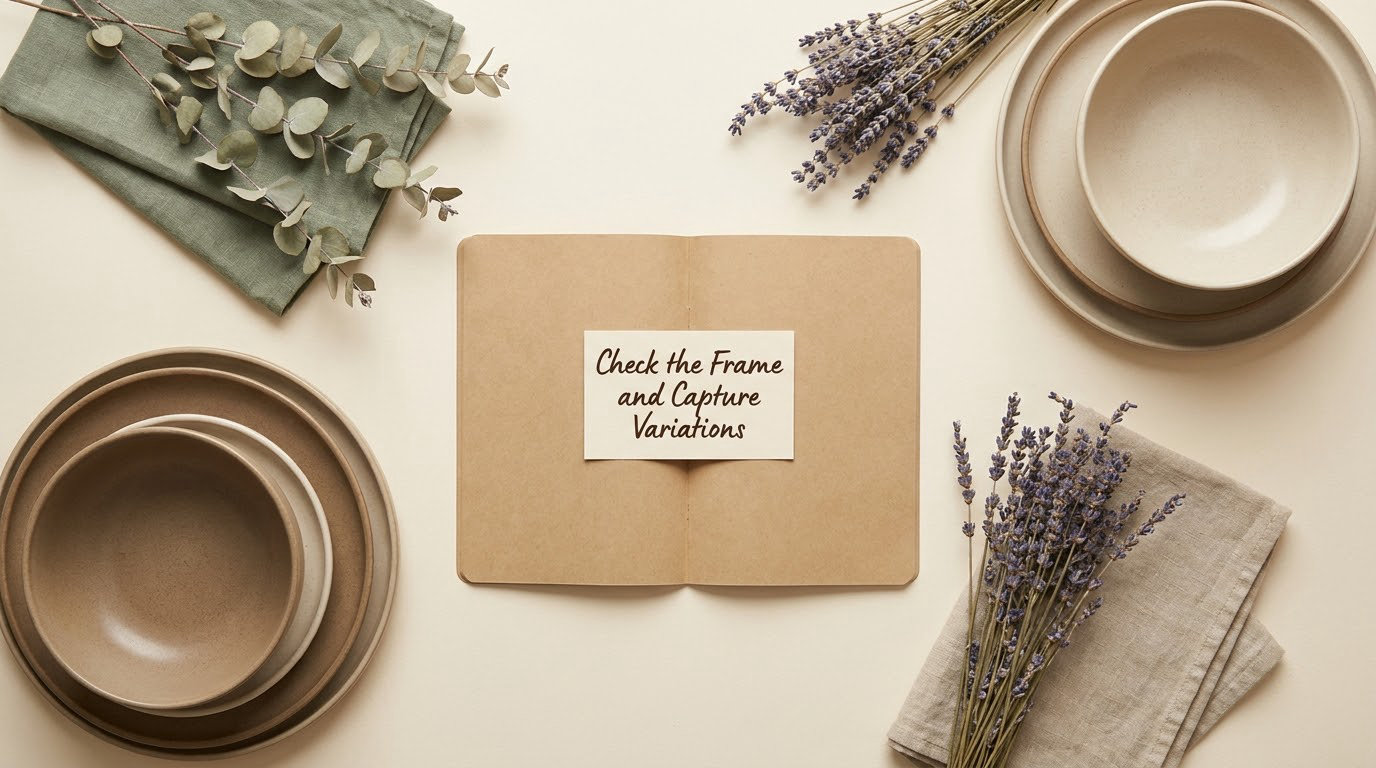
Before each frame, check the edges, the alignment, and the highlights. Look for objects that touch the border awkwardly, shadows running off one side, and a single prop competing with the hero item.
Do not settle for the first frame. Shoot the scene as you built it, then a variation with one prop moved, then a version rotated 30 degrees or so, and bracket a few exposures to protect the whites. The best frame is usually three arrangements into the session, which is also the fastest way to learn what to shoot flat lay photos with next time.
8. Review, Refine, and Save Your Images
At the desk, work on contrast first, gently, and only where the scene needs it. Pull the whites down so nothing is clipped, correct the white balance to a reference object, and lift the shadows under overlapping props so the layers separate.
Crop with the edge spacing you planned. If you let objects run off the frame, make it a clean cut rather than a near miss. Then spend a minute removing dust and lint that the light made obvious.
Name and folder files as you go, using the date and the subject. When you are building a matched set for a launch or a grid, reusing the same background, light position, and crop keeps the series looking like one body of work.
Common Mistakes
- Uneven light. One side of the frame is brighter. Move the source closer, add a bounce board opposite, or shoot under overcast skies.
- A crowded layout. Every prop gets used and nothing leads. Remove items one at a time until the hero object is obvious.
- A tilted camera. Parallel lines stop looking parallel. Check the level on every setup, even if the last one was fine.
- Too many props standing up. Tall objects hide what is behind them. Lay them down or tilt them toward the lens.
- Shiny surfaces. Glossy boards and foil throw a hard reflection of the window. Swap to matte card or wrap the light.
- Clipped highlights. White surfaces go featureless. Drop exposure compensation by a third to two thirds of a stop and re-shoot.
- Your own shadow. You stepped between the light and the scene. Work from the side and review the frame at full size before firing.
- Overediting. Heavy contrast and saturation fight the soft, even look the format depends on. Restraint reads as professional.
Simple Techniques to Improve Your Results
Rotate the whole arrangement a few degrees. A layout that felt square will suddenly feel looser, and the eye reads it as energy rather than error.
Leave real negative space. Half-empty frames give the objects room and give you somewhere to put text when the image becomes a blog header or an ad.
Add texture contrast before you add another object. Linen, paper, stone, and glass in the same frame do more for depth than doubling the prop count.
Shoot the same scene two ways, once with the light from the left and once from the right, and compare them at full size. The shadows change the whole read of the layout, and this is the cheapest way to learn what your eye prefers.
Give the set one small color story. Two or three related tones read as a designed image; five unrelated colors read as a stock photo.
Frequently Asked Questions
What camera settings are best for flat lay photography?
A tripod, a level camera, and manual exposure are the essentials. Start at 50mm, f/5.6 to f/8, ISO 100, a 2-second timer or remote release, and white balance set to match your light. Shoot RAW when your camera allows it, and focus manually on the hero object so nothing hunts while you rearrange.
Do I need a DSLR to shoot flat lay photos?
No. Most flat lays are made on a phone. Lock exposure by tapping and holding the brightest object, nudge exposure down so white surfaces keep detail, and use the 2x lens rather than the widest setting to cut edge distortion. A phone still needs support, so a small tripod or a rigid stack of books matters more than a better camera.
What lighting is best for photographing objects from above?
A large, soft source placed close to the scene. A window with a sheer curtain or white fabric hung across it spreads daylight evenly, and a white foam board opposite fills the shadows. Avoid direct sun, which throws hard edges, and keep the light slightly to one side so each object keeps a small shadow that shows depth.
How do I avoid shadows in a flat lay photo?
Bring the light closer rather than trying to overpower the shadow with brightness. Angle the source so it sits behind and to one side of the camera, and place a white board opposite the light to bounce fill into the dark edge. Work from the side of the window instead of leaning over the table, so your own head is not in the frame.
What background should I use for a flat lay?
Choose a matte, neutral surface with room around the arrangement. Painted board, warm wood, unglazed ceramic, and matte grey card all reflect very little light. Skip glossy magazine covers and polished counters, which mirror the window and your own silhouette back at the lens, and avoid pure white unless you can control exposure to keep detail in it.
How do I make flat lay images look professional?
Consistency beats gear. Keep the same background, light position, white balance, and crop across a series so the set reads as one shoot. Give every frame a clear hero object, stick to a tight color palette, and clean up dust, lint, and fingerprints before you export. Soft even light and restrained editing do the rest.
Start small. Set up one three-object arrangement beside a window, put the camera on a tripod at 90 degrees, and shoot a single frame at ISO 100 and f/8. Fix what that one photo teaches you, then build the scene bigger. That is the whole method behind how to shoot flat lay photos that hold up next to the work you admire.