
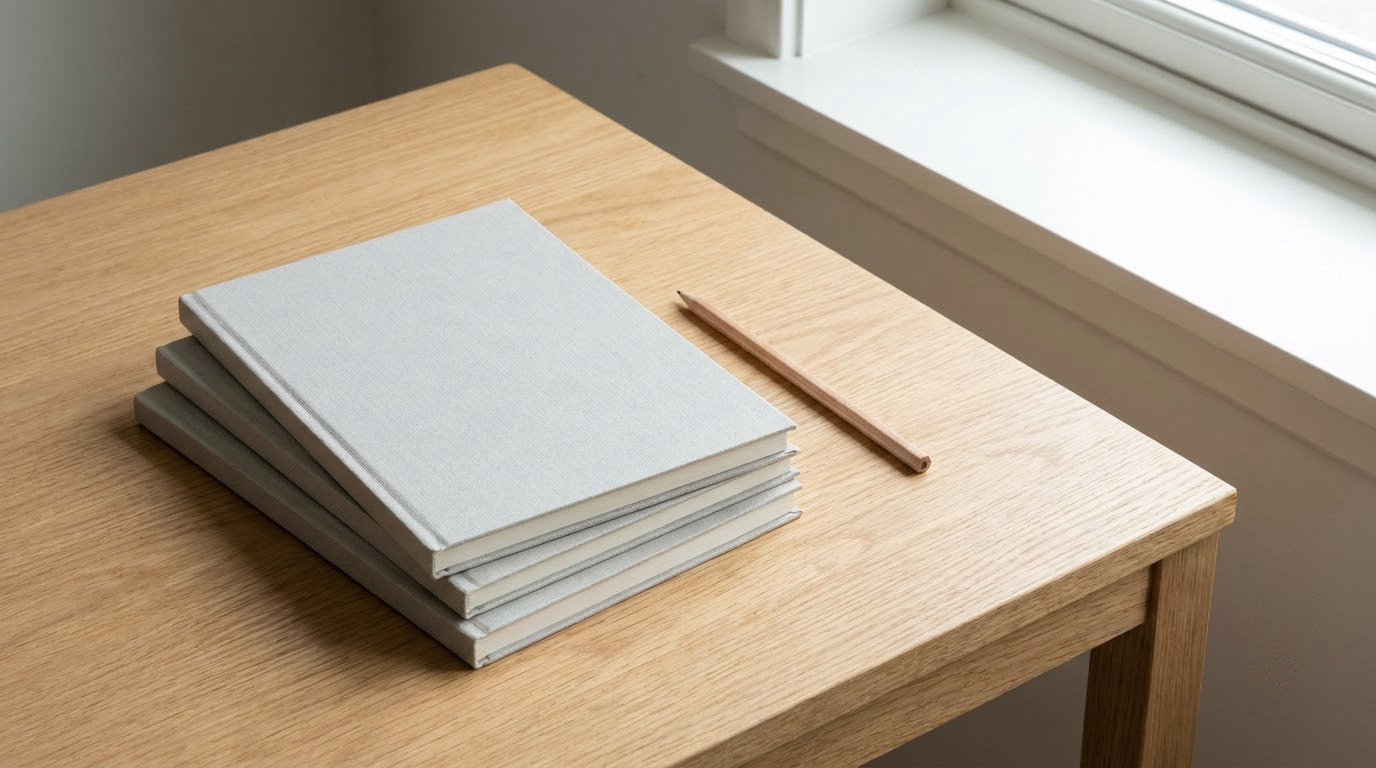
Minimalist photography is about subtraction: one clear subject, a frame mostly filled with clean empty space, and nothing competing for attention. These 10 minimalist photography ideas each attack that problem from a different angle, so you can work with whatever is in front of you right now, whether that is a kitchen table, a foggy field, or a friend’s hands.
None of them need expensive gear. The style is more about where you put the camera than what you put on it, and the hardest part is not the settings. It is learning to see a frame that already works, and then leaving it alone.
If you have never shot this way before, start with idea 1 and idea 5. They teach the same thing from opposite ends: how to make a small subject and a large empty space support each other.
Table of Contents
- 10 Minimalist Photography Ideas at a Glance
- 1. Use One Strong Subject in an Empty Frame
- 2. Photograph Light and Shadow on a Blank Wall
- 3. Use Repetition With One Variable
- 4. Build a Minimalist Black-and-White Composition
- 5. Photograph Negative Space as the Main Idea
- 6. Use a Single Bold Shape
- 7. Capture a Minimalist Human Gesture
- 8. Simplify an Outdoor Scene With Fog, Snow, or Empty Sky
- 9. Photograph One Texture at Close Range
- 10. Create a Minimalist Surreal Scene With Two Elements
- Frequently Asked Questions
- Do I need a special camera or lens for minimalist photography?
- How much negative space is too much?
- Should I crop tighter to the subject or leave more empty space?
- Is black and white required for minimalist photography?
- What do I do when a branch or a cloud ruins an otherwise clean frame?
- How do I start minimalist photography as a complete beginner?
- Conclusion
10 Minimalist Photography Ideas at a Glance
Every approach below solves the same problem, a frame with too much in it, by removing something different. Use this table to pick the idea that matches what you can actually photograph today.
| Idea | Core visual principle | Best subject or setting | Effect it creates |
|---|---|---|---|
| One strong subject | Isolation and scale | A single object, plant, or person against a plain surface | Calm, deliberate, gallery-like |
| Light and shadow on a wall | Light as the subject | A bare interior wall with a window or lamp | Graphic, architectural, high contrast |
| Repetition with one variation | Rhythm broken once | Windows, chairs, poles, doors, a row of trees | Tension, curiosity, pattern |
| Black-and-white composition | Tone over colour | Anything, especially texture and shape | Timeless, formal, print-friendly |
| Negative space as the idea | Emptiness as subject | Sky, water, snow, an open road | Quiet, spacious, contemplative |
| Single bold shape | Geometry alone | A circle, curve, arch, or silhouette | Simple, confident, abstract |
| Minimalist human gesture | Posture over face | Hands, a back, a walking silhouette | Intimate, human, narrative |
| Weather or empty sky | Atmosphere erasing detail | Fog, snow, overcast coast, a bare horizon | Moody, spacious, softened |
| One texture up close | Surface as subject | Concrete, fabric, stone, water, paper | Tactile, abstract, intimate |
| Surreal two-element scene | One impossible relationship | Two ordinary objects, staged or composited | Playful, conceptual, memorable |
1. Use One Strong Subject in an Empty Frame
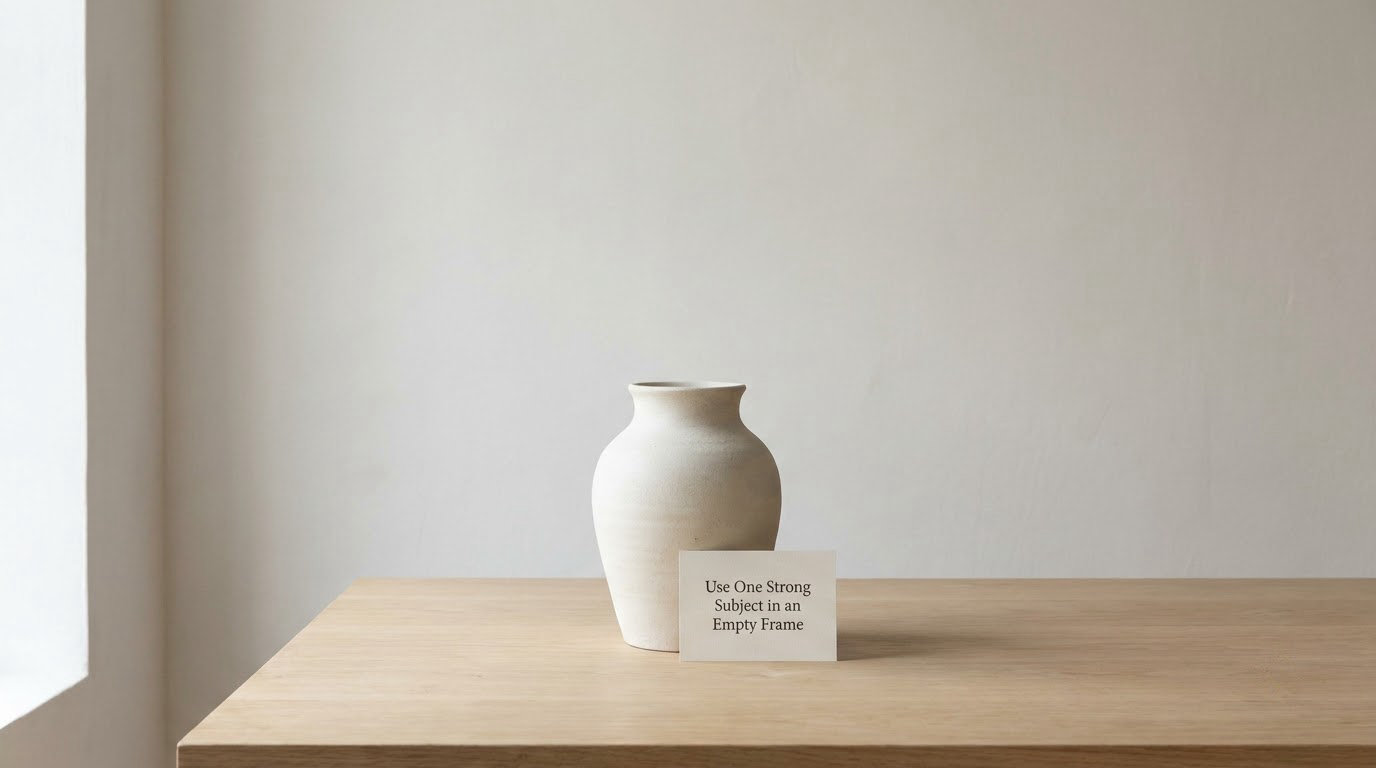
A single subject in an otherwise empty frame works because the viewer has nowhere else to look. Put one cup on a bare table and the cup becomes the whole photograph, even though it occupies a small part of the image.
The mistake people make is treating empty space as a leftover rather than a choice. Leave it and the frame reads as lazy. Own it, and the same space reads as confidence.
How to make a single subject feel powerful
Scale and empty space do the work together. A small subject placed off-centre with room around it feels deliberate, while a large subject pushed to the edge feels crowded. Most of the time I place the subject about a third of the way in from one edge and leave the larger share of the frame open in the direction it faces.
Then handle the background, because the eye checks it before the subject. Walk three steps to the left and drop to knee height. The angle change usually removes the distracting objects behind your subject that no amount of cropping in the edit can fix.
Shadow direction is the piece most people skip. Light coming from the side throws a shadow that doubles the subject’s visual weight and gives the empty space something to do. Light from directly behind you flattens everything and the frame goes dead.
One more thing: leave room in the direction the subject is looking or pointing. A vase with space on its left and a wall right next to it looks trapped, and that is true of people too.
2. Photograph Light and Shadow on a Blank Wall
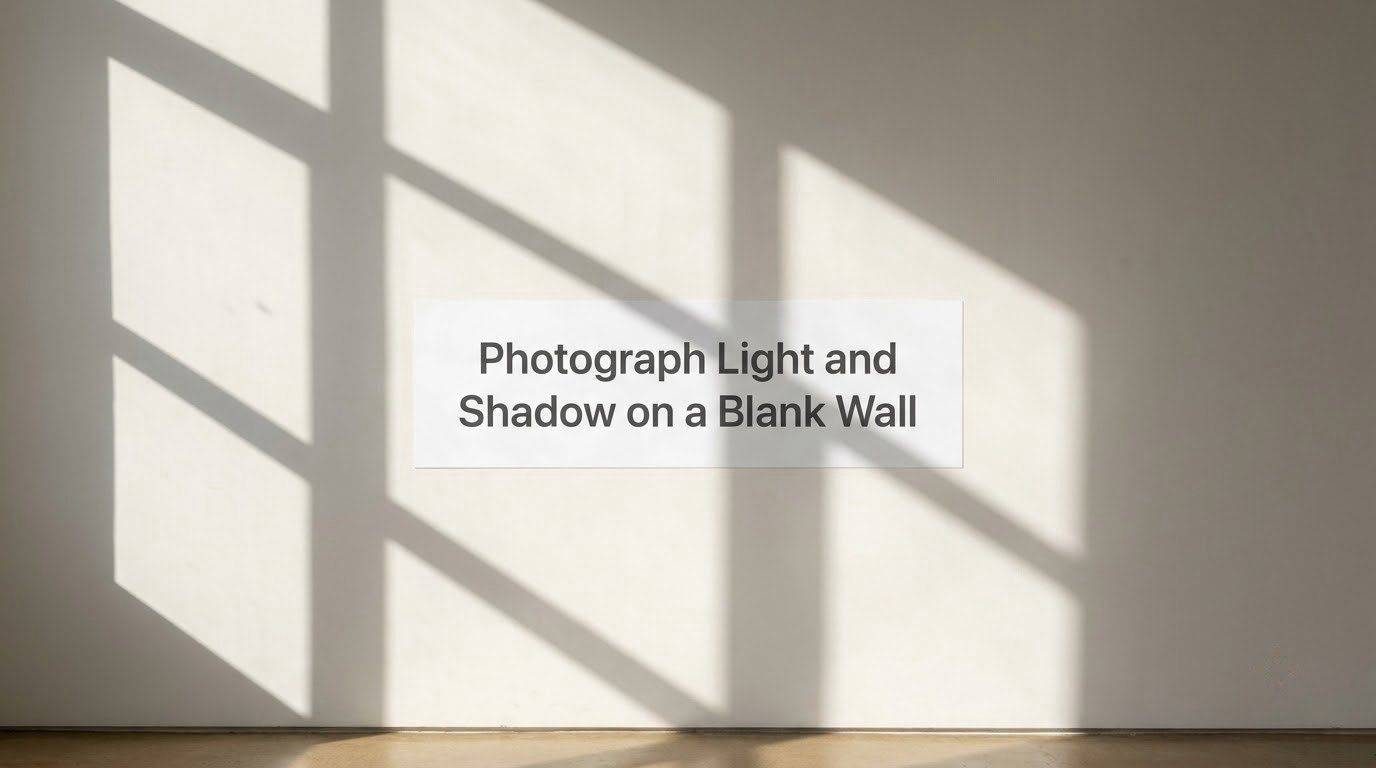
When there is no subject worth photographing, shoot the light instead. Window frames and shadows turn an empty wall into a graphic composition, and you get a minimalist image from a room that looked like nothing at all.
Take the wall as your full frame and let the shadows create the lines. Hard light on a sunny day gives sharp edges; a sheer curtain diffuses the same window into soft grey shapes with a wide tonal range.
Position matters more than equipment. Shoot square to the wall for clean geometry, or step off to an angle so the shadow shapes stretch and overlap. Leave the base of the wall and a slice of floor in the frame, because the line where wall meets floor gives the eye a place to rest.
3. Use Repetition With One Variable
Repetition alone is a pattern photograph. Repeat something and then change exactly one element, and the image becomes a story with a question in it.
A row of six identical windows where one is lit. Four parked bicycles where one is leaning. Three evenly spaced trees where the middle one is dead. The eye counts without being asked, finds the odd one out, and settles there.
Frame so the repeated elements are partly cut off at the edges. That implies the pattern continues beyond the picture, which makes the single change feel like a discovery rather than a trick. Keep the exception small in size, noticeable in tone or colour.
4. Build a Minimalist Black-and-White Composition
Monochrome strips a frame of its loudest distraction, which is colour. In black and white you are left with shape, texture, edge, and the tonal gap between your subject and its background, and that is usually all a minimalist frame needs anyway.
Work in black and white when the strongest thing in the scene is form: a curve against a straight wall, weathered concrete, a hand against a dark coat. Do not convert a frame just because it looked busy, because removing colour will not remove clutter.
Check two things before you convert. If your subject and background land on the same grey, the image goes flat and you have no separation. Look for at least a clear tonal step between the two, or move until there is one.
Then push the contrast. A slightly harder black point and a gently lifted midtone gives you the graphic quality this style depends on. A soft, even grey frame reads as faded rather than restrained.
5. Photograph Negative Space as the Main Idea
Negative space is the empty area around your subject, and in minimalist photography it stops being background and becomes the actual content. The classic example is a bird on a single wire against a wide blank sky, where the emptiness carries the mood and the bird only anchors it.
That idea scales far beyond birds and wires. Empty sky above a low horizon, still water under a grey morning, an untracked field, a road running to the edge of the frame, or a background thrown completely out of focus by a wide aperture all function as usable space.
Direction matters. Put the subject on a third and let the space sit on the open side, so the viewer feels the emptiness before the subject. Put dead in the centre and it becomes a formal, symmetrical statement instead, which is a different and equally valid look.
On forums, beginners often ask whether a subject in a huge empty frame has gotten lost. Usually it has not. If the subject is sharp and the space is clean, the image reads as calm. You only have a problem when the subject and the background sit at the same brightness, so check that tonal step.
6. Use a Single Bold Shape
A single bold shape can be an entire composition on its own. A circle, a triangle, a long curve, or a hard architectural silhouette needs no supporting cast once the background is flat and the edges are clear.
Look for shapes made by subtraction rather than addition: the gap between two buildings, an arch framing an empty courtyard, a curved wall against a straight horizon, a dark doorway in a pale facade.
Keep the frame tight to the shape and let it sit off-centre, because a centred shape in a centred frame feels like a diagram. A shape placed low in the frame with a large area of open space above it feels monumental.
Light has to be doing something here. A shape that is the same value as everything around it disappears no matter how good the geometry is.
7. Capture a Minimalist Human Gesture
You do not need a face to make a portrait minimalist. Posture, hands, a back turned, or a figure walking away can carry an entire image, and dropping facial detail removes the need for a model to be expressive or for you to be good at directing one.
Try a tight frame on hands resting on a table. Try a full-length silhouette against a plain wall with a single light behind the subject. Try someone mid-step with space in front of them, which reads as direction and momentum.
Watch the edges. A hand cropped at the wrist with room left on the open side looks composed. Cropped with no room on either side, it looks like a mistake.
One person, one gesture, one plain background. If you want a second figure for scale, put them far away and small, and make sure the size difference is the point rather than an accident.
8. Simplify an Outdoor Scene With Fog, Snow, or Empty Sky
Weather is free negative space. Fog, snow, heavy overcast, and a low sun all delete background detail without you touching the frame, and what survives is usually a handful of trees, a roofline, a fence post, or a single horizon.
On an overcast day the whole tonal range collapses, which makes weak compositions obvious fast. If a subject does not separate by tone in flat light, move closer to it or get a lower angle, because you cannot fix the separation later.
Look for scenes with a hard horizontal division, such as a pale field under a grey sky, and place that line off-centre rather than in the middle. The result is a two-part composition that reads as abstract without losing its sense of place.
Atmospheric conditions tend to reward exactly this instinct of taking something out. Shooting the scene twice, once with the cloud in frame and once without it, is a good habit because the version without it often reads as the cleaner abstract.
9. Photograph One Texture at Close Range
Get close enough that the subject stops being an object and becomes a surface. Concrete, rusted metal, crumpled paper, folded fabric, tree bark, a sheet of still water: at close range, light and texture are the whole composition and you need no props and no background.
Side light works best because it rakes across the surface and casts tiny shadows in every dip, which is what makes texture visible. Straight-on light flattens it into a grey rectangle.
Vary the angle rather than the subject. The same wall shot square, at 30 degrees, and at 70 degrees gives you three different pictures, and that is often faster than walking to a new location.
Watch your depth of field. A wider aperture blurs part of the texture away and leaves a small sharp band, which can look like a mistake, or it can look deliberate if the sharp band sits on a strong edge. Pick which one you want before you shoot.
10. Create a Minimalist Surreal Scene With Two Elements
Take two ordinary objects and put them in a relationship that could not happen, and you have a minimalist surreal image with only two things in it. The constraint of two elements is what keeps the idea readable.
A pear balanced on a rooftop. A single cloud reflected in a puddle held in a parked car’s side mirror. A small potted plant on a wide empty beach. Shadows of two objects meeting long before the objects themselves would.
Keep the lighting natural and consistent across both elements, because a mismatch gives the trick away. And shoot it in a way that a single frame explains the idea on its own, since the viewer only gets one glance.
Do the simplest version in camera first, then decide whether a composite helps. Most of these work as a single exposure with careful placement, and fewer moving parts means a cleaner result.
Frequently Asked Questions
Do I need a special camera or lens for minimalist photography?
No. Any camera that produces a sharp image at your chosen distance works, including a phone. A wide aperture such as f/2.8 or wider helps when you need the background blurred, and a longer lens helps you fill the frame without moving closer, but neither is required. Composition decisions carry far more weight than equipment in this style.
How much negative space is too much?
You have gone too far when the subject stops reading as a subject and the frame stops feeling composed. A practical test: squint at the image, and if the subject is no longer the first thing you see, either move it toward a third of the frame or tighten the crop slightly. Large empty space is correct when it is deliberate and cleanly separated from the subject in tone.
Should I crop tighter to the subject or leave more empty space?
Leave more empty space unless something in the frame is actively fighting you. The most common beginner instinct is to crop in tight, and stepping back so the subject interacts more with its environment often solves a composition problem that zooming in does not. Crop in only to remove a specific distraction, not to make the subject bigger.
Is black and white required for minimalist photography?
No, and treating it as a requirement narrows your options unnecessarily. Monochrome is the right choice when shape, texture, and edge are the strongest things in the scene. Muted colour works when a limited palette carries the calm, and one bold colour against neutrals works when you want a focal point. Choose based on what your subject already gives you.
What do I do when a branch or a cloud ruins an otherwise clean frame?
Work through it in a fixed order: wait, reframe, change focal length, move the subject, then crop. Waiting is first because weather and people move on their own schedule. If nothing changes after a minute, change one variable at a time so you know which one fixed it. A longer focal length excludes background elements without moving, which is often the fastest solution.
How do I start minimalist photography as a complete beginner?
Pick one object on a plain surface and make ten frames of it, moving your position slightly between each one. You will learn more from that single exercise than from reading technique, because you will see how much the frame changes from half a step of movement. Keep the strongest frame, note what made it work, and repeat the recipe the next day with a different object.
Conclusion
All 10 of these minimalist photography ideas come down to the same move: subtract until one relationship carries the frame, whether that is a subject against space, a shape against a wall, or a texture against light.
Start with the easiest version today. Put one object on a clear surface, move until the background is empty, leave the space around it larger than you think is safe, and make one frame. Then change one thing at a time until you know which change made it better, because that knowledge transfers to every genre you shoot next.