

To photograph white on white, you stop treating the subject and the backdrop as one tone and start separating them: light the background brighter than the subject, angle one soft light across the subject so a shadow or rim defines its edge, and expose so the brightest white stops just short of clipping. Get those three things right and a pale subject reads clearly against a pale field. It takes about an hour to set up once you know where the light goes.
The reason most attempts fail is dull and mechanical. A white object and a white backdrop sit at nearly the same reflectance, so the camera’s meter sees one flat value and the frame comes back as a white rectangle with a ghost in the middle. This guide walks through the decisions that fix that, from picking a subject worth photographing to the edit that finishes the frame.
Table of Contents
- What You Need
- Step-by-Step: How to Photograph White on White
- Step 1: Choose a Subject with Shape and Texture
- Step 2: Separate the Subject from the Background
- Step 3: Use Directional Light to Reveal Form
- Step 4: Control Reflections and Highlight Detail
- Step 5: Expose for the Important White
- Step 6: Build Contrast Without Making It Look Harsh
- Step 7: Apply Color and Finishing Decisions
- Common Mistakes
- Frequently Asked Questions
- What is the best way to photograph white on white?
- Do I need a darker background to photograph a white subject?
- How do I keep white details from blowing out in a high key image?
- Can I photograph white on white with natural light?
- Should I shoot white-on-white subjects in color or black and white?
- Can I photograph white on white with a smartphone?
What You Need
The good news is that almost nothing here is specialised gear. If you have a camera, one light source and a piece of paper, you can make a strong white-on-white image today.
- A camera with manual exposure and RAW capture. A phone works, but a camera gives you control over white balance and highlight warnings.
- One large light source — a softbox, a large diffuser panel, a window, or a single strobe behind a diffusion panel. Size matters more than power.
- A white or pale background with some tone to it. A sheet of card, a painted wall, or a roll of paper swept past the edge of a table all work.
- A darker accent for contrast: black card, a brown or grey card, a dark cloth, or a single dark prop. One is enough.
- A reflector or white foam board for filling the shadow side. Black card for the opposite job, called negative fill.
- A tripod if you are working near a window or at a small aperture.
- Editing software with a histogram. Almost any raw developer will do.
If you only have daylight, an overcast sky is the finest softbox available for free. Diffuse sunlight through a thin curtain and you have the same quality of light as a big softbox, at a fraction of the effort.
Step-by-Step: How to Photograph White on White
Work through these in order. Each step fixes a different reason the previous frame failed, and skipping ahead to exposure is the most common reason people end up with a blank white frame.
Step 1: Choose a Subject with Shape and Texture
Some white subjects photograph well. Others simply do not. A smooth white ceramic vase with no features has almost nothing for the light to describe, so it will read as a blank shape no matter how good the setup is.
Look for structure instead: fabric with folds, hair against skin, a rim or lip on a glass, a bevelled edge, a seam, a slight curve that catches a gradient. Reflective surfaces work too, because they produce their own tonal events. Sculptural and translucent subjects are the most forgiving of all, since light passes through them and creates depth.
If your subject is genuinely featureless, add a prop. A single dark stem in a white vase, a strip of coloured paper behind a white object, or a textured cloth under it gives the eye somewhere to land.
Step 2: Separate the Subject from the Background
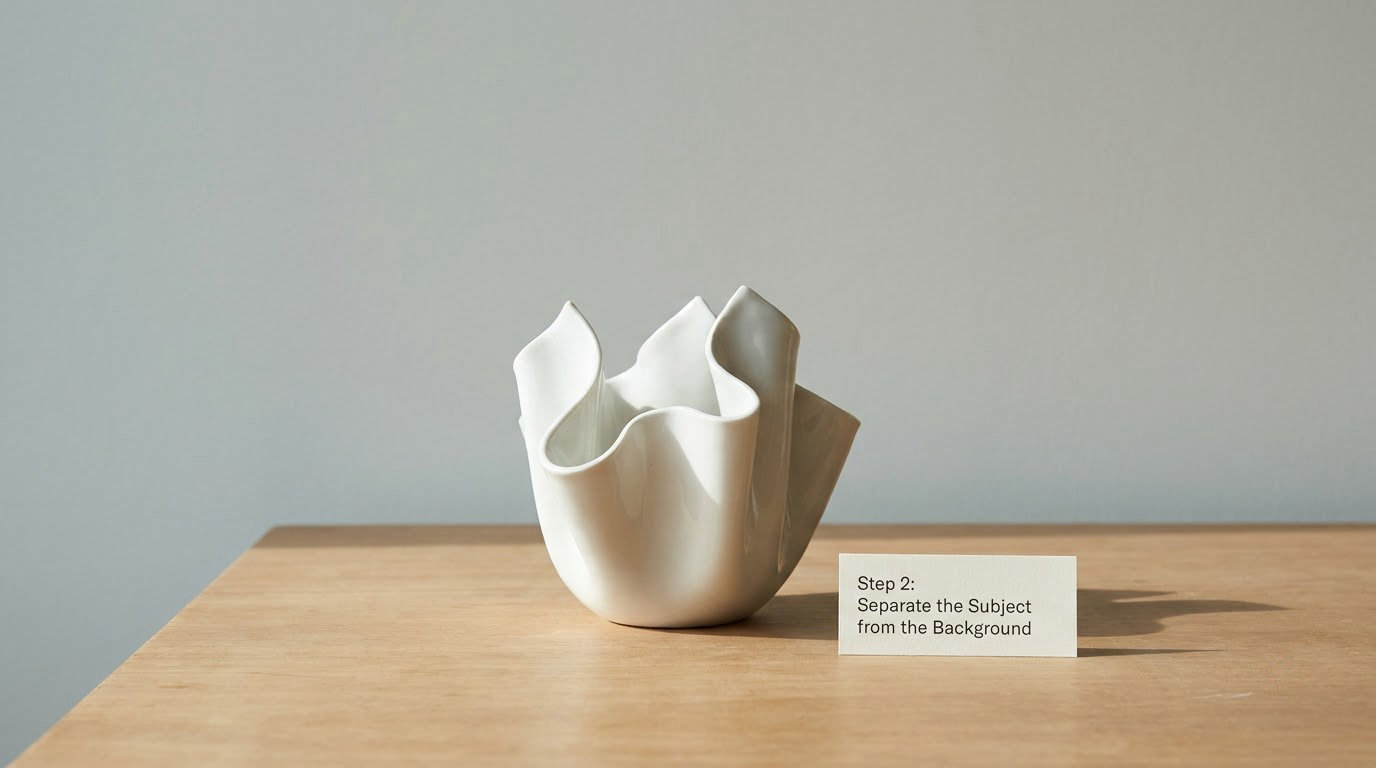
Separation is the whole trick. A white subject needs an edge, and you can create that edge four ways: with a shadow, with a rim of light, with a tone difference in the background, or with texture and negative space.
Start with tone. A pure white backdrop is the hardest choice because it removes your margin for error. A soft grey, warm off-white or pale beige backdrop gives the subject something to sit against while still reading as high key. Then light the background a stop or two brighter than the subject so it approaches white without touching it.
Distance does the rest. Move the subject three to five feet away from the backdrop and the light on the subject spills less onto it, so the two tones stop merging. A white card between the two adds a controlled shadow and stops the background from bouncing light back into the subject’s edges.
Negative fill is the quiet hero here. Hanging black card just outside the subject’s shadow side deepens that shadow and defines the form, even though the background stays bright.
Step 3: Use Directional Light to Reveal Form
A big light placed directly in front of a white subject flattens it completely. Angle that same light instead — roughly 45 degrees to the side and slightly above — and every fold, curve and edge starts to cast a small shadow of its own.
The goal is a gradient, not a hard edge. You are looking for a smooth falloff from bright to mid-tone across the surface of the subject, which reads as form. A hard, small source gives you crisp shadows and a harsher, more graphic look; a large, close source gives you a soft, luminous one. Both work, and both are white-on-white. Decide which one you want before you turn any knobs.
Watch the halo problem. Light bouncing off a white backdrop comes straight back at the subject and lights its edges from behind, producing a rim that looks like a cheap cut-out. A card between subject and background fixes it in one move.
Step 4: Control Reflections and Highlight Detail
Glossy and transparent subjects are the hardest version of this, because every surface angle returns a different value of light to the camera. Glass and polished metal are the two that punish beginners most.
Move the light and the reflection moves with it. Instead of trying to light a glass jar from a position that gives a giant white blob, move the source to one side and let the reflection sit on a curved edge, where it looks intentional. A polarising filter helps with reflective surfaces, though it costs about a stop of light and has no effect on non-metallic subjects.
For satin, silk and matte ceramics, the problem is different: the highlight rolls across the fabric and flattens the weave. Turn the subject so the highlight falls along a fold rather than across a flat panel.
Step 5: Expose for the Important White
Set exposure so the brightest white in your frame sits just under clipping, then check with the histogram or the highlight warnings. On most cameras the warning blinks at anything above 98 or 99 percent. If it is flashing on your subject, you have already lost the texture you came for.
Shoot RAW. A clipped white in a JPEG is gone for good, while a raw file gives you a little room to lift the brightest areas back.
Start with these numbers and adjust from what you see on the histogram rather than from any recipe, since every setup is different:
| Light source | ISO | Aperture | Exposure | Subject to background |
|---|---|---|---|---|
| Single strobe with diffusion | 100 | f/8 to f/11 | +0.3 to +1 stop | 3 to 5 feet |
| Continuous light or LED panel | 100 to 200 | f/5.6 to f/8 | 0 to +0.7 stop | 3 feet |
| Overcast daylight | 100 | f/8 | 0 | As far as practical |
| Phone with a window | Auto, locked | f/1.8 | Tap and lower exposure | 1 to 2 feet |
Use spot metering on the brightest part of the subject and dial exposure compensation from there. Bracket three frames at one stop apart when the range between highlight and shadow is wide, and you will have the material to recover whichever end the meter guessed wrong on.
If you are using strobes, stay at or below your camera’s sync speed — typically 1/200 second or 1/250 — and match the flash colour temperature to your ambient light, above 5000K for daylight, or the background will drift blue while the subject stays warm.
Step 6: Build Contrast Without Making It Look Harsh
High key images fail at both ends. Too flat and the subject disappears; too contrasty and it looks like a cut-out pasted onto paper. The fix is local rather than global.
Dodge the subject a little and burn the background a little, rather than dragging a global contrast slider. In curves, lift the lower midtones slightly and pull the black point down a hair, which separates the subject without touching the white point that you carefully exposed for. A small amount of texture and clarity, maybe plus 10, restores the surface detail that soft light and a bright exposure had softened away.
Mask the adjustment. Painting contrast onto the subject alone keeps the background smooth and luminous instead of gritty, and masking is what makes the difference between a high key image and a washed-out one.
Step 7: Apply Color and Finishing Decisions
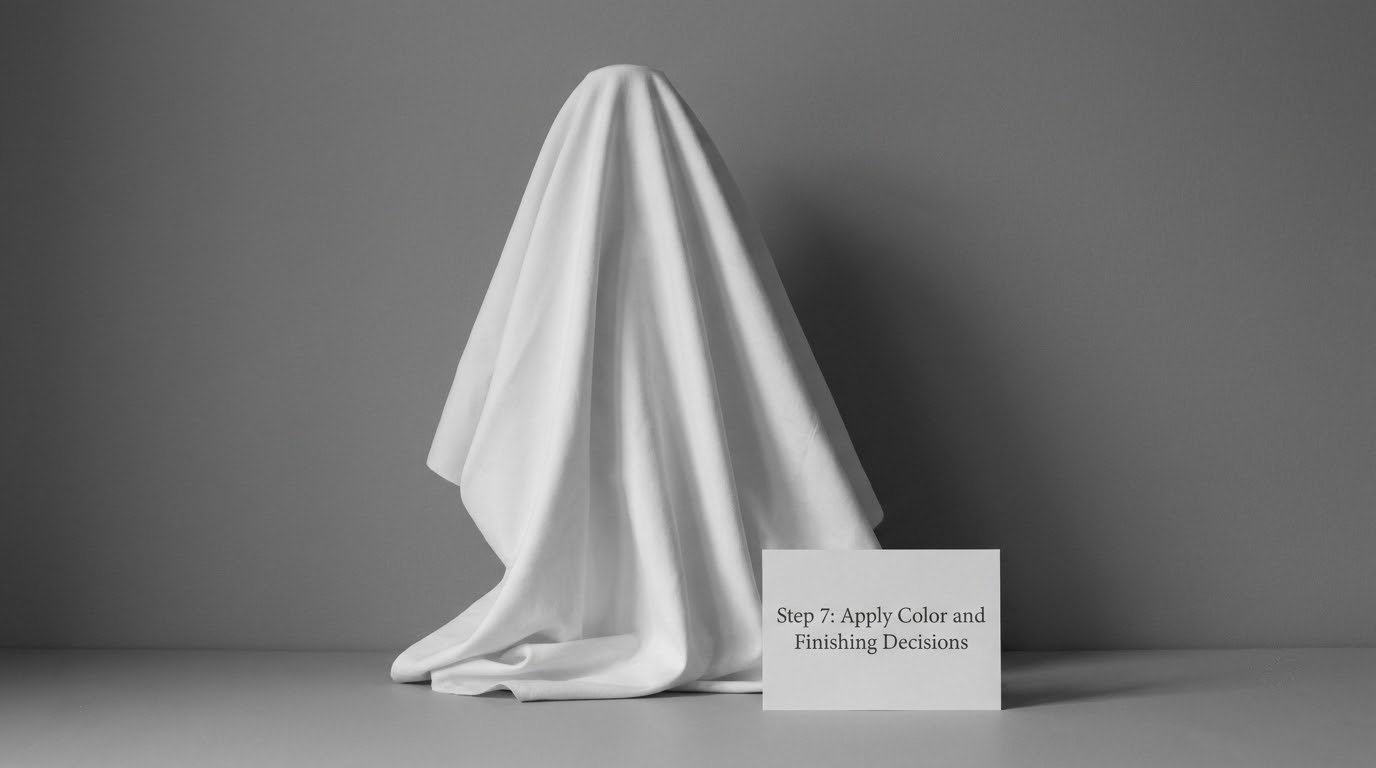
White is the hardest colour to get right, because there is no hue to hide behind. Set a custom white balance from a grey card or a white card in the same light as the subject, then leave it alone. Chasing neutral with the temperature slider in post rarely lands, because a single adjustment shifts the whole frame rather than the whites.
Aim for a background that sits just shy of pure white, near 245 to 250 on the brightness scale, not 255. A true clipped white has no detail and reads as a printing error; a hair under reads as light.
Monochrome suits this technique well, since the entire image is a study in tone and edge. Convert to black and white through the black and white mix rather than a flat desaturate, then pull the orange and yellow luminance sliders down slightly so skin and warm reflections separate from the neutrals.
Common Mistakes
The frame looks like a blank white rectangle. Subject and background are sitting at the same tone and the light is too frontal. Add negative fill, move the light to 45 degrees, and take the background up a stop or two relative to the subject.
My white background looks grey. The backdrop is under-lit relative to the subject, or it is further from the light than you think. Light the background separately and add one to two stops over what the subject needs.
The whites are blown and there is no texture left. You exposed for the shadows. Check the histogram, spot meter the brightest area, and stop down by a third of a stop until the highlight warning stops blinking.
There is a bright outline around the subject. That is light bouncing off a white backdrop back onto the subject’s edges. Put a white card between the subject and the background to kill the spill.
The background has a blue or amber cast. Flash and ambient light are at different colour temperatures. Match them, or turn off every light except the ones you control.
The shadows have gone muddy. You filled them too aggressively with a reflector, or edited the blacks down hard in post. Cut the fill back and lift the shadows gently in the raw file instead.
The background is distracting. Busier than the subject, or the wrong tone. Simplify it: clear the surface, remove props you only kept out of habit, and choose a backdrop that sits at a different value from the subject rather than the same one.
Focus is soft across the frame. You shot wide open for a shallow depth of field in a set where the subject and background sit at different distances. Stop down to f/8, focus manually on the front third of the subject, and use a tripod if the shutter speed gets slow.
A few habits cover most of this. Shoot more than you think you need, check the histogram on every frame rather than the back of the camera, and make your first judgement from the shadow, not the highlight.
Frequently Asked Questions
What is the best way to photograph white on white?
Separate the subject from the backdrop in three ways at once: light the background one to two stops brighter than the subject, angle one large soft light across the subject from about 45 degrees so a shadow defines its edge, and keep a darker prop or negative fill in frame. Expose for the brightest white so it stops just short of clipping, shoot RAW, and add local contrast rather than global.
Do I need a darker background to photograph a white subject?
A darker background makes the problem much easier, but it is not required. A soft grey or warm off-white backdrop works well, because it gives the subject an edge to sit against while still reading as high key. If you use pure white, you have to create separation another way, usually with a controlled shadow or a card that stops light spilling onto the backdrop.
How do I keep white details from blowing out in a high key image?
Meter for the brightest part of the subject, watch the histogram, and use the camera’s highlight warnings to spot clipping before you shoot. Aim for a peak around 98 percent rather than 100, keep exposure compensation between +0.3 and +1 stop, and shoot RAW so you have some room to recover detail afterwards. If the warning is flashing, stop down by a third of a stop.
Can I photograph white on white with natural light?
Yes, and an overcast sky is essentially a free softbox the size of a building. Put the subject near a large window or outside on a bright overcast day, keep a white card opposite the window to fill the shadow side, and place the backdrop a few feet behind the subject. Direct sun is harder, because it creates hard shadows and a strong colour cast on white surfaces.
Should I shoot white-on-white subjects in color or black and white?
Both work, and the choice depends on the result you want. Colour is better when the subject has a material worth reading, such as warm wood, brass or a coloured prop. Black and white suits sculptural, fabric and fine-art work, where tone and edge carry the image. Convert through a black and white mix rather than a flat desaturate so you can control which tones separate.
Can I photograph white on white with a smartphone?
Yes. Lock the exposure and white balance manually, use the widest aperture for a soft background, and tap on the brightest part of the subject then pull the exposure slider down until the highlights stop flashing. A white card opposite the window replaces a reflector, and shooting in RAW on a recent phone gives you far more recovery than a standard JPEG.
Start with one change tomorrow: put a single soft light at 45 degrees to your subject, push the backdrop three feet back, and brighten the background a stop. That combination fixes the vast majority of failed white-on-white frames, and it costs nothing. Everything after that is refinement.