
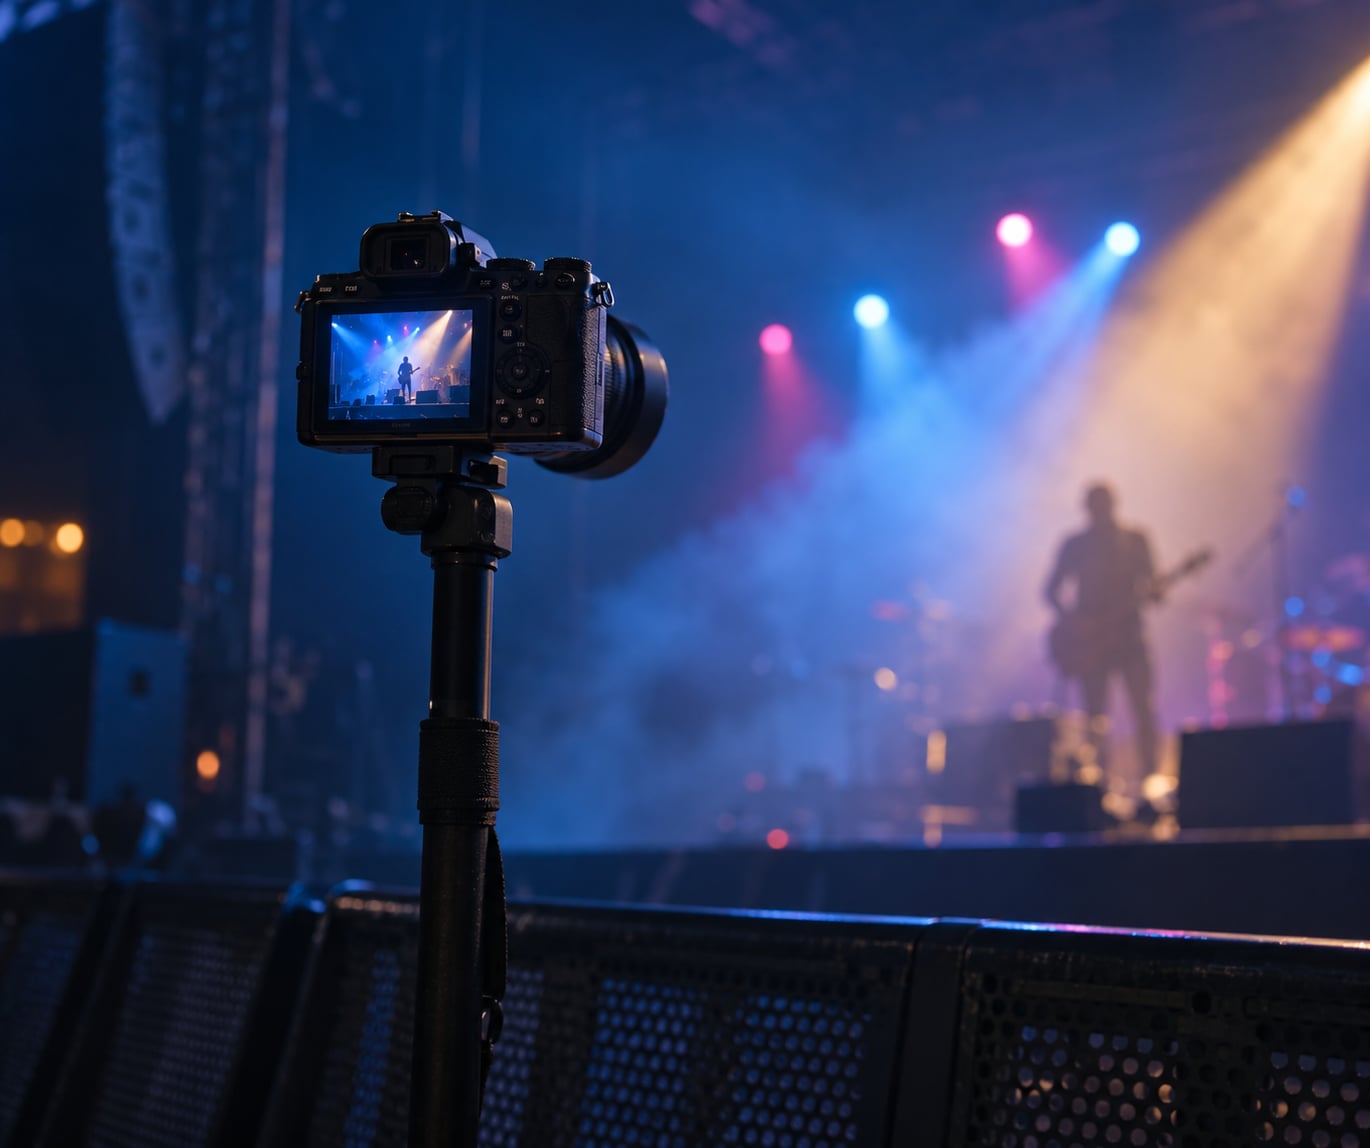
Learning how to photograph concerts in low light is really about accepting one trade-off and refusing another. Your aperture stays wide open, your ISO climbs as high as your camera tolerates, and your shutter speed sits at the fastest fraction that still lets a jumping guitarist hold still in the frame. Everything else is about working with a stage rig that keeps changing colour, brightness and direction.
If you remember nothing else, use this as your starting recipe: manual exposure mode, aperture wide open (f/1.8 or f/2.8), 1/250s, ISO 3200, RAW capture. Take two frames of the first song, check them on the camera screen, then correct from there. That two-frame check is the whole method — it beats any number a stranger on the internet tells you.
Table of Contents
- What You Need
- Step-by-Step: How to Photograph Concerts in Low Light
- 1. Prepare Your Camera Before the Lights Go Down
- 2. Choose Settings That Balance Sharpness and Exposure
- 3. Position Yourself for the Best Stage View
- 4. Use a Shutter Speed That Controls Motion
- 5. Set ISO Without Sacrificing Image Quality
- 6. Focus Reliably on a Moving Performer
- 7. Anticipate the Key Moments Instead of Waiting
- 8. Protect Your Images and Make a Quick Post-Show Edit
- Common Mistakes
- Frequently Asked Questions
- How to photograph concerts in low light: what camera settings should I use?
- Do I need flash to photograph a concert?
- What lens is best for low-light concert photography?
- How do I capture sharp photos of a moving performer?
- Can I photograph concerts with a phone?
- How do I reduce noise in dark concert photos?
- Conclusion
What You Need
A concert is the rare situation where the light comes from a rig pointed at moving people, and you have no control over either. Everything below is a support for that reality rather than an upgrade list.
Camera body with usable high ISO
A full-frame body buys you roughly a stop over APS-C at the same settings, and at ISO 6400 that stop is the difference between grain you can denoise and grain that ruins the frame. Megapixel count matters less than most buyers assume — a higher-resolution sensor with small pixels often performs worse in dim light than a lower-resolution one with larger pixels. Shoot the highest ISO your camera still renders acceptably, then stay under it.
A fast lens
Wide apertures gather light, which is the only free light in the room. A 50mm f/1.8 is the classic concert lens: fast enough, small enough to disappear in a bag, and cheap enough that you will actually bring it. An f/2.8 zoom covers everything from wide stage shots to tight faces if you only own one lens.
A kit zoom will work, and it will make you work. Expect to run higher ISO and slower shutter speeds than the recipe above, which means more noise and more blur.
Power and storage
Bring at least one spare battery that is not the one in your camera right now, plus more cards than you think you need. Batteries fail fastest in the cold and the damp, and venues with a nine-song set are not the place to discover your spare is flat.
Hearing protection and weather
Working photographers talk about this more than gear. Earplugs are cheap and a night of a loud band can leave your hearing ringing for days. If the show is outdoors, plan for the weather — my guide to photographing in rain covers protecting a camera body from spray and covering lens hoods that leak.
Access and permissions
A photo pass is what venue staff hand you when you are shooting from inside the pit rather than the audience floor. Check the promoter’s rules before you travel: many small clubs ban all photography or restrict it to the first three songs, and most of them enforce it strictly.
Nothing else on the kit list matters if you get removed at song two.
Step-by-Step: How to Photograph Concerts in Low Light
1. Prepare Your Camera Before the Lights Go Down
Do the boring work in the queue or the car while you can still see. Clean the front element — a smudged lens in a smoky venue eats a third of a stop and costs you sharpness — then charge every battery, clear or swap the card, and set the clock so your files are ordered correctly afterwards.
Switch on silent shooting mode so the shutter does not announce you, turn off long exposure noise reduction because it doubles the frame time, and set your highest ISO as the ceiling so nothing is left on automatic. You will know your kit is ready when the only thing left to do on stage is frame and shoot.
2. Choose Settings That Balance Sharpness and Exposure
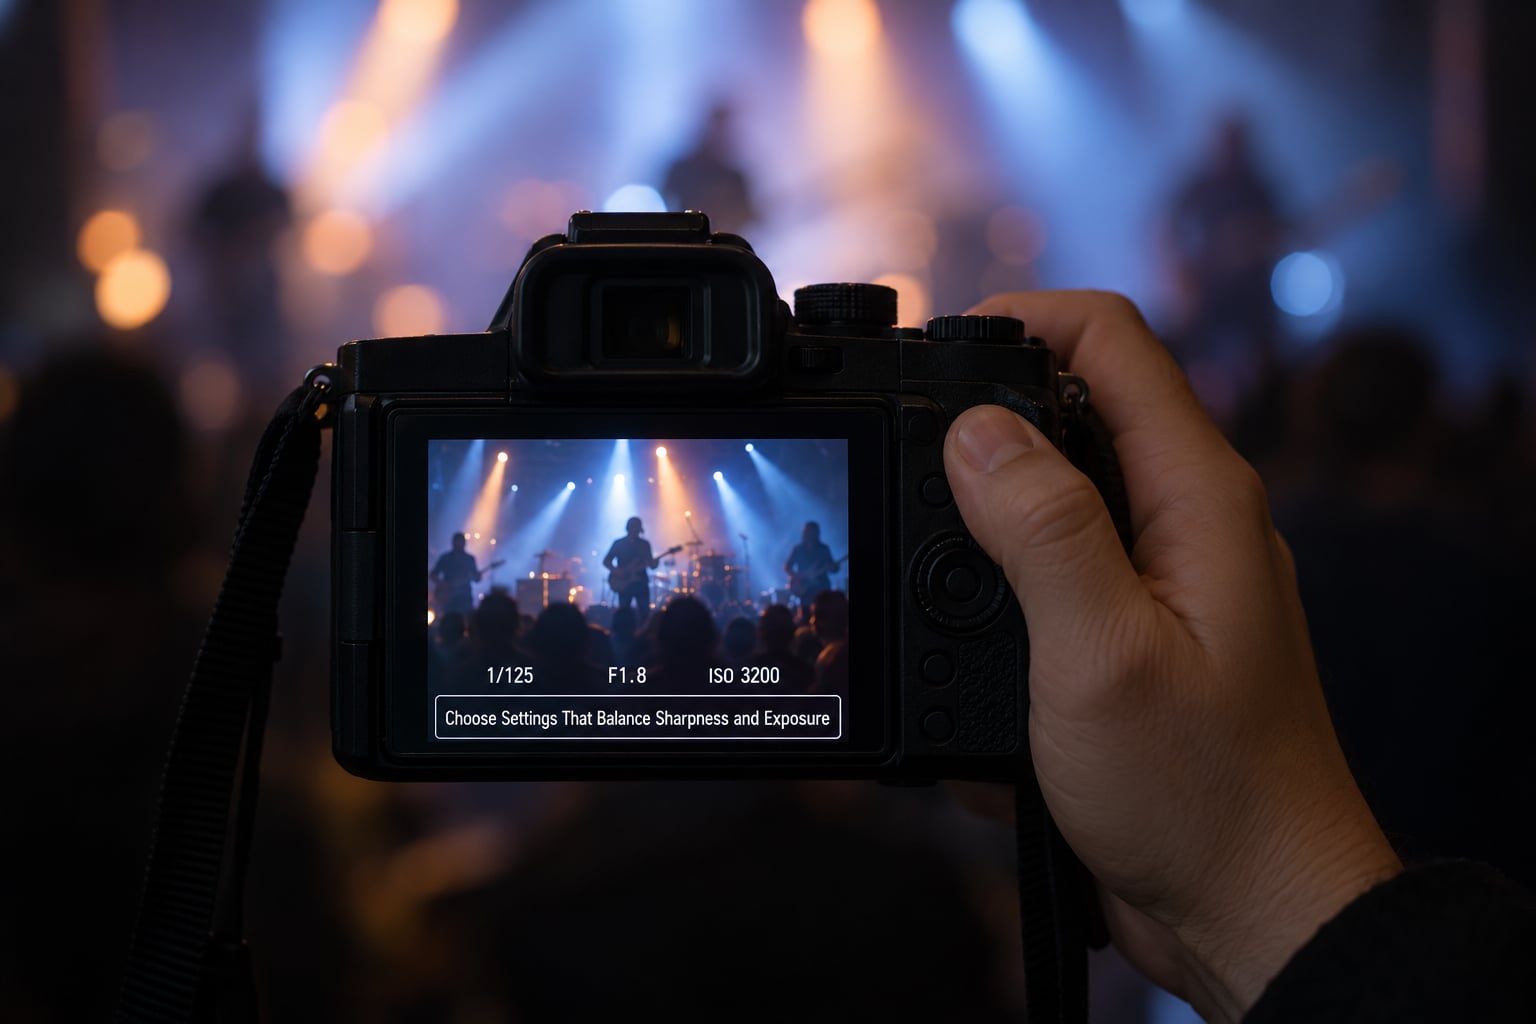
Manual exposure mode beats every automatic setting on a stage, because a follow spot is a tiny bright subject inside a large dark one and the camera’s meter will chase it. In manual, you decide what the highlights do and accept that the shadows fall where they fall. Manual exposure is not about being rigid — it is about knowing which light you are metering, then correcting deliberately.
Use spot or centre-weighted metering rather than evaluative if your camera offers it, and meter off the performer, never the LED wall behind them.
Here is the cheat sheet to memorise. Each line is a lighting condition you will actually meet at a show.
- Small club, one dim wash light. ISO 3200 to 6400, f/1.8, 1/250s. Plan to denoise in post.
- Club with a proper rig. ISO 1600 to 3200, f/2.0, 1/250s. Check the first two frames.
- Small theatre, mid stage wash. ISO 800 to 1600, f/2.8, 1/320s. Meter off the follow spot.
- Arena or festival main stage. ISO 400 to 1600, f/2.8 to f/4, 1/500s to 1/800s. Brighter rig, faster movement.
- Slow song, performer standing still. ISO 1600 to 3200, f/1.8, 1/125s. The floor for hand-held sharpness.
- Drums, jumpers, EDM drops. ISO 1600 to 3200, f/1.8, 1/500s. Freeze it rather than guess.
- Heavy red or blue colour wash. Keep the settings above and fix the colour in post from RAW.
One adjustment can ruin the set: underexposing to protect the highlights. A dim frame with a lift applied afterwards looks flat, while a slightly hot frame recovers cleanly. Protect the follow spot, let the shadows go dark.
3. Position Yourself for the Best Stage View
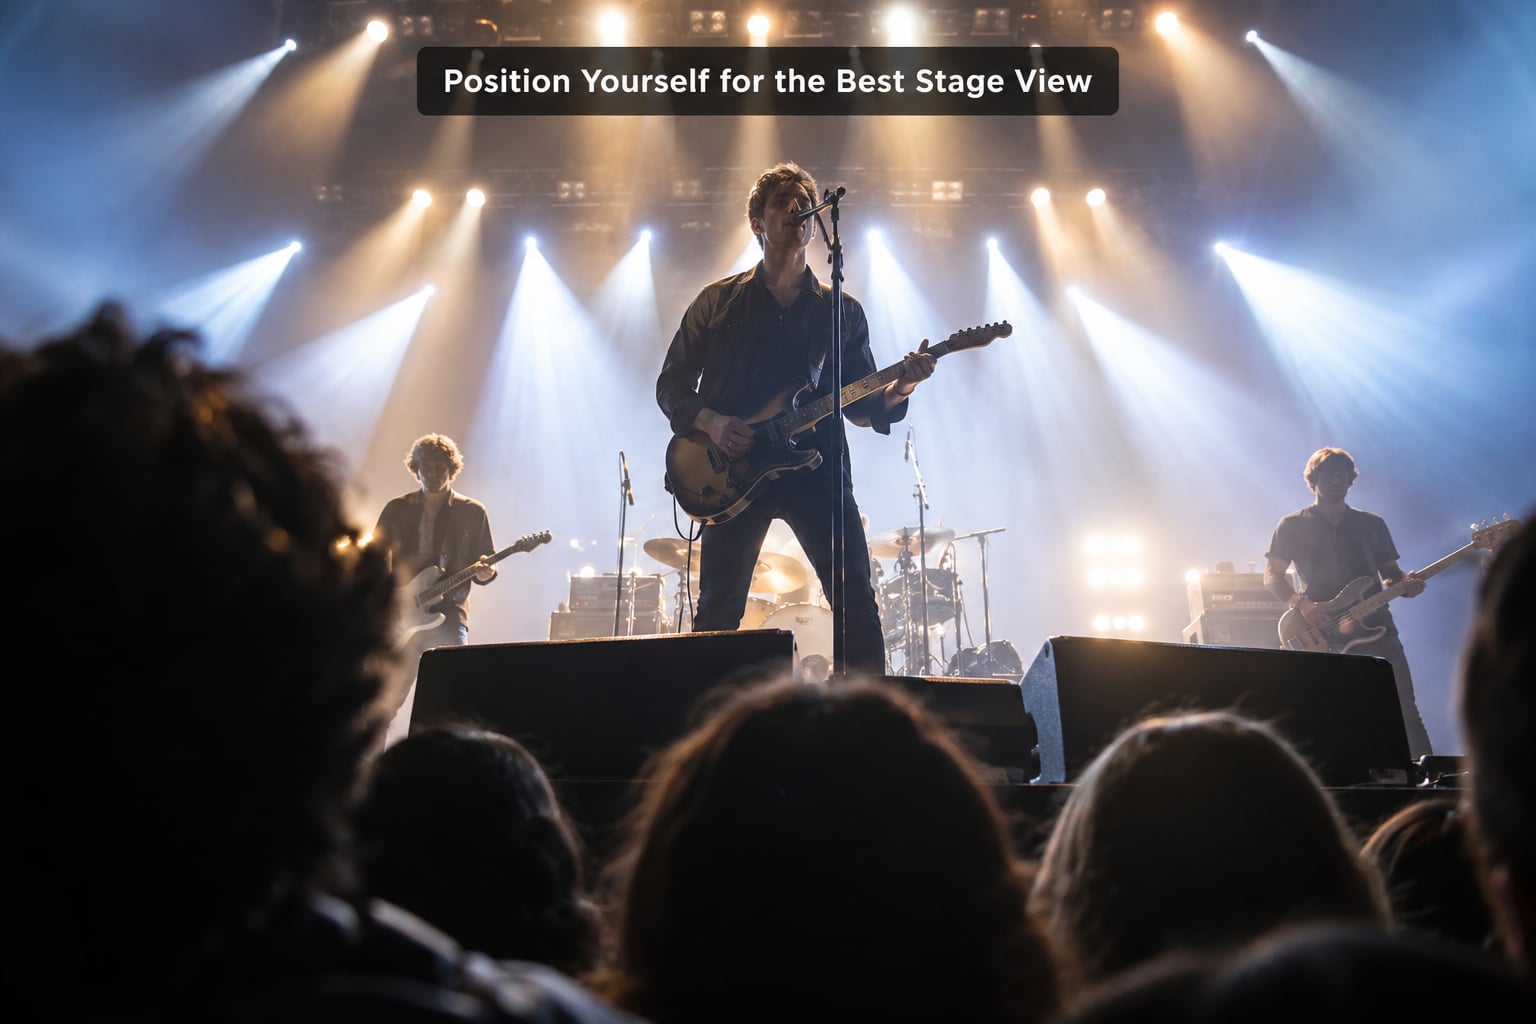
Position decides more than gear. A 50mm shot from the pit of a 500-capacity club and a 35mm shot from a balcony in an arena are two completely different photographs, and neither is better — but a cramped spot behind someone’s head wastes the whole night.
From the pit, get low. Shooting upward removes the crowd from the background, gives you separation against the black backdrop behind the drum riser, and puts more stage light in the performer’s eyes. Watch the tall photographer in front of you; if your lens clears the top of their head with room, you are fine.
From the side stage or the wings, you get profile and backlit rim light with the crowd as a dark foreground layer. From the audience floor, shoot over shoulders into the lights for atmosphere, or turn around entirely — hands in the air and faces lit by a phone screen make the shots people remember you taking.
Backlit shots have their own trick: expose for the glow around the performer and let the body fall toward silhouette. Reflections on wet floors, a polished guitar body or a bank of stage glass are worth a minute of your attention; my tips on photographing reflections cover how to keep them from going pure white.
4. Use a Shutter Speed That Controls Motion
Match the shutter speed to the movement, not to a fixed number you read somewhere. A vocalist leaning into a mic at 1/125s will hold still. A drummer’s stick at 1/125s will be a pale streak.
As a working floor, 1/250s is the safest hand-held fraction in a club. Below about 1/125s, your own hands start to shake the frame, which is different from and much worse than subject motion. Between 1/250s and 1/800s you are choosing between freezing a jump and letting a jump show movement.
Then slow down on purpose. At 1/15s to 1/4s with a stage full of moving lights, you get trails behind the performers that no post-processing trick produces. At 1/8s the crowd becomes a soft blur around one still figure. Those frames are not mistakes — they are the reason you went.
5. Set ISO Without Sacrificing Image Quality
ISO is the dial that keeps the other two honest. Open the aperture as far as the lens allows, choose the shutter speed the movement demands, then raise ISO until the exposure balances. That is the whole logic, and it is why the forum arguments about whether concert photography “needs” ISO 1600 or ISO 6400 never resolve — it depends on the room and the lens.
Set your maximum ISO before the show based on what your camera can handle, not on what feels safe. Push a stop past what looks comfortable, then check the histogram on the camera’s rear screen at 100 percent rather than trusting the thumbnail.
Three habits keep noise down: shoot RAW so the shadows do not have to be lifted from a compressed file, use the camera’s high ISO noise reduction at low strength, and avoid underexposing, because the grain of a dark frame survives every denoiser. Denoisers such as DxO PureRAW and the noise reduction built into modern raw processors handle the rest after the show.
6. Focus Reliably on a Moving Performer
Continuous autofocus (AF-C) is the right default, paired with a wide or zone area rather than a single point, because a point will lock onto a guitar strap and stay there. Eye detection helps in the front rows and fails completely when a follow spot puts the face in shadow.
When autofocus hunts — the most common complaint from concert photographers, and the one that ruins the most shots — you have three fallbacks:
- Back-button focus. Separate focusing from the shutter release so a missed focus does not fire a frame. You decide when the frame is taken.
- Prefocus and wait. Focus on a fixed point the performer will pass through, switch to single autofocus, then hold the shutter down and pan with them as they arrive. This is the oldest concert technique and still the most reliable in a black room.
- Manual focus on a lit surface. Set focus by hand to the distance of a lit riser or backdrop and shoot through it. Depth of field is thin at f/1.8, so check the actual distance carefully.
Whichever fallback you use, practise it before the first song. There is nothing worse than discovering you cannot turn the autofocus off at the exact moment it starts hunting.
7. Anticipate the Key Moments Instead of Waiting
Anyone can press the shutter. The frames that work are the ones taken one or two seconds before the obvious moment: the hand going up on the last chord of the chorus, the guitarist hitting the crowd line, the lead singer walking into the follow spot rather than out of it.
Watch for the lighting instead of the face. A follow spot swinging toward a performer is the earliest warning you will get, and it happens well before the crowd reacts. Audience reaction is the other signal — a surge of raised hands tells you a chorus has landed, and you can be ready for the singer’s face rather than catching a back shot.
Shoot short bursts on the peak rather than holding the button down for the whole song. Ten frames across a key change beats three hundred frames of a guitarist’s neutral expression, and it keeps your card readable at home.
8. Protect Your Images and Make a Quick Post-Show Edit
Back up while you are still at the venue if you can. Copy to a laptop or a second card before you format anything, and do not delete the card until you have opened the copies on another device. A card corrupted by a dead battery mid-write is a bad way to end a good night.
Culling is the fastest part. Delete duplicates and obvious misses first, keep a handful of frames per key moment rather than one, and choose the sharpest frame per moment by eye at full size rather than by thumbnail.
Then edit in a fixed order:
- Exposure and white balance first, with the RAW converter’s lens corrections on.
- Pull highlights back before lifting shadows, so bright LED faces do not turn chalky.
- Apply noise reduction at a moderate amount, then add whatever sharpening the tool suggests at that noise level.
- Finish with a modest colour pass. Heavy saturation on LED-lit skin reads as fake, so go gently.
When a venue front-lights a stage with one hard source, the approach in my one-light portrait guide explains how to read that kind of hard falloff, which is useful when a follow spot is the only light on a performer.
Common Mistakes
- Trying to autofocus in a genuinely dark room. Fix: switch to single autofocus with a prefocused point and pan, as above. Fighting AF-C in blackness wastes the set.
- Underexposing out of fear. Fix: protect the highlights only, then check the histogram. A dim frame loses the shadow detail that raw files give you.
- Trusting automatic exposure. Fix: manual or, at minimum, aperture priority with exposure compensation you set yourself after checking two frames.
- Holding the shutter down for an entire song. Fix: burst on the peaks only. It saves your card, your editing time and your attention.
- Forgetting to back up. Fix: copy before you leave the venue and verify the copies open. A single card with no duplicate is a single point of failure.
- Editing the raw file far past its light. Fix: match the brightness of the stage as your eyes adapted to it, recover highlights, and stop. Files that need aggressive recovery were shot wrong.
- Standing still in the pit. Fix: change your height and angle every few minutes. Backlit rim light, low angles and the LED wall behind the drummer each give a different photograph from the same spot.
Frequently Asked Questions
How to photograph concerts in low light: what camera settings should I use?
Start in manual mode at f/1.8 or f/2.8, 1/250s and ISO 3200, shooting RAW. Take two frames at the start of the first song, check the rear screen, then raise ISO if the image is dark or shorten the shutter if the performer blurs. Clubs need ISO 3200 to 6400, arenas often sit below 1600.
Do I need flash to photograph a concert?
No, and in most venues it is banned outright. A flash reaches the performer but not the back of the hall, ruins the shot for everyone behind you, and gets you removed. Venues that allow it usually limit you to the first three songs. Far more light is on stage than you think, and a fast lens plus higher ISO is the answer.
What lens is best for low-light concert photography?
A fast prime is ideal: a 50mm f/1.8 is the classic pick for a club or a small theatre, and a 35mm f/1.8 gives a wider view in tight rooms. A single f/2.8 zoom covers everything from wide stage shots to tight faces. A kit zoom works but costs you roughly a stop, which means more ISO and more blur.
How do I capture sharp photos of a moving performer?
Keep the shutter at 1/250s or faster for most stage movement, go to 1/500s for drummers and jumping performers, and hold your camera steady with two hands and your elbows in. Shoot RAW so a slightly soft frame can be aligned in post. Expect 1/125s to be your floor before hand shake ruins the frame.
Can I photograph concerts with a phone?
Yes, and phone cameras are far better at dim stages than most people expect. Use the main camera rather than the zoom lenses, hold the phone against something solid because there is often no stabilisation, tap the screen on the performer to lock exposure, and shoot in the highest resolution mode available. Raw capture on supported models gives you much better shadow recovery.
How do I reduce noise in dark concert photos?
Shoot RAW, set the camera’s high ISO noise reduction to low, and avoid underexposing, because grain in dark pixels survives every denoiser. In post, apply noise reduction at a moderate amount before sharpening. When you must shoot a stop or two brighter than feels right, a dedicated raw converter will handle it far better than general editing tools.
Conclusion
Low light is the defining constraint of concert photography, and no setting removes it — you choose between blur and noise on every frame. The method that survives every venue is simple: set a safe starting exposure before the lights drop, find a viewpoint that clears the crowd, and test your autofocus while the room is still bright enough to see.
Start with manual mode, f/1.8, 1/250s and ISO 3200. Shoot two frames at the top of the first song, look at them, and correct. Everything after that is repetition, and repetition is the part that makes the pictures good.