
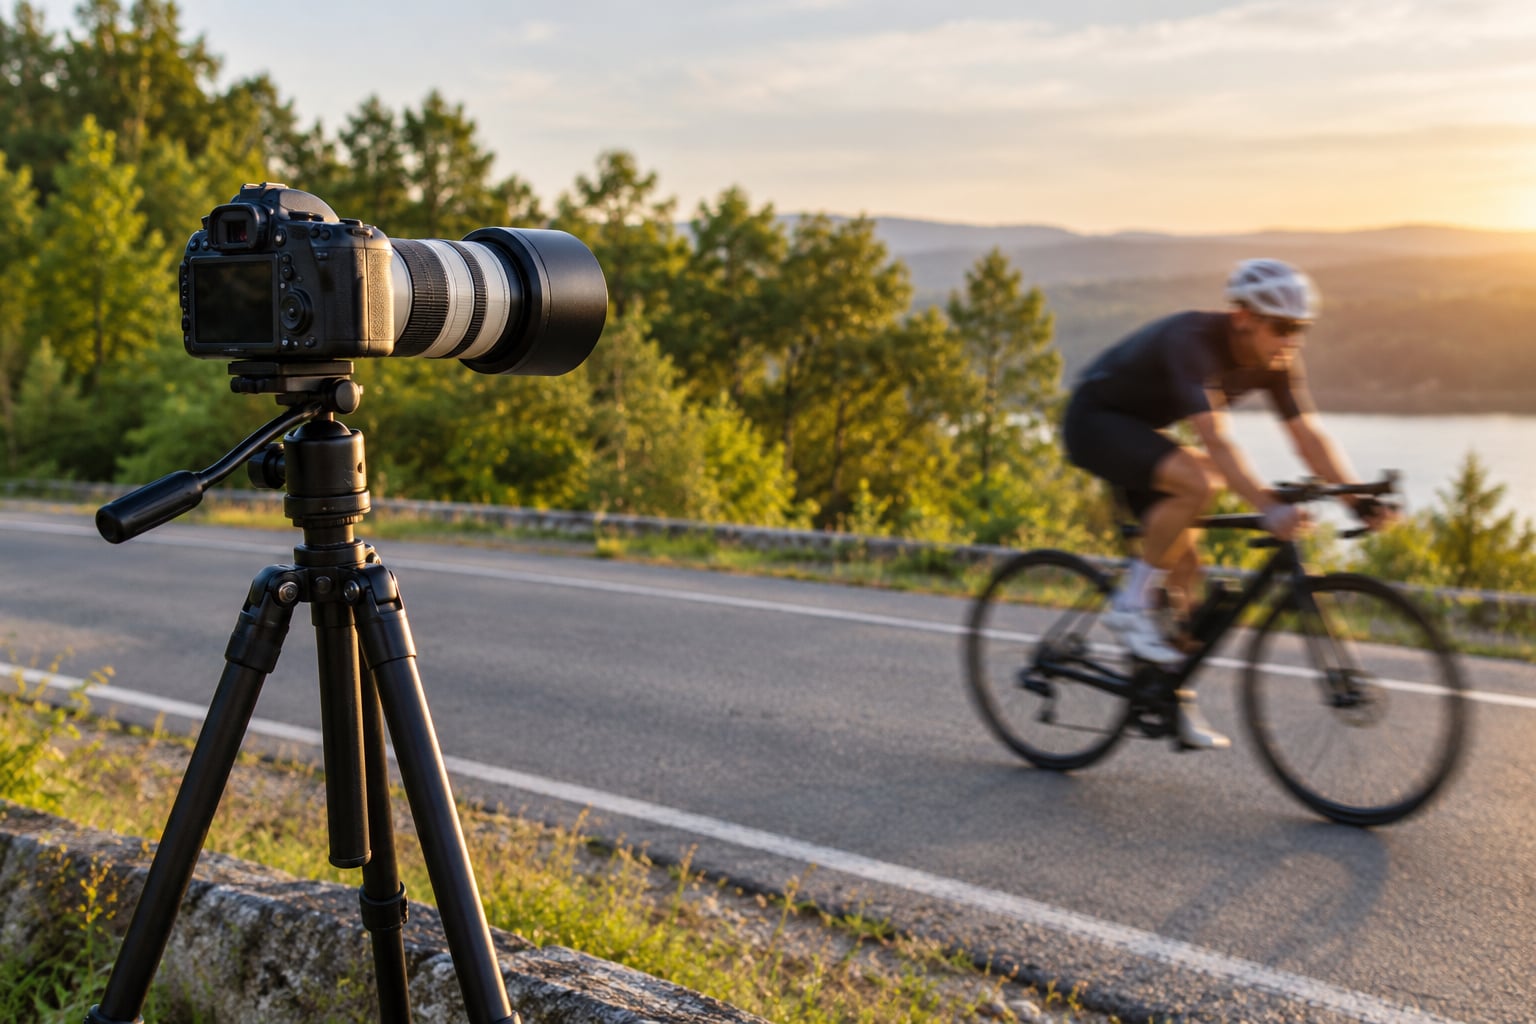
Panning means swinging the camera smoothly in one direction at the same speed as a moving subject, using a slower shutter speed so the subject stays sharp while everything behind it streaks into motion blur. It is the standard way to photograph cars, cyclists, runners, horses and skateboarders, and it takes a few minutes of practice once the settings and the movement line up. This guide walks through the eight steps that turn a soft, unusable frame into a clean result, updated for 2026.
The whole idea rests on one thing: your camera has to move with the subject, not after it, and not faster than it. When the camera’s angular speed matches the subject’s, the subject sits still on the sensor for the length of the exposure, and the stationary background sweeps past the lens instead.
Table of Contents
- What You Need
- Step-by-Step: How to Pan With a Moving Subject
- Step 1: Choose a Route and Stand Square to the Path
- Step 2: Work Out the Speed Before the Shot
- Step 3: Set the Exposure for Motion Blur
- Step 4: Choose the Right Focus Mode
- Step 5: Frame With Space in Front of the Subject
- Step 6: Start Panning Before You Press the Shutter
- Step 7: Keep Panning Through and Past the Subject
- Step 8: Judge the Result and Adjust One Thing
- Common Mistakes and How to Fix Them
- Frequently Asked Questions
- Conclusion
What You Need
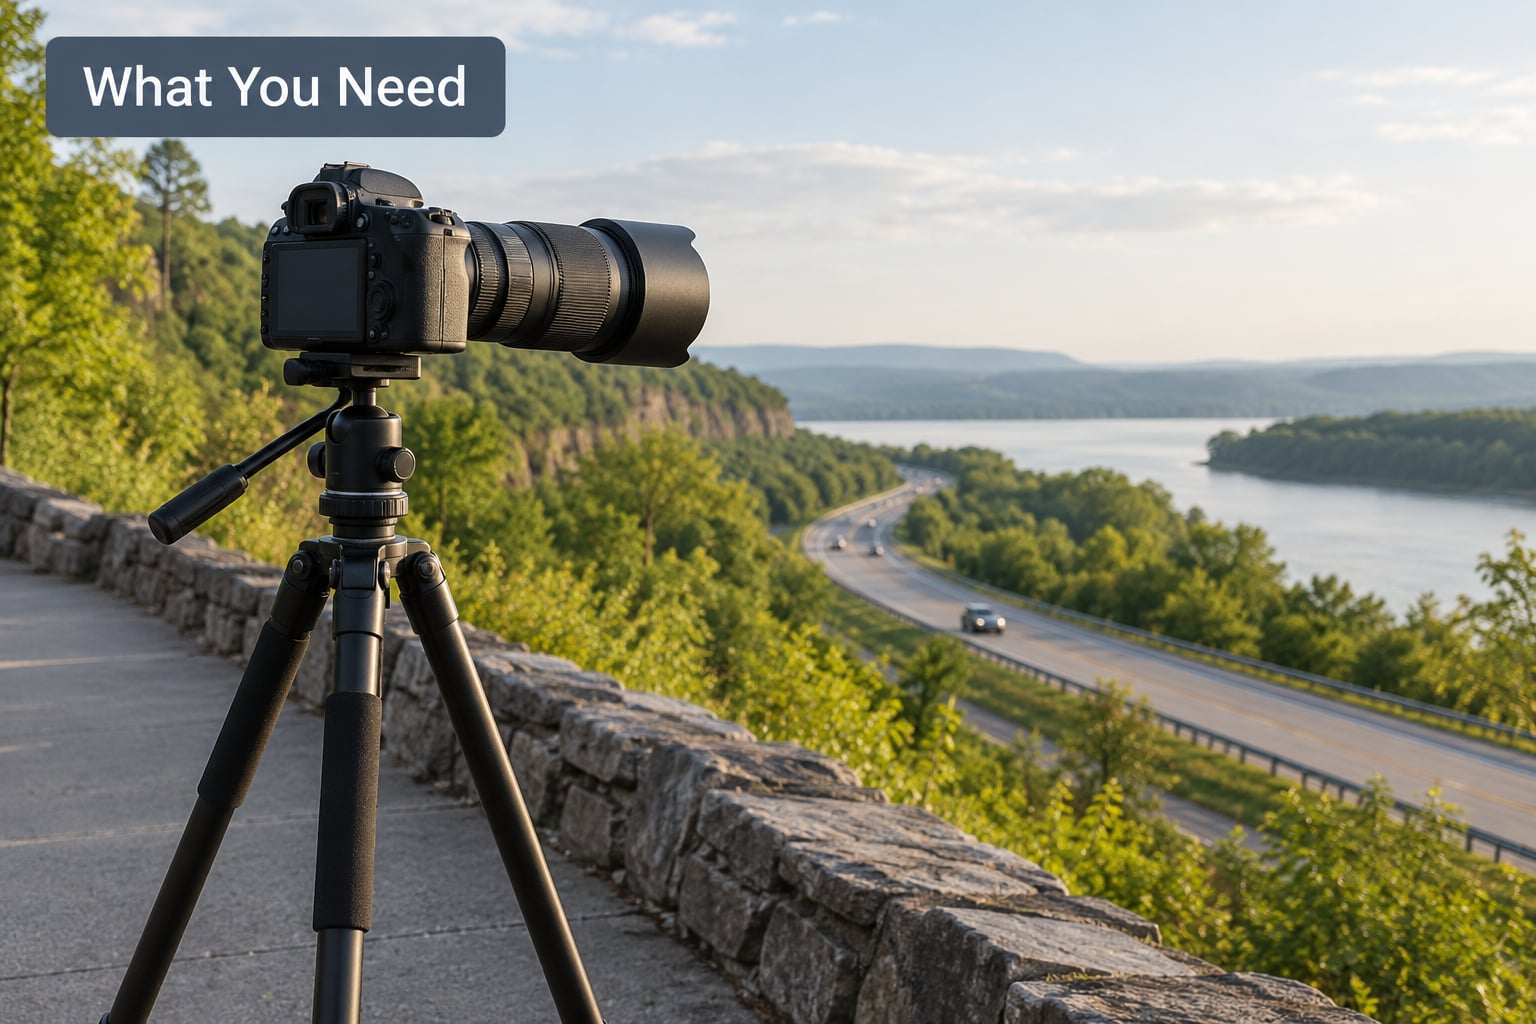
Any camera with a manual or shutter-priority mode will do, and the lens matters far less than people think. A 70-200mm range is comfortable for a car at thirty metres, while a kit zoom works fine if you are close to a cyclist. If you want something lighter for long panning sessions, our guide to shooting black and white photos with a digital camera covers choosing a body and lens combo that stays out of your way.
Here is the short list of what actually affects the result:
- A mode that lets you hold a slow shutter. Shutter priority (S or Tv) for a first attempt, manual mode once you know the settings you need.
- A shutter speed between 1/15 and 1/125 second. Slower means more blur in the background, faster means a cleaner frame and less risk.
- Continuous autofocus. Canon calls it AI Servo, Nikon and Sony call it AF-C, and it is called Servo AF or AI Focus on Canon DSLRs.
- Burst mode. Most panning frames fail, and a burst of six to ten frames is how you get one that works.
- Support, optional. Handheld is the normal way to pan. A monopod helps with heavy telephoto lenses but is not required, and a tripod is usually a poor choice because it fights your movement.
One setting is debated more than any other: image stabilization. Plenty of shooters report that turning stabilization off while panning produces a noticeably sharper subject, because the blur then comes from the deliberate pan rather than from the stabilizer fighting it. Test both ways on your own body and decide from your files, not from an argument on a forum.
Step-by-Step: How to Pan With a Moving Subject
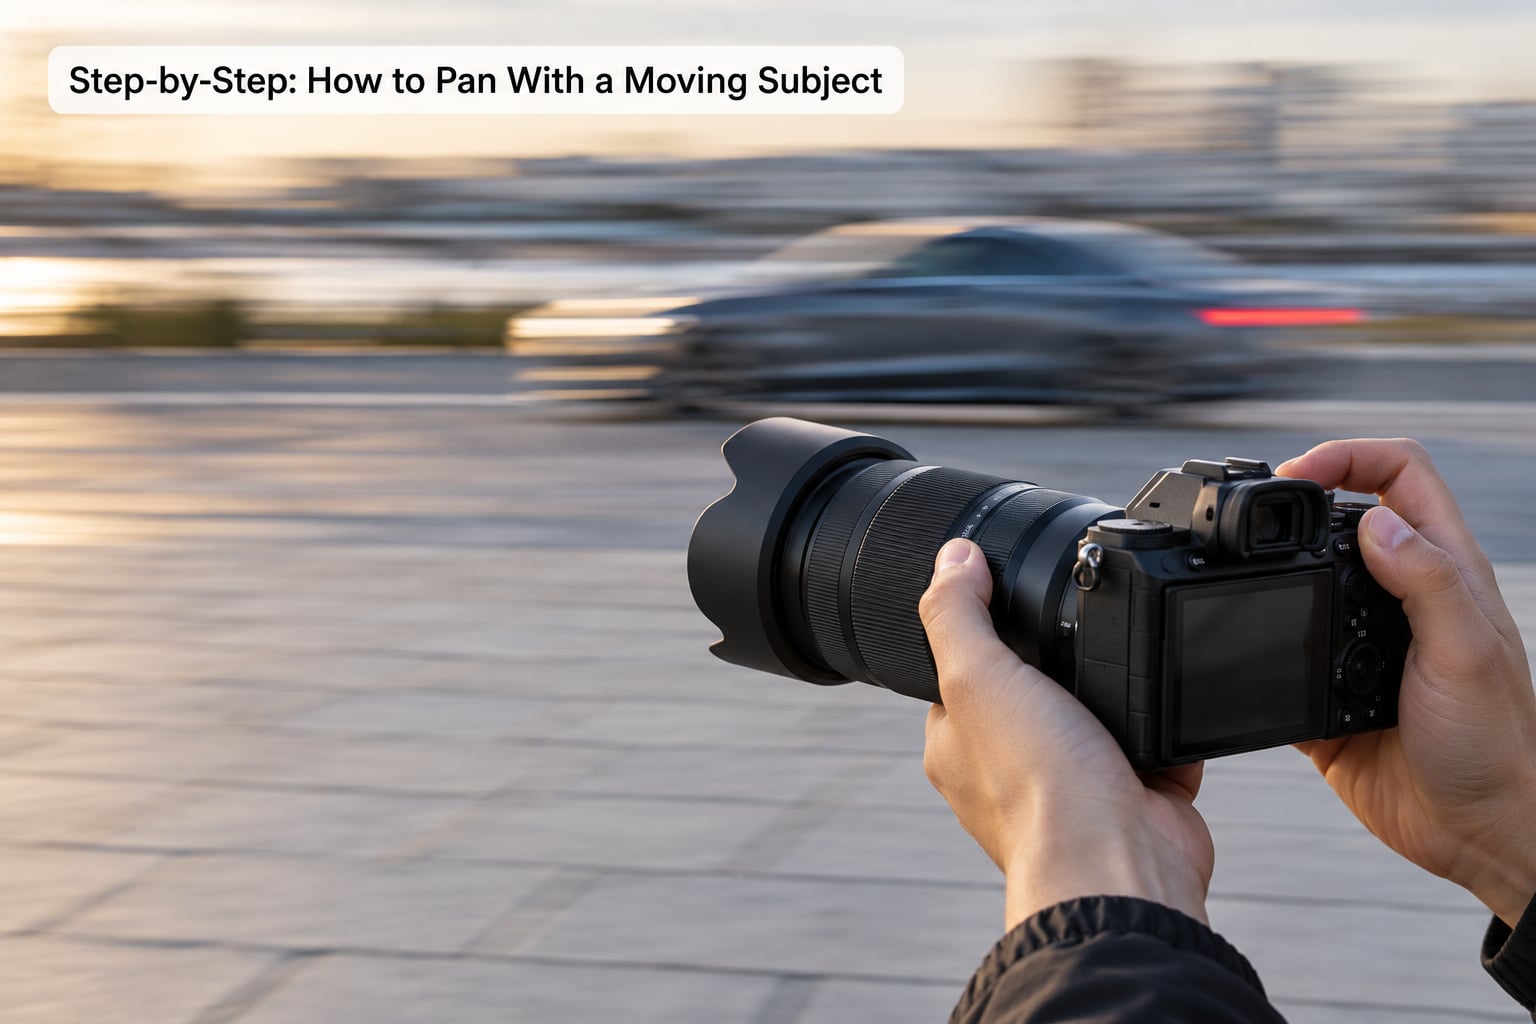
Work through these eight steps in order. The order matters, because the settings are wrong until your position and your movement are right.
Step 1: Choose a Route and Stand Square to the Path
Pick where the subject will travel and stand where its path crosses in front of you at ninety degrees. Get a sense of the route before you set up, then clear obstacles out of the frame, because a post at the edge of the shot ruins an otherwise clean background.
Step 2: Work Out the Speed Before the Shot
Watch one pass of the subject and time it. A jogger crossing your view is a 1/15 to 1/30 shot, a recreational cyclist needs roughly 1/60, and a car or a motorcycle on a fast road wants 1/125 or faster. Judge this by eye rather than by assumption, since it takes practice to learn how fast a subject moves across your frame.
Step 3: Set the Exposure for Motion Blur
Dial in a shutter speed from your speed estimate, an aperture around f/8 for enough depth of field, and an ISO that gets you there. Metering the scene tends to overexpose the subject, so check the histogram and add negative exposure compensation until the highlights sit just below the clipping point, usually between minus one third and minus one stop.
Step 4: Choose the Right Focus Mode
Switch the lens to continuous autofocus and select a small zone or a group of points rather than a single point. A single point works when you know exactly where the subject will be, while a zone gives you more room when the route is not perfectly repeatable, which is most of the time.
Step 5: Frame With Space in Front of the Subject
Place the subject on the side of the frame it is travelling away from, leaving open space ahead of it. Shoot in RAW, so you can push the contrast between the sharp subject and the streaked background later instead of finding the exposure perfectly on the first pass.
Step 6: Start Panning Before You Press the Shutter
Begin moving the camera as the subject enters the frame, follow it with your hips turning and your elbows tucked in, and start the burst only once your framing feels steady. Most soft panning shots fail here, because the photographer waits to see whether the subject is centred and then starts moving from a standstill.
Step 7: Keep Panning Through and Past the Subject
Do not stop when the shutter fires. Keep the same smooth movement for a count of three after the burst ends, because a camera that halts on the subject bounces and smears it. This follow through is the single habit that separates a usable frame from a miss, and it is the one beginners most often forget.
Step 8: Judge the Result and Adjust One Thing
Zoom in to 100 percent and look for a test you can actually measure: lettering and logos on the car, a number on the rider’s back, a face. Sharp lettering means the pan succeeded, and if it is soft, look at the background next. A sharp subject with a still background means your shutter was too fast, while a soft subject with a streaked background means your pan outran the subject or started too late.
Keep this rough guide nearby for your first passes, then adjust from what you see in the files:
- Jogger or walker: 1/15 to 1/30 second, and the background turns into long soft streaks.
- Recreational cyclist: 1/40 to 1/60 second, giving clear directional streaks.
- Fast cyclist or skateboarder: 1/60 to 1/125 second, with light streaking behind.
- Car or motorcycle: 1/125 to 1/250 second, so the blur stays subtle and the background is still readable.
Panning versus its cousins comes up often. Panning follows a subject from a fixed position, dollying moves the whole camera through space, a zoom changes focal length during the exposure, and intentional camera movement wanders with no subject in mind at all.
Common Mistakes and How to Fix Them
The camera does not move at all. If you stand still and let the subject cross the frame, you get a blurred subject and a sharp background. Fix it by making the pan the motion you perform, not the one you watch.
The subject is coming toward you. A car driving at an angle means your camera has to swing faster and further, and the geometry of the shot collapses. Stand where the subject passes side-on instead of waiting for it to approach.
The shutter speed is too fast. A frozen frame with no blur at all means the panning never happened in the exposure. Drop to 1/30 second and shorten the focal length to give yourself more tolerance.
The tracking is jerky. Starting, stopping and correcting in small jumps adds shake that no shutter speed will fix. Practice the movement with the camera empty before the subject arrives, and turn your hips rather than your arms.
Framing is locked too early. Committing to a fixed spot on the sensor before the subject arrives leaves you swinging to catch up. Keep the subject traveling in the same part of the frame and let it come to you.
The background is busy. Clutter behind trees or railings makes the blur unreadable, so look for a plain wall, an open field or a smooth stretch of road. The same technique on a messy background looks like a mistake even when it worked.
Low light deserves its own note. When the light drops, the slow shutter panning needs stops you may not have, and raising ISO is better than raising the shutter speed, though noise in a RAW file is far easier to reduce than a subject that is uniformly soft. A flash can freeze a small subject against a blurred background, which works well for a cyclist or a skateboarder at dusk, while the panning still supplies the blur.
Practice with a friend on a bicycle across a quiet street, at walking pace, before you try anything fast. Expect a high failure rate early on. Most of the work is not in the settings at all, it is in matching your camera’s movement to the subject’s speed, and that is a physical habit rather than a menu choice.
Frequently Asked Questions
What is the best shutter speed for panning motion?
Start at 1/60 second for most moving subjects, then adjust to the speed in front of you. A jogger needs 1/15 to 1/30, a cyclist around 1/60, and a car on a fast road wants 1/125 or faster. The slower the shutter, the stronger the background streaks, but the harder the match becomes between your pan and the subject.
Is panning the same as dollying?
No. Panning is a rotation on a fixed spot, swinging the camera to follow a subject across the frame. Dollying is moving the camera through space, forwards or sideways, often on a tripod or slider. Dolly moves can create similar blur, but the control comes from the camera’s position rather than from the timing of a follow.
How do I focus on a subject and blur the background?
Use continuous autofocus with a small zone of focus points, start the pan before the subject reaches the frame, and keep the camera moving after the shutter fires. Focus accuracy alone will not give you a blurred background, because a wide aperture also blurs whatever is behind the subject even when nothing is moving.
Should image stabilization be on or off when panning?
It depends on your system, so test it. Many shooters report sharper subjects with stabilization off, because the stabilizer is designed to correct for your movement and can fight a deliberate pan. Shoot the same subject twice, once each way, and compare the results at 100 percent before deciding.
Do I need a tripod or monopod for panning?
Handheld is the standard way to pan, and a tripod is usually a poor choice since it limits the smooth rotation a panning shot depends on. A monopod is useful with a heavy telephoto lens, or if your subject moves slowly enough to allow long shutter speeds. Neither replaces the practice of steady movement.
Why does my panning shot come out blurry all over?
A uniformly soft frame usually means the camera and the subject were moving at different speeds during the exposure, or that the pan started after the subject was already past. Check the background: if it is sharp, your pan did not happen at all. If the subject and background are both soft, the speeds did not match.
Many photographers who master panning move on to controlled studio work, and how to shoot portraits with one light is a good follow-up if you want the same kind of deliberate control in a quieter genre.
Conclusion
Choose a clear subject path, stand where it passes side-on to you, set continuous autofocus and a slower shutter speed, then practice smooth panning that starts before the subject arrives and continues well past it. Shoot a burst every time and judge the result on whether the lettering on the subject is sharp, since that test tells you exactly which part of the technique to fix. If you are building a body of work from these frames, our guide to approaching a gallery with your work covers what happens after the edit is done.