
To photograph wildlife ethically, put the animal’s welfare ahead of the picture at every stage: learn the species before you go, work from a distance with a long lens, watch for stress signals in the body language, and back off the moment behaviour changes. Never bait, chase, flash, pose or handle a wild animal for a frame. Most of the skill is deciding when to stay put and when to walk away.
That sounds softer than it sounds in practice. The photographer who pushes for a tighter crop is usually the one who ends up with the better behaviour shot, because the animal that never noticed them never changed what it was doing.
The codes written by the Mammal Society, the Royal Photographic Society’s Nature Code, Defra’s Marine and Coastal Wildlife Code and Audubon all reduce to the same priority order: wildlife comes before photography. Not wildlife after photography, and not wildlife when it is convenient. This guide turns that principle into field decisions you can make at dawn with cold hands.
Table of Contents
- What You Need
- Step-by-Step
- How to Research Wildlife Behavior and Habitat: Start With the Species, Not the Location
- How to Choose a Distance That Protects the Animal: Watch Behavior, Not a Number
- How to Stay Quiet and Leave Less Impact: Slow, Small, and Silent
- How to Photograph Wildlife Ethically: Let the Animal Set the Terms
- How to Compose Ethical Wildlife Images: Anticipation Beats Approach
- How to Edit Wildlife Photos Responsibly: Correct the Frame, Not the Truth
- How to Leave the Site Better Than You Found It: Pack Out, Stay on Track
- Common Mistakes
- Frequently Asked Questions
- How do I know if an animal is stressed by my presence?
- Is it ever acceptable to bait wildlife for a photograph?
- Can I use flash when photographing wildlife?
- Can I use a drone to photograph wildlife?
- Should I geotag or share the location of a rare animal I photographed?
- What should I do if I disturb an animal while photographing?
- What to Do First on Your Next Shoot
What You Need
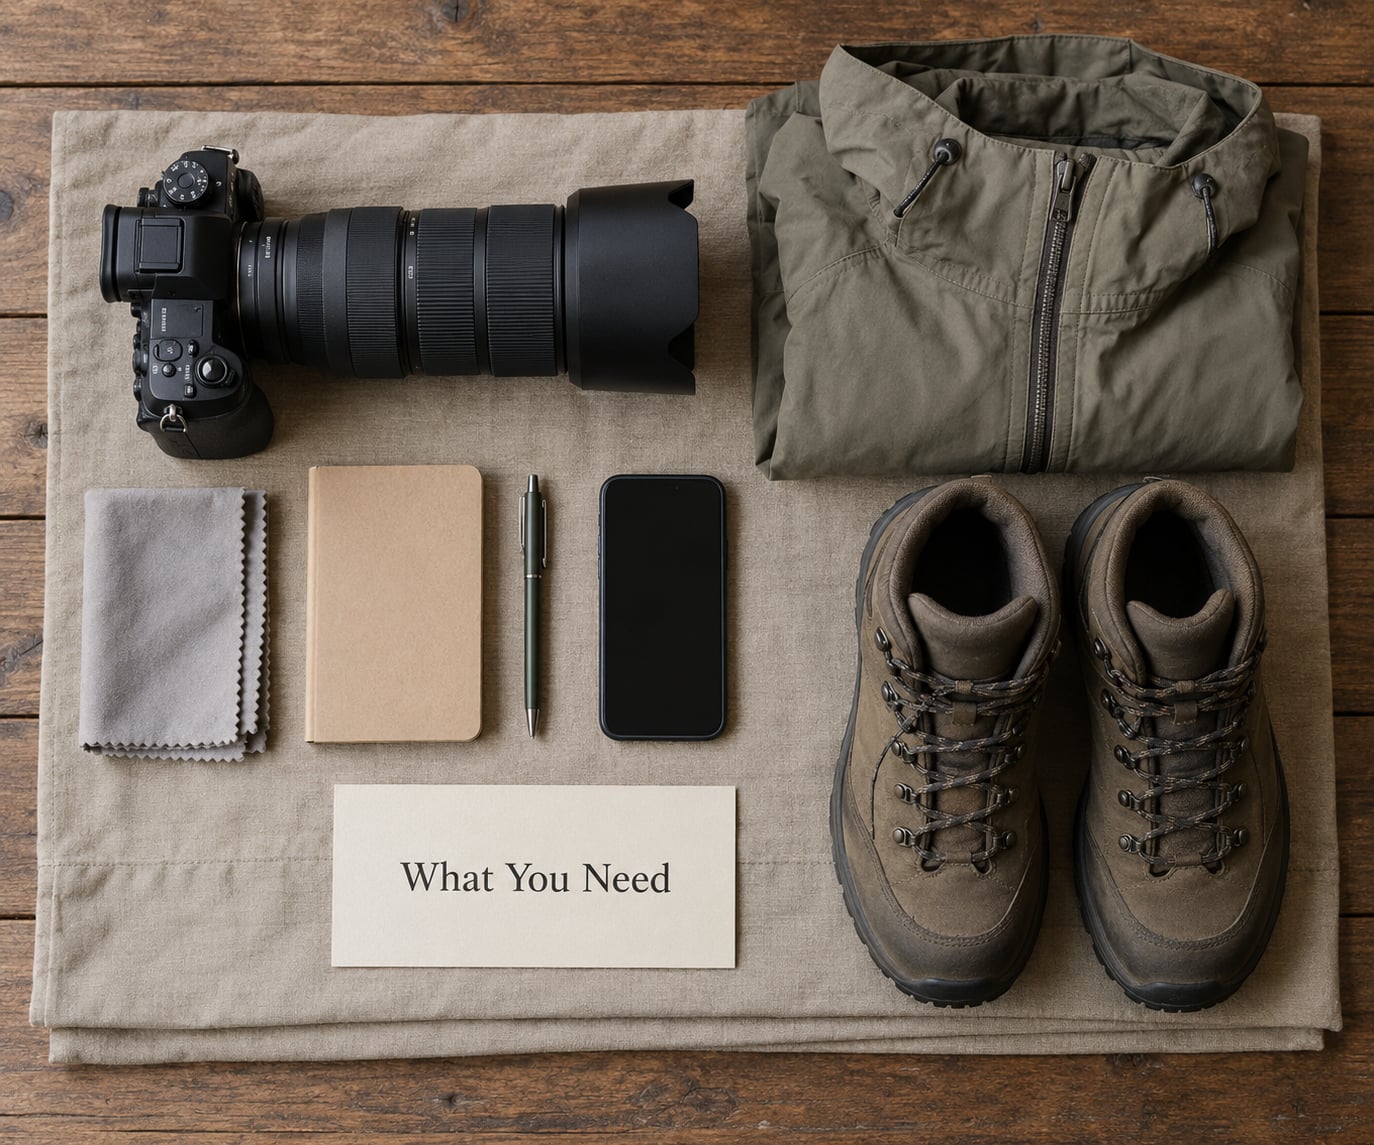
Most of this list costs nothing and the rest of it should be chosen for one reason: to let you stay further away, quieter and longer than you would otherwise manage.
- A plan on paper. Species, likely behaviour, legal status, access rules and the route in and out. Written down, because half the decisions that matter get made in the dark.
- Matte, earth-toned clothing. Wool, cotton and muted olive or brown over bright synthetics. Avoid white and pale grey, which read as a human shape against almost every habitat.
- A telephoto lens. The single most ethical piece of equipment you can own. Reach replaces proximity, so you get the frame without the intrusion. A support rest such as a beanbag or tripod with a gimbal head matters more at long focal lengths than most people expect.
- A camera with a silent or electronic shutter. Mirror slap and mirror movement are loud at close range. Electronic first curtain helps further.
- A spare battery and a card that is not full. Nothing ruins an ethical approach faster than a panic swap while a badger is still feeding.
- A notebook and pen. Time, place, weather, behaviour and individual markings. Field notes are also how you stop returning to a spot at the wrong hour of the wrong season.
- A silenced phone in a bag. Not for the shot. For navigation when you are moving quietly through habitat at dusk.
- Binoculars. A wider field of view than any telephoto, which means you find animals before they find you.
- Safety kit for the place. Bear spray where bears live, a whistle, a charged power bank, water, and the layered clothing you actually need rather than the one that photographs well.
- Patience with no payoff guaranteed. Bring a book or a thermos. The hours where nothing happens are the hours that decide whether the animal tolerates your presence at all.
Step-by-Step
How to Research Wildlife Behavior and Habitat: Start With the Species, Not the Location
Open a species account before you open a map. You want to know its diet, its daily activity peaks, whether it is solitary or social, where it nests or dens, how far it will travel to feed, and whether it is legally protected in the country you are standing in.
Then add the calendar. Breeding, moulting and migration all change what an animal tolerates. A bird on a nest in April is a different problem from the same bird on a branch in August, and both are different from a deer in winter when every calorie is a survival decision.
Map the habitat, not the hotspot. Note the escape routes a grazing animal would use, where cover breaks, where water sits, and where a birder has already reported a nest so you can keep a wide berth. If a place requires you to cross a fence or push through a wet thicket to reach the angle, the angle is not worth it.
How to Choose a Distance That Protects the Animal: Watch Behavior, Not a Number
There is no universal safe distance, and anyone quoting you a single number is oversimplifying. Flight distance varies enormously between species and even between individuals: an impala will move at 80 metres, a cheetah may hold much closer, and a duck already accustomed to people may barely shift at ten.
So judge distance from four things instead. First, the animal’s reaction: if it stops feeding, stares, changes its body orientation toward you or calls, you are already at its limit. Second, your actual optical reach: the distance that fills the frame with the lens you have, not the distance you wish you had. Third, terrain: an animal with a clear line of flight behaves differently from one pinned against a cliff or a road. Fourth, local rules, which set a floor that your judgement can only raise.
Work out your maximum working distance before the trip and treat it as a hard stop. My rule is simple: when in doubt, add 30 percent. If the frame is not there, you crop later or you come back tomorrow with the same animal still alive and unbothered. Learning how to photograph wildlife ethically starts with that number rather than with the shot you came for.
How to Stay Quiet and Leave Less Impact: Slow, Small, and Silent
Most disturbance is not a dramatic intrusion. It is a photographer walking at a normal pace, shuffling on the spot for twenty minutes, and rustling a jacket every time they frame up.
Move slowly, pause often and let your eyes adjust before you raise the camera. Announce yourself before you arrive where an animal might be, quietly, so flight is an option rather than a shock. Limit your group size; four people in a hide is already a lot of noise and warmth. Handle equipment with both hands, rest the lens on your knee rather than twisting a tripod collar, and breathe out before the shutter.
Then stop doing the unnecessary things. Do not approach an animal that is already visible, do not reposition repeatedly for a better background, do not call, clap or play a recording to summon something closer, and do not come back the following morning because yesterday almost worked.
How to Photograph Wildlife Ethically: Let the Animal Set the Terms
The encounter belongs to the animal. Your job is to notice what it chooses to do inside a space you have already made yourself small enough to occupy.
- Watch for the warning stage. The moment before a flush or a sprint tells you the distance is wrong. Heads up, tail flicking, nostril flare, tail raised, alarm calls, an animal that stops mid-feed and stares are all the same message: back off now.
- Never block movement. If a line of travel runs through your position, you move. Cornering an animal, or standing between a parent and young, is harassment even if you never touch anything.
- Let animals approach first. Sit, wait, and work a wide area where animals come to you rather than following one subject into cover.
- Work from a fixed position. Once you are set and the animal has accepted you, stay. Constant small repositioning is more disruptive than one clean approach.
- Leave when daily life is interrupted. If feeding stops, a nest visit is abandoned, a parent keeps looking back, a herd stays bunched instead of spread, or a young animal is pulled from the area, you end the shoot. That is the decision rule, and it does not need a committee.
How to Compose Ethical Wildlife Images: Anticipation Beats Approach
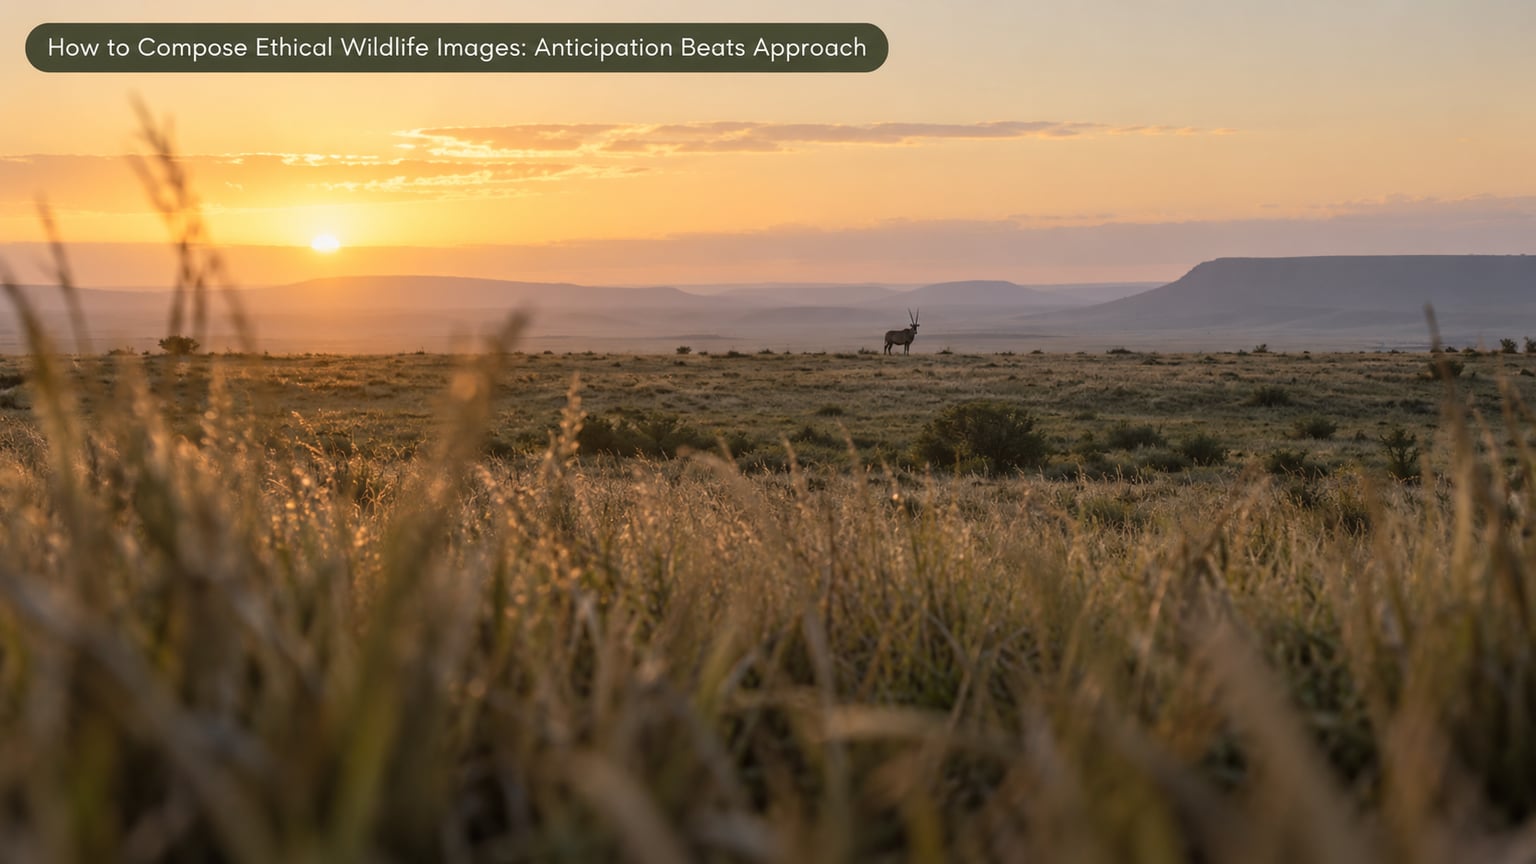
Restraint makes better pictures. Predators and ungulates have very different flight distances, and the ungulates that let you work at 60 metres are usually the ones grazing relaxed, which is the frame you actually wanted. Working on a wary animal means a burst of 20 frames at 60 metres instead of one careful frame at 20 metres, and you will usually prefer the first image.
Anticipation is the technique that replaces proximity. Know where the light will fall at the time you plan to be there, arrive early, and settle before the animal arrives. Work eye-level perspectives by getting low in existing cover rather than by crouching closer. Build frames with habitat in them, because the context of where an animal lives tells the viewer something a tight portrait cannot. Put a subject in clean negative space rather than centre it every time.
Be honest about a related limit: chasing charismatic megafauna is how most bad encounters begin. Photographing the heron, the beetle, the lichen or the estuary mud is not a consolation prize. It is how you build a portfolio that people can actually look at, and it is where the interesting behaviour tends to be.
How to Edit Wildlife Photos Responsibly: Correct the Frame, Not the Truth
Straightening a horizon, cropping a stray branch, correcting exposure and adjusting white balance are finishing the photograph, not faking it. Compositing two animals into one frame, adding sky or light that was not there, removing a fence or a branch that proved the scene was wild, moving an animal’s position, or deleting a wound or a snare injury is not editing. It is manufacturing evidence about a wild animal.
The rule I use: the image should not claim something about the animal that did not happen. Honest processing keeps accurate exposure and true context. It does not turn a hazy afternoon into a golden sunrise, and it does not rescue a captive-born animal posed on a rock into something that looks wild.
If a scene was staged, say so in the caption, plainly and in the first line. Full disclosure costs you nothing ethically and a great deal of nothing commercially. Caption species correctly too, and say when a shot was taken at a zoo, a rescue centre or a rehabilitation enclosure, because a growing share of viral wildlife images come from exactly those places.
How to Leave the Site Better Than You Found It: Pack Out, Stay on Track
Take only photos, leave only footprints. That means packing out every scrap, including fruit cores and the sandwich crust you dropped. Stay on paths and durable surfaces rather than walking to the edge of a bank for a low angle, because erosion at a popular photo spot kills the habitat you came to see.
Do not feed wildlife, do not collect, do not move a rock to get a better angle, and never go near a nest, den or roost. Watch where you put your feet around burrows and loose rock, and do not bring dogs into places where they will chase. Respect closures, seasonal restrictions and no-entry areas even when the light is perfect and nobody is watching.
Carry a small brush or comb for ticks and mud, and scrub mud off your boots and gear between sites. iNaturalist community guidance is pointed about this one: disease transmission between locations, particularly for amphibians, is a real risk that photographers carry with them. If you do disturb the habitat, damage vegetation or notice damage someone else caused, note it and report it to the site manager.
Common Mistakes
Every mistake below has a field fix. The first one is by far the most common, and the one photographers most often admit to in the forum threads about this topic.
- Chasing the shot. You commit to a subject and follow it until it stops behaving. Fix: set a maximum working distance before you start, work a fixed position instead of a moving target, and accept fewer frames from a calm animal over a burst of alert ones.
- Baiting, luring or arranging food. It produces the picture and removes the animal’s choice. Fix: never, and treat an operator who offers it as a warning about everything else on that itinerary.
- Playing recorded calls. It works because the bird is panicked or territorial, not because it is interesting. Fix: no playback on birds of prey, owls, nightjars, shorebirds or any species under pressure.
- Getting too close to a nest, den or roost. The worst case is a bird that abandons the nest entirely. Fix: observe from far enough that the parents never change their routine, and never publish the coordinates.
- Using flash on nocturnal or nesting birds. Repeated flashes can cause nest abandonment. Fix: a fast lens, high ISO, a beanbag and patience instead of light.
- Flying a drone near animals. Rotor noise disturbs well beyond the point where you can see the effect, and rules on altitude and distance vary by country. Fix: do not fly over wildlife, and check the specific site rules before you go. Remote camera traps placed without disturbance are the ethical alternative for survey work.
- Handling animals for a photo. A posed snake is not a wildlife photograph. Fix: watch, and get the shot with a long lens. If you must handle anything, follow published guidance for that group: for amphibians, keep your hands wet because dry hands remove the protective slime coat; for fish you intend to release, wet your hands, keep them out of the water for no longer than you can hold your breath, and use a photo tank for small species rather than your hand.
- Sharing a precise location. A geotag on a rare, persecuted or nesting species can get it targeted. Fix: drop the pin, or share only the broad region.
- Overediting to hide the conditions. Sky replacement, animal composites and added drama make a lie that captions rarely correct. Fix: fix exposure and nothing else.
- Supporting an unethical tour. Unregulated vehicle crowding at migration crossings is a well-documented failure of photo tourism. Fix: ask operators the questions below before you pay.
- Publishing generative wildlife images as real. The Mammal Society explicitly advises against using generative tools to create images of living species, and a synthetic scene is a fabricated claim about a wild animal. Fix: label synthetic work clearly and never let it enter an editorial or conservation context as documentation.
Before booking any photo tour, ask: what is your maximum group size, what is your vehicle count at a known hotspot, do you ever use bait or playback, what is the minimum distance you enforce with clients, will you let me skip a sighting if the animal is stressed, and who is your local conservation partner? An operator who answers all six plainly is usually worth the trip. One who bristles at the bait question is telling you what you need to know.
Ethics also extends past the animal. Guide fees paid to local communities, requests to shoot on Indigenous land, and asking a community where to find a species all deserve the same respect as a permit. Photographing people at rituals, graves or in remote villages without asking is not wildlife photography ethics, but it uses the same failure of attention. If you want a framework for that side of the work, our guide to how to photograph strangers respectfully is worth reading.
Frequently Asked Questions
How do I know if an animal is stressed by my presence?
Watch behaviour rather than distance. Common signs include an animal that stops feeding and stares, head raised and body squared toward you, tail raised or flicking, repeated alarm calling, bunching instead of spreading when a herd should be relaxed, or a parent leading young away. Any one of these means back off now, and repeat it if the behaviour does not return to normal within a few minutes.
Is it ever acceptable to bait wildlife for a photograph?
No, in ethical wildlife photography there is no exception worth defending. Baiting or calling an animal in removes its choice, changes its behaviour unnaturally, and in the case of predatory species can put both the animal and you at risk. It can also make a habituated animal, and habituated animals are frequently culled. Treat any operator who offers baiting as a warning about the rest of their operation.
Can I use flash when photographing wildlife?
Rarely, and never around nesting or roosting birds, where repeated flash has been recorded as a cause of nest abandonment. For most mammals and diurnal birds, a fast lens, a raised ISO and a beanbag will get you the frame in far lower light than you expect, which removes the need for flash entirely. Treat any flash use near nocturnal species or dens as unacceptable without specialist guidance.
Can I use a drone to photograph wildlife?
In most situations, treat it as unacceptable near animals. Rotor noise disturbs far beyond the point where you can see an effect, and birds in particular react to approaching drone noise rather than to the aircraft itself. Altitude and distance rules vary by country and by site, and many protected areas ban drones outright. A remotely placed camera trap set without disturbance is the ethical alternative for survey work.
Should I geotag or share the location of a rare animal I photographed?
Not for rare, persecuted or nesting species. A precise pin can lead to collectors, egg-thieves or well-meaning but disruptive visitors, and a handful of determined people can destroy a colony that years of conservation work built. Share the country and broad region instead, and say in the caption that the location is withheld. For common species in open country, geotags are harmless and sometimes genuinely useful.
What should I do if I disturb an animal while photographing?
Stop moving and stop shooting, give the animal a clear escape route, and back away slowly without turning your back on it. Do not pursue or offer reassurance with food. Then wait quietly to see whether it resumes normal behaviour within a few minutes. If it does not, assume your presence is the cause and leave the area. Note the time, place and what happened, and if there was a nest or den involved, report it to the site manager.
What to Do First on Your Next Shoot
Write down your maximum working distance before you leave the car, and treat it as the same kind of rule as a closure sign. Research the one species you most want to photograph, its legal status, and the time of day it actually feeds. Then arrive early, settle once, and give yourself permission to leave early. That is the whole method behind how to photograph wildlife ethically, and it produces calmer animals and better frames at the same time.
While you are there, the mechanics still matter: low angles and clean negative space for composition, and available light rather than added light for exposure. Our guides on how to photograph shadows and how to photograph reflections cover the light side, which is where most field frames are won or lost.