
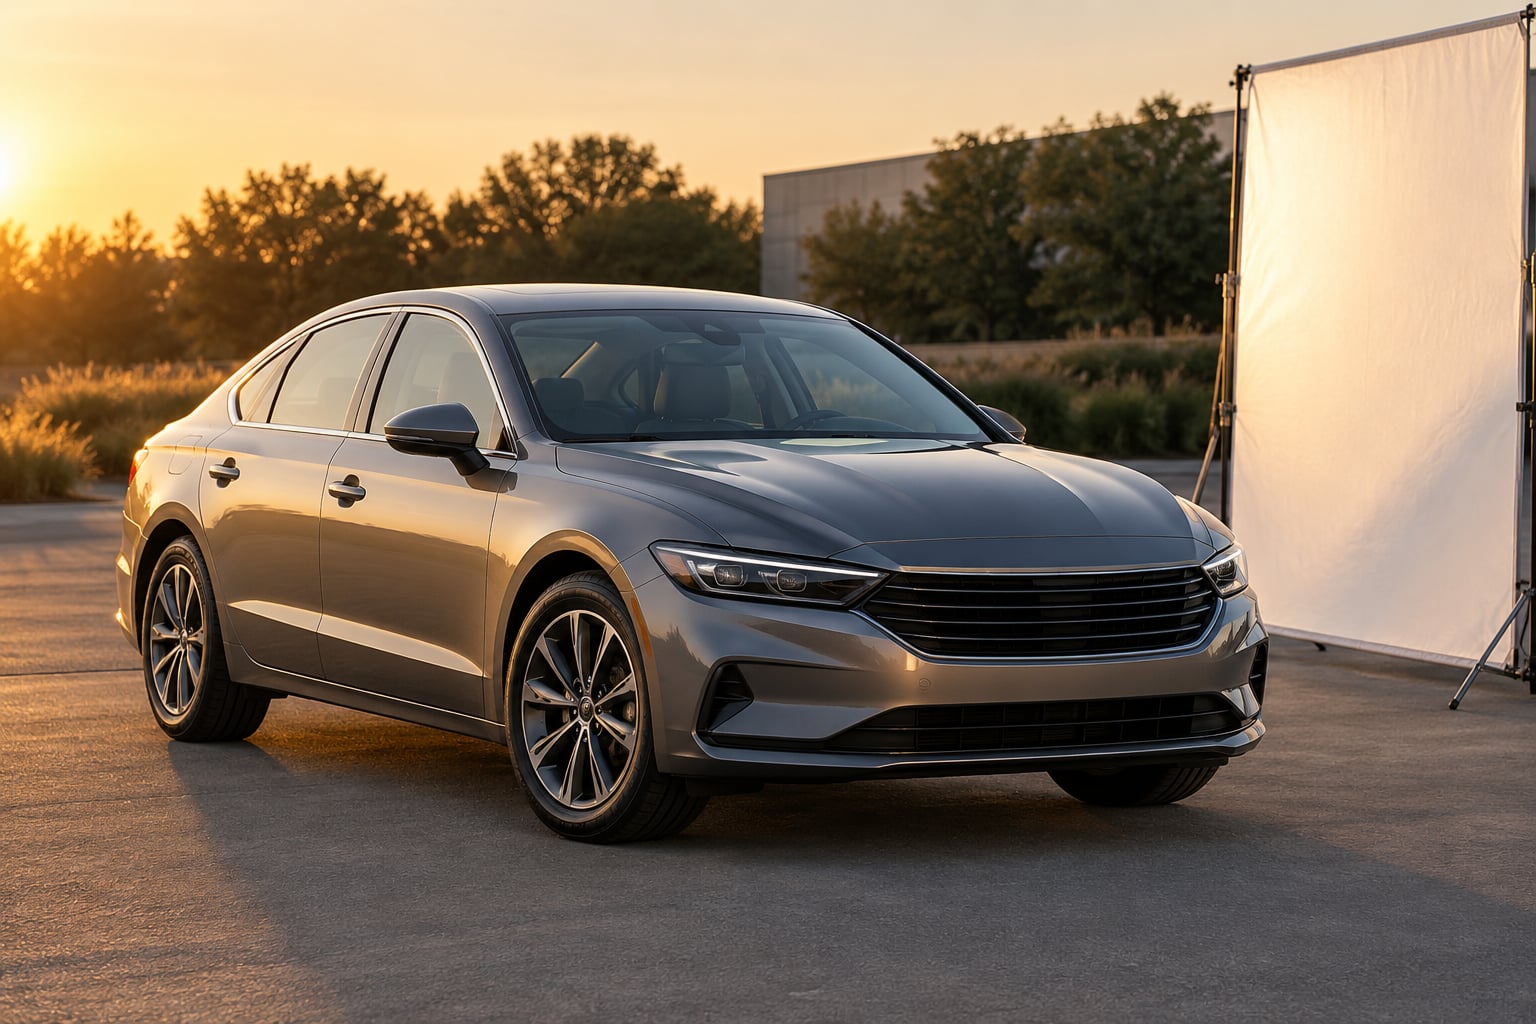
Learning how to photograph cars comes down to three things: a 35-85mm lens, soft light around golden hour, and control over what the paint reflects. Get those right and everything after them is exposure and editing. A capable phone or an entry-level mirrorless body will do the job, so gear is rarely the limiting factor.
Car photography is odd because the subject is a mirror. A curved, glossy panel reflects every building, tree, cloud and stray passer-by, and it rewards you only when the light and the reflection happen to line up. That is why so many car photos look flat, and why the same car looks stunning in someone else’s portfolio.
The other half of the job is patience with volume. Experienced shooters take a hundred frames and keep ten, so plan on discarding most of what you shoot before lunch. The full workflow takes maybe ninety minutes for a clean set of a static car once you know where to stand.
Table of Contents
- What You Need
- Step-by-Step
- Common Mistakes
- Frequently Asked Questions
- Can you photograph your own car at home?
- What is the best camera setting for photographing a car?
- How do you photograph a black car without losing detail?
- Is a polarizing filter useful for car photography?
- How do you photograph a moving car while keeping it sharp?
- Should car photos be edited in RAW or JPEG?
- Where to Start Tomorrow
What You Need
A camera is the easy part. What actually changes your results is the lens, a way to keep the camera still, and ten minutes spent on the car itself.
- Camera body: any interchangeable-lens camera with manual mode and a RAW file option. A phone works too, with one rule: use optical zoom, never digital zoom. Crop later instead of pinching in the camera.
- Lens: a 35-85mm range covers almost everything. A single 24-70mm f/2.8 zoom is the most practical one-lens answer for most people. Avoid shooting a car at 16mm unless you specifically want the distorted, stretched look.
- Support: a tripod for static work, at least when the sun is low or you are painting light at night. A monopod is more useful for panning and for working around places where a tripod is awkward.
- Filters: a circular polarizer for glare on paint and glass. It does not fix everything, and there is a trade-off explained below.
- Cleaning kit: microfibre cloths, a safe detailing spray, a soft brush. Dust and fingerprints show up more on a car body than on any other subject you will shoot.
- Safety and permission: high-visibility clothing for roadside work, and a clear yes from the owner before you touch or move anything. If you are photographing a car you do not own, check where you are standing, do not block a driveway or a bus stop, and stay out of the road. A property release is worth having for commercial work.
This settings cheat sheet is a good starting point for each situation.
| Situation | Aperture | Shutter speed | ISO | Support |
|---|---|---|---|---|
| Parked three-quarter view | f/4.5 to f/8 | 1/125s | 100 | Tripod helpful |
| Rolling or driving shot | f/5.6 | 1/1000s | 100 to 200 | None, use burst |
| Panning from the kerb | f/4 | 1/125s | 100 | Monopod handy |
| Night light painting | f/9 | 20s to 30s | 100 | Tripod required |
| Interior detail | f/2.8 | 1/125s | 400 to 800 | Brace on the door |
| Phone at golden hour | Auto | 1/500s or faster | Auto, capped low | Clean the lens first |
Step-by-Step
1. Choose a Location and Visual Style
Pick somewhere legal, safe and visually calm before you worry about settings. Paved areas, quiet industrial streets, multi-storey car parks early in the morning and open stretches of tarmac all work well.
Then decide what the image is about. The car filling the frame, the car small in its surroundings, a reflection study, a detail of a badge or stitch line, motion blur, or a creative composite. Knowing which one you are making stops you wandering around the location taking aimless frames.
2. Inspect and Prepare the Car
Wash it. A dusty car photographs as a dusty car no matter how good the light is, and the reflective surfaces amplify every water spot and fingerprint.
Tidy the interior too, since buyers and owners both look inside first. Wipe the display, clear the cup holders and straighten the seats.
Turn the front wheels slightly off-straight and let the car sit on flat ground. This small detail makes a parked vehicle look like it is about to move, and it opens up the design of the front fender. Check for anything you cannot fix safely: instead of risking unsafe work, frame the shot around an existing dent or scuff.
3. Set Up the Light and Background
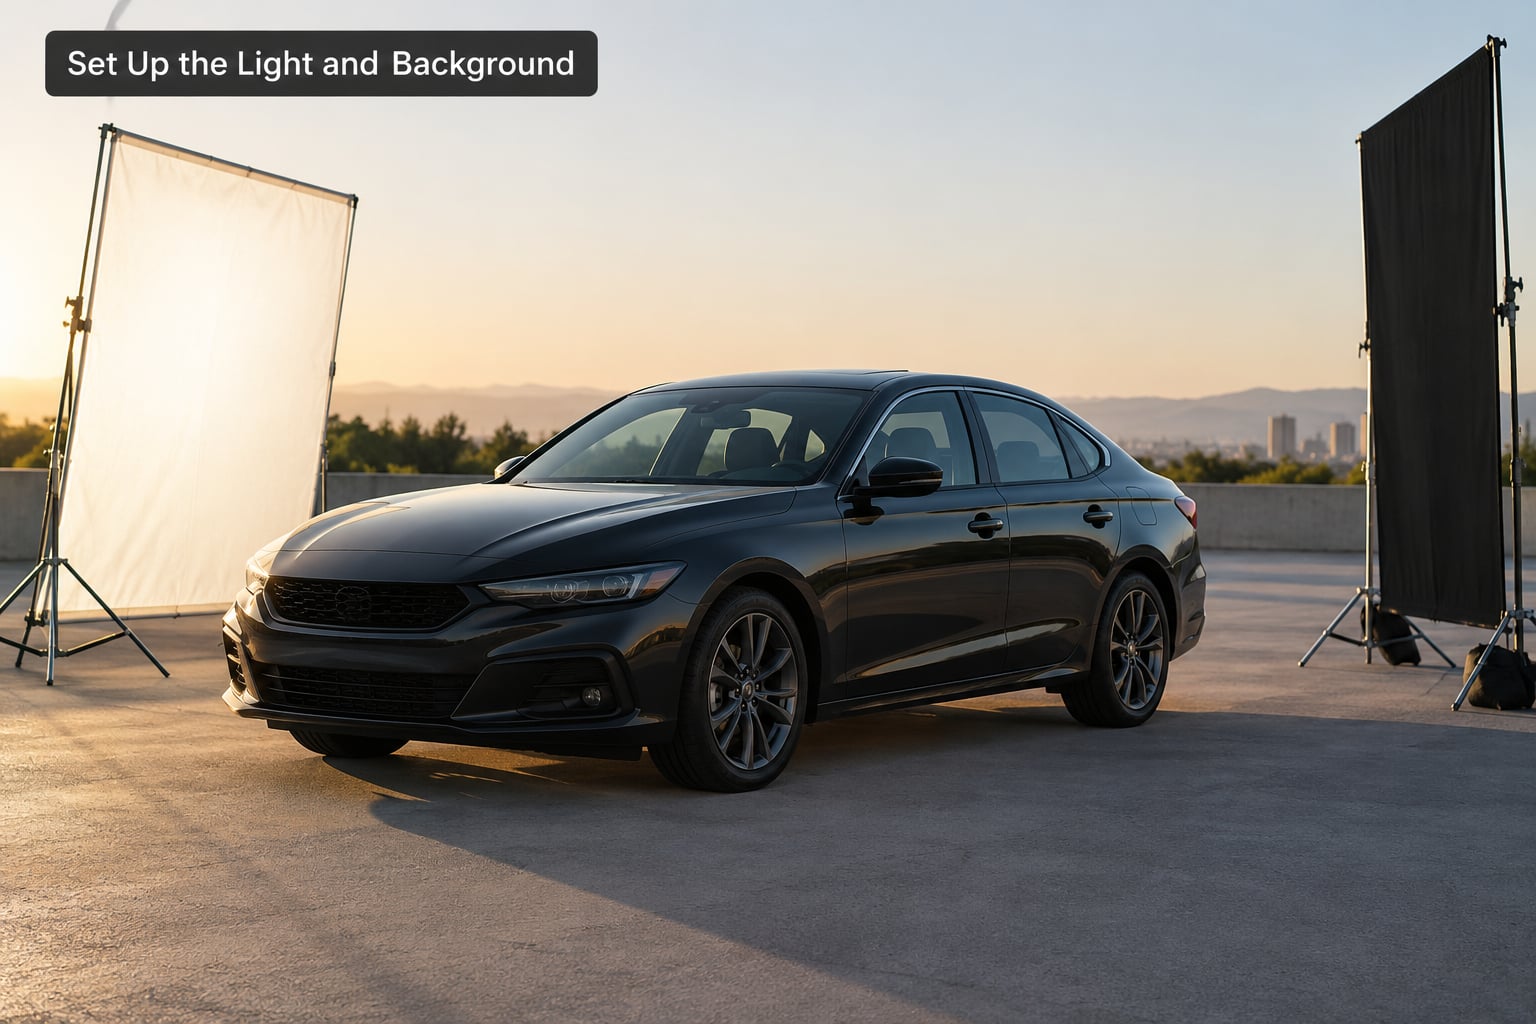
Put the sun behind you so the side of the car facing the camera is fully lit, with the shadow of the car falling away from the lens. Low sun gives you long, clean highlights that describe the shape of the body. Midday sun flattens everything and blows out white and silver paint, which is why overcast days are a solid backup rather than a compromise.
Your own body is a reflection like any other. If you are shooting near a building, a wall, or a line of trees, you will appear in the paint. Move the car rather than fighting the reflection when you can, and when you cannot, use a tripod with a two-second timer or a remote release so you are out of the frame.
A white reflector or a piece of foam board bounces soft fill into the shadow side. A black flag or dark fabric does the opposite and adds contrast to the glossy panels. Have a look at our guide to how to photograph shadows for the shape work that makes a parked car look planted rather than floating.
4. Choose the Right Camera Angle and Lens
The three-quarter view is the workhorse angle: front and side visible, wheels turned, and the car given breathing room to the left or right of the frame. Profile views are cleaner and flatter, which suits older cars with strong horizontal lines. A low camera position, roughly bumper height or lower, makes a car look bigger and more purposeful than an eye-level shot.
Eye level is the least interesting angle and beginners fall into it by default. Getting low, even if it means kneeling or lying on the paving, changes the proportions in a second.
The one habit that fixes most amateur-looking car photos is to back up and zoom. Standing close with a wide lens makes the near wheel huge and the far end small. Moving four steps back and switching to a longer focal length keeps the proportions honest, which is also why experienced car shooters favour something in the 85-200mm range for compression.
5. Focus and Control Exposure
Focus on the front badge or the nearest wheel arch rather than the middle of the car, and use continuous autofocus with burst mode for anything that moves. For static work, a single shot on a tripod is cleaner.
Set your aperture between f/4.5 and f/8. Wider apertures blur the background into a distraction; stopped-down apertures get soft from diffraction at both ends, and f/11 is not helping you here.
Meter for the paint and check the histogram and highlight warnings on every frame. If you are torn between two exposures, underexpose slightly. A dark frame can be lifted in editing; a clipped white highlight on a silver bumper cannot be recovered at all, and that is the most common failure with light-coloured cars.
For a black car, expose for the highlights so the paint keeps its reflections and separation rather than turning into one flat shape. Our piece on how to photograph black objects covers the lighting side of that in more detail.
6. Compose the Frame
Simplify what is behind the car. Power lines, bin bags, road signs and the cars parked beside yours pull the eye away from the subject. Walk to the other side of the vehicle if you need to, and use the building or the hedge to hide the clutter.
Use leading lines: a wall, a kerb, a row of bollards or a line of trees can carry the eye along the body of the car. Keep the horizon straight unless you want a deliberate Dutch angle, and leave negative space in the direction the car is facing or travelling.
Check the edges of the frame for awkward mergers, where a wheel or a mirror appears to grow out of a tree trunk or a lamp post. Nudge the camera a few inches and the problem usually disappears.
7. Capture Detail, Motion, and Creative Variations
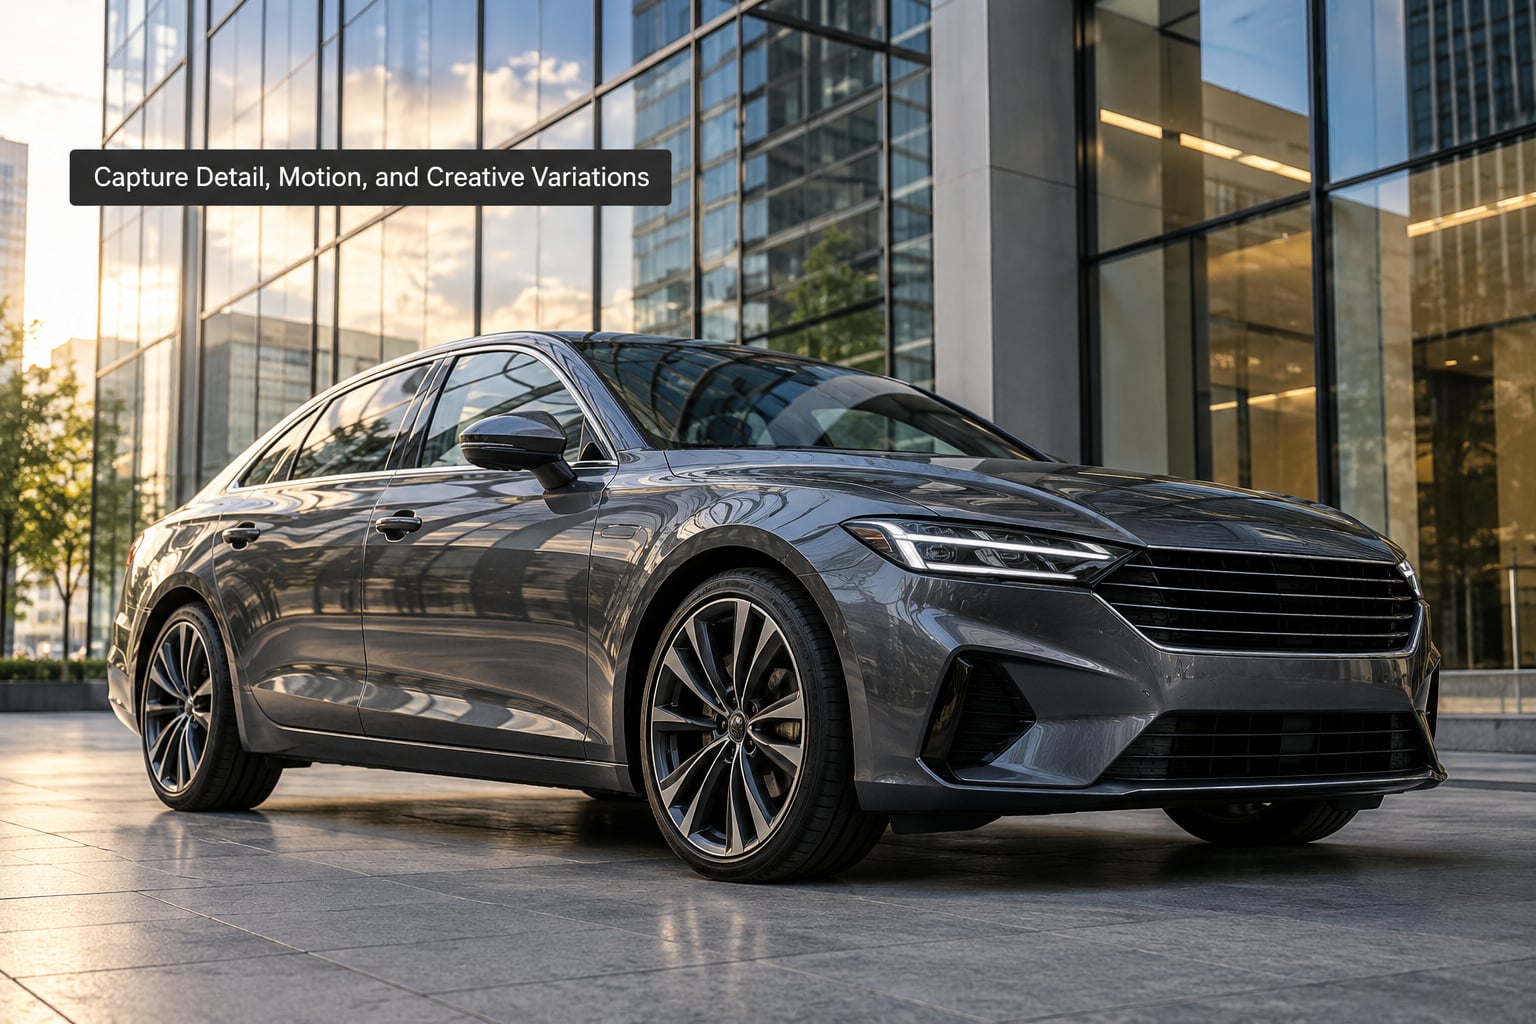
A finished set mixes wide shots with close ones. Get the front and rear three-quarter views, both profiles, and then move in on the badges, the wheel centre, brake calipers, exhaust tips, interior stitching and dashboard texture. Owners and buyers remember the details, and they give you something to look at when the weather turns.
For motion, panning from a fixed position is far easier than it looks. Set 1/125s, aim slightly ahead of the car, start moving your camera with it as it passes, and follow through in bursts. The car stays sharp and the background smears.
Shooting from a moving car is harder and worth knowing about: you need a passenger driving, the camera secured, matched speeds and a low-traffic road. Most frames will be unusable, so expect a low keep rate.
At night, a tripod, ISO 100, roughly 30 seconds at f/9 and a flashlight used to paint light across the body is simple and rewarding. Keep it clear of streetlights and pick a spot that is genuinely dark, because a full moon washes out most of the contrast you came for.
Reflective architecture gives you a doubled image for free. Our guide to photographing reflections has more ways to shape them. Just remember that a circular polarizer cuts the sky reflection out of the paint as well as the glare, so on an overcast day there may be nothing left to keep.
8. Review, Edit, and Export the Images
Compare your takes before opening anything. Look for the frame where the reflections are cleanest and the wheels are straight, and work from that one.
In editing, fix exposure and white balance first, since a mixed cast across a set of car photos looks amateur immediately. Then neutralise the colour, adjust contrast gently, and dodge and burn slightly to guide the eye along the body lines. Remove dustbins, cables and stray plates with a healing brush, but keep the edit honest: cloning out a real dent turns a car photo into a misrepresentation of the car.
Resist maxing out sliders. If the clarity, texture and dehaze controls are all pegged, the paint looks plastic and the image stops being believable.
Export one set at a consistent size and finish, in sRGB for anything going online. Deliver the same look across every frame so the whole set reads as one shoot.
Common Mistakes
Your reflection is in the paint. Use a tripod with a timer or remote release, or move to a position where the reflection is something worth having. This is the single most common complaint about beginner car photos.
Clipped highlights on white and silver. Underexpose by half a stop and check the histogram warning on every frame.
Standing too close with a wide lens. Back up and zoom. It is the fastest fix for a distorted, bloated-looking car.
A cluttered background. Walk around the car before you shoot. Moving twenty feet sideways solves more problems than any filter.
Focus drifting off the car. Use single-point or continuous autofocus on the badge or nearest wheel arch instead of the auto-detect area.
White balance drifting between frames. Shoot RAW and set a fixed white balance in camera, then fine-tune once in post.
Everything shot at eye level. Drop to bumper height or lower for at least half of your frames.
Over-editing. Moderate sliders, no heavy vignetting, no plastic-looking clarity.
Standing too close to moving traffic. Set up on a pavement, footbridge or verge, keep a clear escape route, and never lean into a live lane for a lower angle.
Frequently Asked Questions
Can you photograph your own car at home?
Yes, and it is the easiest place to learn. A driveway, quiet street or empty parking area at golden hour gives you soft light and full control. Check whether your local rules or a homeowners association restrict shooting from the street, tidy the background, and use a tripod with a timer so your reflection stays out of the paint. A nearby open car park after sunset often works too, if it is quiet.
What is the best camera setting for photographing a car?
For a parked three-quarter view, start at f/5.6, 1/125s and ISO 100, with a 35-85mm lens. That keeps the whole car sharp while the background softens. Add a circular polarizer, meter for the brightest reflection, and check the histogram for clipping. Open up to f/2.8 when you want the background to disappear, and add a reflector on the shadow side.
How do you photograph a black car without losing detail?
Black paint has no diffuse colour of its own, so it only shows what it reflects. Position yourself so the side facing the camera reflects sky or an open bright area rather than dark trees, keep the sun behind you, and expose for the highlights on the shoulder line. A reflector on the shadow side restores shape. Avoid the polarizer here, since it removes the sky reflection that gives dark paint its depth.
Is a polarizing filter useful for car photography?
Yes, and it is the filter most worth buying. Rotate it slowly until the glare on the paint, glass or water drops away, which also deepens the colour of paint and sky. Two caveats: it costs about one to two stops of light, so you will need a slower shutter or higher ISO, and it cannot reduce reflections on tempered window glass the way it does on paint. It also removes the sky reflection from dark cars, which some photographers miss.
How do you photograph a moving car while keeping it sharp?
Panning from a fixed spot is the easiest way. Set 1/125s, roughly f/4 and ISO 100, hold the camera with both hands, track the car with your eyes through the viewfinder, and start moving smoothly as it reaches you. Follow through past the point of impact. Shoot in bursts. If you are shooting from another vehicle, you need a secured camera, a passenger driver, matched speeds and a quiet road.
Should car photos be edited in RAW or JPEG?
Shoot RAW if your camera offers it. Car paint is exactly where JPEG compression shows, because smooth gradients across a bonnet are the first thing to band and break up. RAW also leaves you room to lift shadows under the car and pull back highlights on chrome without quality loss. If you shoot JPEG, keep your in-camera picture control neutral and leave the contrast and saturation at zero.
Where to Start Tomorrow
Pick one car, one location and one hour: the hour either side of sunset. Wash it, set f/5.6 at 1/125s and ISO 100 with a 35-85mm lens, put the sun behind you, and shoot three-quarter and profile views from bumper height. Review the frames on a proper screen before you change a single setting.