
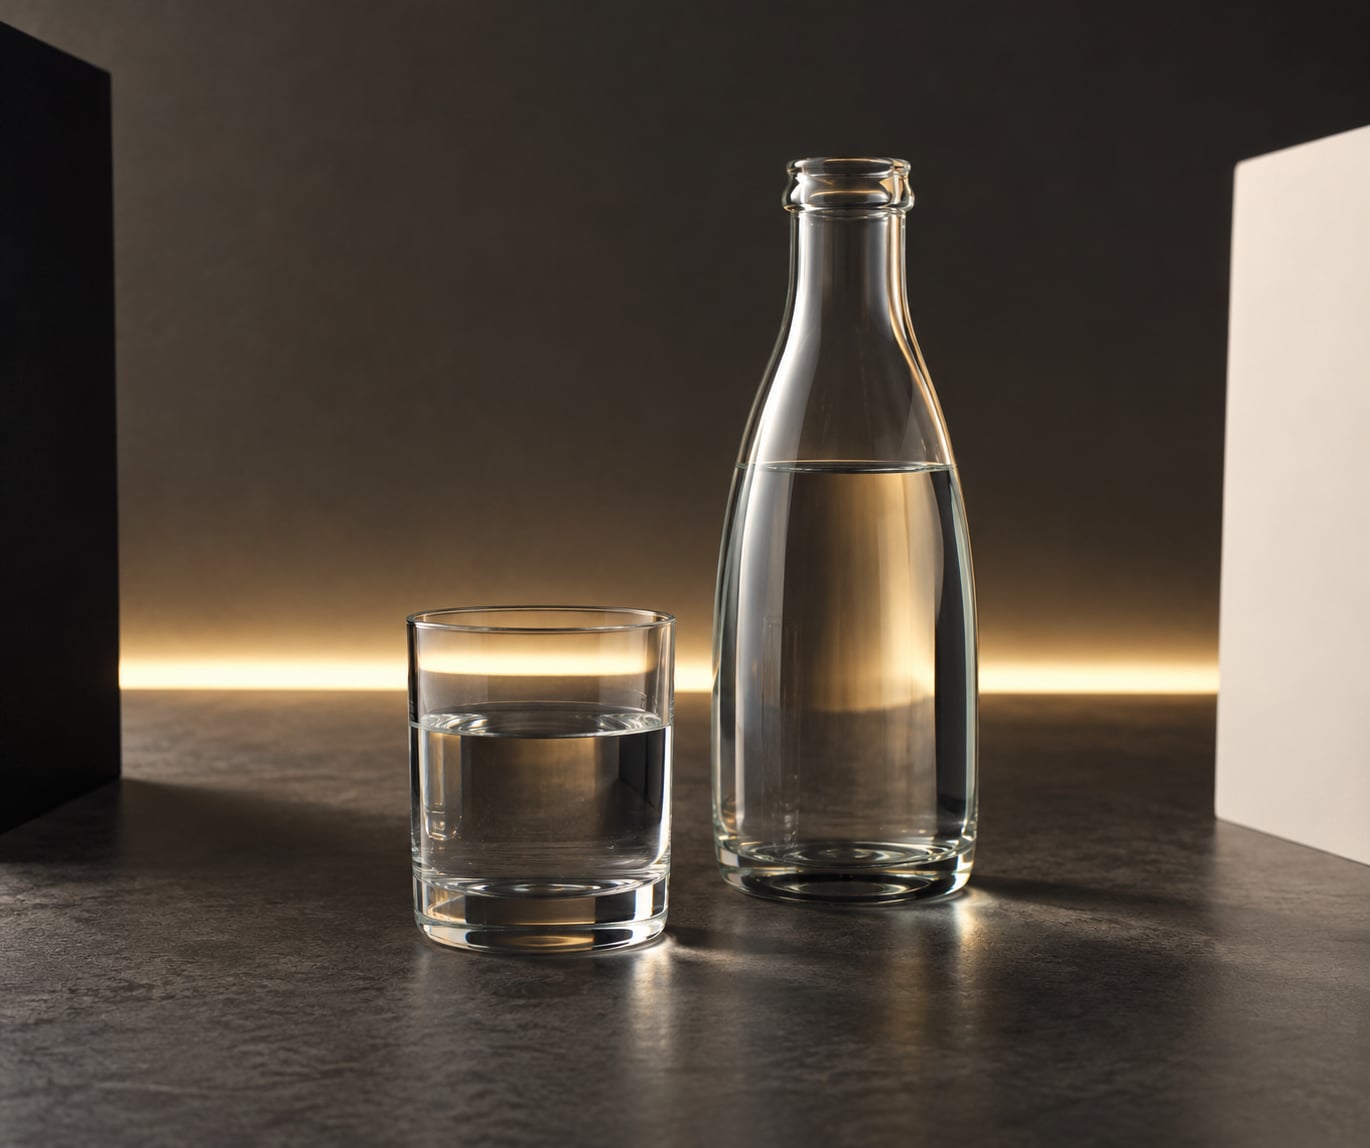
Glass is hard to photograph because it has no colour and no texture for the lens to grab. Everything you see is light being transmitted, bent or mirrored, so you have to design the light and the dark areas around the object rather than waiting for the camera to find them.
The four things that decide whether a glass photograph looks crisp or looks like a flat grey outline are the background behind it, the size and position of your light source, black cards that darken the edges, and a camera that stays still and focuses manually. Get those four right and almost any glass object will hold its shape. Get them wrong and even expensive gear produces a smear.
I have shot a lot of glass over the years, mostly perfume bottles, drinks and one very stubborn hand-blown vase that no longer exists. What follows is the process I actually use, in the order I use it, with the settings I start from. It works for a phone by a window just as well as it does for a mirrorless camera on a tripod with strobes.
One warning before we start: the top results for this query are nearly a decade old. This is an updated version for 2026, and the cheap modifiers below cost very little.
Table of Contents
- What You Need
- Step-by-Step: How to Photograph Glass Objects
- Common Glass Photography Mistakes
- Frequently Asked Questions
- What is the best background for photographing glass objects?
- How do you photograph glass without making it look like a solid block?
- Should I use a polarizing filter when photographing glass?
- What lighting works best for transparent glass objects?
- How do you focus when photographing the edges of glass?
- Can I photograph a glass object filled with water?
- Start With One Object and One Backlight
What You Need
Glass photography is unusually kind to cheap gear. A window, a white bedsheet and a piece of black foam board will take you a long way, so build up only when you hit a limit.
- Camera. Any camera with manual mode and a tripod connection. A phone held on a stack of books works for the backlit setups below; manual focus on a phone is fiddly, so use a fixed camera and move yourself instead.
- Lens. A 50mm or 85mm short telephoto is ideal. Longer focal lengths and more distance shrink the reflection of your camera and the room in the glass, which is usually the single biggest improvement available.
- A large soft light source. A window with an overcast sky is a genuinely good source. Otherwise a large softbox, a diffusion panel or even a white sheet hung over a lamp works better than a bare flash head.
- A narrow light for edges. A stripbox, a small LED panel or a gridded spot aimed from behind the object. This is what draws the bright rim that defines the shape.
- Black cards and foam core. Black card, black foam board, matte black paper or even a black garbage bag on a stick. Negative fill is the most underrated tool in glass photography and it costs nothing.
- White card or bounce. A sheet of white foam board to put a soft reflection back into the shadow side so the object does not go dead on one side.
- A tripod. Non-negotiable for anything slower than 1/60 s, which is most glass work.
- A circular polarizing filter. Optional but cheap. See the step on reflections for the three-step procedure.
- Background material. White or black seamless paper, a graduated grey or colour card, a matte acrylic surface, or a sheet of fabric. Matte is important. A shiny surface under glass doubles your problem.
- Cleaning kit. Microfibre cloth, lens cleaner or diluted isopropyl alcohol, cotton swabs and a soft brush. Fingerprints on glass read as bright smears.
Surface marks matter more than most people expect, because every speck of dust becomes a tiny lens when the light is behind the object. Ten minutes of cleaning saves a lot of retouching.
Step-by-Step: How to Photograph Glass Objects
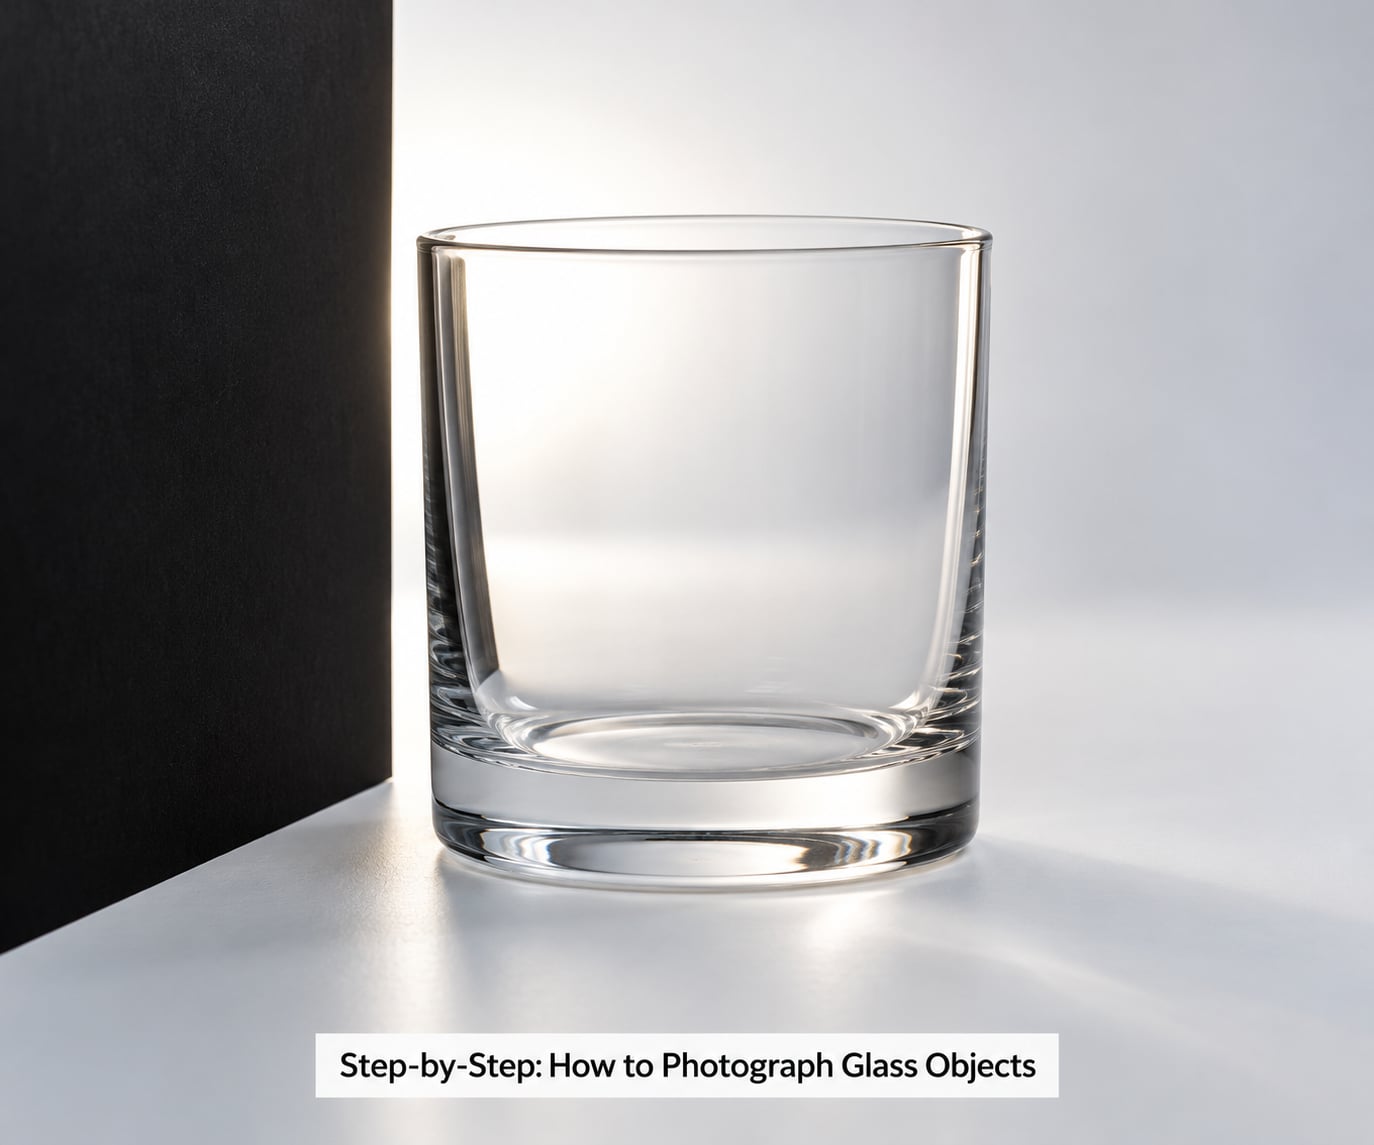
What follows is the sequence I repeat. Clean, background, light, flags, camera, settings, review. Skipping ahead to the camera settings is why most first attempts fail.
1. Clean and Prepare the Glass
Hold the object up to a light and turn it slowly. That single habit catches fingerprints, grease, scratches and water spots that would otherwise look like defects in your lighting.
Wash glassware in warm water with a drop of dish soap, rinse, and dry with a lint-free cloth. For decorative, antique or coated pieces, skip the water and use a lightly dampened microfibre cloth with a drop of lens cleaner, then follow the maker’s care instructions. Never put solvent on gilt, gilt glass, painted decoration or anything you cannot identify, and never touch a museum object with anything but clean cotton gloves.
How to photograph glass objects well starts here rather than at the camera. A fingerprint on a tumbler catches a specular highlight and turns into a bright blob that reads as dust on the sensor but is really on the glass.
Give the piece a minute in the shooting position before you shoot. Dust in the air and moisture from handling settle quickly.
Choose a Background That Creates Contrast
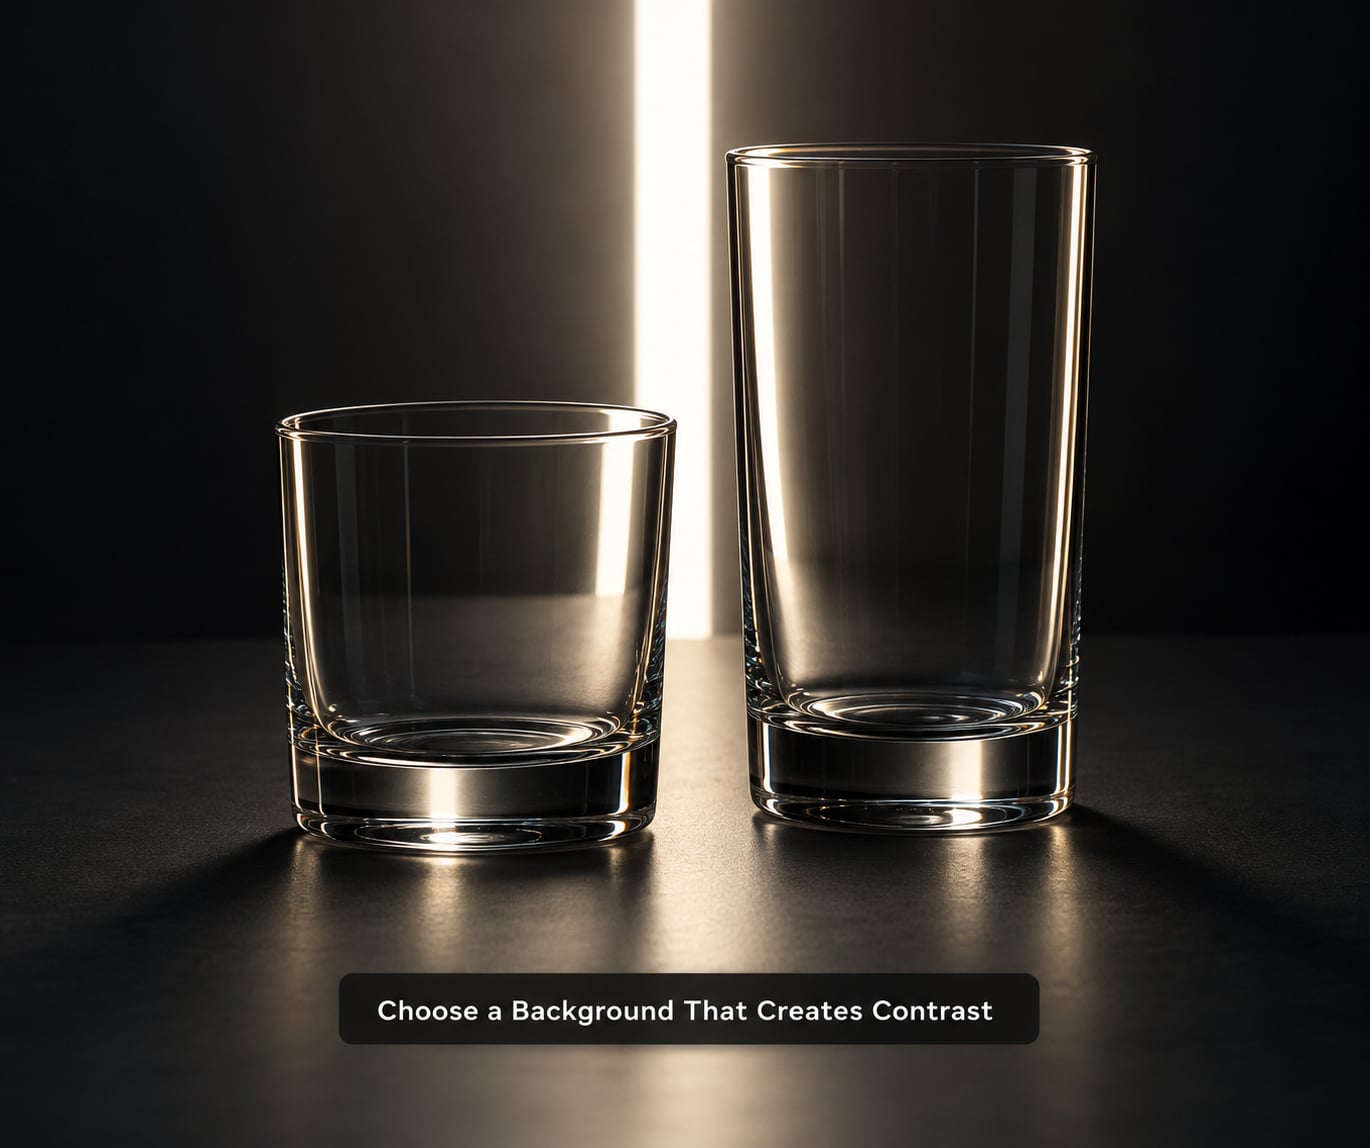
The background has one job: make the glass visible. Black makes clear glass read through its bright edges and highlights. White makes clear glass disappear unless you backlight it or add a dark gradient behind the object. A colour or graduated background separates the object by hue rather than by value, which works well for product sets and for art glass.
Choose a tone that is clearly different from the glass, then light it separately if it will not hold its tone. A sweep lit by spill from the main source often goes muddy. A separate small light a foot or two in front of the paper fixes it in seconds.
Gradient matters on light backgrounds. Sweeping a dark-to-light gradient behind the object on white creates separation in the middle, where a flat white card leaves the object floating in nothing.
For pale glass on a pale background, a single narrow strip light aimed at the backdrop, with the glass flagged off it, gives you the shadow edge that defines the silhouette. If you want to see how shadows behave under these conditions, my guide on how to photograph shadows is worth a read.
Keep the surface matte. A glossy table under a glass object produces a second, upside-down glass that competes with the real one. If you want that reflection, control it: a mirrored clean plate on a slight angle gives a controlled, soft reflection, while a flat mirror gives you a hard one you cannot do much with.
Build the Shape with Controlled Light
The size of your light source sets the size of your highlights, and the position of your light sets the shape of the object. That is the whole idea. A large source close in gives broad, gentle gradients across the glass. A small, hard source gives bright, thin specular highlights that describe the curves but can blow out.
Move the source away and the light gets softer, because the light spreads more. Distance is a free softbox. That is why a big light two metres away beats a small light half a metre away.
Four setups cover almost everything:
- Backlighting. Put the source directly behind the object and darken the sides with black cards. Light passes through the glass, the interior glows, and the edges light up. This is the setup for drinks, coloured bottles and anything you want to look luminous.
- Large soft side source. One big light at 45 degrees with a white bounce on the opposite side. Best for solid shapes, perfume bottles and cut crystal, where you want to show form rather than glow.
- Light tent. The subject sits inside a tent or behind diffusion fabric with the light outside it. Reflections become gentle gradients, which is why the softbox or tent method is the standard for e-commerce product work on glass.
- Dark-field rim. Black background, narrow strip or spot raking across the object from behind or above. Only the edges light up, so a tall thin glass becomes a glowing outline against black. Moody, and the fastest way to make a plain tumbler look deliberate.
One narrow highlight on each side is plenty. More than that and the object loses its shape and turns into a collection of bright stripes.
How to Photograph Glass So Reflections Stay Under Control
Every unwanted reflection in a glass photograph comes from a light, a wall or a window you did not intend to include. Control the reflections by removing the source, changing the angle or filtering the light.
Flag the sides. Black foam core on both sides of the object, close in, makes the edges dark and gives the form a gradient to sit in. This is negative fill, and it does more for glass than adding a second light.
Darken the room. Turn off everything that is not part of the setup. A lit doorway or a monitor behind you will land in the surface as a bright rectangle.
Change your angle. A reflection of your camera comes from the front face of the glass. Moving your camera off the mirror angle, or stepping further back and using a longer lens, shrinks it. Moving left and right alternately and picking the frame with the cleanest surface usually beats any filter.
Cross-polarize. A circular polarizing filter on the lens plus one over the light source cancels almost all non-metallic reflection. The procedure is short: screw the filter onto the lens, put a second filter or a sheet of polarising film over the light source, then rotate one of them until the reflection darkens at maximum. Shoot in manual mode because the camera’s exposure and the viewfinder brightness will lie to you. What you lose is a little light, so expect to open up by a stop or so. Filters only affect specular reflections off non-metallic surfaces, which is exactly what glass is, but they will not remove the reflection of something bright and large.
Learning to control reflections deliberately is worth a subject of its own. My guide on how to photograph reflections covers the same principles on subjects that are not glass.
Set Focus, Exposure and White Balance
Autofocus struggles with glass because there is no texture to detect, so the camera either hunts or locks onto the background behind it. Turn autofocus off. Focus manually on the nearest edge of the object, or on whatever you need sharp, and confirm with the magnified view before you shoot.
Work in manual mode. Aperture is the artistic control here: wide open gives shallow depth of field and a soft far edge, which can look expensive on a single perfume bottle. Around f/8 to f/11 keeps the whole object sharp and keeps flare down. Push to f/16 only if your light is bright enough, because diffraction softens detail.
Keep ISO at its base value. Digital noise reads as dirt in the dark parts of a glass image, which is usually the part that carries the shape. Use a tripod and a slower shutter rather than raising ISO, and turn off any stabilisation on a tripod-mounted body because it fights the rig.
Set white balance from a custom reading off a grey card in the light falling on the object, not from the raw frame. Mixed light temperatures are the single most common reason glass looks dirty or green, because every light contributes a different tint to a transparent surface. If you use more than one type of light, match them or accept the cast deliberately.
Meter for the brightest highlight you want to keep, not the average. Glass has a tiny dynamic range in the highlights and a very large one in the shadows, and highlights clip to pure white with no detail if you let them.
Compose the Final Image
Look at the frame without the object in it first. You want the reflection of your light source, not the room. Then move the camera slightly left and slightly right and pick the frame where the edges read best, because the apparent thickness of an edge changes noticeably across even a few centimetres.
Leave negative space in the direction the object leans or points. For a bottle that is wider at the base, extra room above it looks unbalanced, while extra room below reads as a plinth.
Crop decisions come after the shoot, so shoot with room. Keep a little space around the object and leave the second cut for editing, where you can see how the silhouette reads without your thumb on the screen.
Reflections on the surface can be part of the composition. If the surface is matte the object will float. A faint, controlled reflection of the object, or of the strip light, anchors it and reads as quality rather than clutter.
Review and Refine the Photograph
Check the raw file on a decent screen at full size before you move on. Zoom into the top edge, where highlights clip, and into the background, where noise shows.
Work in a light, non-destructive order: correct the white balance, recover highlights where the file allows it, drop the blacks slightly to restore density in the dark edges, then add a small amount of local clarity or texture on the object only. Global clarity turns glass milky, so keep it at zero and mask it.
Clean up dust and fingerprints with a healing tool rather than a blur. A soft brush on the specular highlights removes the tiny blown dots that read as sensor dust. If the object was shot against a clean matte surface, cloning the camera’s reflection out is straightforward, which is why the clean-plate approach is so common in product work.
Straighten verticals and crop to the silhouette last. If the glass still looks flat, the problem is almost always in the lighting, not the edit, so go back to the rim light rather than pushing contrast until it looks harsh.
Camera Settings by Setup
These are starting points rather than rules. Every one of them assumes a tripod, base ISO and manual focus on the near edge of the subject.
| Setup | Light position | Aperture | ISO | Shutter | Focus |
|---|---|---|---|---|---|
| Light tent or diffusion tent | Broad source behind and 45 degrees above, white card opposite | f/8 to f/11 | 100 | 1/2 to 1/10 s | Manual, front surface |
| Backlit empty glass | Source directly behind, black cards on both sides | f/8 | 100 | 1/15 to 1 s | Manual, near rim |
| Dark background rim light | Narrow strip or gridded spot raking from behind | f/8 to f/16 | 100 | 1/15 to 1/2 s | Manual, brightest edge |
| White background glassware | Two broad side sources, plus a backlight for the edges | f/11 | 100 | 1/4 to 1 s | Manual, near rim |
| Liquid in glass | Backlight through the liquid, small white card below the glass | f/8 to f/11 | 100 to 400 | 1/30 to 1 s | Manual, meniscus line |
| Frosted, etched or opalescent glass | Broad source low and raking across the surface | f/5.6 to f/8 | 100 | 1/30 to 1/4 s | Manual, engraved detail |
The theme running through all six rows is the same: bright, controlled edges, dark surroundings, and a camera that does not move.
Common Glass Photography Mistakes
Almost every problem with a glass photograph shows up as one of a handful of symptoms. Find yours in the table and fix the cause rather than the edit.
| Symptom | Likely cause | Fix |
|---|---|---|
| The glass disappears into the background | Background tone too close to the object | Move to a contrasting tone, or light the background separately |
| A bright rectangle in every frame | A window or lamp reflecting off the front face | Flag the source, switch it off, and change your camera angle |
| Your camera is visible in the glass | You are shooting on the mirror angle of the front surface | Step back with a longer lens and move off axis, or cross-polarize |
| Dull grey outline with no sparkle | Light too even and too small for the subject | Add a narrow rim light from behind and increase background contrast |
| Harsh white hotspots on the rim | Source too close and too hard | Move it farther away, enlarge it, or diffuse it |
| Edges are bright but the object looks flat | No negative fill beside the glass | Place black foam core on the near side to deepen the falloff |
| Autofocus hunts or focuses behind the object | No texture on a transparent subject | Switch to manual focus on the nearest edge and verify at magnification |
| Everything looks muddy or green | Mixed light temperatures on a transparent surface | Use one type of light and set white balance from a grey card |
| Front detail hidden by shapes on the far side | Light passing through and reflecting back at the lens | Backlight instead of frontlighting, and flag the far side |
| Liquid looks flat, bubbles look artificial | Source too broad, or mist sprayed from too far away | Harder backlight for the bubbles, and mist from a dropper seconds before the shot |
Glass with liquid inside it
A glass of water is the classic test and the most requested subject in every forum thread on this subject. The liquid is what makes it interesting, because the water line gives you a second, sharper edge inside the object, and it refracts everything behind it.
Light it from behind with a fairly hard source so the meniscus and any bubbles catch a bright line, then put a small white card under the glass to lift the base off the background. Fill about two thirds, leave a clean gap between the water line and the rim, and use water at room temperature. Cold water makes condensation that reads as a mistake.
For condensation, mist from a dropper or a brush about ten seconds before the exposure rather than spraying generously. Backlit droplets glow; heavily sprayed droplets read as dirt.
For bubbles in beer, cider or sparkling water, use a narrow backlight from the side rather than directly behind. Side light makes each bubble a bright crescent, and it separates the liquid from the glass. Add a rubber straw or a glass rod if you want something for the light to bend around.
Frosted, etched and coloured glass
Frosted and etched glass needs a different approach from clear glass. It scatters light instead of reflecting it sharply, so broad light from a low raking angle makes the surface texture read while a flat front light makes it look like white plastic. Watch the highlights carefully, because a polished facet in an etched piece can still produce a hard specular hit.
Coloured and opalescent glass behaves differently again. Colour comes from transmission, so backlight it, and keep the source large so the colour stays even across the piece. Opalescent glass glows from within when lit from behind and turns chalky when lit from the front. If you are documenting a piece for sale, shoot one frame each way and let the colour decide later.
Patterned, pressed and cut glass is mostly a highlight problem. Turn the object slowly under a single narrow source and watch which facets flare. Those flares are what you expose for, because the cut pattern is the thing a buyer is looking at.
Shooting through glass itself
Windows, display cases and shop vitrines add a second reflective surface in front of your subject. Shoot at an angle rather than straight on, because at an angle the two reflections separate instead of stacking. Put the lens close to the pane and use a cloth or rubber hood around the viewfinder to block stray room light, and shade the subject with your body or a black card.
What to practise on
Pick an ordinary tumbler first. Light it from behind against a dark background, work the rim, then fill it with water and add a straw. A wine bottle gives you a narrow neck and a heavy base. A perfume bottle gives you a small object with a label and a thick base. Once you can make the tumbler read in three different setups, glass stops being difficult.
If you are shooting for a shop rather than a portfolio, consistency matters more than drama. Same background, same light position, same camera height, so every image in a set matches. My guide to photographing white on white covers the hardest version of that consistency problem, where the object has no background to hide mistakes.
Frequently Asked Questions
What is the best background for photographing glass objects?
Black is the safest choice for clear glass, because bright edges and highlights read strongly against it. White works for shaped or patterned pieces, provided you backlight the object or place a dark gradient behind it. A colour or graduated background is useful for product sets because it separates the object by hue rather than value. Whatever you choose, make it clearly different in tone from the glass and light it separately from the subject.
How do you photograph glass without making it look like a solid block?
Keep the surface it sits on visible and separated from its outline, and place dark cards on the sides so the falloff does not merge with the background. Rim light defines the silhouette; it is the light that makes the object look like it has a hard surface. A faint, controlled reflection of the object in the surface underneath also helps. Avoid a fully matte surface under a clear object, because the object then floats without context.
Should I use a polarizing filter when photographing glass?
Yes, and it is the cheapest effective fix for non-metallic reflections. Put a circular polarizing filter on the lens and another over the light source, then rotate one until the reflection drops as far as it will go. You lose roughly a stop of light, so expect to open up or lengthen the shutter. It will not remove a reflection that is very bright and large, so changing your angle still matters.
What lighting works best for transparent glass objects?
A large, soft source placed behind or to one side of the object, combined with black cards on both sides. Backlighting makes the interior glow and lights the edges, which suits drinks and coloured bottles. A broad side source with a white bounce opposite suits solid shapes and perfume bottles. A small hard source gives you thin bright highlights that describe curves but can clip, so move it farther away to soften it.
How do you focus when photographing the edges of glass?
Turn autofocus off, because there is no texture for it to detect and it usually locks onto the background. Focus manually on the nearest edge, ideally a bright rim, then check at magnified view before shooting. Stopping down to around f/8 keeps the whole object sharp, including the far edge. If you want a soft far edge on a single bottle, focus on the front edge and open up deliberately rather than letting autofocus decide.
Can I photograph a glass object filled with water?
Yes, and it is the best practice subject for glass photography. Fill about two thirds, leave a gap under the rim, and light it from behind with a fairly hard source so the water line and any bubbles catch a bright edge. Put a small white card under the glass to lift the base. Avoid cold water, which creates condensation that reads as a flaw, and mist from a dropper a few seconds before the shot rather than spraying heavily.
Start With One Object and One Backlight
Clean a plain tumbler, put a black card behind it, place a window or a single light source directly behind, and put black cards on both sides of the glass. Shoot at f/8, base ISO, on a tripod, focused manually on the near rim. That one frame teaches you more about how to photograph glass objects than another hour of reading.
Once the edge reads cleanly, the rest is refinement: a white bounce on the shadow side, a second narrow highlight if the shape needs it, and a slower shutter in post. The object is never the hard part. Deciding where the light should and should not go is.