
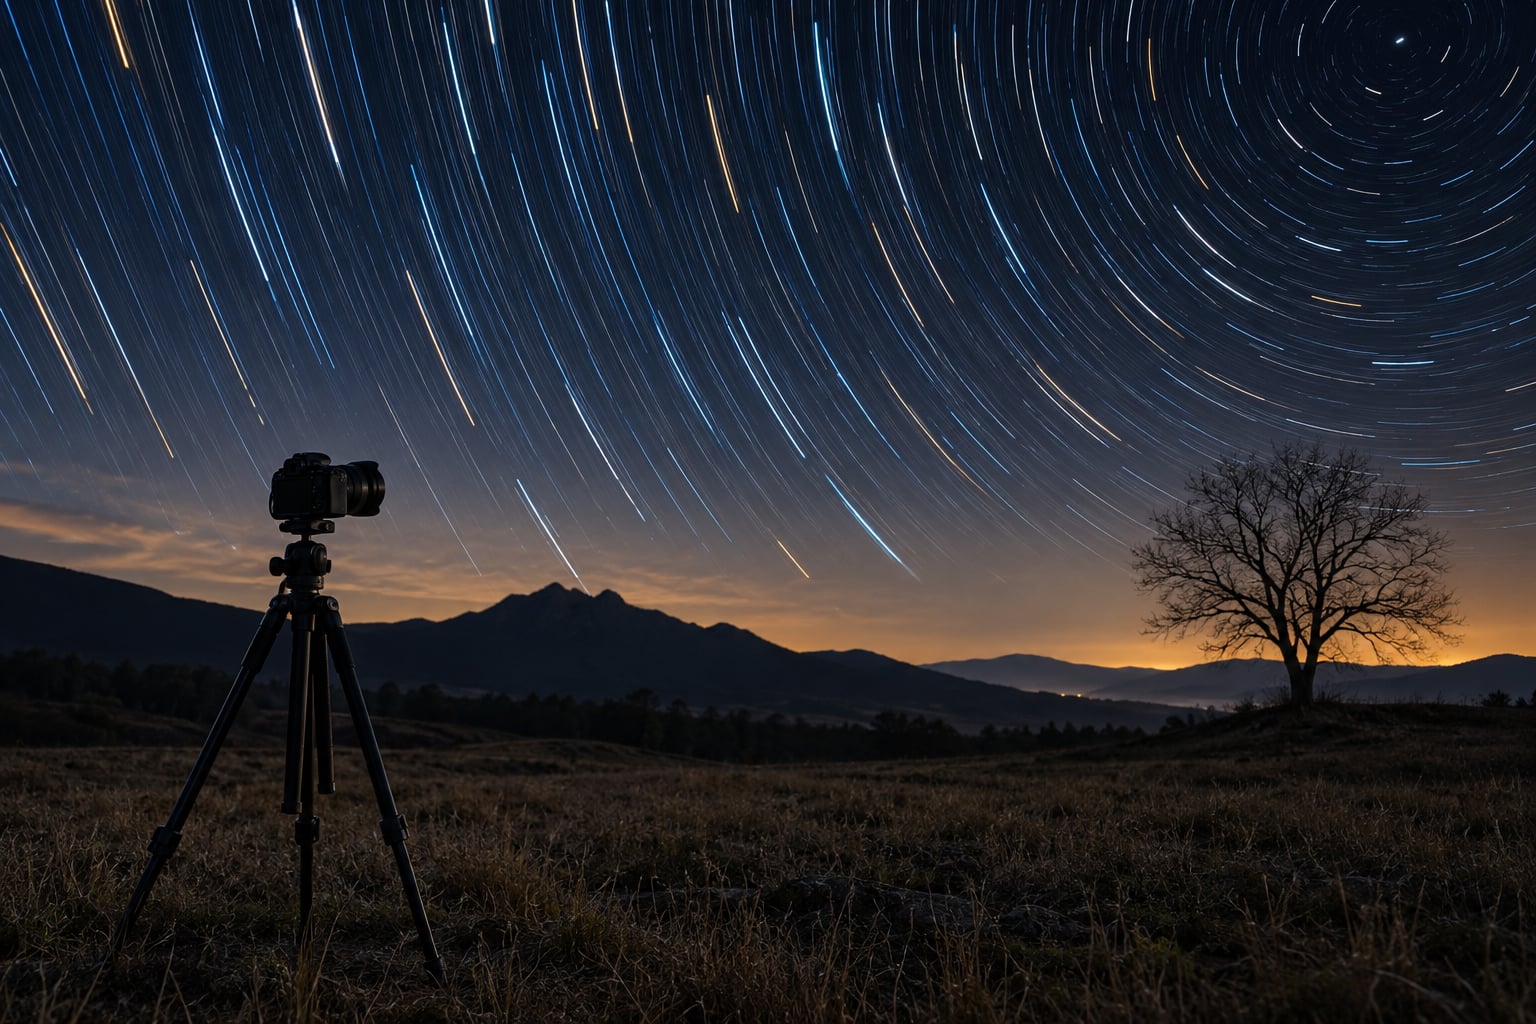
To photograph star trails, point any camera with manual mode at a dark sky and record the sky’s movement across 1 to 3 hours. The two methods differ: one single exposure of 30 minutes or more, or a sequence of 20 to 30 second frames that you stack into one image later. The stacking method gives cleaner stars and is what most photographers use.
The whole process takes one long evening in the field plus an hour of editing. It is not hard, but two things do cause trouble for beginners: focusing in the dark and keeping the frames aligned so the trails do not end up dashed.
Below is how to photograph star trails in eight steps, from picking a dark site to stacking the frames that give you clean arcs or full circles.
Table of Contents
- What You Need: A Tripod, Manual Mode, and a Dark Sky
- Step-by-Step: How to Photograph Star Trails
- 1. Choose a Dark Location and a Clear Night
- 2. Set the Camera to Manual Mode
- 3. Focus on a Bright Star
- 4. Use the 500 Rule or NPF Rule to Photograph Star Trails Cleanly
- 5. Set a Long Exposure and Controlled ISO
- 6. Frame the Foreground and Star Paths
- 7. Capture Multiple Frames with an Intervalometer
- 8. Check, Process, and Finish the Star Trail Image
- Common Star Trail Mistakes and How to Fix Them
- Frequently Asked Questions
- Conclusion
What You Need: A Tripod, Manual Mode, and a Dark Sky
Most of the gear list is short, and nothing on it is specific to star trails. You can shoot them with a camera you already own.
- A camera with manual mode. Aperture, shutter speed, and ISO all need to stay locked for hours. Most cameras also have a built-in intervalometer under the shooting menu, which saves buying an external one.
- A tripod that does not move. Long wind-downs and lock rings loosen themselves, so re-tighten every leg before a run. For anything over an hour, weight the centre column with your bag.
- A wide or fast lens. A 14 to 24mm lens at f/2.8 to f/4 is the sweet spot. Wide lenses let you include trails in several directions, and faster apertures keep ISO lower.
- Spare batteries and a power bank. Cold drains a battery faster than you expect, and you cannot stop a two-hour sequence halfway. Keep spares in an inner pocket, not in the bag.
- A remote release or intervalometer. A wired or wireless release lets you start the sequence without touching the tripod. Bulb mode with a two-second self-timer also works.
- A lens cloth and a dew plan. If the lens fogs over at 90 minutes, the run is finished. More on that below.
Now the distinction that matters most. A single exposure is one long frame: bulb mode, 30 minutes, tripod locked, nobody touching anything. It is simple, and it is the fastest way to get a usable result. A multi-frame sequence is dozens or hundreds of short exposures fired back to back, then stacked. Each frame gathers less light per second but keeps the stars round, and averaging kills noise. That is the difference between dotted-looking trails and clean ones.
Step-by-Step: How to Photograph Star Trails
1. Choose a Dark Location and a Clear Night
Get as far from town lights as you can. A dark site map will tell you how far, and even a suburb 15 miles outside a city is dramatically better than a backyard.
Check two weather items: cloud cover, and the moon phase. A new moon gives the darkest sky. A crescent or quarter moon is actually workable and will light your foreground for free, so do not wait a month for the wrong moon.
Pick a foreground with a strong shape: a lone tree, a ridge line, a rock. You know it worked when the silhouette reads instantly on the back screen and does not need brightening later.
2. Set the Camera to Manual Mode
Switch to manual and set white balance to a fixed Kelvin value (3000K to 4000K is a good range) rather than auto. Auto white balance will shift between frames, and that shift shows up as colour banding in a stacked image.
Shoot RAW, not JPEG. You need the extra latitude to lift shadows later without the blocky look JPEG gives you.
You know it worked when you check the first few frames and every one has the same tone to it. If they drift, something is still on automatic.
3. Focus on a Bright Star
Turn off autofocus. It hunts, it fails in the dark, and it refocuses mid-sequence.
Use live view magnification: switch the screen into manual focus, zoom to roughly 5x or 10x, and point at the brightest star in the frame. Fine-tune the focus ring until that point shrinks to its smallest, hardest core. If your lens has a focus scale or a distance window, note the reading as a fallback for later.
Recheck focus after you have adjusted the framing. Then tape the focus ring if you have gaffer tape. It is the cheapest insurance in this whole process.
You know it worked when you zoom in on the back screen and a single star is a tight dot rather than a small smudge.
4. Use the 500 Rule or NPF Rule to Photograph Star Trails Cleanly
These rules estimate the longest shutter speed before stars visibly elongate into short dashes. They are the starting point for a single exposure.
The 500 rule divides 500 by focal length times crop factor. On a full-frame 20mm lens that is 25 seconds. On a 10mm lens it is 50 seconds. Simple, and it errs on the generous side for modern sensors.
The NPF rule accounts for aperture, pixel pitch and declination, and gives noticeably shorter numbers on high-resolution bodies. A 24MP camera at f/1.8 often lands near 10 or 12 seconds where the 500 rule says 20.
How to photograph star trails well is mostly about which of the two you trust. Use the 500 rule as a quick start, then check the actual result at full size on your screen. If stars are round, you have room to lengthen the exposure. If they are dashes, shorten it.
5. Set a Long Exposure and Controlled ISO
Most working setups land somewhere between ISO 200 and 400, f/2.8 to f/4, and 20 to 30 seconds per frame. Push ISO higher and you will see the noise in the sky when you lift it in editing.
Watch the histogram on the first frame. Aim for a histogram that peaks well away from both ends: pushed to the far left and you are losing signal, pushed to the far right and you are clipping the brightest stars into flat white blobs.
You know it worked when the preview shows stars as separated points with dark sky between them, and nothing on the histogram is cut off.
6. Frame the Foreground and Star Paths
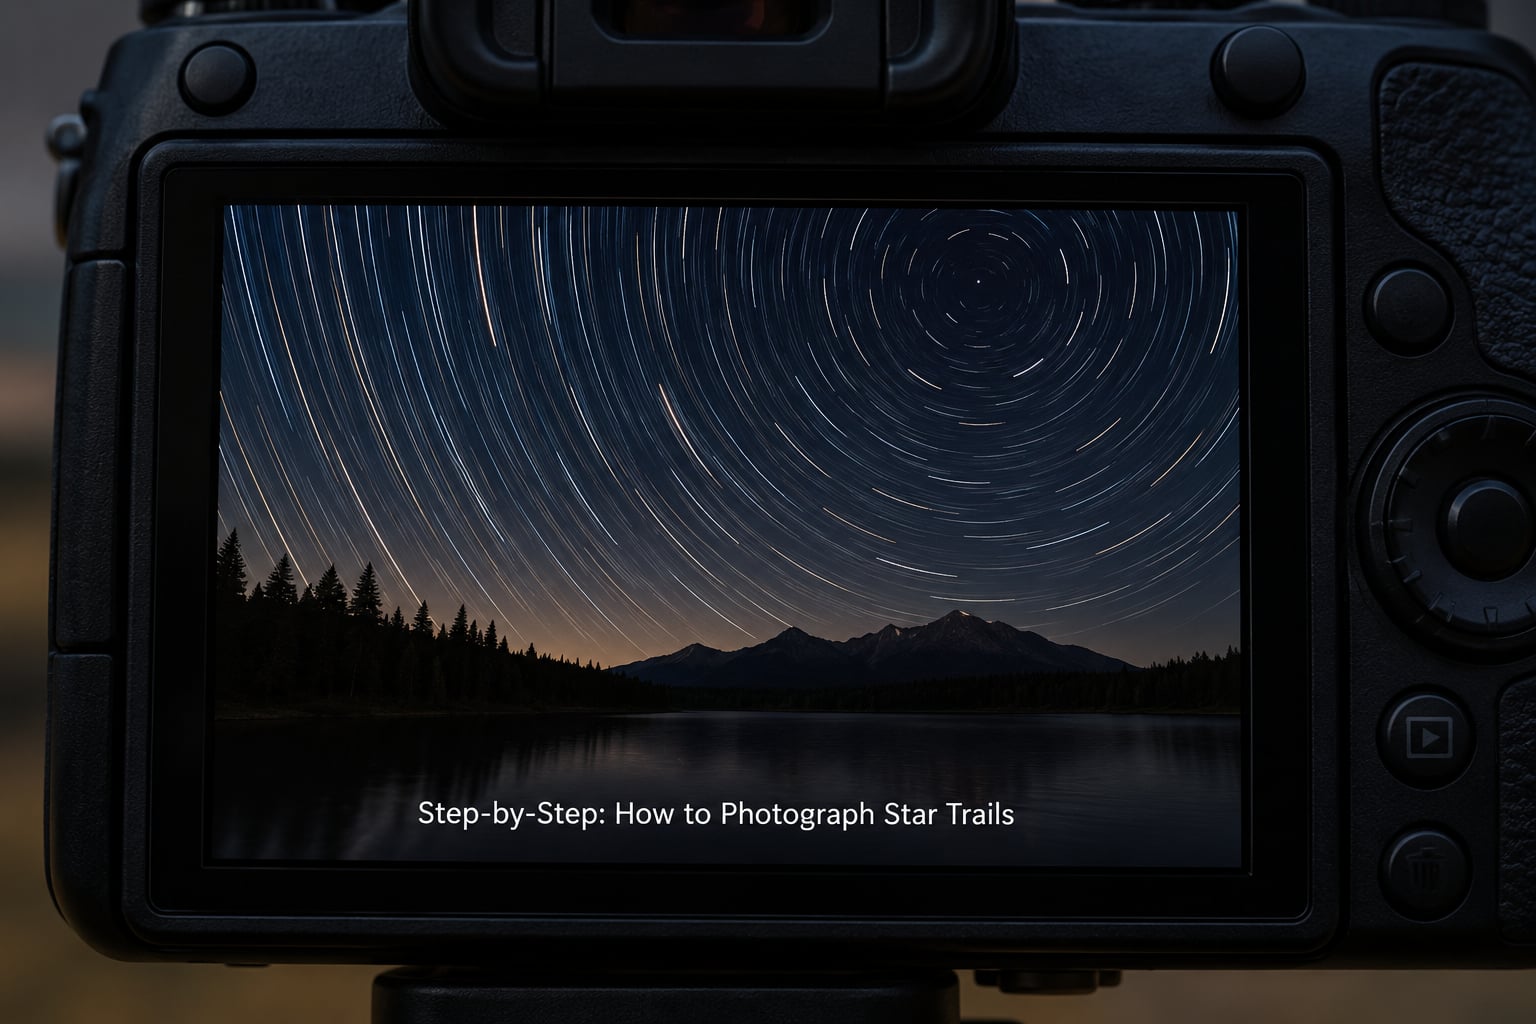
Here is where the shape of the trails is decided. Earth turns about 15 degrees an hour, so the direction you point decides the pattern.
- Aim at the celestial pole and you get circles, because those stars orbit the pole and return to the same spot. In the northern hemisphere that pole sits near Polaris; in the southern hemisphere it is near the Southern Cross.
- Aim at the celestial equator and the trails run as straight or diagonal lines.
Keep the horizon low, around the bottom fifth of the frame, so the sky does the work. Then look at your foreground with the same care you would give it in daylight. Our guides on how to photograph shadows and how to photograph reflections both carry over directly to night work, especially the reflection version if there is water or wet ground to catch the trails.
You know it worked when the trails curve the direction you intended and the foreground sits dark enough to read as a shape.
7. Capture Multiple Frames with an Intervalometer
Set the intervalometer so the gap between frames is a fraction of the exposure time. With 25-second exposures, an interval of 3 seconds is safe; a 1-second interval is where gaps start showing.
Take one test frame and check it before you walk away. Then lock everything: tripod legs, centre column, cable release, lens ring. Do not touch the camera again until the sequence stops.
Work out how many frames you need before you start. Five hundred frames at 25 seconds plus intervals is over three and a half hours, which is more than most nights allow and more RAM than most laptops want.
You know it worked when the first twenty frames are all in focus and the sequence has run past ten minutes without a dropout.
8. Check, Process, and Finish the Star Trail Image
Start by reviewing everything. Delete frames with satellites, aeroplane strobes, accidental bumps or fogged images. Expect to throw out a good share of them.
Stack the survivors in software. StarStax is free and handles batch stacking quickly, though its interface looks dated. Sequator is a solid free alternative. Photoshop works with the lighten blend mode but gets slow and heavy somewhere past a hundred layers.
After stacking, set the white balance once, lift the shadows, and pull the contrast. Fix the colour cast from light pollution with a gradient adjustment in the upper corners. If the sequence is not one smooth set of trails, check your interval timing before you blame the software.
You know it worked when the exported file has continuous trails with no gaps, stars that are still round, and a foreground that has detail rather than a black hole.
Common Star Trail Mistakes and How to Fix Them
Dashed or gapped trails. The gap between frames is too long, so the trails break. Shorten the interval, and check that the camera is not pausing between shots for buffer writes. Cards that are too slow are a frequent cause.
Soft stars. Almost always focus, not settings. Zoom in on a star at 100% and check. A focus shift caused by a loose lens ring looks identical to missed focus.
Bright orange or white streaks. That is light pollution or a nearby lamp. Shoot from further out, or frame so the offending light sits outside the edge of the picture. Twilight and a crescent moon both help hide it.
Blown-out foreground. Exposing for stars means the foreground goes black, and if you brighten it later the noise is ugly. Shoot a second short exposure of the ground at a higher ISO and blend it underneath.
Noise. High ISO plus long sessions. Lower the ISO a stop, open the aperture, and treat the result in editing. Black sky noise is usually recoverable.
Trails pointing the wrong way. Not an error, just expectation. If you did not aim at the pole you will not get circles, and if you are in the southern hemisphere the pole sits in a different part of the sky than it does for northern photographers.
Airplane lights burned into the frame. Unavoidable, and the reason people paint over them. In a stack you can also clone from an adjacent frame.
Three field habits save most of this. Check the first frame before you settle in. Keep spares warm in a pocket and carry a power bank. And watch for dew: if the lens fogs, stop the sequence rather than pushing through, because the frames that follow will be unusable. Taping hand warmers to the lens barrel is a cheap fix that works well for a couple of hours. Our guide to photographing rain covers protecting a camera in wet conditions if you are already set up that way.
Frequently Asked Questions
Is it hard to photograph star trails?
Not really. The technique needs a tripod, a camera in manual mode, manual focus on a bright star, and patience for a two-hour sequence. Most of the difficulty is finding a dark site and remembering to bring spare batteries. Stacking is simpler than it sounds once you have loaded your files into a stacking program.
Can I take star trails photos with my phone?
Yes, with limits. Use a night or manual mode app that exposes in bulb, set the focus to infinity or manual, and mount the phone on a tripod. Shoot 15 to 30 second exposures with the screen off and airplane mode on, then stack them in a mobile stacking app. Expect more noise, less control over focus, and heat from the phone itself.
What is the 500 rule for star trails?
The 500 rule estimates the longest exposure before stars visibly trail: divide 500 by the focal length multiplied by the crop factor. On a full-frame 20mm lens that gives 25 seconds. It is a quick starting point, and on high-resolution cameras it tends to be too generous, so check your result at full size before trusting it.
Do I need a star tracker to photograph star trails?
No. A tracker keeps stars fixed, which is the opposite of what you want here. Star trails come from the camera staying put while Earth turns. If you mount a tracker instead, use it on a separate camera and only for a different kind of shot, because a tracking head moving during a long trail sequence ruins the frames.
Why are my star trails dashed or gapped?
It is almost always the interval between frames. Each exposure leaves a small piece of sky uncovered, and when the gap is long the trail breaks into dashes. Shorten the interval so frames overlap, and check that your memory card is fast enough to handle writing each file without stalling the camera.
Conclusion
Start smaller than you think. Choose a dark spot you can reach, set the camera to manual, focus on a bright star at high magnification, and take one 25-second test frame at ISO 400 and f/2.8. Look at it at full size on the back screen. If the stars are sharp dots, you are ready to start the intervalometer and let it run for two hours.