
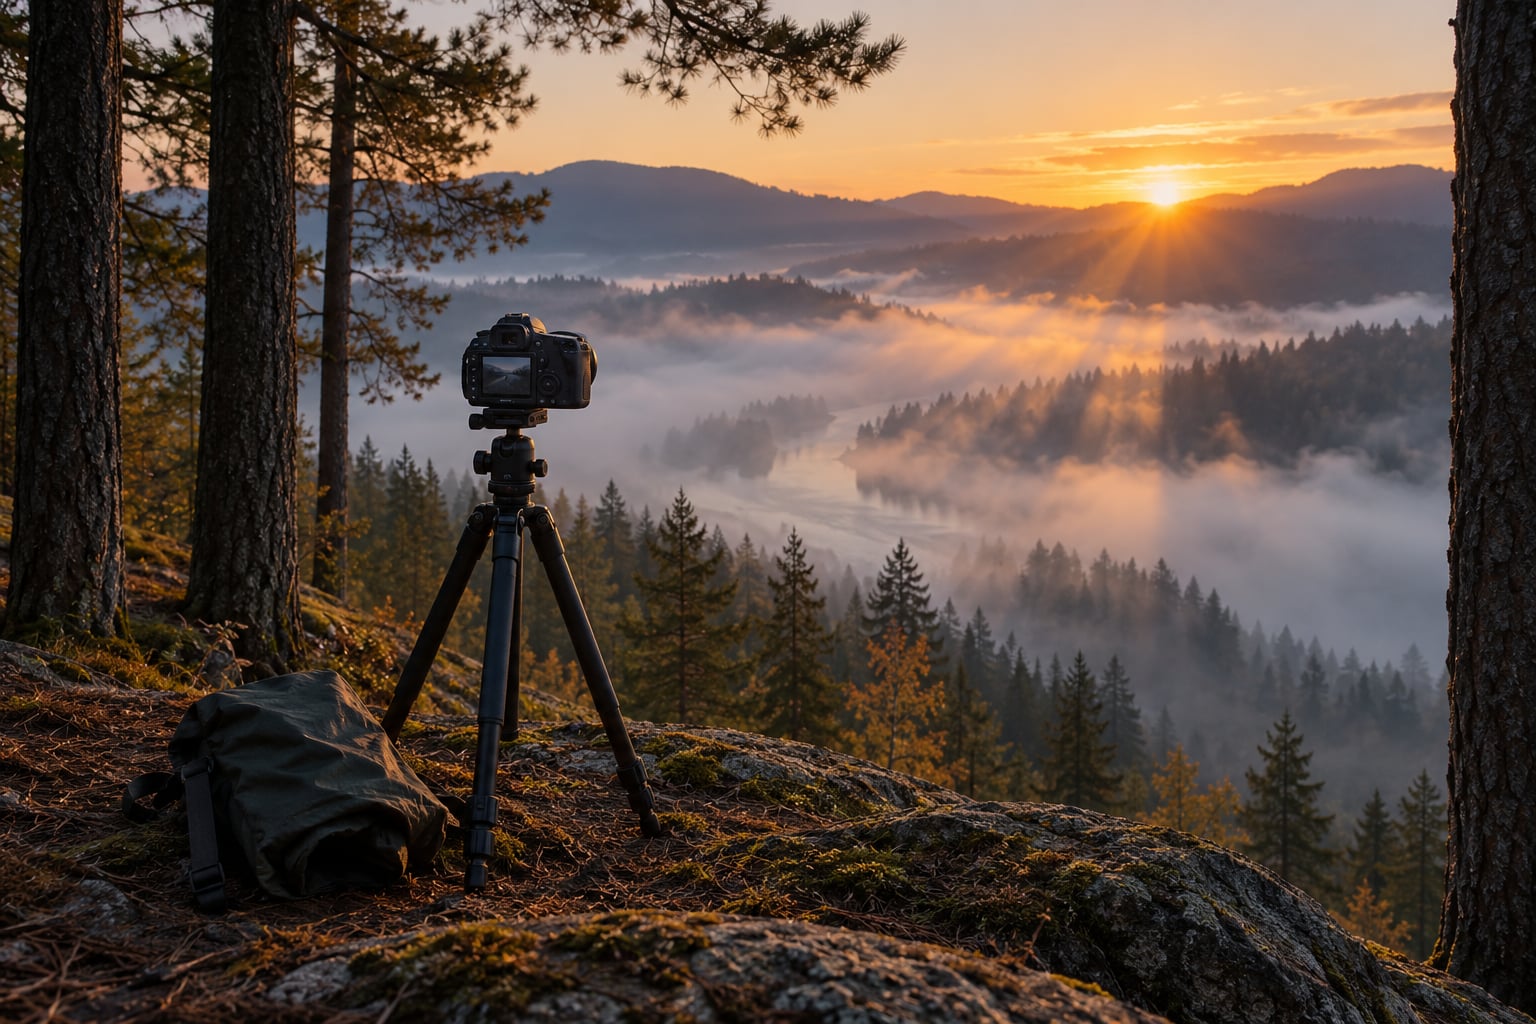
Fog is easy to find and surprisingly hard to expose, because the camera’s light meter reads bright grey air as middle grey and underexposes the frame. Learning how to photograph fog and mist means working against that meter: shoot RAW, add +1 to +2 EV of exposure compensation, focus manually, and shoot from a tripod. Allow an hour on site, because the best conditions often last only 20 to 40 minutes.
What makes fog worth the effort is how much it removes. Mist hides the power lines, empty car park and messy fence line that usually ruin a view, and it stacks distance into clean layers so even a familiar corner looks composed.
This guide walks through the whole shoot in eight steps, from checking the forecast on the night before to the final edit, plus the gear, the common mistakes and answers to the questions photographers ask most.
Table of Contents
- What You Need
- Step-by-Step: How to Photograph Fog and Mist
- 1. Check the Forecast and Scout the Location
- 2. Use the Right Camera Settings
- 3. Choose a Focus Strategy for the Scene
- 4. Compose for Layers and Negative Space
- 5. Backlight the Mist
- 6. Control Contrast and Reveal Hidden Detail
- 7. Experiment with Shutter Speed and Movement
- 8. Edit for a Consistent Atmospheric Look
- Common Mistakes
- Frequently Asked Questions
What You Need
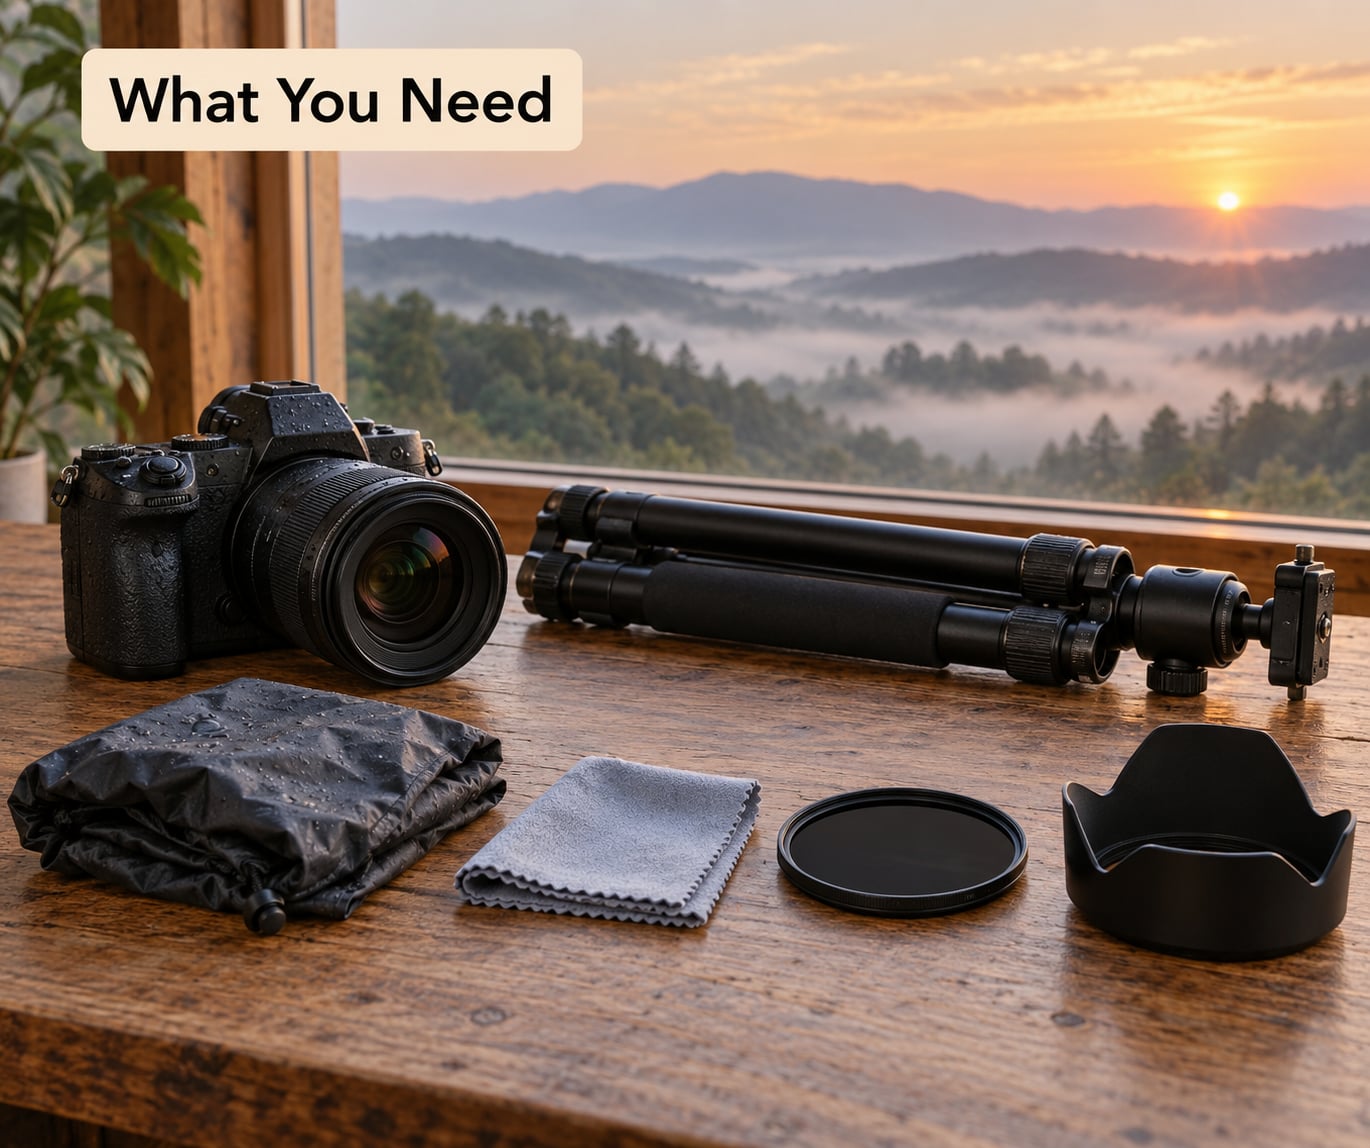
None of this is specialist fog kit. Every item below is a normal piece of a working camera bag that happens to solve a specific problem in wet, low-contrast conditions.
- A weather-sealed body with a spare battery. Cold mornings drain batteries faster, and you will not want to be changing batteries while the fog burns off.
- A tripod with a decent head. Dim, diffuse light plus a dark subject often pushes you to 1/8s or slower. At that speed a tripod is not a luxury.
- Lens hood and a microfibre cloth. Droplets on the front element are the single most common reason a fog frame looks soft. The hood cuts most of them off; the cloth handles the rest.
- A rain cover or a large plastic bag. Swap the camera inside out, bag and all, rather than holding an open bag over your head.
- A circular neutral-density filter. Useful when you want a 30-second exposure at dawn to show the mist drifting, and it costs nothing to leave in the bag.
- A graduated filter, optionally. A soft three-stop grad balances a bright sky over dark ground without the hard line a hard grad leaves behind.
- Memory cards and a charged spare battery in an inner pocket. Body heat keeps the spare warmer than the bag.
A polariser is the item people ask about most and it disappoints most often. Dense fog is made of water droplets rather than ice crystals, so there is little to polarise; expect the biggest change on wet surfaces, water and glass, where it cuts reflections. For wet scenes, our guide to how to photograph reflections has techniques that pair well with fog.
Step-by-Step: How to Photograph Fog and Mist
1. Check the Forecast and Scout the Location
Look at the forecast the night before and the hour before you leave. Fog forms when the air temperature drops to the dew point, so a forecast showing a small spread between the two is your best signal. Coastal and valley forecasts are far more reliable than inland ones.
Read cloud cover and wind too. Fog under a clear sky gives you sunlight to backlight it; fog under a solid grey lid gives you soft, high-key minimalism. Any wind above a light breeze will shred radiation fog and push it into a moving advection fog instead.
Scout in daylight and pick viewpoints with depth: a foreground element, a middle-ground subject and something receding into the distance. Fog is useless if the scene is flat.
Arrive 30 to 45 minutes before sunrise. Most photographers leave too early, then miss the moment the first light hits the mist, and you cannot get that back. Keep the kit bagged until you are set up, and stay at least an hour after the fog thins to catch the contrast that follows it.
2. Use the Right Camera Settings
Start in manual, shoot RAW, and set white balance to the scene rather than auto. Auto white balance drifts as the fog burns off, so your frames end up with different colour casts you have to chase later.
Aperture decides how separated your layers look. Use f/8 to f/11 when you want the whole stack sharp from foreground to distance, and open to f/2.8 to f/5.6 when you want the near layer sharp and everything behind it to dissolve. Avoid going wider than f/16 outdoors, because diffraction softens the frame and fog already eats detail.
Shutter speed follows the light. In light haze, 1/125s at ISO 400 is enough to handhold. In real fog, ISO 100 to 200 with the camera on a tripod will give you 1/4s or slower. Keep ISO at or under 800, and switch the camera to mirror lock-up or electronic shutter to stop vibrations on longer frames.
Metering mode matters more than most people expect. Evaluative metering sees bright fog and exposes down. Spot metering on a mid-tone, plus +1 to +2 EV of compensation, gets you much closer. If you shoot bracketed exposures, the compensation issue becomes far less critical, so bracket two or three frames at one-stop intervals.
A simple cheat sheet for fog photography, keyed to how dense the stuff is on the day:
- Light haze: f/5.6 to f/8, 1/125s, ISO 400 to 800, +1 EV, single-point autofocus is fine.
- Morning fog: f/8, 1/8s to 1/15s, ISO 200 to 400, +1.5 EV, manual focus on a tripod.
- Thick fog, subject 10 metres away: f/5.6, 1/30s, ISO 400, +2 EV, manual focus on the subject.
- Thick fog, long exposure to show drift: f/8, 5 to 30s, ISO 100, +2 EV, manual focus, intervalometer if you have one.
You will know the settings worked when the fog reads as a clean bright tone with visible separation between layers, not a flat grey card with a dark blob in it.
3. Choose a Focus Strategy for the Scene
Autofocus fails in fog more often than in any other weather, because the contrast it looks for is gone. In a frame of even grey it hunts, or worse, it locks onto the nearest fog plane and gives you a sharp foreground and a blurred subject.
Switch to manual focus and zoom in on live view at 10x to 20x to check focus. Set it on your subject, then recompose. If the subject is too close for comfortable magnification, focus to hyperfocal distance instead so everything from roughly half that distance outward stays acceptably sharp.
For scenes where you genuinely need foreground to background sharpness, focus stacking is the answer. Take a foreground frame, a middle frame and a background frame, keeping the camera on the tripod, then merge them. Fog softens edges between planes, which makes stacking far easier than it is in bright sunlight.
For architecture, focus once and leave it, or use a tethered second screen for depth of field preview. Our tips on how to photograph shadows are useful here, since soft fog shadows barely register and are better to shape with light than to find in the scene.
4. Compose for Layers and Negative Space
Fog simplifies a scene, and the best compositions take that simplification further. Look for one clear subject, or go abstract and remove the subject entirely. Both work; mixing five elements usually does not.
Build the frame in planes. A dark branch or a railing in the near foreground, a tree or building in the middle, and the mist swallowing everything beyond gives you depth that the fog itself created. Leading lines such as a path, a river or a row of fence posts pull the eye into the brightest part of the frame.
Leave room. Negative space filled with clean fog often beats an empty area of grey detail, and putting your horizon on a third rather than dead centre gives the frame somewhere to breathe.
Silhouettes work because a dark shape against bright fog needs no detail to read clearly. Try a lone tree, a figure on a path, or a bird overhead, and expose for the fog behind it.
5. Backlight the Mist
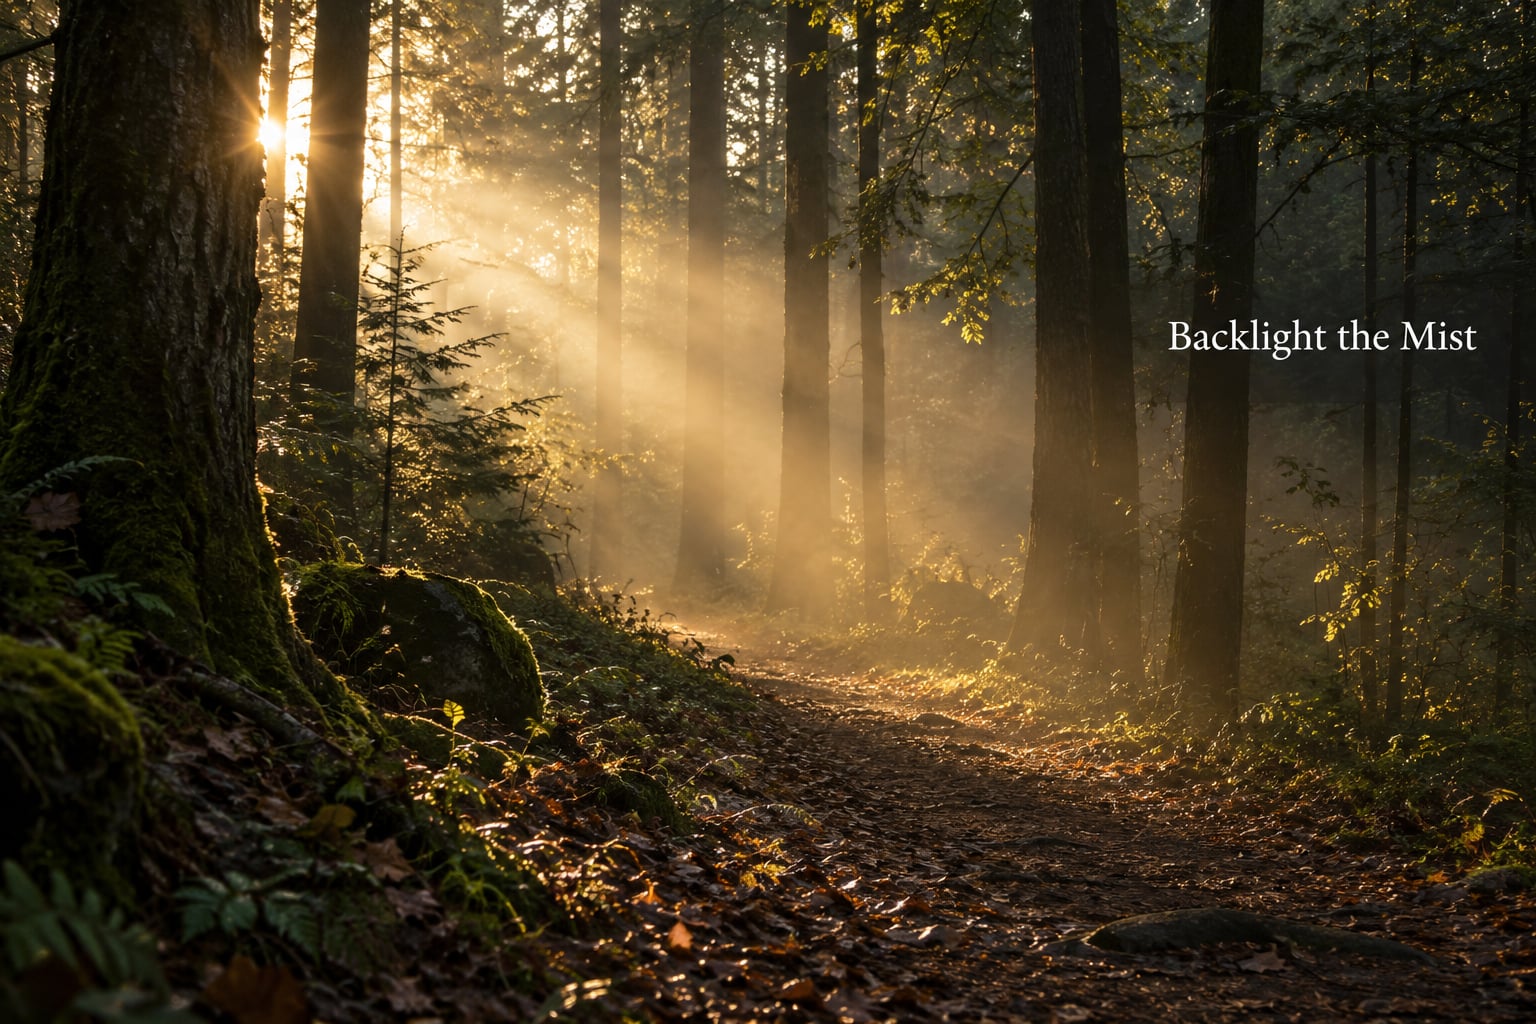
Suspended moisture scatters light, so mist only becomes visible when something bright sits behind it. Sun through trees at a low angle produces crepuscular rays; streetlights produce halos; car headlights produce streaks you can paint with a slow shutter.
Get behind the subject and aim into the brightest part of the fog. Expose for the highlights, then watch the histogram. Brighter mist is easier to recover than bright mist that is clipped to pure white with no texture left in it.
Apply negative exposure compensation, around -1 to -2 EV, to keep rays from flaring into a white blob. Bracketing is better still: make one frame for the rays, one for the mid-tones, and one darker frame for the shadows, then blend them later.
At night, put a light source behind your subject, keep it out of frame or just inside the edge, and let the halo do the work. Hold a torch or a flash at arm’s length behind the subject for one controlled frame rather than lighting the whole scene. Never fire a flash straight into the fog to brighten the shot; it lights the droplets in front of the lens and returns you a flat grey card.
6. Control Contrast and Reveal Hidden Detail
Fog compresses tonal range into a narrow band, so the histogram will look thin and the shadows will look like noise even when they are perfectly exposed. That is normal, not a mistake, and it is why exposure decisions should come before any contrast work.
Expose to protect the brightest part of the mist. In raw processing you can lift shadows and recover mid-tones easily; you cannot recover a highlight that clipped to 255.
Then add contrast in moderate steps rather than one big move. Drag the black point up slightly until the darks sit just below zero, add midtone contrast, and check the histogram again after each change. Overdo it and the fog loses the softness that made the frame worth shooting.
Watch the sensor for noise in the shadows as you lift them. If the darks get grainy, mask the lift so it only applies to the areas you actually want, and leave the rest alone.
7. Experiment with Shutter Speed and Movement
Shutter speed changes what fog means. At 1/500s, individual droplets freeze and the mist looks like texture. At 1/4s it starts to soften. At 15 to 30 seconds with an ND filter, moving fog becomes a smooth flow around static objects, which is where the most interesting long-exposure frames come from.
For long exposures, meter first, switch to manual, and take a test frame to check that bright areas are not clipping. If they are, stop down a little or shorten the exposure. Bring a head torch with a red mode for working in the dark without ruining your night vision.
For deliberate camera movement, shoot at 1/15s or slower and pan the camera during the exposure. Keep it slow and even; the results look like painterly strokes rather than a mistake, provided you can repeat it.
Water and rain change everything. With wet ground and drizzle, reflections double the visible light, and our guide to photographing rain covers the shutter and gear choices in more detail.
8. Edit for a Consistent Atmospheric Look
Build your edit in a fixed order so you can repeat it across a whole set, and resist heavy dehaze.
- White balance first. Pull the tint toward blue or green deliberately and hold it, so every frame in the set matches.
- Exposure and highlights. Recover anything clipped, then lower highlights so the brightest mist keeps texture.
- Midtone contrast and vibrance. Use vibrance rather than saturation to bring back muted colour without turning greens radioactive.
- Dehaze, sparingly. Apply it locally with a mask on the middle-ground plane only. Full-frame dehaze turns fog into a harsh, dry desert.
- Split toning. Push cool tones into the blues and slightly warm the highlights for a morning look.
- Dodge and burn. Small local adjustments to guide the eye toward your subject beat global sliders.
- Sharpening. Mask it off the sky and the deepest mist, where it creates crunchy halos around edges.
Convert to black and white when the scene is mostly one colour, especially a green or blue fog, because the mono conversion can only work with the channels you have. Keep the colour version too; pastel fog is worth having.
If you need fog in a frame where the weather refused to cooperate, you can build it in Photoshop: a new solid colour layer filled with a neutral grey, then Filter and Render and Clouds, then invert the layer and paint it back with a soft brush mask at low opacity. Keep it to about 10 to 20 percent so the image still looks photographed.
Common Mistakes
- Leaving early. The most common failure, and nobody’s fault but the alarm clock. Fog often thins around sunrise and then the light breaks through in a way that lasts a few minutes. Stay.
- Trusting the meter. Bright grey air reads as an overexposed surface, so automatic exposure gives you dark, dull frames. Add +1 to +2 EV or spot meter a mid-tone.
- Leaving autofocus on. Low contrast means no edge to lock to, so AF either hunts or focuses on the nearest fog bank. Use manual focus and live view zoom.
- Using flash. A burst through the droplets in front of the lens is what oncoming traffic sees when it uses high beams. Backlight the mist instead.
- Putting the horizon in the middle. In a frame where fog already flattens everything, a dead-centre horizon makes it read as flat. Move it to a third.
- Ignoring water on the front element. Check the lens before every frame in the first ten minutes. If you cannot see detail, nothing you did in software will fix it.
- Wiping the lens constantly. Wiping the front element while it is damp just spreads the film. Keep the camera under cover between shots, lens facing down.
- Editing the softness out. Heavy dehaze and full-frame clarity sliders undo the one thing fog gave you. Adjust locally instead.
One safety note, since nobody mentions it: visibility in fog can drop to a few metres, so paths get slippery and ridges, cliffs and water edges lose their edge entirely. Tell someone your route, walk the line before the fog arrives, and carry a head torch.
Frequently Asked Questions
What are the best camera settings for photographing fog?
Shoot RAW in manual exposure with white balance set to the scene rather than auto. Start at f/8, ISO 100 to 400, and a shutter speed the tripod can support, which is usually 1/8s or slower in real fog. Add +1 to +2 EV of exposure compensation, or spot meter a mid-tone, because the meter will underexpose bright fog. Switch to manual focus and check with live view zoom before each frame.
Can I photograph fog with a smartphone?
Yes, and it handles fog well because phones default to bright, accurate exposures. Tap and hold on the subject to lock exposure and exposure compensation, since auto metering often darkens fog on phone cameras too. Move a step closer rather than zooming, keep the lens clean with a cloth, and shoot at dawn when the phone’s dynamic range has the easiest job. Night mode handles dim dawn light, and RAW apps like ProRAW give you the same manual control a camera gives.
Should fog photos be converted to black and white?
Only when the colour is doing you no favours. Grey, blue or green fog loses its channel separation in mono, so a black and white conversion flattens the layers you worked to build. A pastel dawn fog, by contrast, lives or dies on colour, and vibrance brings it back. Convert a duplicate rather than the original, and judge it on a second monitor or phone screen before you commit.
How do I focus when fog makes the scene look low contrast?
Turn autofocus off. Autofocus needs an edge to find, and even grey fog gives it none, so it hunts or locks onto the nearest fog bank instead of your subject. Switch to manual focus, zoom live view to 10x or 20x, set focus on the subject, then recompose. If the scene needs sharpness from foreground to background, focus to the hyperfocal distance or shoot a few frames and stack them in post.
What time of day is best for photographing mist?
Dawn, and not much later. Overnight cooling brings air to its dew point, and fog or mist is most likely between roughly 30 minutes before sunrise and an hour after. Fog also burns off fastest once the sun is up and the ground warms. Arrive 30 to 45 minutes early, stay an hour past sunrise, and check a forecast showing the spread between temperature and dew point before you commit to the trip.
How do I make fog stand out in a photo?
Put a bright light behind your subject so the suspended droplets scatter toward the camera. Sun low through trees gives crepuscular rays, streetlights give halos, and car headlights give streaks at slow shutter speeds. Expose for those highlights with -1 to -2 EV or bracket, then add a dark foreground element so the lit mist has something to read against.
Pick one composition, get there 45 minutes early, and change exactly one thing before the next frame: first the exposure compensation, then the aperture, then nothing else until you have several variations. That is how to photograph fog and mist without fighting it, and once the exposure feels right the rest of the technique stops being technical and starts being about where you point the camera.