
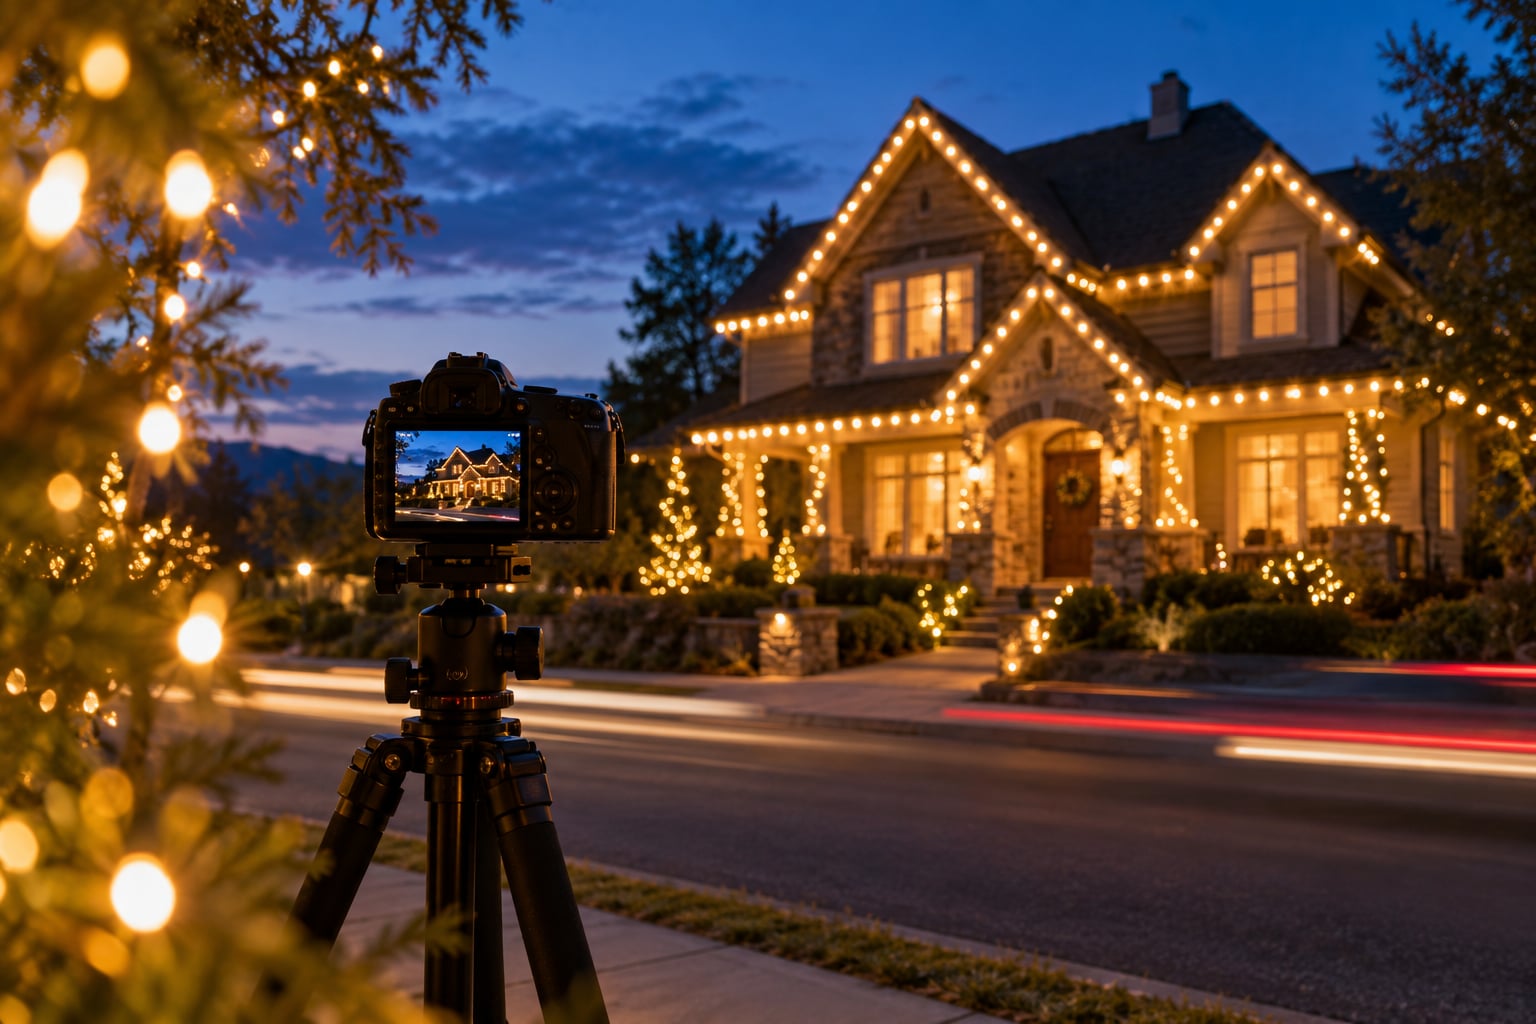
Photographing Christmas lights means shooting tiny, very bright bulbs in almost no ambient light, which pushes your camera into wide apertures, high ISO and deliberate white balance control. Shoot at blue hour, work in manual mode from a tripod, focus on a single bulb, check the histogram for clipped highlights, and shoot RAW. Budget about an hour per location.
The whole job comes down to one problem: the bulbs are far brighter than everything around them, so a camera will either blow them to flat white circles or darken the scene to protect them. Here is the order of operations that fixes that.
- Shoot at blue hour, not full dark. Twenty minutes after sunset gives you a sky bright enough to hold detail while the bulbs are already on.
- Switch to manual mode. Aperture, shutter and ISO set by you, nothing hunting in the dark.
- Open the aperture wide. f/1.4 to f/2.8 turns out-of-focus bulbs into large soft circles of bokeh.
- Raise ISO instead of underexposing. Modern sensors handle ISO 3200 to 6400 cleanly; noise is easier to fix than black shadows.
- Use a tripod and a 2-second timer. Anything slower than about 1/15s handheld will smear.
- Focus on one bulb, then check the histogram. Blinking highlights mean clipped bulbs. Pull exposure compensation down a third of a stop and reshoot.
- Shoot RAW. The warm incandescent cast and the glow around each bulb are far easier to correct in a RAW file.
None of that requires expensive kit. It requires a steady camera, a clean lens, and the nerve to let the image be a little noisy.
Table of Contents
- What You Need to Photograph Christmas Lights Well
- Step-by-Step: How to Photograph Christmas Lights
- Common Mistakes When Photographing Christmas Lights
- Frequently Asked Questions
- Do you need a tripod to photograph Christmas lights?
- What ISO is too high for night light photos?
- Should I use flash when photographing Christmas lights?
- How do I stop light bulbs turning into white blobs?
- Can a smartphone photograph Christmas lights well?
- What is the best aperture for photographing lights?
- Where to Start Tonight
What You Need to Photograph Christmas Lights Well
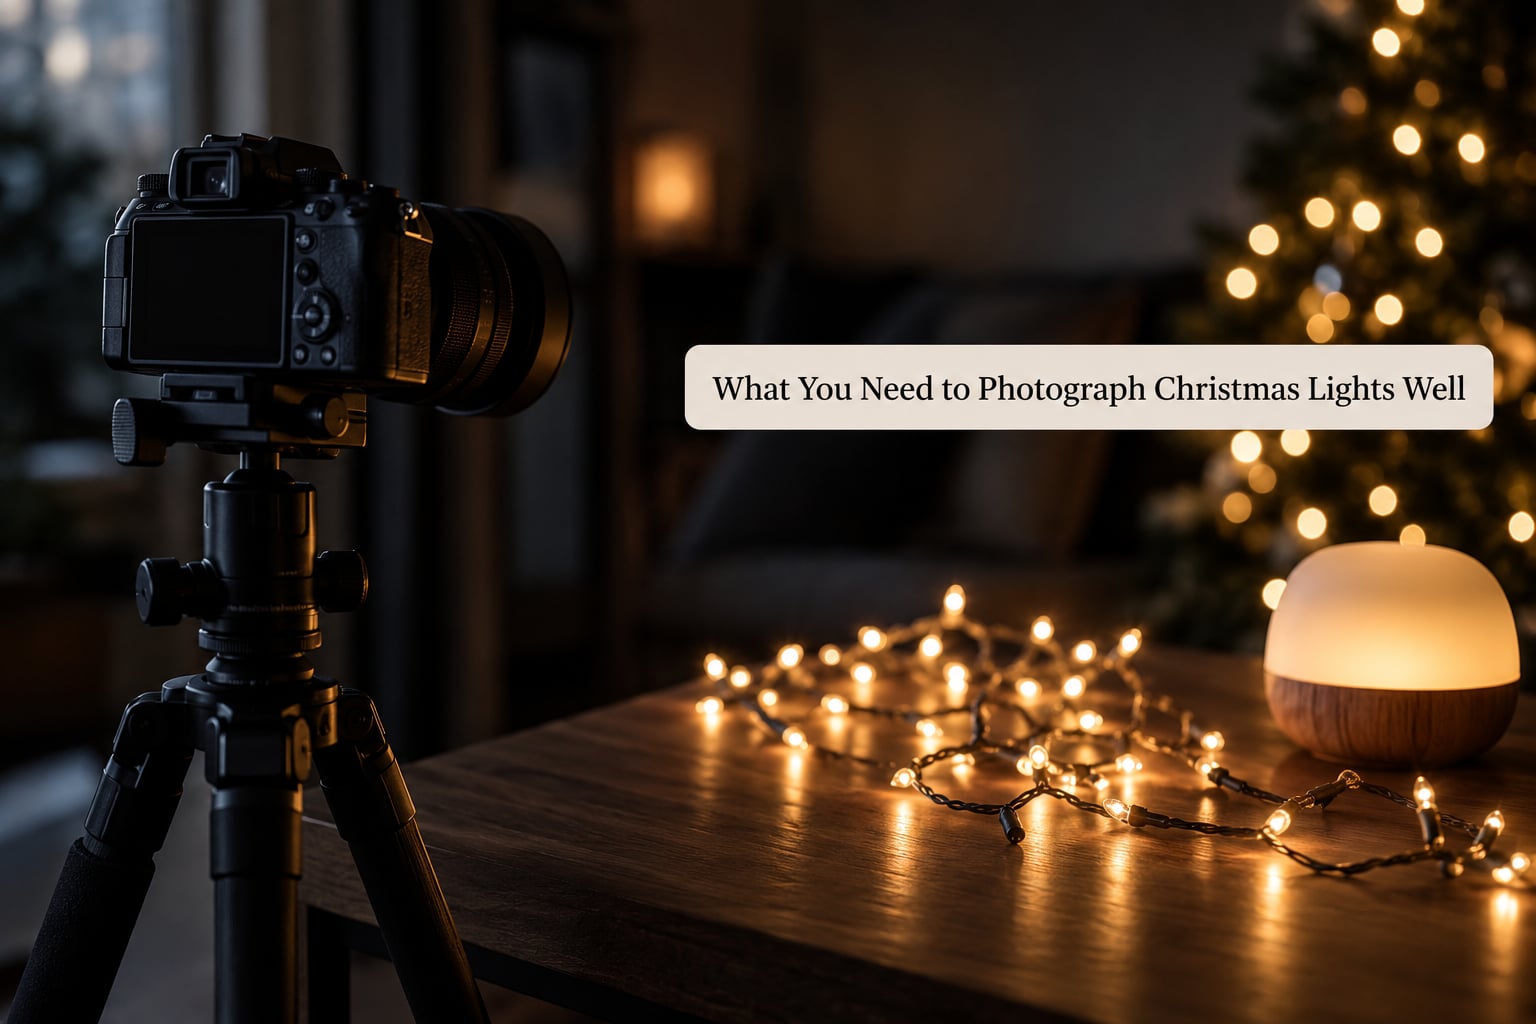
A tripod is the only item that genuinely changes your results. Everything else is a convenience.
A tripod. The cheapest one you own is usually good enough, and a beanbag, a step, a stack of books or a letterbox works fine in a pinch. Legs matter less than the head, and any head that locks firm will do.
A remote release or the self-timer. Pressing the shutter with your hand shakes the camera even on a tripod. The two-second timer on any camera does the same job for nothing.
A lens that opens wide. A fast prime makes the softest bokeh, but a kit zoom set to its widest aperture still turns bulbs into circles. A 50mm or 85mm gives a longer, more flattering shape than a wide angle.
A spare battery, kept in a pocket. Cold drains batteries faster than you expect, and a dead battery in a town square at 8pm is a miserable way to end a shoot.
A blower or a clean cloth. Winter air is full of moisture and your front element will fog the moment you come indoors. Take the lens off before you step through the door and let it warm up away from the body.
Optional extras that earn their place. A black card and a craft knife to cut your own shaped-bokeh iris, a small LED or phone flashlight to use as fill on portraits, and thin gloves that still let you feel the shutter button.
Step-by-Step: How to Photograph Christmas Lights
How to Photograph Christmas Lights with the Right Camera Settings
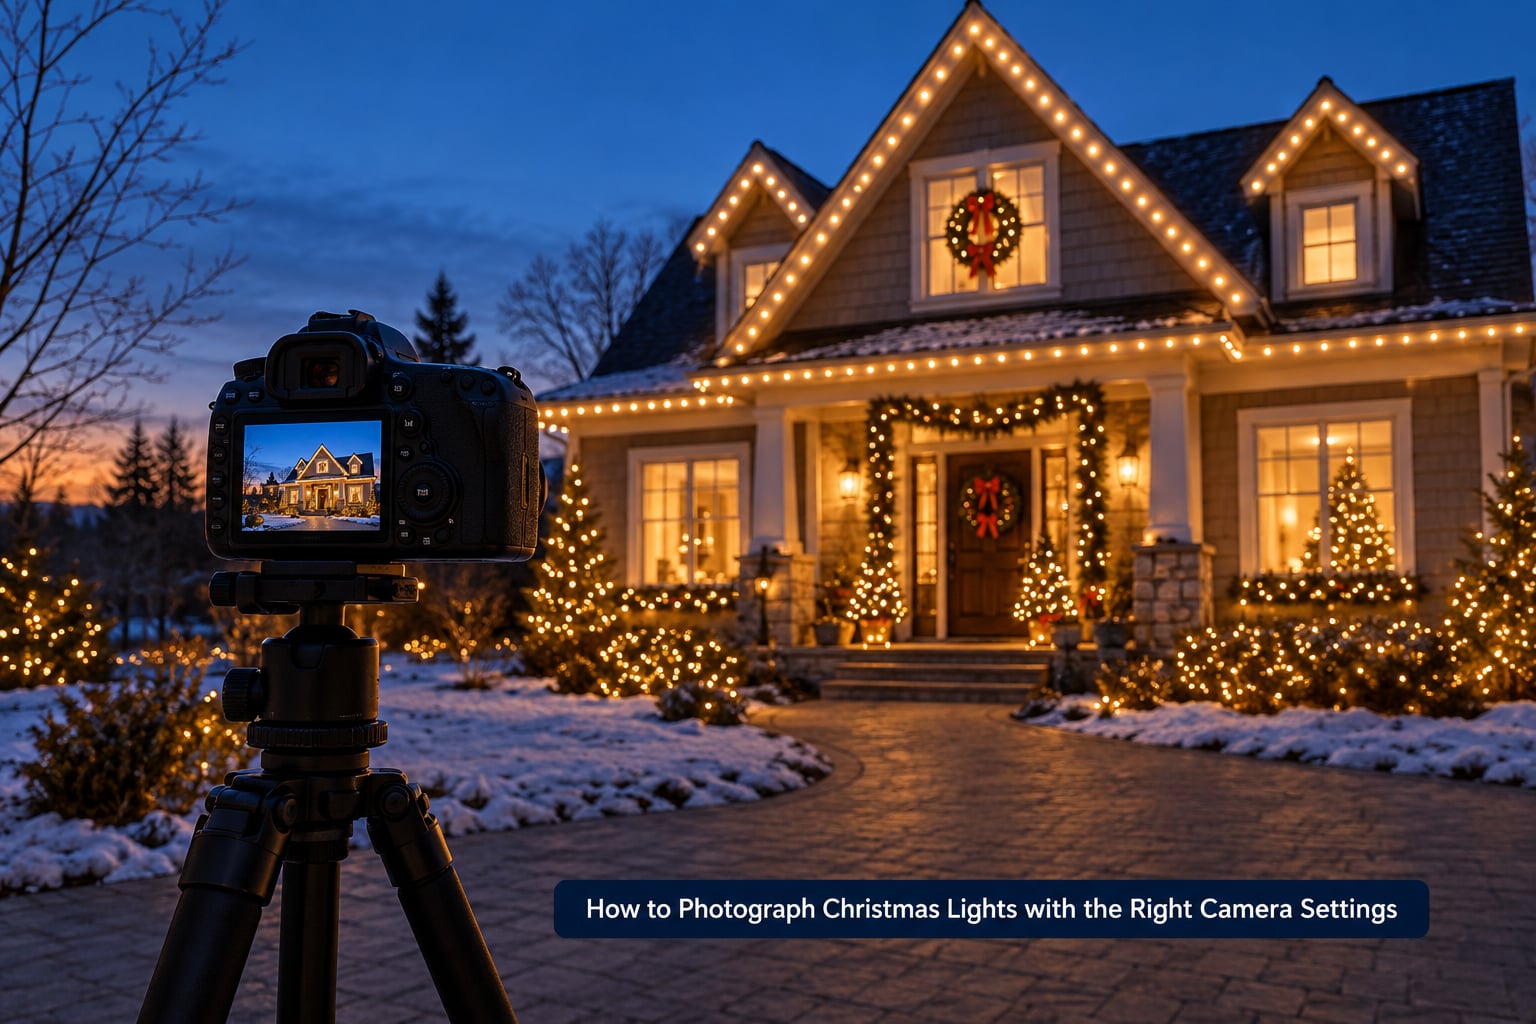
Start at manual exposure with a wide aperture, a shutter speed your tripod can hold, and an ISO that keeps the shadows readable. Then watch the histogram rather than the back of the camera screen.
Aperture. Open wide, usually f/1.4 to f/2.8. Wider aperture means a shallower depth of field, so bulbs behind your subject melt into large soft circles. Stopping down to f/5.6 or beyond keeps more of the display sharp but shrinks those circles into hard little stars, and past f/11 diffraction softens the whole frame.
Shutter speed. On a tripod, anything from 1/10s up to several seconds works. One correction worth making early: 1/200s is a fast shutter, not a slow one, and pairing it with an f/1.4 aperture is the opposite of a long exposure. If you want long exposure, you need a tripod and a shutter slower than a second.
ISO. This is where most people give up too early. Shooters routinely abandon a frame at ISO 1600 and go home with black shadows when ISO 3200 or 6400 would have held the detail. Raise ISO until the histogram sits where you want it, then deal with noise in editing.
White balance. Set it to tungsten or a fixed value around 3000K to tame the orange cast of incandescent strings, or leave it on auto and correct later in RAW. LED strings photograph much cooler, so the same setting that fixes a warm strand will make a modern one look blue.
RAW and exposure protection. RAW keeps every bit of recoverable highlight data. Turn on highlight warnings or the live histogram, and if bulbs keep blinking at you, drop exposure compensation by a third or half a stop until they stop.
Starting points by scene, all from a tripod:
- Christmas tree indoors: f/2.8, 1/30s, ISO 1600, focus on a front bulb, no flash.
- Yard display at blue hour: f/4, 1/4s, ISO 400, meter for the sky so the bulbs keep their colour.
- Christmas market: f/2, 1/60s, ISO 3200, position yourself so the stall lights are behind your subject.
- Light trails from traffic: f/8, 4 to 10 seconds, ISO 100, frame something solid in the lower third.
- Phone, static scene: Night Mode or Night Sight, tap and hold to lock exposure and focus, shoot RAW in Pro mode if your phone offers it.
Each row is a starting point, not a rule. The exposure triangle is a set of tradeoffs: if the frame is too dark, raise ISO or lengthen the shutter, never both at once, or you learn nothing about which one fixed it.
How to Photograph Christmas Lights Without Blur
Blur at night comes from camera movement or subject movement, and a tripod plus a self-timer solves the first almost completely.
Lock the legs, turn image stabilisation off when the camera is on a tripod, and start the two-second timer before you walk back to your position. On a mirrorless camera, a short electronic or mechanical delay also avoids the small shake from the mirror moving.
For focus, switch to manual or use single-point autofocus on one bulb near your subject. Autofocus hunts badly in near-darkness, and if you are shooting defocused bokeh on purpose, set focus to infinity or focus on the nearest object that should stay sharp.
Handheld still works for the brightest displays. The common shortcut is the 500 rule: divide 500 by your focal length to get the slowest safe handheld shutter. At 50mm that is 1/10s, at 200mm it is 1/2.5s, which you would not handhold at night. The NPF rule is more honest for full-frame sensors: divide 100 by focal length, and double it if you are shooting a busy street with people moving through the light.
Cold hands make everything worse. Bare fingers lose fine motor control first, so thin gloves beat mittens, and bracing your elbows against your ribs or resting the camera against a wall costs you nothing but stability.
How to Photograph Christmas Lights Creatively
Once the basics are reliable, the fun starts: point lights are one of the few subjects where the effect you create is limited only by how long the shutter runs.
Bokeh balls. The best ones come from small, bright, distant lights shot wide open. A strand 10 metres behind your subject at f/1.4 produces large soft circles. Get closer to the lights, or use a longer lens, and each circle shrinks into a crisp disc.
Shaped bokeh you cut yourself. Draw a small shape on black card, cut it out, tape it over the front of the lens, and put it just in front of the filter thread so it does not hit the glass. Keep the opening around 12 to 18mm across so enough light gets through. A snowflake or a Christmas tree shape gives you festive bokeh with no filter to buy.
Starbursts. Stop down to f/8 or f/11 and the aperture blades turn each point light into a pointed star. It works best when the light source is isolated, not buried in a dense string.
Light trails. Set up somewhere traffic passes the lights you care about, use f/8 and a 5 to 15 second exposure on a tripod, and expect car headlights to draw long white or red streaks across the frame. A puddle in the foreground doubles the effect.
Intentional camera movement. Set a 1/30s or 1/15s exposure, then move the camera smoothly during the shot. Strands become streaks, and you can make one deliberate abstract image between the honest ones. Masking with a piece of black card held just outside the frame keeps edges from creeping in.
Light painting. Put your camera on a tripod with a 10 to 20 second exposure and ISO 100, then wave a strand of fairy lights in a pattern during the shutter. Read the shape you want first, then rehearse it once fast.
Reflections and snow. Standing puddles, wet roads and shop windows double every light for free, and a light mist filter softens highlights into a glow. If snow is falling, expose for the snow so the flakes stay white while the lights behind them stay bright. Reflections have their own set of rules, which we cover in how to photograph reflections.
People and silhouettes. For portraits, put the lights behind your subject and add a very dim fill from the front, or you will get a black outline. If you want a pure silhouette, skip the fill entirely. Working with dark backdrops has some useful habits worth borrowing from our guide to how to photograph black objects.
On a phone. Night Mode stacks several seconds of frames, which gives you cleaner static scenes but smears anything that moves, and it still blows out bright bulbs. Pro or Manual mode gives you control of ISO and shutter; some third-party apps let you stack exposures yourself. If you only have a phone, a short burst at dusk with exposure locked on the brightest part of the display is hard to beat.
How to Edit Christmas Light Photos
Keep the edit restrained. The glow should still look like light, not like a filter.
Work from RAW and start with white balance. Push the temperature a little warmer than it looks in the raw file to counter the cyan or green cast mixed LEDs leave behind, then neutralise any bulb tint you dislike. Next recover highlights: pull exposure down slightly so the brightest bulbs have data again, then bring exposure back up on the shadows.
Add a small amount of dehaze or clarity to lift the glow, and use a soft radial mask around the brightest lights if you want halation without wrecking the rest of the frame.
Handle noise last. Apply noise reduction to the shadows only, using a mask, and keep the amount small. Smoothing across the whole frame turns fine detail in your lights into plastic.
If you want to add lights to a scene after the fact, paint soft radial glows at your light positions on a new layer set to Screen, drop a warm tint on it, and blur the edges slightly. Kept subtle it reads as real atmosphere rather than a sticker. If you are adding light to dark parts of a frame, read our shadow techniques first so the light has somewhere to sit.
Common Mistakes When Photographing Christmas Lights
Almost every disappointing light photo comes down to one of these eight.
Blown bulbs. White circles with no colour and no shape mean clipped highlights. Turn on the histogram, drop exposure compensation by a third of a stop, or underexpose by two thirds and recover in RAW.
Flash on. The near-universal rule: turn it off. It kills the mood and freezes every bulb into a hard dot. The only sensible use is a low-power fill on a face in a dark scene.
Shaky frames. Any hand on the shutter at a slow speed ruins the image. Use the two-second timer or a remote release every single time.
Missed focus. Autofocus locked onto the background instead of the bulbs. Zoom in to 100 percent, confirm the focal point is on a single bulb or edge you care about, then shoot.
Underexposing out of ISO fear. If your shadows are empty, push ISO up. Grain you can reduce, missing detail you cannot.
Veiling glare. A smeared haze across the frame usually means a bright source just outside the edge of the picture. Shift the camera slightly until it is out of frame, or shade the front element with a hand or a card.
Too many colours at once. Red, green, warm white and cool white strings in one frame fight each other. Pick one colour temperature to be the hero and let the rest sit further back.
Blocking a walkway. Markets and decorated high streets are crowded public space. Ask before setting a tripod where people walk, keep the feet of your legs out of pedestrian routes, and take requests from the stall owner or organiser rather than assuming.
Frequently Asked Questions
Do you need a tripod to photograph Christmas lights?
For anything slower than about 1/15s, yes. Brighter displays can be handheld at a faster shutter and a raised ISO, but a tripod plus a two-second timer or remote release is what keeps bulbs sharp, and it is what makes long exposures, light trails and starbursts possible at all. Any stable support works: a tripod, a wall, a step or a stack of books.
What ISO is too high for night light photos?
There is no fixed ceiling, but ISO 1600 to 3200 is comfortable on most modern cameras, and ISO 6400 is still workable if you shoot RAW and apply noise reduction to the shadows afterwards. Shooting ISO 1600 and accepting underexposed shadows is the more common mistake. Clean your sensor, and a fast lens lets you stay at lower ISO than a slow zoom.
Should I use flash when photographing Christmas lights?
Rarely. On-camera flash flattens the scene and turns every bulb into a hard white dot. The one useful exception is portrait work, where a very low flash power or a small LED fills a face so it is not a silhouette. Keep the fill subtle and shoot it from the side rather than straight on, and turn the flash off for the wide shots.
How do I stop light bulbs turning into white blobs?
Blown bulbs are clipped highlights, so protect them by lowering exposure. Turn on highlight warnings or the live histogram, drop exposure compensation by a third of a stop, and reshoot. Shooting RAW gives you room to pull those highlights back afterwards. Metering for the sky instead of the bulbs, usually with negative exposure compensation, works well at blue hour.
Can a smartphone photograph Christmas lights well?
Yes, for static scenes. Night Mode combines several seconds of frames, so a display or a tree stays sharp and much cleaner than it would in daylight. Its weakness is movement and very bright bulbs, which still clip. Tap and hold to lock exposure and focus on the brightest area, use Night mode only for static subjects, and use Pro or RAW mode when your phone offers it.
What is the best aperture for photographing lights?
As wide as your lens goes, typically f/1.4 to f/2.8, because a wide aperture gives a shallow depth of field that turns out-of-focus bulbs into large soft circles of bokeh. Stopping down to f/8 or f/11 instead produces pointed starbursts at the cost of the soft bokeh look. Diffraction starts softening the frame past roughly f/11 on most lenses.
Where to Start Tonight
Pick one display, arrive twenty minutes after sunset, and do four things: tripod, manual mode, f/2.8, ISO 3200, focus on a single bulb. Check the histogram, shoot a handful of frames, and stop.
Almost everything above is a variation on those four settings. Once that base shot works, the wide aperture, the longer exposure and the deliberate blur are all one dial turn away.