
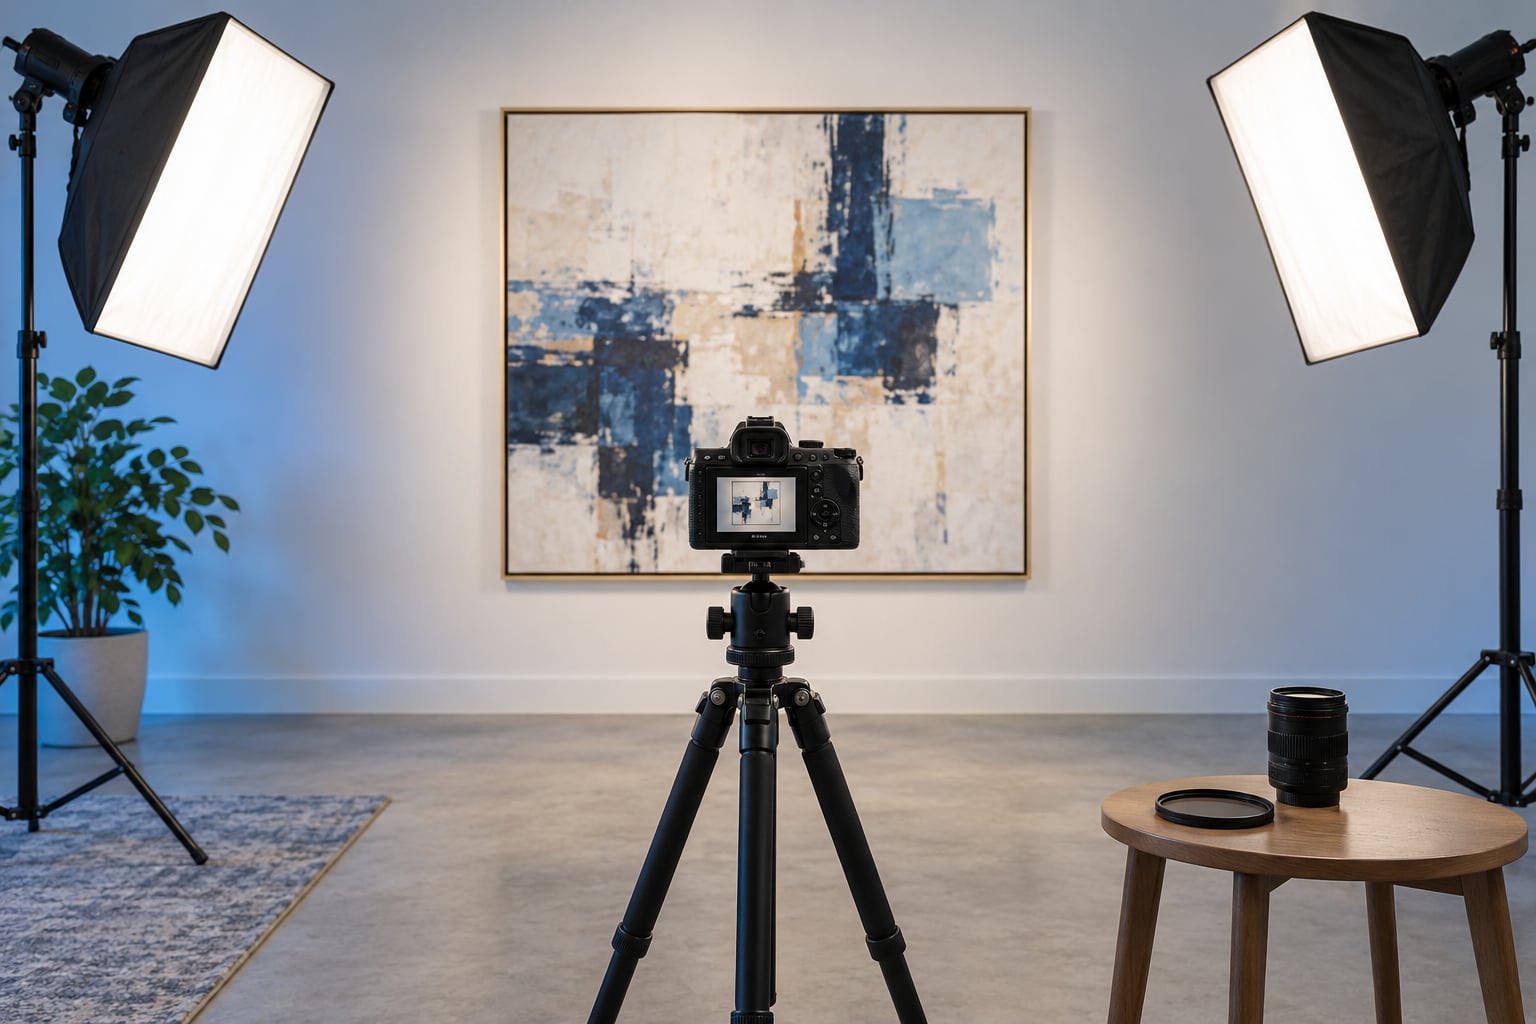
Glare ruins more painting photos than anything else, and it happens for one reason: light bouncing off a glossy surface straight into your lens. To learn how to photograph paintings without glare, angle your lights at roughly 45 degrees on either side of the canvas, keep the camera square to the picture plane, and turn off the flash. Give it twenty minutes of setup and the whole shoot takes about ten minutes after that. It’s fiddly the first time and routine by the third.
The thing that trips people up is expecting editing to fix it. A blown-out reflection across the varnish is gone, not recoverable. Every step below happens before you press the shutter, because light placement is the only real cure.
Table of Contents
- What You Need
- Step-by-Step: How to Photograph Paintings Without Glare
- 1. Prepare the painting and shooting area
- 2. Control reflections before using post-processing
- 3. Position the camera straight across from the painting
- 4. Use a polarizing filter correctly
- 5. Set the camera for accurate detail and colour
- 6. Focus carefully and capture test exposures
- 7. Make a final adjustment only when necessary
- Common Mistakes
- Frequently Asked Questions
- What is the 45-degree rule in art photography?
- How does cross-polarization work?
- Can you photograph framed artwork under glass without reflection?
- What camera settings work best for painting photography?
- Do you need a polarizing filter to photograph artwork?
- How do you photograph textured oil paintings without hot spots?
What You Need
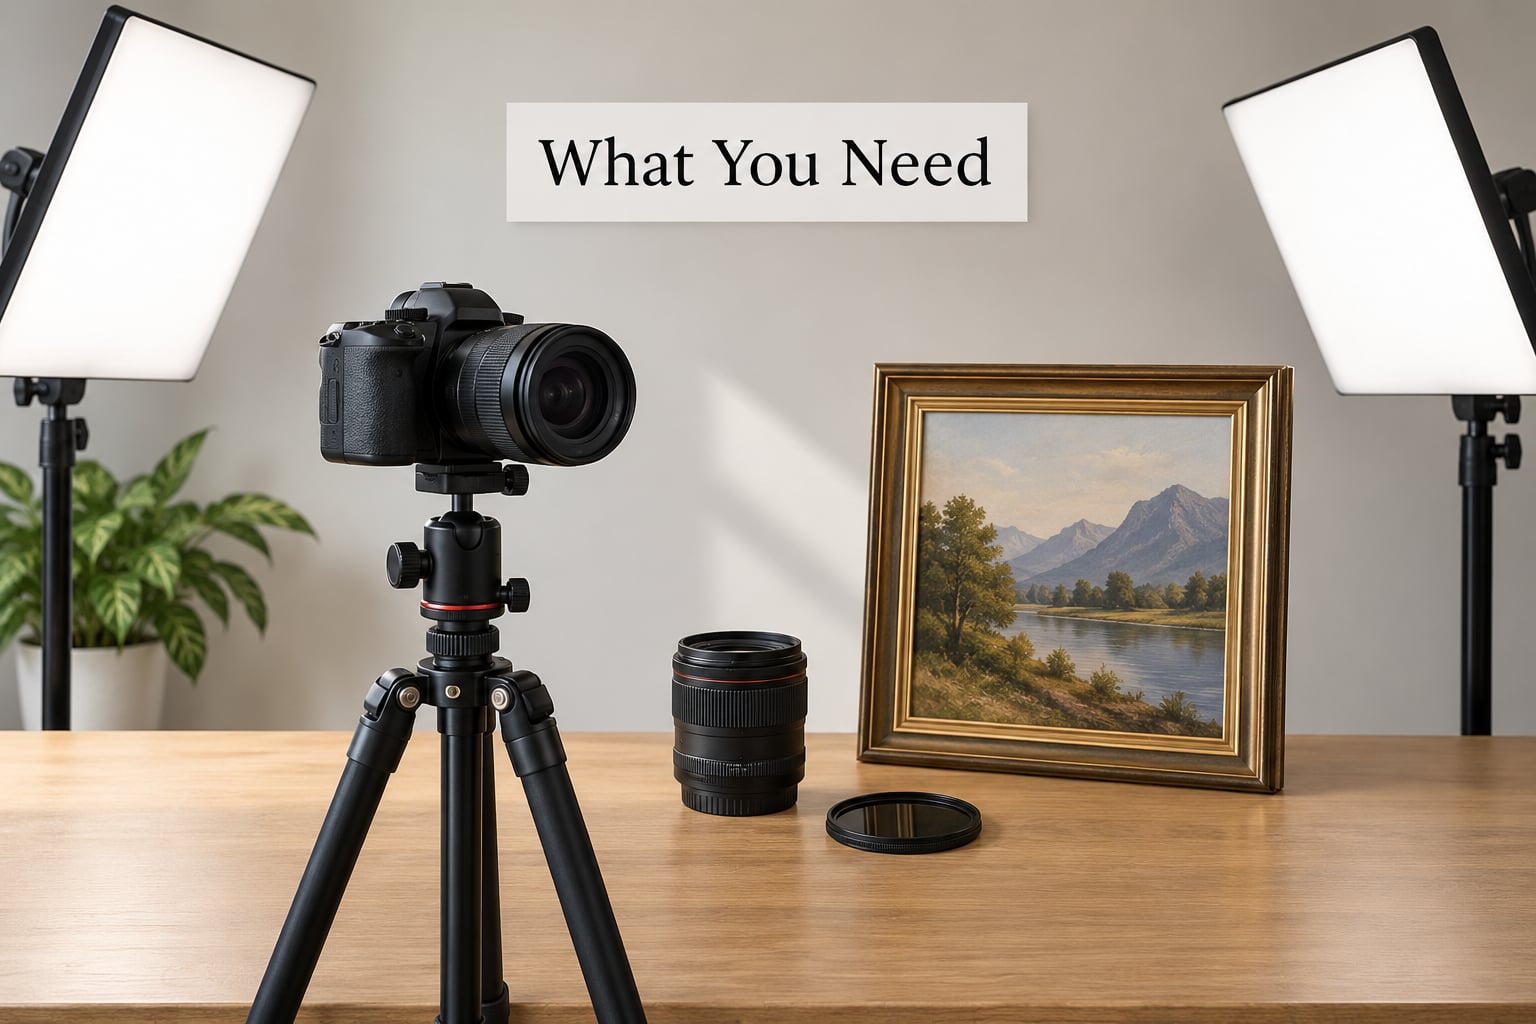
A camera with a manual exposure mode is the only hard requirement, and a phone running a manual-control app counts. Everything else is either comfort or glare control.
- A tripod. Any tripod that holds the camera level and lets you step back. Phone clamps or a stack of books work if you have nothing else.
- A lens that reaches. A 50mm or 85mm prime keeps perspective honest. A phone is the same idea with a fixed wide lens, so stand further back.
- Two light sources. Two identical lamps beat one. Matching bulbs mean the colour of the light stays even across the surface.
- Diffusion. A white bedsheet over a light stand, parchment paper taped over a fixture, or a softbox. Bigger and closer beats smaller and further.
- A circular polarizing filter. Optional but the single biggest upgrade for varnished or glazed work. It screws onto the lens thread or sits in a screw-on adapter ring on a phone.
- A grey card or colour checker. Cheap, and the only reliable way to get white balance and colour right rather than approximately right.
- A clean surface and a soft cloth. Dust and fingerprints on glass cause more ruined shots than bad lighting ever will.
Step-by-Step: How to Photograph Paintings Without Glare
1. Prepare the painting and shooting area
Clean the glass or varnish with a soft dry cloth, working in one direction so you don’t smear the dust around. If the work is unframed and unvarnished, leave the surface alone. The glaze is what creates the mirror, and the glare shows most at a grazing angle.
Hang the painting on a wall with nothing else in the frame. Then walk the room and turn off anything reflective: a window behind you, a chrome lamp, a bright doorway, a glossy white skirting board directly opposite. Reflections come from surfaces you are not thinking about.
2. Control reflections before using post-processing
Glare is specular reflection: light that hits a smooth surface and leaves at the same angle, heading straight back at whatever was watching it. Your camera is that watcher when it sits in the mirror path. Diffuse light, by contrast, scatters in every direction, so it reveals colour without reflecting a single hot spot.
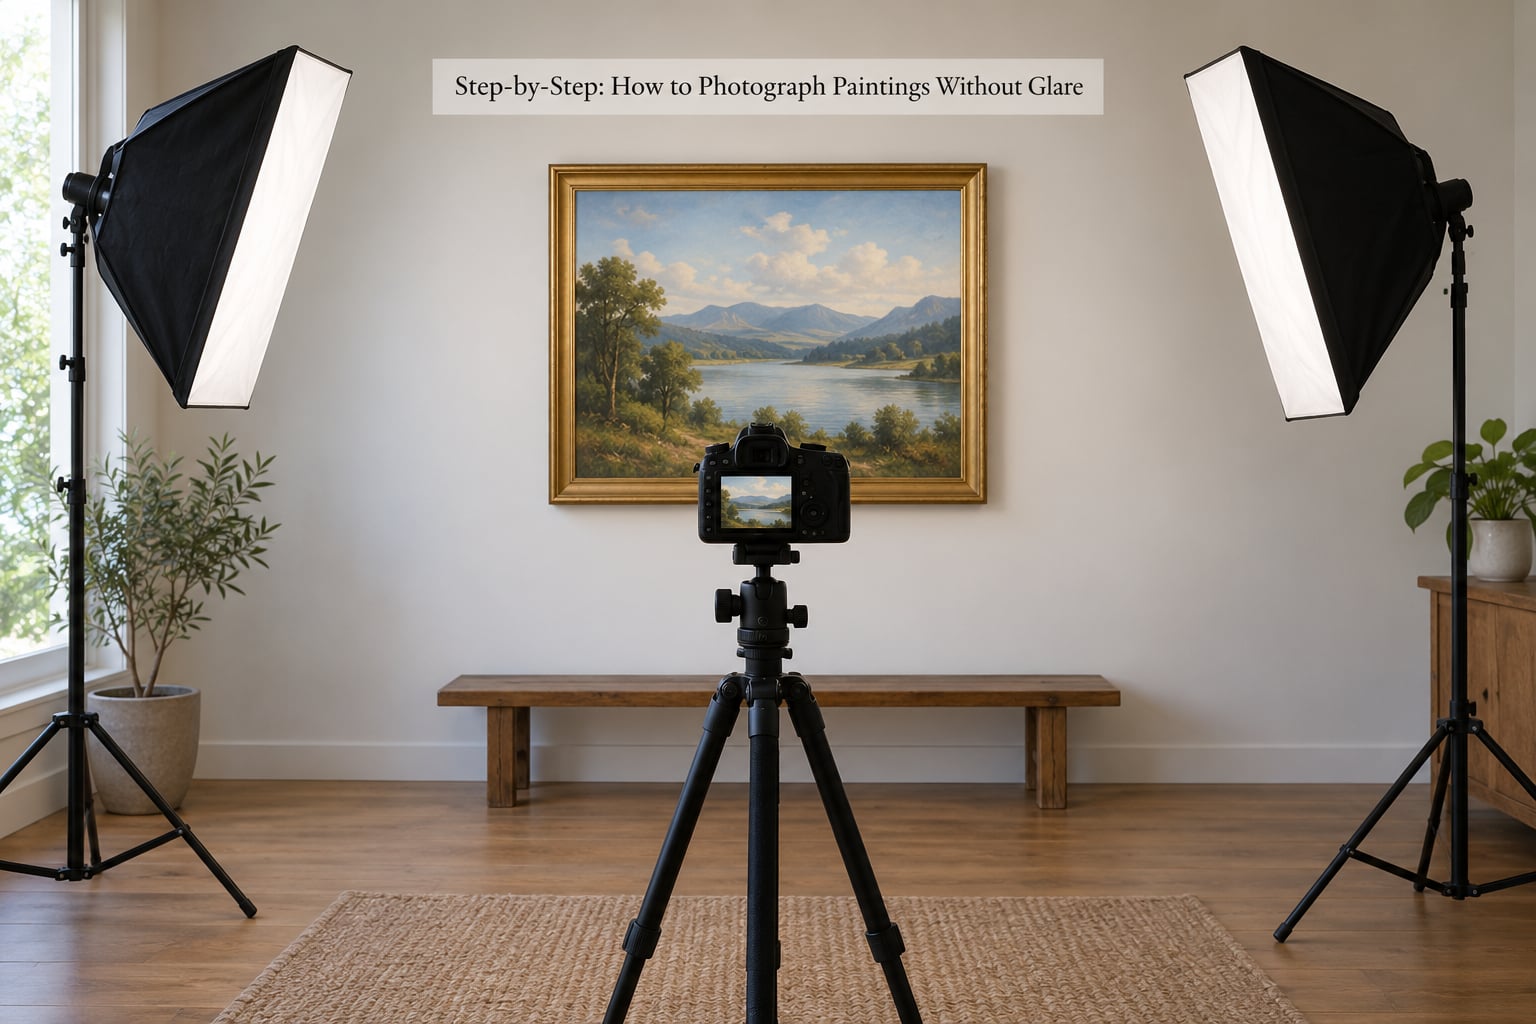
Place each light at about 45 degrees from the picture plane, one on each side, slightly above the centre of the canvas and angled down. That angle pushes any reflected light off to the side instead of into the lens. Put lights higher and wider than feels necessary. Aim for overlap at the centre so there’s no falloff into the corners.
Keep the lights at equal distance from the painting. One closer means one side brighter, and even exposure across the whole surface is worth moving a stand for. For a good demonstration of how light behaves differently, how to photograph reflections covers the geometry in more detail.
3. Position the camera straight across from the painting
Centre the camera on the middle of the artwork, with the sensor plane perfectly parallel to the canvas. Use the tripod’s level, or check by holding a level on top of the camera. Angle up or down and the edges foreshorten into the trapezoid effect that screams amateur photo.
If the camera has to be off to one side, shoot from further back rather than stepping aside at the same distance. Moving back narrows the view angle and reduces the convergence, which is the same idea as moving a shift lens when the camera must stay centred.
4. Use a polarizing filter correctly
Mount the circular polarizing filter, shoot in live view, and rotate it with one hand while watching the screen. As the filter turns, the glare fades out and the colour of the surface comes up. Stop at the point where the reflection disappears, not past it, because rotating further costs you light and a little sharpness at the frame edges.
A polarizer alone won’t fix a reflection coming from a different part of the room. It handles reflections at roughly the angle it was set for, so it’s a finishing move after the lights are already placed well.
For framed work under glass, one filter is not always enough. Cross-polarization puts a second polarizing sheet over each light source, so the light reaching the canvas is polarised, and the filter on your lens blocks what bounces back. That removes reflection from nearly any angle. The cost is a little brightness and a slight shift in colour, so shoot a grey card frame and correct for it.
5. Set the camera for accurate detail and colour
Switch to manual exposure. Auto will chase the reflection and the bright wall behind it, which is exactly what you don’t want.
- ISO 100, the lowest your camera offers. Higher settings introduce noise that looks like canvas texture after you crop.
- Aperture f/8 to f/11 when the light allows it. Enough depth of field for edges to be sharp, small enough that the diffraction stays out of sight. At f/16 softness usually costs more than it buys.
- White balance. Shoot the grey card first, set a custom white balance from it, and leave it there for the session. Fixing white balance later is a guess; fixing it at capture is a measurement.
- Shutter speed follows from the other three. The tripod handles the rest.
- No flash, ever. A pop-up flash fires from the lens axis and paints the whole painting with a hot spot.
If you shoot RAW, the colour latitude is far better than a JPEG, and you can pull back highlights that were close to clipping without losing detail. If you shoot JPEG, expose slightly under to protect the whites.
6. Focus carefully and capture test exposures
Turn on live view, magnify to about 100 percent, and focus on the closest area of the artwork. Manually zoom rather than relying on autofocus, which will hunt on textured impasto and low-contrast watercolour. On a phone, tap to focus on the centre and lock exposure and focus there.
Take one frame, then check the histogram and the highlight warning. A patch of pure white means a specular reflection landed in the frame, so adjust the light or the camera before anything else. Shoot three or four test frames at different settings, then compare them at full size on the camera screen rather than zoomed out.
Once a frame looks even, glare-free and colour-true, shoot the final image. A bracket of three exposures gives you insurance in post without any extra work at capture.
7. Make a final adjustment only when necessary
Straighten if the tripod slipped, correct white balance against the grey card frame, and lift shadows where the lower corners fall off. Lift shadows gently, since painted blacks go grey fast when you push them.
For perspective, apply a vertical and horizontal perspective correction in your editor rather than cropping pixels away. Anything beyond that starts to invent texture that isn’t there. When you’re preparing the file for a print, how to resize photos for printing covers the resolution side properly.
Leave texture alone. Impasto catching light at a slight angle is what tells a viewer the surface is thick, and a heavy clarity slider flattens it into a photograph of a print.
Common Mistakes
The flash went off. Pop-up flash sits right on the lens axis, which is the worst possible angle for a reflective surface. Turn it off, and disable any auto flash in your camera mode.
One light, or two lights close together. A single source gives a gradient across the canvas and a hot spot near the middle. Two matched sources at equal angles give even coverage. If you only have one, aim it well off-axis and accept the falloff, or bounce it off a white wall.
Overcast daylight through a window behind the camera. Bright sky is a huge soft light source, but a window in front of the painting reflects straight back. Overcast light outdoors with the painting hung on a shaded wall is the version that works, and it’s free.
Camera tilted up or down. That’s the trapezoid effect. Level the camera and step back if the framing is wrong.
Colour shifted warm or turquoise. Mixed light sources, or a camera set to the wrong preset, are the usual causes. One grey card frame tells you which. A reflector dropped out of frame on the shadow side also warms or cools an edge noticeably.
Soft detail everywhere. Camera shake or focus hunting, not resolution. A tripod plus manual focus fixes it. Shooting handheld at a slow shutter in a dim room is how you end up reshooting a whole canvas.
Hot spots over glossy varnish. Raise the lights to a steeper angle, increase the diffusion, and add the polarizing filter. Glossy varnish is harder than glass because the reflection travels across the surface rather than bouncing back at one point.
Watercolour paper texture looking like grain. Light it from a shallow angle instead of head-on and stop down a little further. The paper’s own texture stops reading as noise once it’s clearly texture.
A short habit list covers most of it: lights at 45 degrees, camera parallel and level, flash off, tripod on, manual exposure, grey card first, test frames before the final one. Seven checks, about a minute, and the glare problem is basically solved.
Frequently Asked Questions
What is the 45-degree rule in art photography?
The 45-degree rule means placing each light about 45 degrees away from the picture plane, one on each side, so reflected light travels off to the side instead of back into the lens. Two matched lights at that angle also spread illumination evenly across the surface, which prevents hot spots and dark corners. Aim the lights slightly above the centre of the canvas and keep them the same distance away.
How does cross-polarization work?
A polarizing sheet over each light source sends polarised light toward the canvas, and the polarizing filter on your lens blocks light that has bounced off a glossy surface and changed orientation. Because the surface and the lens are crossed at right angles, almost no reflection gets through. It costs a little brightness and shifts colour slightly, so shoot a grey card to correct for it.
Can you photograph framed artwork under glass without reflection?
Sometimes, but glass is the hardest case. Hang the piece on a dark wall so the area behind the glass reads as black, use two diffused lights at 45 degrees, and try a circular polarizing filter rotated while watching live view. Cross-polarization works better still. If reflection persists from multiple angles, photograph the artwork unframed and reconstruct the presentation digitally.
What camera settings work best for painting photography?
Manual exposure at ISO 100 and an aperture of f/8 to f/11 gives you even tone and enough depth of field for the edges to stay sharp. Set white balance from a grey card instead of leaving it on auto, keep the flash off, and shoot RAW if the camera offers it. On a phone, lock exposure and focus on the centre and use a manual-control app for ISO and white balance.
Do you need a polarizing filter to photograph artwork?
No. For matte paint or an unvarnished canvas, proper 45-degree lighting is enough and a filter only costs you light. It earns its place on varnished oil, glossy acrylic, glass glazing and any framed work, where specular reflection is unavoidable at some angle. A screw-on polarizing filter with an adapter ring works on a phone as well as a camera.
How do you photograph textured oil paintings without hot spots?
Textured surfaces need light from a higher angle so the raised brushwork reads as shape rather than glare. Set both lights well above the centre of the canvas and angled down at about 45 degrees, enlarge the diffusion as much as the room allows, and use a polarizing filter to suppress what’s left. Keep the camera level and stop down to f/11 for edge-to-edge sharpness.
Start with the lighting, because nothing else you do will save a shot with a hot spot across the varnish. Move both lights out to 45 degrees, level the camera, kill the flash, and shoot a grey card frame before the painting.
For more on shaping light around a subject, how to photograph shadows covers the other half of the problem.