
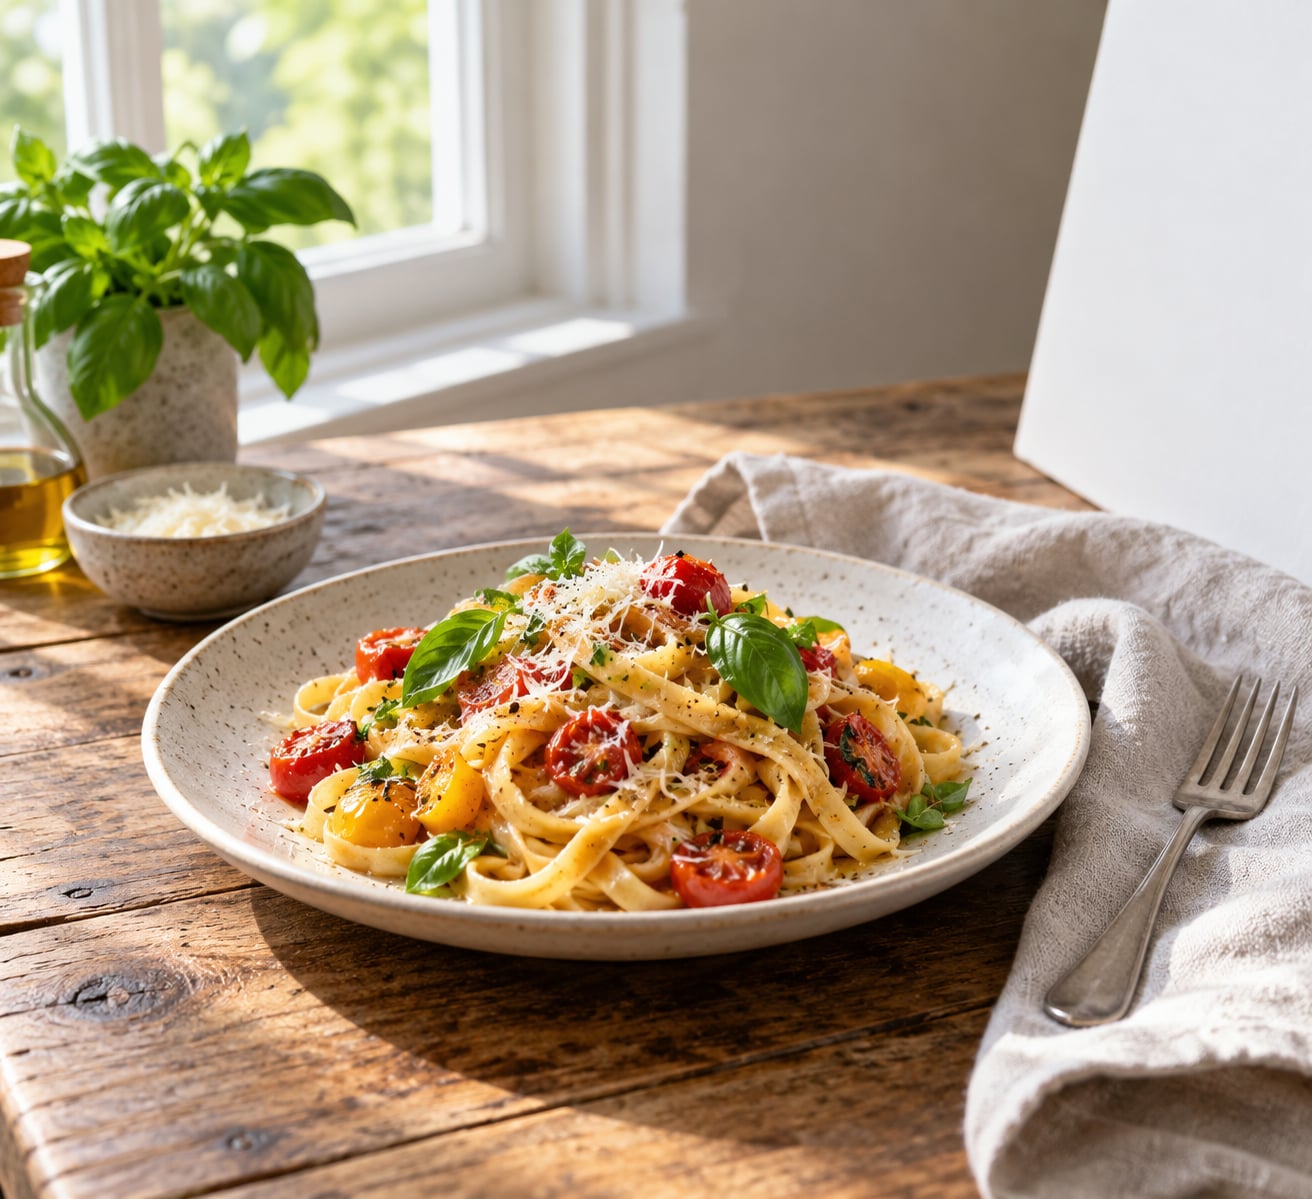
To photograph food for Instagram, put the dish beside a window in soft daylight, turn off the flash and overhead lights, style the plate with height and colour, and shoot from a deliberate angle while the food is still fresh. You can do the whole thing on a phone in about ten minutes.
Food photography is just styling, lighting, shooting, and editing food so it looks as good on a screen as it does on a table. The good news is that most of what separates an ordinary snapshot from a photo people stop scrolling for comes from three things you control for free: where the light comes from, what sits on the plate, and where you point the camera.
This guide is the workflow I actually use, updated for 2026. It works whether you shoot one dinner a week or run a food account with a full grid to fill.
Table of Contents
- What You Need
- Step-by-Step
- Frequently Asked Questions
- How do I photograph food for Instagram with just a phone?
- Do I need a DSLR to take food photos for Instagram?
- What is the best lighting for food photography?
- How do I make food look appetizing in photos?
- How do I edit food photos without making them look fake?
- What is the best photo editing app for food photos?
- Conclusion
What You Need
Start here. Almost everything on this list costs nothing, and the four items that cost something are optional until you have shot a few dozen frames.
- A window with indirect light. The single biggest factor in whether your food photo looks fresh or stale. Direct sun creates hard shadows and hot spots on glossy sauces.
- A white card or piece of foam board. A bounce card, used opposite the window to fill in shadows. It costs almost nothing and flattens out the harsh side of a window.
- A plain surface to shoot on. A sheet of paper, a wooden board, a marble-look tile. Distracting backgrounds compete with the dish.
- Two or three props, maximum. A linen napkin, a simple fork, a small bowl of sauce, a scatter of the ingredient the dish is built on.
- A phone or camera you already own. A recent phone with a 2x lens is more than enough. Upgrade gear comes last on this list, not first.
- Something to kill glare. A piece of tissue paper taped over the window, or a sheer curtain, diffuses the light for free.
Useful basics, then. The optional upgrades are a tripod or phone stand so the frame does not shift, a reflector if your window is very contrasty, and a continuous LED panel for rooms with no usable window. If you shoot in a restaurant at night, the LED panel is the thing that changes your results, and if you shoot at home with a decent south-facing window, you can skip it for months.
Step-by-Step
The order below is deliberate. Light first, then styling, then the camera. Changing any earlier step means redoing everything after it.
How to Choose a Camera or Phone
For food, the camera features that actually matter are exposure control, colour accuracy, and whether you can lock focus on the part of the dish you care about. Everything else on the spec sheet is noise.
On a phone, check three things: that you can tap to focus and then drag the exposure slider, that there is a 2x telephoto lens, and that you can shoot RAW on a Pro or equivalent mode. That trio covers ninety percent of what a dedicated camera gives you for food. RAW matters more than megapixels because it leaves you room to fix a warm or blown-out frame in editing instead of at the table.
On a camera, a 50mm or 85mm lens beats a wide zoom every time. Wide lenses force you to be so close that the plate distorts at the edges, and that stretched look reads as amateur instantly. Aperture around f/2.8 to f/4 keeps the whole dish readable while the background falls away.
Skip portrait mode for most dishes. Phones compute depth by guessing, and they regularly decide the sauce at the front of the plate is background. Our guide to cropping photos for Instagram without losing quality covers the framing decisions that follow.
How to Prepare and Style the Food
Styling is arrangement, not decoration. The goal is height, colour contrast, and a focal point the eye lands on first.
Cook to the moment before you would serve it. A dish that has been sitting ten minutes loses its gloss, and gloss is what makes food look edible on a screen. If you must wait, keep garnishes and delicate herbs back until the shutter fires.
Use the rule of odds. Three napkins, three forks, three pieces of scattered garnish reads deliberate where two or five reads accidental. Push food off the exact centre of the plate so there is some bare surface showing, and let a sauce or crumb trail lead the eye back into the dish rather than sitting in a puddle in the middle.
Match props to the dish. Tall glasses and clear ice work for drinks, low matte plates suit desserts, and small shallow dishes handle sauces and starters. If you are shooting anything glossy, be careful with reflective surfaces and the right angle to the window, or the highlight lands dead centre and you lose the texture underneath. Our piece on photographing reflections covers how to make that highlight work for you instead of against you.
How to Light Food Naturally
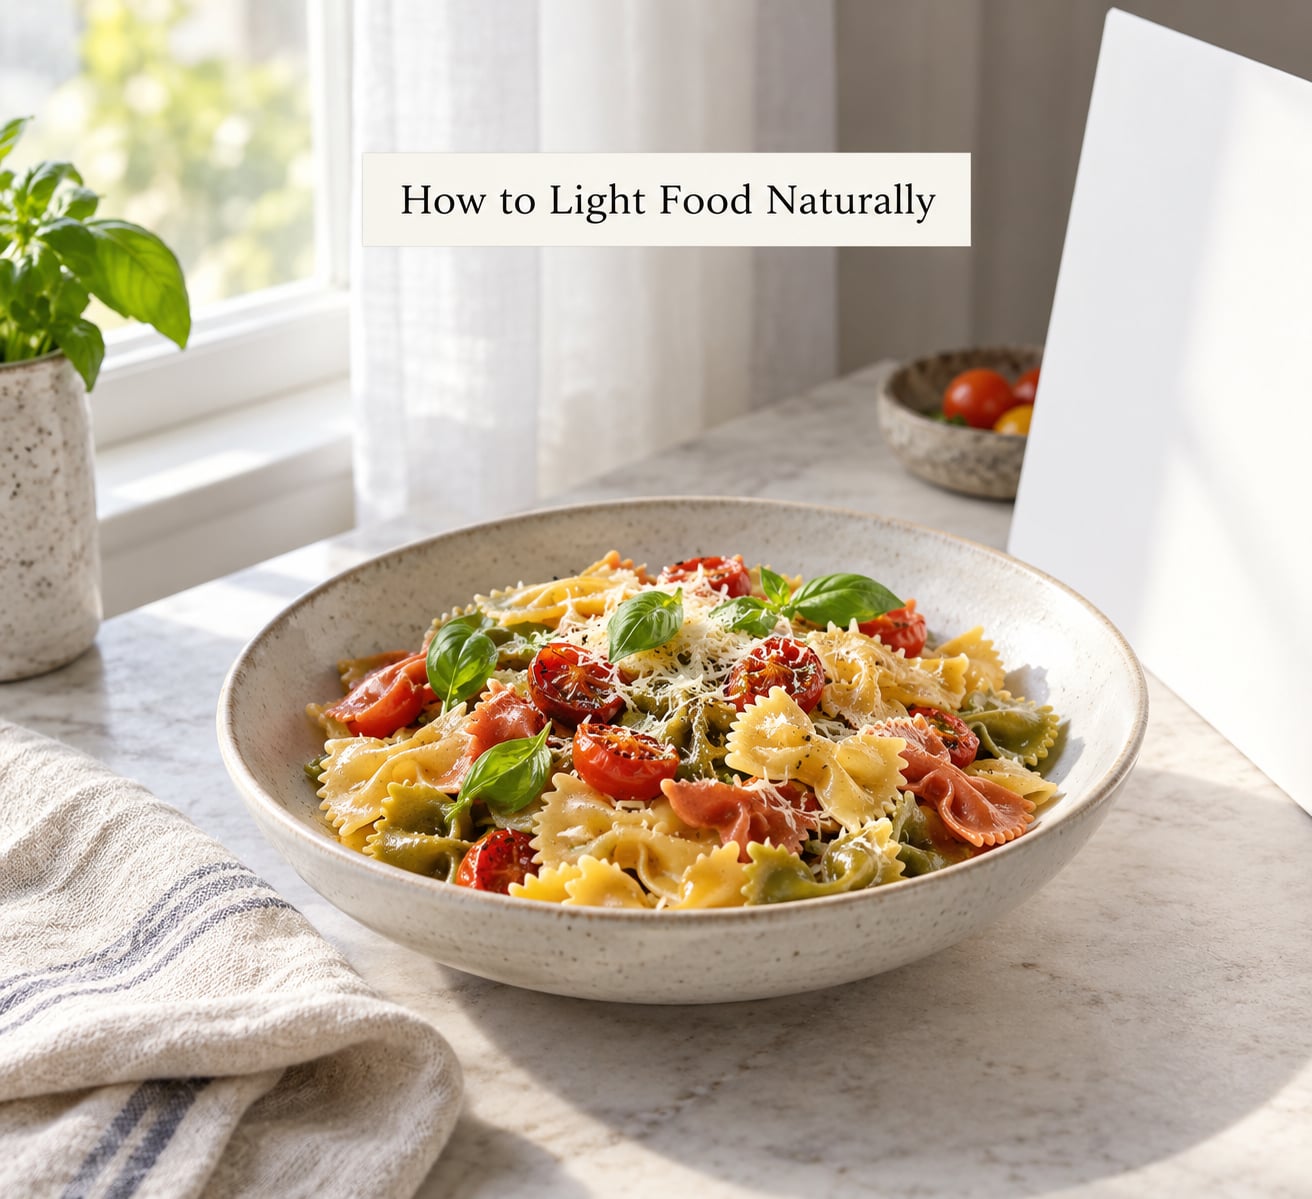
Place the dish at a right angle to the window, not in front of it. Side light shows the texture of a crust, the steam above a bowl, and the gloss on a sauce. Front light flattens everything into a shadowless sticker.
Turn off every other light in the room, including the overhead. Mixing a warm window with a cool ceiling bulb is the single most common reason food photos look green and tired, and it is nearly impossible to fix later because the colour cast is baked in.
Hang a sheer curtain or tape tissue paper over the window when the light is too hard. Diffused light means longer, softer shadows and a gentler falloff across the plate, which is what makes food look three-dimensional.
Bounce white card light back into the shadow side, not too much of it. A little fill opens the shadows; too much and the dish goes flat again. Aim for shadows with detail in them, not shadows that are black holes.
For a dark room, put a single LED panel or a desk lamp behind a diffuser sheet at roughly 45 degrees, and turn the room lights off. A candle-lit restaurant table with no added light is not a lost cause either: raise the ISO, brace the camera against something solid, and let the flame be the only warm source.
Shadows are doing real work here, so it is worth getting them right. Our guide to photographing shadows goes deeper on direction and length.
How to Compose an Appetizing Food Photograph
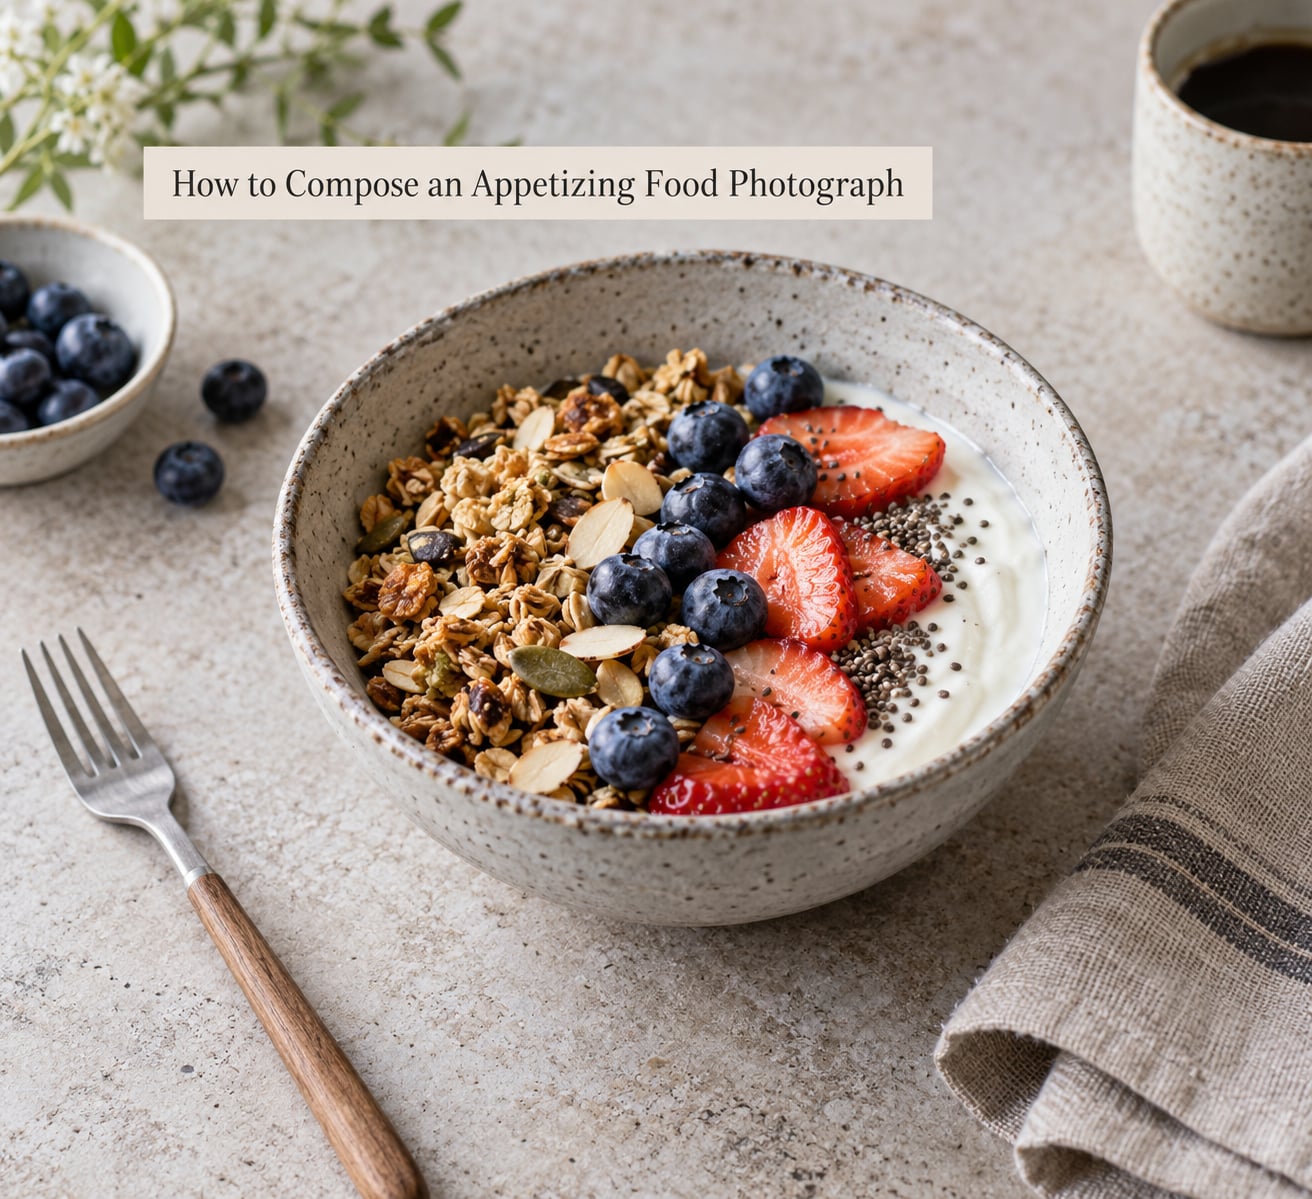
Choose the angle to match the shape of the dish, not the other way round. There are three that cover almost everything, and a fourth worth knowing for drinks.
- Overhead, straight down (90 degrees). Flatters pizza, grain bowls, charcuterie, and flat lays of small dishes. Watch out: it loses all height, so add a raised element or the frame reads as a diagram.
- 45 degrees. Flatters pasta, salads, plated entrees, and drinks with height. Watch out: it keeps background clutter visible, so the surface matters more.
- Eye level, 0 degrees. Flatters layered cake, tall sandwiches, burgers, and cocktails. Watch out: the background dominates, so use something a few feet back or shoot near a wall.
- Close and slightly above, about 70 degrees. Flatters stacked pancakes, desserts, and anything with visible layers. Watch out: getting too close distorts the plate, so step back and zoom instead.
Leave negative space on the side the dish faces into, and put that space where the caption or the grid thumbnail will not cover it. Negative space is not empty background; it is what gives the dish room to breathe.
Give the frame one focal point. If the garnish is the brightest thing in the shot, everything else should support it. Colour contrast does the same job: a warm dish on a cool or neutral surface separates the food from the background without you adding anything.
Frame for the feed, not for your monitor. Instagram crops the preview thumbnail tighter than the full post, so keep the food inside the middle nine-tenths of the frame and check the post in grid preview before you commit.
How to Focus and Capture the Shot
Lock focus on the hero element. On a phone, tap that element, then drag the exposure slider slightly down. Phone cameras consistently overexpose food because they meter for the bright plate, so a small negative adjustment is usually the whole fix.
Turn off automatic HDR if your phone offers the choice in the camera settings. The auto-HDR version of a dish often merges two exposures and flattens the shadows you worked to create.
On a camera, use AV or aperture priority, set f/2.8 to f/4, keep ISO under 400 where the light allows and under 800 when it does not, and pick a shutter speed fast enough for a hand or a pour not to streak. A tripod or a stable stack of books beats an expensive tripod every time.
Run a short test routine. Take one frame, check the histogram for clipped whites, fix exposure, then take a small burst as you adjust the styling. Expect to shoot ten frames to get one keeper. That ratio is normal, and nobody else in the comments is posting their eighth attempt.
How to Edit Food Photos for Instagram
Edit to correct, not to transform. If a slider makes the food look different from the plate, it is wrong. Over-saturated tomatoes and hard clarity sliders are the fastest way to make food look processed.
A restrained order that works in Lightroom, Snapseed, or the free editor in your phone gallery:
- Crop first, while you can still see the whole frame and judge the composition.
- Set white balance by tapping a neutral area like a plate or napkin, then warm it a touch.
- Pull exposure down slightly if highlights blew out; lift shadows to open the dark side.
- Add contrast gently, then a small clarity or texture bump for surface detail.
- Raise saturation a step, then stop. If the greens look radioactive, you have gone too far.
- Sharpen lightly and export at the largest size the app allows.
Consistency beats perfection. Save your settings as a preset and apply the same one to everything, so when someone lands on your profile the grid reads as one style rather than nine different weeks. If you shoot RAW, do your colour work in Lightroom, which is free on phone and desktop, and use the social app only for final framing.
Common Mistakes
Almost every disappointing food photo comes from one of a handful of repeatable errors. Here is the fix for each.
- Using flash. It flattens texture and makes everything look grey. Fix: turn it off permanently and find a window or a diffused lamp.
- Mixing the window with ceiling lights. Two colour temperatures produce a green or muddy cast. Fix: one light source, always.
- Overhead fluorescents only. They kill colour and flatten the dish. Fix: move the plate to daylight, even for the prep shot.
- A greasy or chipped plate. Nothing signals stale food faster. Fix: wipe the rim, use a clean unchipped dish, leave a few crumbs not a mess.
- A cluttered background. Fix: clear everything except the food and one or two props.
- Leaving the plate dead centre in the frame. Fix: offset it and leave negative space on the side it faces.
- Over-zooming until the plate distorts. Fix: step back and use the 2x lens.
- Shooting cold or wilted food. Fix: plate last, shoot immediately, and keep a backup portion.
- Editing each photo differently. Fix: one preset for the whole feed.
- Chasing the shot instead of the dish. Fix: set the frame first, then adjust the food a millimetre at a time. It is slower and it always looks better.
Frequently Asked Questions
How do I photograph food for Instagram with just a phone?
Tap the dish to focus, drag the exposure slider down a touch, and shoot in the brightest part of your home. Turn off the overhead light so you are working with one colour temperature, and use the 2x lens so the plate keeps its shape. A tripod or a stack of books keeps the frame identical between shots, which matters more than any camera upgrade.
Do I need a DSLR to take food photos for Instagram?
No. A recent phone with tap-to-focus, exposure control, and a 2x lens handles almost any dish you would post. Buy a camera when you need faster burst shooting, a tripod mount, or RAW files you can colour-grade later. Plenty of large food accounts still shoot on a phone, and consistency in styling and light beats better hardware every time.
What is the best lighting for food photography?
Soft, indirect daylight from a single window, placed about 90 degrees to the side of the dish. Hang a sheer curtain or tissue paper to diffuse it when the sun is direct. Avoid the camera flash, which flattens texture, and avoid mixing a window with ceiling bulbs, which introduces a colour cast you cannot correct later.
How do I make food look appetizing in photos?
Add height, contrast and a focal point. Stack or prop something so the plate is not a flat disc, put the brightest or most colourful element where the eye lands first, and keep the background plain. Shoot while the food is still glossy and hot-looking, and leave a few crumbs or a sauce trail rather than cleaning the plate to a shine.
How do I edit food photos without making them look fake?
Correct first, create second. Fix white balance using a neutral plate, pull down any blown highlights, lift shadows slightly, then add a small amount of contrast, texture and saturation. Save those settings as a preset and reuse it. Large clarity and saturation jumps are what make food look digitally processed, so keep each slider small.
What is the best photo editing app for food photos?
For colour work, Lightroom is free on both phone and desktop and lets you save presets you can reuse across a whole feed. Snapseed is a good free alternative for crop, white balance and selective adjustments. Filter apps like Foodie and VSCO are fast one-tap options, but use them lightly and only on the final frame, never to rescue a badly lit shot.
Conclusion
Learning how to photograph food for Instagram comes down to four habits: one light source, usually a window; a chosen angle that suits the dish; styling that adds height and colour; and a consistent edit applied to everything you post. The gear matters far less than the order you work in.
So start small. Pick one dish you are cooking anyway, set it beside the same window at the same time of day, and shoot the same composition five times this week. Change one thing each time, keep the frame, and by the end of the week you will have a repeatable setup that produces food worth stopping for.