
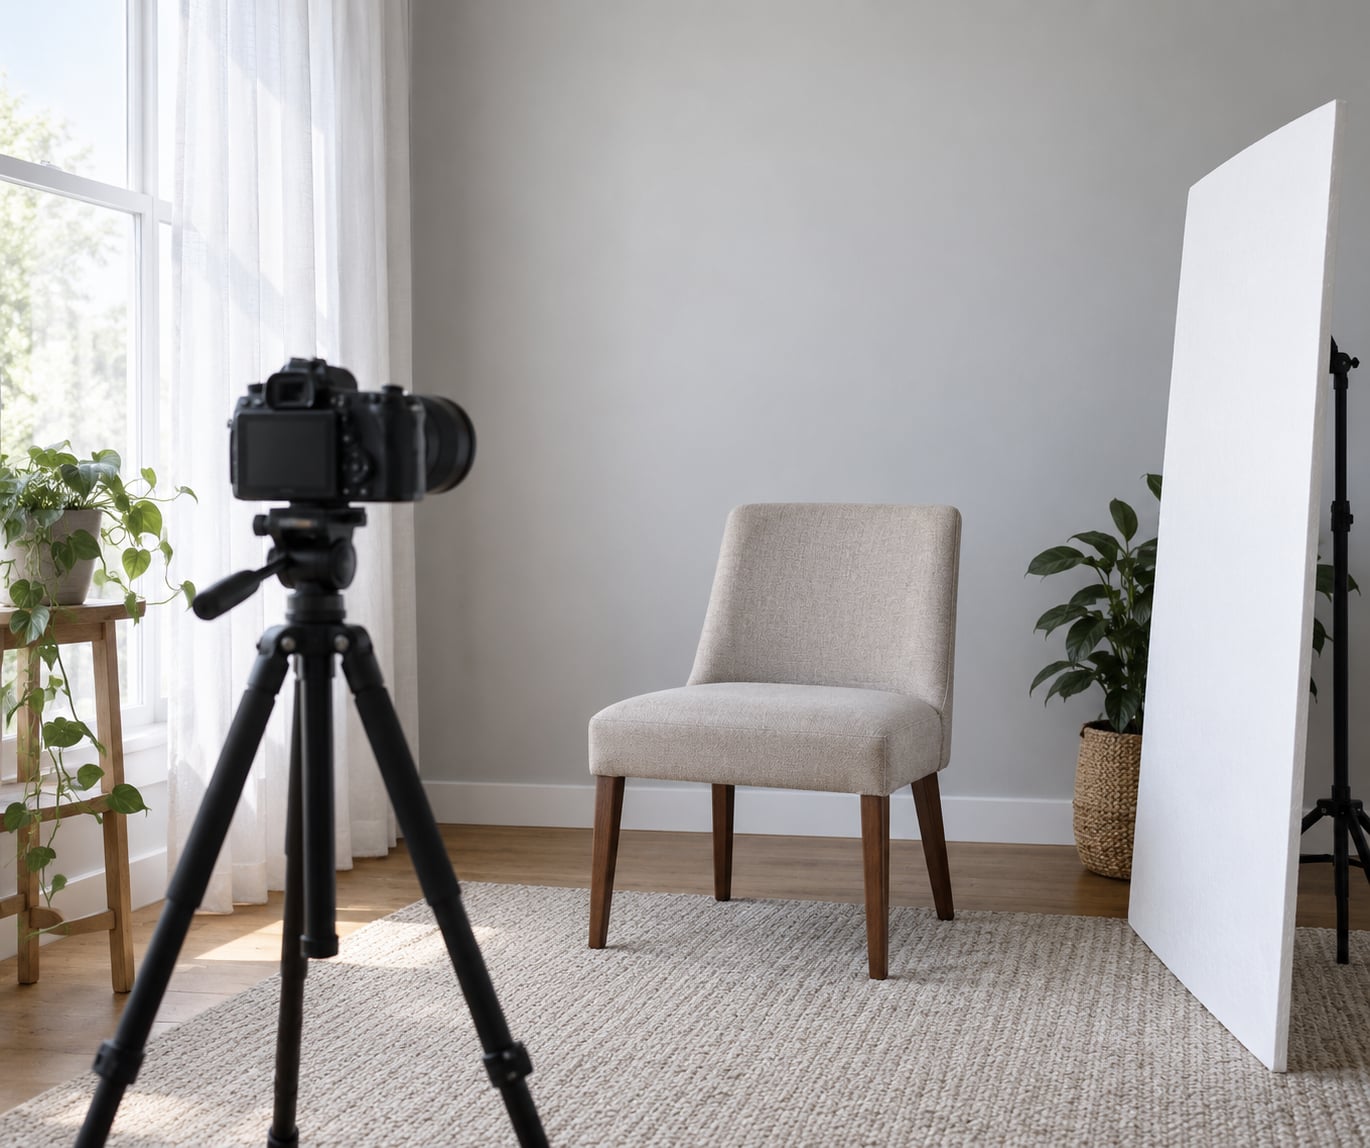
A good headshot comes down to four things: soft light from one direction, a plain background far behind you, a camera at eye level, and a subject who looks relaxed. If you know how to take headshots at home, you can put together a portrait that works for a LinkedIn profile, a company website, or an acting submission without renting a studio.
The whole session takes about 30 minutes, most of it spent taking photos rather than setting up. A camera phone is genuinely enough for web and professional use. Here is the process I would follow.
Table of Contents
- What You Need
- Step-by-Step: How to Take Headshots at Home
- 1. Prepare the Shoot Space and Choose the Look
- 2. Use Soft, Directional Light
- 3. Control the Background and Add Separation
- 4. Set the Camera for Consistent Headshots at Home
- 5. Position the Camera at Eye Level
- 6. Direct Comfortable Posing and Expressions
- 7. Check Focus, Highlights, and Skin Tones
- 8. Shoot Variations and Select the Best Results
- Common Mistakes and How to Fix Them
- Frequently Asked Questions
- Can I take good headshots at home with just a smartphone?
- Where should I position a person for natural window light?
- What is the best background color for a home headshot?
- Do I need a special lens for taking portraits at home?
- Should I edit headshots before or after taking more photos?
- Can I use a mirror when taking a headshot at home?
- Conclusion
What You Need
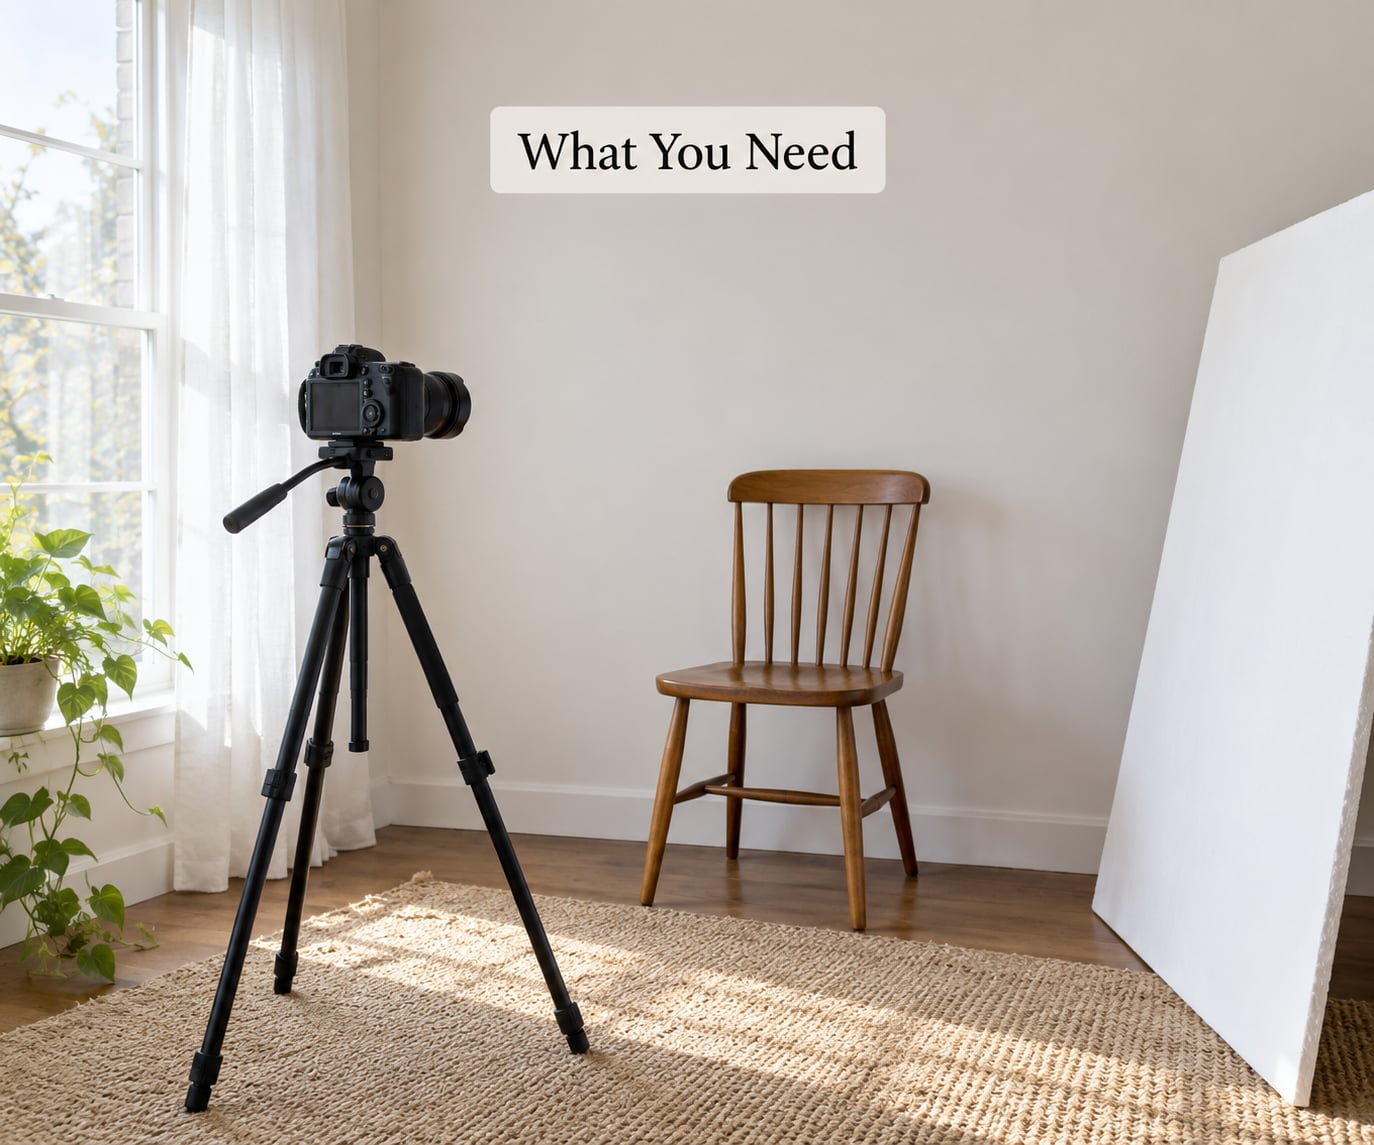
The minimum setup is a camera or phone, something to hold it steady, one window, and a wall with nothing on it. Everything beyond that is a comfort upgrade.
- Camera or phone. Any phone from the last few years works. A mirrorless or DSLR body works better if you have one, mostly because of the lens options.
- Stable support. A tripod is ideal. A stack of books, a shelf, or a leaning wall does the same job if you have nothing else.
- A window or one soft light. Daylight through glass is free and flattering. A single lamp with a diffuser is the fallback when no window suits.
- A plain background. A blank wall in a neutral tone, three to four feet behind where you will stand.
- A reflector. A sheet of white foam board or even white paper taped to a cereal box fills the shadow side of your face.
- Clothing. One plain top, fitted, in a color that does not match the wall exactly.
If you want to build out a permanent setup rather than a one-off corner, I wrote up how to build a home photo studio on a budget. It covers backdrops and light stands that suit headshots specifically.
Step-by-Step: How to Take Headshots at Home
1. Prepare the Shoot Space and Choose the Look
Walk into the room you plan to shoot in and look at everything behind where your head will be. Photo frames, a light switch, a trailing cable and a shelf edge all read louder than you expect at this focal length.
Next, decide what the photo is for. A professional or corporate headshot wants a neutral expression, simple clothing and a calm background. A creative headshot can carry more personality. Acting headshots are usually tighter crops, more expressive, and often shot in black and white later.
On wardrobe: skip anything with a fine repeating pattern, thin straps, or a logo, because all of them shimmer when the image shrinks. Solid mid-tone colors read best against both light and dark walls.
2. Use Soft, Directional Light
Stand near a window with the light coming from one side, then turn your face about 45 degrees toward the glass. That single angle does most of the work, because it gives you soft modeling on the face instead of flat, shadowless light.
A sheer curtain or a frosted window turns direct sun into something usable. What you want to avoid is the sun itself landing on your skin, because it creates hard-edged shadows under the nose and chin that look amateur in any crop.
Turn off every ceiling light and lamp in the room. Mixing warm indoor light with cool daylight is the single most common reason home headshots come out looking oddly orange or green. If you must shoot after dark with only artificial light, the technique is completely different, and I cover it in how to take photos at night.
Overcast days are genuinely the easiest to work with. The cloud acts as a giant softbox the size of the sky, so you can stand anywhere near the window and the exposure stays predictable.
3. Control the Background and Add Separation
Put your background three to four feet behind you, not against the wall behind your shoulders. Distance creates separation even when the lens is not blurring anything.
Check the contrast between you and the wall. A light shirt against a light wall makes your shoulders disappear at small sizes, which is exactly the size a profile photo gets viewed at. Either change the wall, change the shirt, or move closer to the light to darken your clothing relative to the background.
A wide aperture such as f/2.8 or f/4 adds a little extra blur, but it is a bonus rather than the fix. Real separation comes from distance and contrast.
4. Set the Camera for Consistent Headshots at Home
Switch the camera to vertical or portrait orientation and turn on the grid lines so you can keep the frame level. Lock the exposure and focus rather than letting the camera decide differently on every burst.
On a camera with manual controls, a reliable starting point is aperture between f/2.8 and f/4, shutter speed at 1/125 second or faster, and ISO adjusted so the window light does not force you into motion blur. Continuous or single-point autofocus placed on the nearer eye is the setting that matters most.
On a phone, use the rear camera, not the front one. The rear camera has more resolution, a wider aperture on most recent models, and access to portrait mode. Lock focus and exposure by long-pressing the screen on your face, then lower exposure by one or two stops if the window behind you is pulling the brightness up.
Turn on burst mode or the self-timer. If you are shooting solo, the ten-second timer or a Bluetooth remote on your desk saves you a lot of arm-ache.
5. Position the Camera at Eye Level
The camera belongs at your eye height, not above your head and not below your chin. A camera pointing down is the usual reason home portraits end up looking like booking photos rather than headshots.
Stand four to six feet back. Closer than that on a wide lens makes noses look larger and ears smaller, because perspective exaggerates whatever is nearest the lens.
On a phone, use the 1x or 2x rear lens rather than the 0.5x ultra-wide. On a camera, a short telephoto around 85mm produces more flattering facial proportions and compresses the background. If you want to know how to take headshots at home without a long lens, just step further back instead of zooming in.
6. Direct Comfortable Posing and Expressions
Turn your body about 20 to 30 degrees away from the camera and then bring your face back toward the lens. This narrow angle looks slimmer and shows more of the face than a flat, square-on stance.
Then work from the top down. Push your chin slightly forward and down, which sharpens the jawline. Drop your shoulders and roll them back. Level your eyes with the lens and look straight into it.
Expression is where solo shooters overthink it. A useful trick is to inhale deeply, hold it, and smile on the exhale, because it produces a smile that reaches the eyes instead of a held one. Shoot both a warm closed-mouth version and an open version, then decide later.
Give yourself something to do between shots. Change your hand position, adjust your collar, look down for a second and come back up. The in-between frames are often the ones that end up working.
7. Check Focus, Highlights, and Skin Tones
After the first burst, open one image at full size and zoom to 100 percent on the eyes. If the lashes are not crisp, the focus missed, and no amount of editing recovers it properly.
Next, check the highlights. Look at the brightest skin areas on the forehead, cheeks and nose. If they are flat white with no detail, pull exposure down a third of a stop and reshoot rather than trying to rescue clipped skin later.
Watch skin tone on the camera screen as well as on your monitor. Phone screens are usually brighter than what you are getting. If skin looks chalky or grey against the rest of the frame, move closer to the window or dial in a warmer white balance.
8. Shoot Variations and Select the Best Results
Do not take one photo and judge the setup from it. Shoot a short burst after every single change, and work through several variations: three head angles, two chin positions, two expressions, and one or two distances.
Aim for somewhere between 30 and 60 frames across a session. That number sounds excessive until you compare it with the two or three good ones you end up keeping.
When reviewing, check each candidate in this order. Sharp eyes first, then skin tone, then whether the background distracts, then expression. Finally, shrink the image to roughly 60 pixels square, which is about profile-photo size, and look at it from a normal viewing distance. Flaws that are invisible at full size show up immediately at that size.
Once you have your base shot, you can get creative with crops, monochrome conversions, or entirely different looks. If you want more ambitious framing ideas than a head-and-shoulders crop, the list in conceptual photography ideas to try at home is worth a look.
Common Mistakes and How to Fix Them
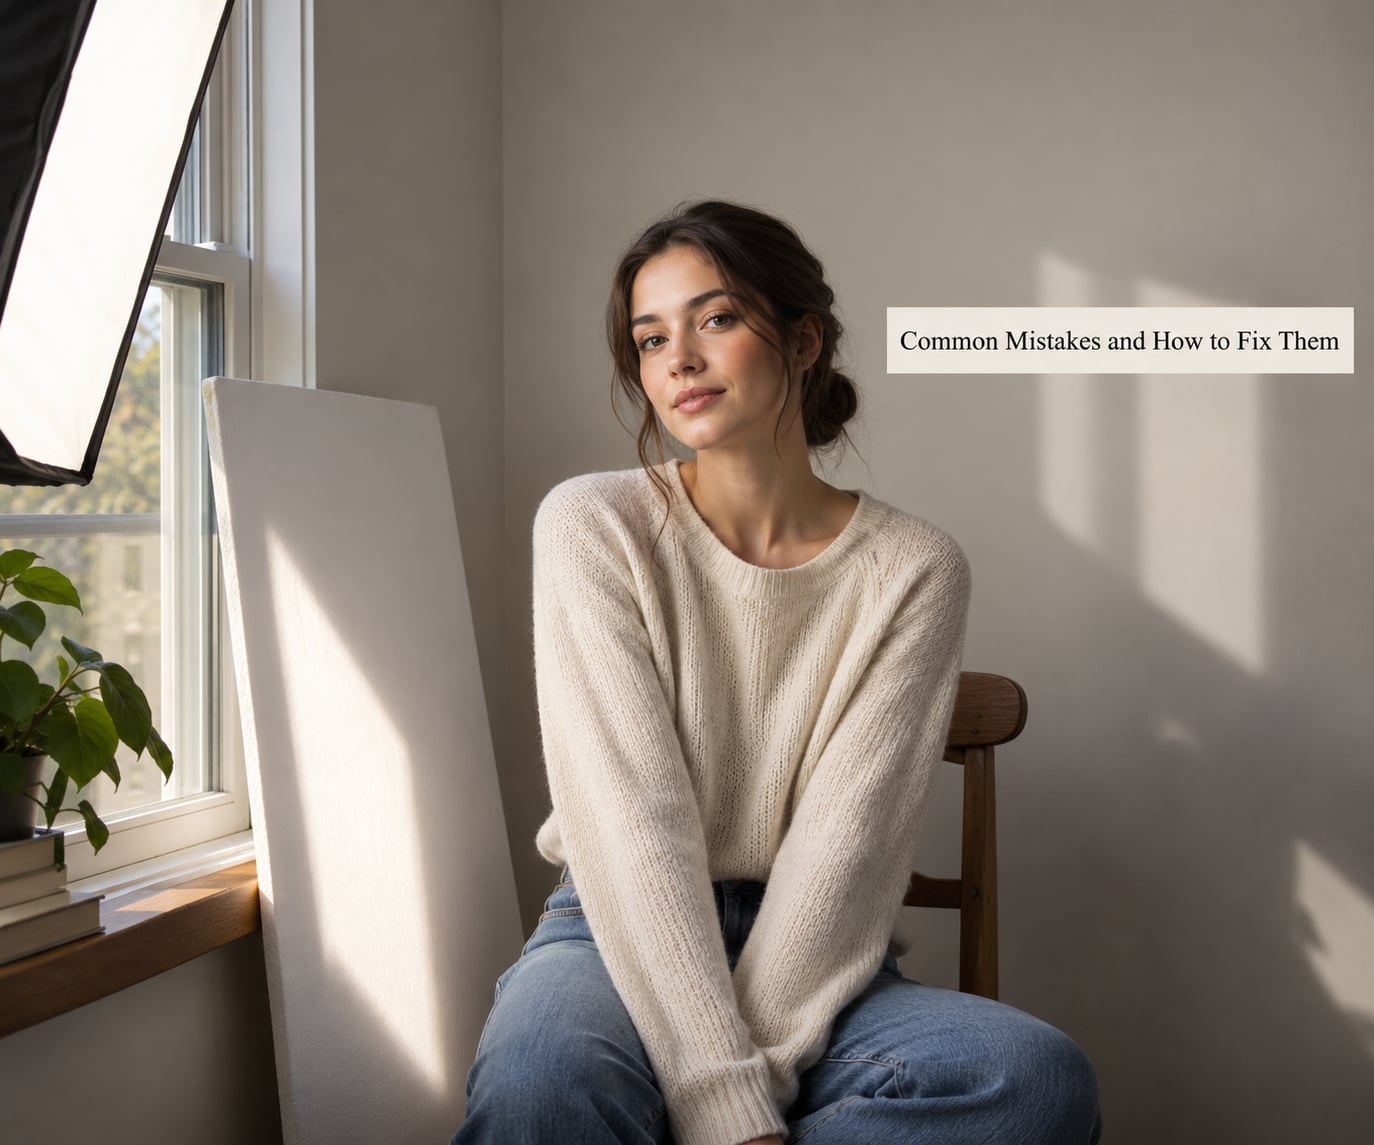
Most disappointing home headshots come down to a short list of recurring problems. Each one has a specific cause and a specific correction.
- Harsh shadows under the nose and chin. The light is too direct or too small. Move the subject a foot farther from the window and add a sheer curtain, or bounce the light off a nearby wall.
- Flat, shadowless lighting. You are facing straight into a window. Turn the face about 45 degrees so the light shapes one side of the face.
- A cluttered background. You are standing too close to the wall. Move three to four feet forward, or shoot facing a different direction entirely.
- Looks stiff and awkward. Body is square to the camera and the smile is held. Angle the body, drop the shoulders, and use the breathe-out smile trick.
- Wide-angle distortion. The camera is too close, or a 0.5x lens is in use. Step back to four or six feet and use the 1x or 2x lens.
- Orange or green skin. Indoor lights are mixing with daylight. Turn off every other light source in the room.
- Blown-out skin on the forehead and cheeks. Highlights are clipping. Lower exposure by a third of a stop and reshoot.
- Soft, unfocused eyes. Autofocus locked onto the background or the front-facing sensor is in use. Switch to the rear camera and tap-focus on the nearer eye.
- Framing jumps between shots. Grid lines are off and you are freehand. Turn on the level grid and use a tripod or a stable stack.
- Glasses glare or hide the eyes. Tilt the frames down a few degrees, or raise them slightly so light passes over the top instead of bouncing straight back. Adjusting the light angle helps more than adjusting the glasses.
Before you finish, do one quality-control pass: view three candidate frames at full size, one at 60 pixels, and one printed or on a second screen. If the frames look consistent there, the session worked.
Frequently Asked Questions
Can I take good headshots at home with just a smartphone?
Yes. Phones from the last few years produce headshots that hold up on a LinkedIn profile, a company team page, or a speaker bio. Use the rear camera, not the selfie camera, tap to lock focus on your nearer eye, lower exposure by a stop if the window behind you is bright, and shoot with the self-timer or a Bluetooth remote. Most of the quality comes from lighting and posing, not the sensor.
Where should I position a person for natural window light?
Put the person close to the window but not right against the glass, and turn their face about 45 degrees toward it so one side of the face is lit more than the other. Add a sheer curtain to soften direct sun, and switch off all ceiling lights so warm indoor light does not mix with the cool daylight and muddy the skin tone.
What is the best background color for a home headshot?
A mid-tone neutral wall such as soft grey, warm taupe, or muted off-white works for most professional uses because it does not fight with clothing. Whatever colour you choose, keep it a clear step lighter or darker than your shirt so your shoulders stay visible. Avoid strong patterns, deep shadows from furniture, and any colour that tints the light falling on your face.
Do I need a special lens for taking portraits at home?
No special lens is required. On a phone, stay on the 1x or 2x rear lens and avoid the 0.5x ultra-wide, which stretches features closest to the camera. If you own a camera with a short telephoto, around 85mm, it flatters facial proportions, but stepping further back achieves a similar effect. Portrait mode adds useful background blur but can leave artefacts around hair.
Should I edit headshots before or after taking more photos?
Take the extra photos first. Selection is much easier on undedited frames, and a problem like clipped highlights or a missed focus can only be fixed by reshooting. Once you pick a winner, keep editing light: adjust brightness and contrast, crop tighter, and leave skin texture alone. Heavy skin smoothing is the fastest way to make a portrait look artificial.
Can I use a mirror when taking a headshot at home?
Technically yes, but it rarely works well. You end up shooting through glass, which adds reflections and doubles the light, and your reflection is reversed so any text or logos appear backwards. A mirror is useful for checking your outfit and for practising poses, but a window and a camera pointed at you will produce a better photograph.
Conclusion
Start with one window, one plain wall, and daylight. Put the camera at eye level four to six feet away, turn your body slightly off-axis, and take short bursts while you vary your expression and chin position.
Then make small corrections one at a time. Shadows too dark means you need fill light, not a different camera. Cluttered background means more distance, not a cleaner lens. Reviewing your results at 60 pixels tells you in two seconds what a full-size screen hides.
One more thing worth knowing: if no window suits the time of day you have, treat the session as a repeatable setup rather than a one-time shoot. Same wall, same clothes, same camera height. On the second attempt the only variables left are the ones you are actually adjusting.