
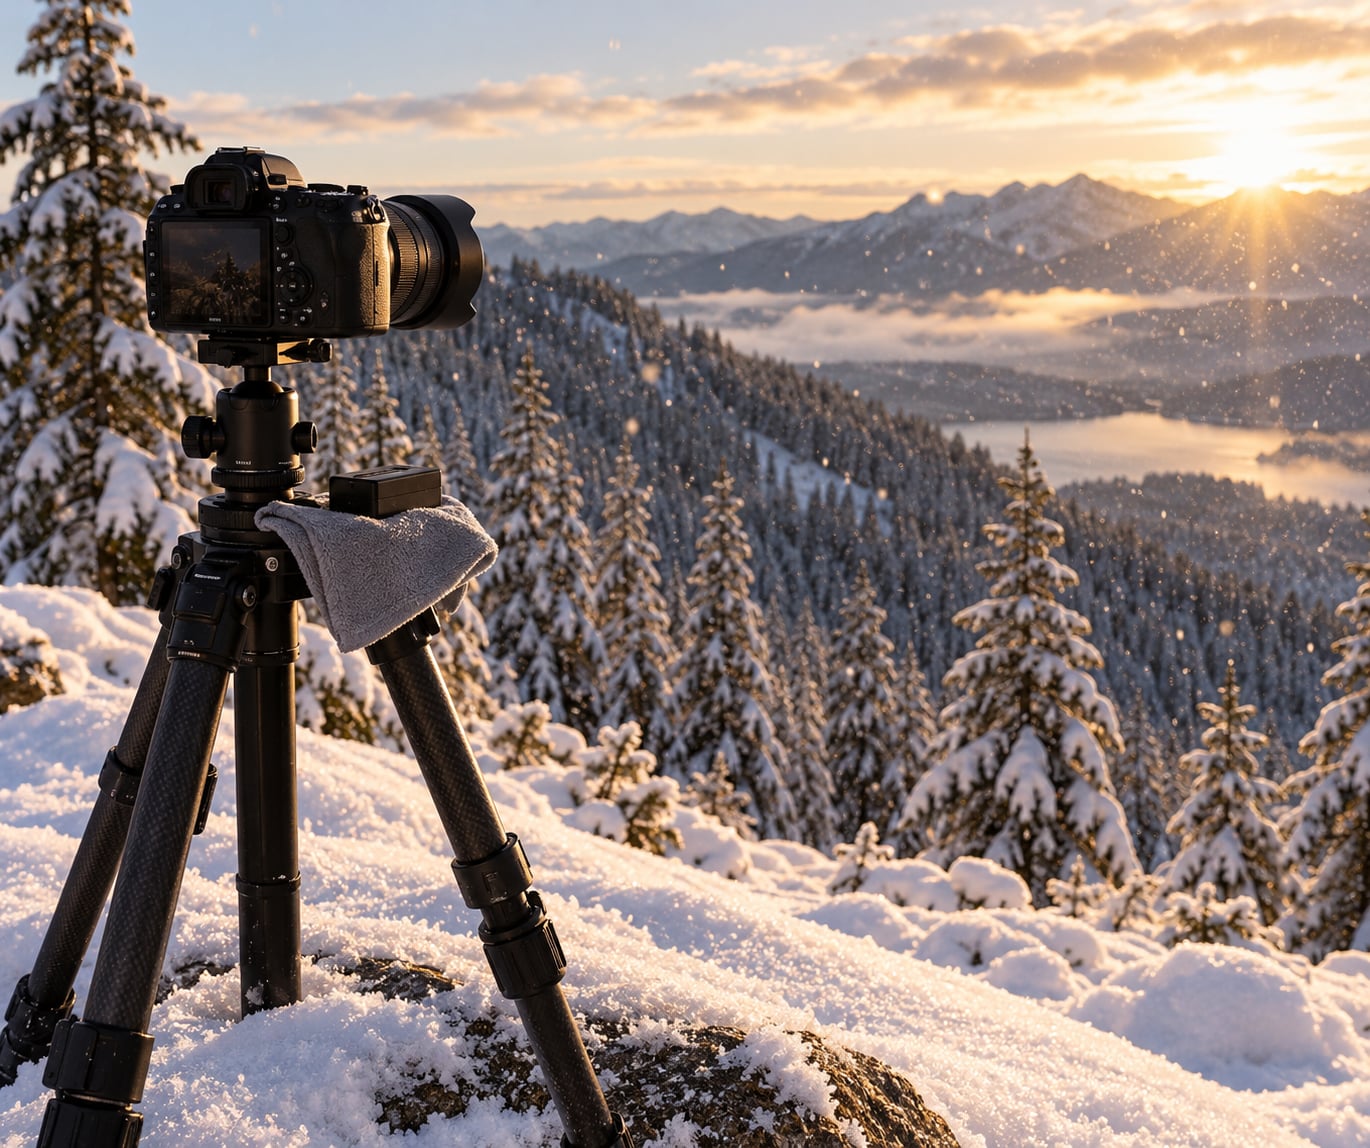
Snow photographs look dull because your camera’s light meter aims for 18% middle gray, and a frame full of white snow is the brightest thing it can see, so it underexposes by one or two stops. The fix is simple: add +1 to +2 stops of exposure compensation, check the histogram so the snow keeps its texture, and shoot in RAW.
That one dial does most of the work. Everything else in learning how to photograph snow is about protecting the gear in the cold, giving falling flakes something dark to read against, and stopping autofocus from hunting in a scene with no edges.
What follows is the workflow I use, from the first check of the forecast to the final edit. It takes about twenty minutes to set up properly once, and it is the same every time.
Table of Contents
- What You Need to Photograph Snow
- Step-by-Step
- Plan Around the Weather and Light
- Protect the Camera Before You Step Out
- How to Set the Exposure for Bright Snow
- Use Contrast to Create a Snow Photograph
- Snow Portraits Without the Blue Skin Problem
- Compose Details, Depth, and Leading Lines
- Blue Hour and Night Blizzard Frames
- How to Photograph Falling Snow: Shutter Speed and Focus
- Make a Deliberate Edit
- Common Mistakes That Ruin Snow Photographs
- Frequently Asked Questions
- Why do my snow photos look gray and underexposed?
- How do I keep snow white without blowing out the highlights?
- What camera settings should I use for snow photography?
- How do I capture falling snow in a photo?
- How do I keep my camera safe in the cold and avoid condensation?
- Is f/2.8 or f/4 better for shooting snow?
- Conclusion
What You Need to Photograph Snow
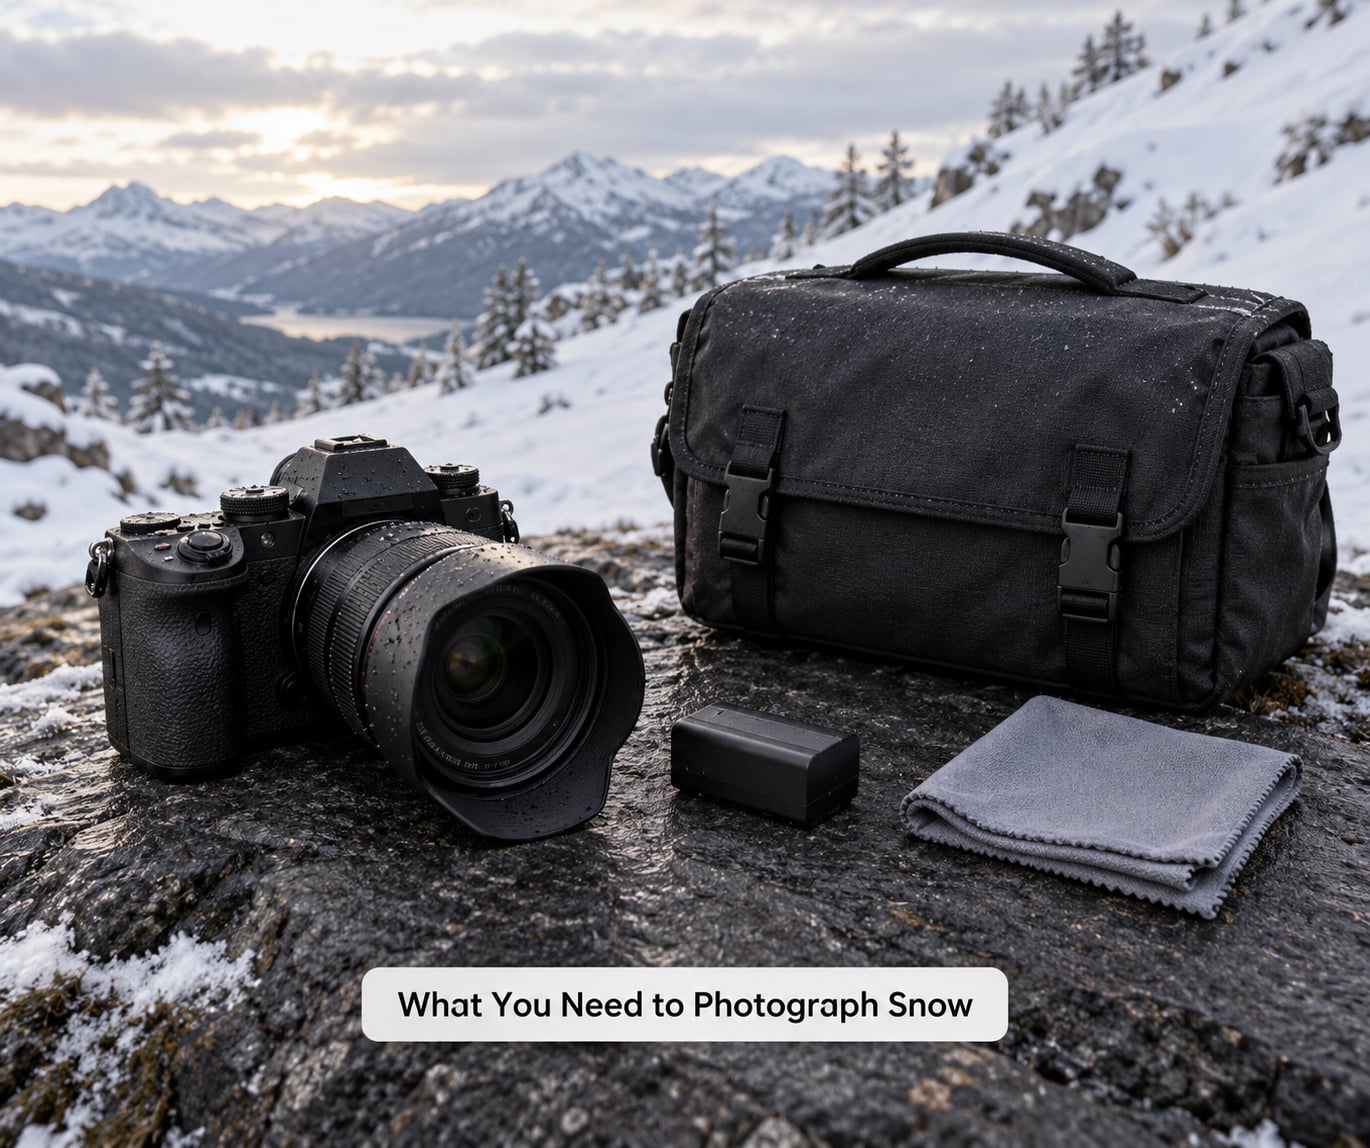
A camera with manual exposure control is the only real requirement. Everything else solves a winter-specific problem: cold, moisture, wind, and light that is brighter than anything else you shoot all year.
- A camera with manual and aperture-priority modes. Evaluative metering on a white field is the problem you are trying to correct, so you need a way to override it. Mirrorless and good phone cameras are fine for this guide.
- Two lenses if you can. A wide lens for open snowy scenes and tree lines, a short telephoto around 70-200mm to compress layers of forest and make falling snow look heavier than it is.
- A spare battery, carried warm. Cold halves battery life. One spare in an inner pocket against your torso is usually enough; two if you are out past sunset.
- A microfibre cloth and a blower bulb. Snow on the front element softens everything you shoot, and wet snow on the body will refreeze.
- A weather-sealed camera bag or rain cover. Not for the rain, which you will not have much of, but so falling snow cannot settle into the gaps around the mount.
- A tripod for low light. Blue hour and night blizzard frames need one, and a remote release or two-second timer keeps your hands off the shutter.
- Sunglasses with real UV protection. Snow reflects sunlight upward and snow blindness is a genuine burn to the cornea. Warm gloves matter too, since bare hands cannot work a dial.
Step-by-Step
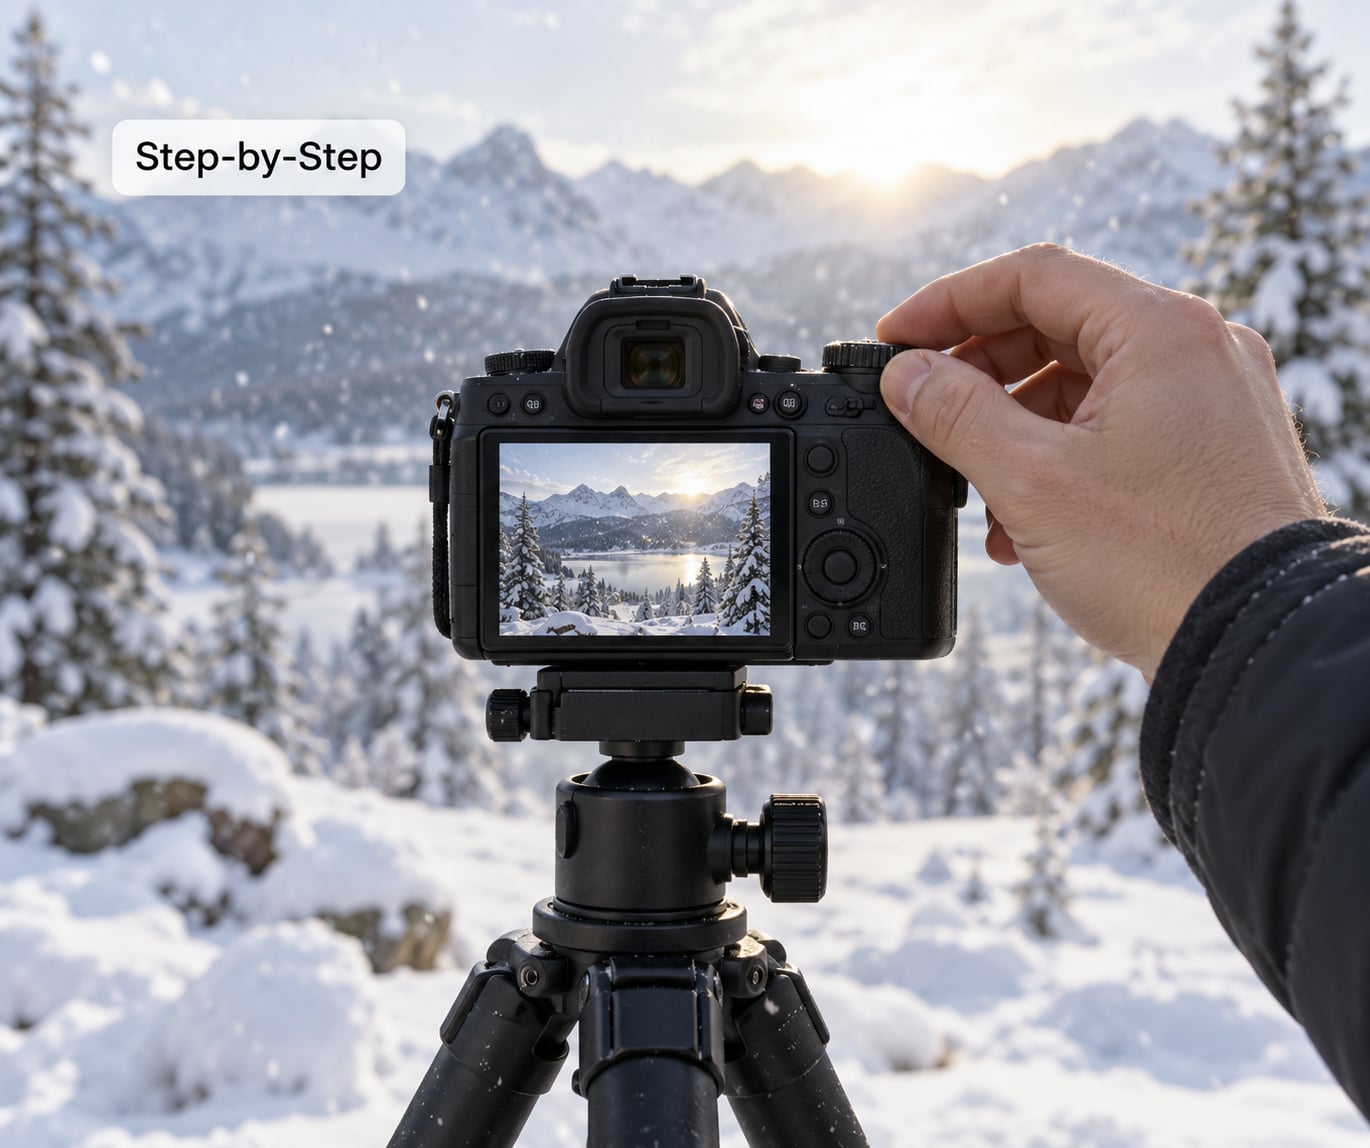
The table below is the short version. Use it as a starting point, then adjust to taste. Every one of these assumes the exposure compensation from the next section is already dialled in.
| Light condition | Shutter speed | Aperture | ISO | Exposure compensation |
|---|---|---|---|---|
| Bright sun on open snow | 1/500s | f/8 | Base ISO | +2/3 to +2 EV |
| Overcast, flat light | 1/250s | f/5.6 | Base ISO | +1 to +1 2/3 EV |
| Falling snow, want frozen flakes | 1/500s and faster | f/2.8 to f/4 | Auto up to 3200 | +1 EV |
| Falling snow, want streaks | 1/30s to 1/15s | f/8 | Base ISO | +1 to +2 EV |
| Blue hour | 1/2s to 2s, tripod | f/8 | Base ISO | +1 2/3 EV |
| Night blizzard | 1/15s to 1/4s | f/2.8 | 1600 to 6400 | 0, meter and adjust |
Plan Around the Weather and Light
Check the forecast for the hour you want to shoot, not the whole day. Snow that falls heavily at 9am and thins by noon gives you one window, and falling snow itself changes the light by the minute as it thickens.
Overcast is the easiest light to shoot in because it never changes, and the hardest to make interesting. Soft shadowless light on untouched snow gives you a flat white field with almost no tonal separation, so composition has to do the work that light is not doing.
Clear days give you directional light early and late. That low sun rakes across the surface and picks up every ripple, footprint and crust, which is why most of the texture in good snow photographs comes from the first and last two hours of the day.
Shoot fresh snow early. Once people and dogs have crossed it, the clean surface is gone, and if you trample your own scene while setting up, you cannot undo it. Decide your shots in advance and walk a planned path.
Order the shots so the untouched surface survives. Footprints are worth more before they exist, so make the wide and overhead frames first, then move on to the details and the walking shots. If you are shooting a person in the snow, get the tripod and the frame set before they step into position rather than after.
Protect the Camera Before You Step Out
Dry cold snow will not damage a camera that is already the same temperature as the snow. The real enemy is the transition, in both directions: warm gear carried into the cold can collect moisture from the air the moment it is outside, and cold gear brought into a warm room can condense on and inside the body.
For the trip out, keep batteries in an inner pocket until you need them. When one dies, swap in a warm spare and put the dead one back against your torso to rewarm for later in the session.
For the trip back, seal the camera in a ziplock bag before you step into a warm room. A car counts as a warm room, and so does a shop or a cafe. Take the memory card out first so you can still transfer photos while the bag sits closed.
Then wait. A frozen body can take hours to reach room temperature, and opening it early puts condensation on the sensor and the inside of the lens. If you must shoot indoors on the same trip, do the indoor frames first, while the camera is already acclimatised.
A related trick is to leave the bagged camera in the car or garage for a while before bringing it into the house, which buys you the same head start without a fire risk indoors.
How to Set the Exposure for Bright Snow
Your meter averages the frame and renders what it measures as 18% middle gray, the tone it believes is neither light nor dark. Snow has almost no midtones, so the meter drops the shutter speed or opens the aperture until the white reads as gray on the display. That gray is not artistic, it is just a wrong reading.
Switch to manual exposure or aperture priority and add positive exposure compensation. Start at +1 stop and check; go to +2 or more in direct sun. The point where you stop is the histogram, not the number in the manual.
On a correct snow exposure the histogram shows a broad mound sitting to the right of centre, with its shoulder approaching the boundary but never touching it. Touching means clipped highlights, and clipped means the texture in that snow is gone for good.
Turn on highlight warnings, usually called blinkies, and watch them as you compose. A few blinking pixels on a specular highlight on wet snow is fine. Solid blinking over a whole hillside means you have gone too far.
Watch the exposure compensation reset. The moment the frame fills with dark evergreens, open water or a shadowed rock, that scene now averages darker than middle gray and the compensation that fixed the snow will blow out everything else. On a forest with a white floor, dial back toward +1/3 or 0.
Shoot RAW every time. It costs card space and gives you the shadow and highlight room to pull the blue out later, which JPEG will not. If you are on a phone, use the most control the app gives you, lock exposure on the subject, then add compensation.
Use Contrast to Create a Snow Photograph
White on white needs something to be white against. A dark treeline, a fence post, a person in a red coat, a bare branch, or a long blue shadow across the slope will each give the frame a structure that flat light cannot.
For colour contrast, look for a single saturated thing: a red barn, a yellow marker, a blue jacket. One point of colour in an otherwise white frame does more than three competing colours.
For tonal contrast, wait for the shadows to lengthen and cross the frame. Backlit snow at low sun throws long shadows from every twig, and the pattern of them is the subject. Learning how to photograph shadows is worth the time before a season of low winter sun, because those shadows are doing half the work.
There is a quiet alternative. If you frame only untouched snow with no dark element at all, the photograph becomes minimalist and fine-art rather than documentary, and that is a legitimate result, not a failure. It takes a very clean eye and a lens that holds detail at the edges. Our guide to photographing white on white goes deeper into that.
Snow Portraits Without the Blue Skin Problem
Portraits in snow fail for a consistent reason: the light meter sees a white background and darkens everything, which leaves faces grey and the snow dim. Because the background is doing the metering for you, exposure compensation alone can be too blunt an instrument.
Spot metering or back-button focus with a single point on the face fixes this cleanly. Meter the face, dial in exposure for skin, and the snow behind will be brighter than the meter wants, which is exactly where you want it to sit.
Snow also works as a giant reflector. On an overcast day it bounces soft light back up under the chin and the eyes, so you rarely need a flash for fill outdoors. When the sky is clear and the light is hard, position your subject so the sun is behind them and the snow fills in the shadow side for you.
Watch the wardrobe. One dark or saturated coat separates a person from a white field, and a pale one disappears no matter how good the exposure is. Watch it more in the finished pictures than in the moment, because a cold subject in a thin coat shows up unmistakably in every frame.
Backlight is worth a try. With the sun behind your subject, falling snow lights up as bright specks around them and the edges of hair and shoulders glow, and a couple of stops of underexposing turns the background into a clean white field.
Compose Details, Depth, and Leading Lines
Footprints are the most useful thing in a fresh fall because they add scale. A single line of tracks crossing an untouched field tells you how big the field is without putting anything in it.
Fences, hedgerows, and edges of tree cover make leading lines that pull the eye from the foreground to the subject. Shooting from a low angle exaggerates this and makes the middle ground feel longer than it is.
Layer the frame: something in the immediate foreground like a branch or rock, a middle element like a fence post, and a background like a ridge. Three planes turn a flat white field into depth, which is exactly what the light refused to give you.
On a still day, ice on a frozen puddle or a melt pool in the trees doubles everything above it. Our piece on photographing reflections covers the polarizer settings, and the physics work the same way on a frozen surface.
Include falling flakes at the edge of the frame for atmosphere rather than covering the subject with them. A few sharp flakes near a dark branch beat fifty flakes scattered across a white sky, where you cannot see them at all.
Long shadows are also compositional tools. Their edges draw lines, so use them to lead rather than leaving them to sit as dark blotches in a corner.
A short telephoto changes the geometry of a white scene more than any other single choice. At 70-200mm the layers of a forested ridge stack up against each other and the gaps between trees compress, so the snow between them reads as narrow bright bands. That is why the same hillside looks flat on a wide lens and textured on a long one.
Blue Hour and Night Blizzard Frames
Blue hour is the best light of the winter day for most outdoor scenes, because the sky carries enough colour to separate itself from the snow and the snow still holds detail. Expose for the snow rather than the sky, since the sky clips first and clips recoverably.
Shoot blue hour on a tripod at 1/2s to 2s with the ISO at base and the timer or remote release set. If you push past two seconds, foreground traffic and moving branches smear, which is a look in itself but needs committing to.
Night blizzards are the hardest and most rewarding. Find somewhere genuinely dark with a light source far enough away to avoid a blown patch of snow nearby, set the camera on a tripod, and raise the ISO in steps of 100 from base until the histogram clears the right edge. Light falling snow with a torch or headlamp from behind the camera so the flakes read against the dark.
Longer exposures turn a blizzard into streaks of light. Between 1/15s and 1/4s the flakes travel far enough during the exposure to draw lines, and the result looks like weather rather than dots.
How to Photograph Falling Snow: Shutter Speed and Focus
Shutter speed decides what falling snow looks like, and the three outcomes are predictable. Pick the one you want before you frame.
- Frozen flakes at 1/500s and faster. Individual flakes are crisp dots. This is the standard look and it works when the flakes are against a dark background.
- Streaks at roughly 1/30s to 1/15s. Flakes become short lines you can see from across a street. Use a tripod and a remote release, since the shutter is now long.
- Soft blur at 1/4s or slower. Snow becomes fog around whatever is in the frame. Moody, painterly, and easy to overdo, so check the bright elements first.
The rule underneath all three: white flakes need a dark background. Snow against snow disappears completely, which is why overcast scenes with no building or tree line often show no snow at all even when it is pouring. Move until you have a dark subject behind the flakes, or use an off-camera flash or reflector behind your subject to make one.
Autofocus struggles because it hunts for edges, and an all-white field has almost none. Switch to single-point AF, put the point on a high-contrast area such as a dark branch, take the focus, then recompose. If the camera keeps hunting, switch to manual focus and use live view magnification to set it.
At night, raise ISO in steps of about 100 rather than guessing, and go somewhere genuinely dark. A street lamp will blow out the nearest snow and leave the rest black.
A phone does most of this too. Tap the subject to lock exposure on it, then drag the sun-shaped exposure control upward to add roughly a stop and a half, which is the phone equivalent of +1.5 EV. Most phone cameras also hold a burst mode that captures several frames at different exposures, and blending two or three of them by hand keeps detail in both the snow and the sky.
Make a Deliberate Edit
Keep the edit restrained. Snow has almost no colour, so a heavy preset turns it grey or tints it cyan and gives away the processing immediately.
Work in this order: correct the white balance first using a colour picker eyedropper on a neutral surface, then pull the highlights down to recover any clipping, then lift the shadows slightly, then add contrast last. Adding contrast before recovering highlights exaggerates the clipping.
For portraits, do not warm the whole frame. Use a colour balance adjustment layer with a mask so skin tones warm up while the snow stays neutral, otherwise you end up with a snow scene that looks yellow.
Black and white works well on snow because it removes the cast problem entirely. Consider an HDR merge when you shoot bracketed frames, as it restores the texture in the surface that a single exposure flattens. A soft white vignette instead of the usual dark one suits the subject.
When you want a storm to look painted rather than photographed, push saturation and clarity up deliberately until it breaks. That is a choice, not an accident, and it reads best when you commit to it.
Two more finishing moves suit the subject. Lift the blacks slightly so the shadows in the snow keep a hint of blue rather than going dead neutral, and add a very small amount of warmth to highlights only, which is what light bouncing off snow does to everything near it. Both stay invisible individually; together they are the difference between snow that looks photographed and snow that looks like snow.
If you are working in black and white, a channel mixer gives you more control than a plain conversion. Pulling the blue channel down slightly before converting deepens the sky and separates it from the snow, while leaving red alone keeps skin tones mid-gray rather than dark.
Common Mistakes That Ruin Snow Photographs
Grey, muddy snow. The meter did what it always does. Add +1 to +2 stops, or switch to manual exposure and set it yourself.
Blown white with no texture. You overcorrected. Watch the histogram and the blinkies, and back off half a stop until the mound clears the right edge.
A heavy blue cast. Snow lit by a blue sky reads blue, and the auto white balance reinforces it. Set white balance manually around 6200-7500K for daylight snow, or fix it in the RAW file with an eyedropper on a grey or neutral area.
Sky and snow merging into one grey field. This is a composition problem more than a settings problem. Find a dark element, shoot later when shadows appear, or convert to black and white and lean on texture.
Soft frames. Either autofocus hunted, or moisture got on the front element. Check the lens, and set focus once on a contrast point instead of letting AF search.
Invisible falling snow. White flakes on a white background. Frame against dark evergreens, a building, or use backlight from a flash behind your subject.
Condensation on the body or lens. Seal the camera in a bag before entering any warm space and leave it closed for an hour or more.
Blurred background from camera shake. Longer shutter speeds need a tripod, not a steady hand. Use a tripod for anything below 1/60s.
A few extra habits help more than they should. Keep the lens hood on so falling snow does not land on the front glass. Check the histogram, not the rear screen, because the screen brightness misleads you in snow more than in any other light. And shoot more frames than feels necessary: at 1/500s in fading light, some will be soft.
Frequently Asked Questions
Why do my snow photos look gray and underexposed?
Because your light meter is aiming for 18% middle gray, and a full frame of snow is far brighter than that target, so the camera stops down until white reads as gray. Add +1 to +2 stops of exposure compensation, or set exposure manually, and check the histogram until the data sits right of center without touching the right edge. Shooting RAW also gives you room to recover this in editing.
How do I keep snow white without blowing out the highlights?
Add exposure compensation in small steps and let the histogram decide when to stop. The data should mound to the right of center with a soft shoulder that stops just short of the right edge, and highlight warnings should blink on a few specular spots rather than across whole areas of snow. If the hill is solid white with no texture, back off half a stop and take the frame again.
What camera settings should I use for snow photography?
The settings table above covers the main light conditions. In general, start in aperture priority with exposure compensation at +1 stop, add more in direct sun, and use the widest aperture you can afford when you want background blur or visible flakes. Keep ISO at base for daylight scenes and raise it in steps of 100 at night. Shoot RAW so the white balance and exposure can be corrected later.
How do I capture falling snow in a photo?
Choose the look before you frame. At 1/500s and faster, individual flakes freeze into crisp dots. Around 1/30s to 1/15s they become visible streaks, which needs a tripod. Slower still and the snow turns to soft fog. In every case white flakes need a dark background to read against, so frame them against evergreens, a building, or backlight your subject with a flash.
How do I keep my camera safe in the cold and avoid condensation?
Put spare batteries in an inner pocket so body heat keeps them working. Dry cold snow will not harm gear that is already equally cold, so the risk is the temperature change, not the snow. Seal the camera in a ziplock bag before you go into any warm space, including a car, and leave the bag closed for an hour or more while the body warms up before opening it.
Is f/2.8 or f/4 better for shooting snow?
It depends on what you are making. A wide aperture like f/2.8 separates a subject from a soft white background and makes falling flakes visible, which is why it suits portraits and detail work. Around f/8 gives edge-to-edge sharpness across a wide snowy scene. If you want both, shoot the wide scene at f/8 and take a second frame at f/2.8 with the same exposure compensation.
Conclusion
Four things to do first when you arrive. Check the light and pick a plan for the conditions, keeping the camera bagged until you know whether condensation is a risk. Put the battery in your pocket and take the spare only when you need it. Set exposure compensation for the brightest part of the frame, then verify it on the histogram rather than on the screen. And find one strong contrast or one detail, such as a footprint trail or a dark branch, to anchor the photograph.
Everything after that is craft, and craft is what turns a white field into a picture worth keeping.