
To photograph a wedding as a beginner, you work through the day in order: research the timeline, arrive an hour before the couple does, cover getting-ready details, stay put and quiet through the ceremony, then move fast through portraits and the reception. It takes about twelve hours on the day and a solid week of editing afterwards.
What separates a beginner who survives from one who panics is preparation, not talent. You cannot fix a missed first dance or a corrupt card, so this guide focuses on the boring parts that protect the important shots. Every step below includes a way to check that it worked, because “I think I got it” is how gaps appear in a finished gallery.
Table of Contents
- What You Need
- Step-by-Step
- 1. Research the wedding schedule and shot priorities
- 2. Choose a camera setup and dependable exposure settings
- 3. Arrive early and scout the venue
- 4. Cover the preparation and getting-ready details
- 5. Photograph the ceremony without distracting the participants
- 6. Make portraits that look natural and varied
- 7. Capture the transition, reception and small details
- 8. Back up, organize and deliver the finished gallery
- Common Mistakes
- Frequently Asked Questions
- Conclusion
What You Need
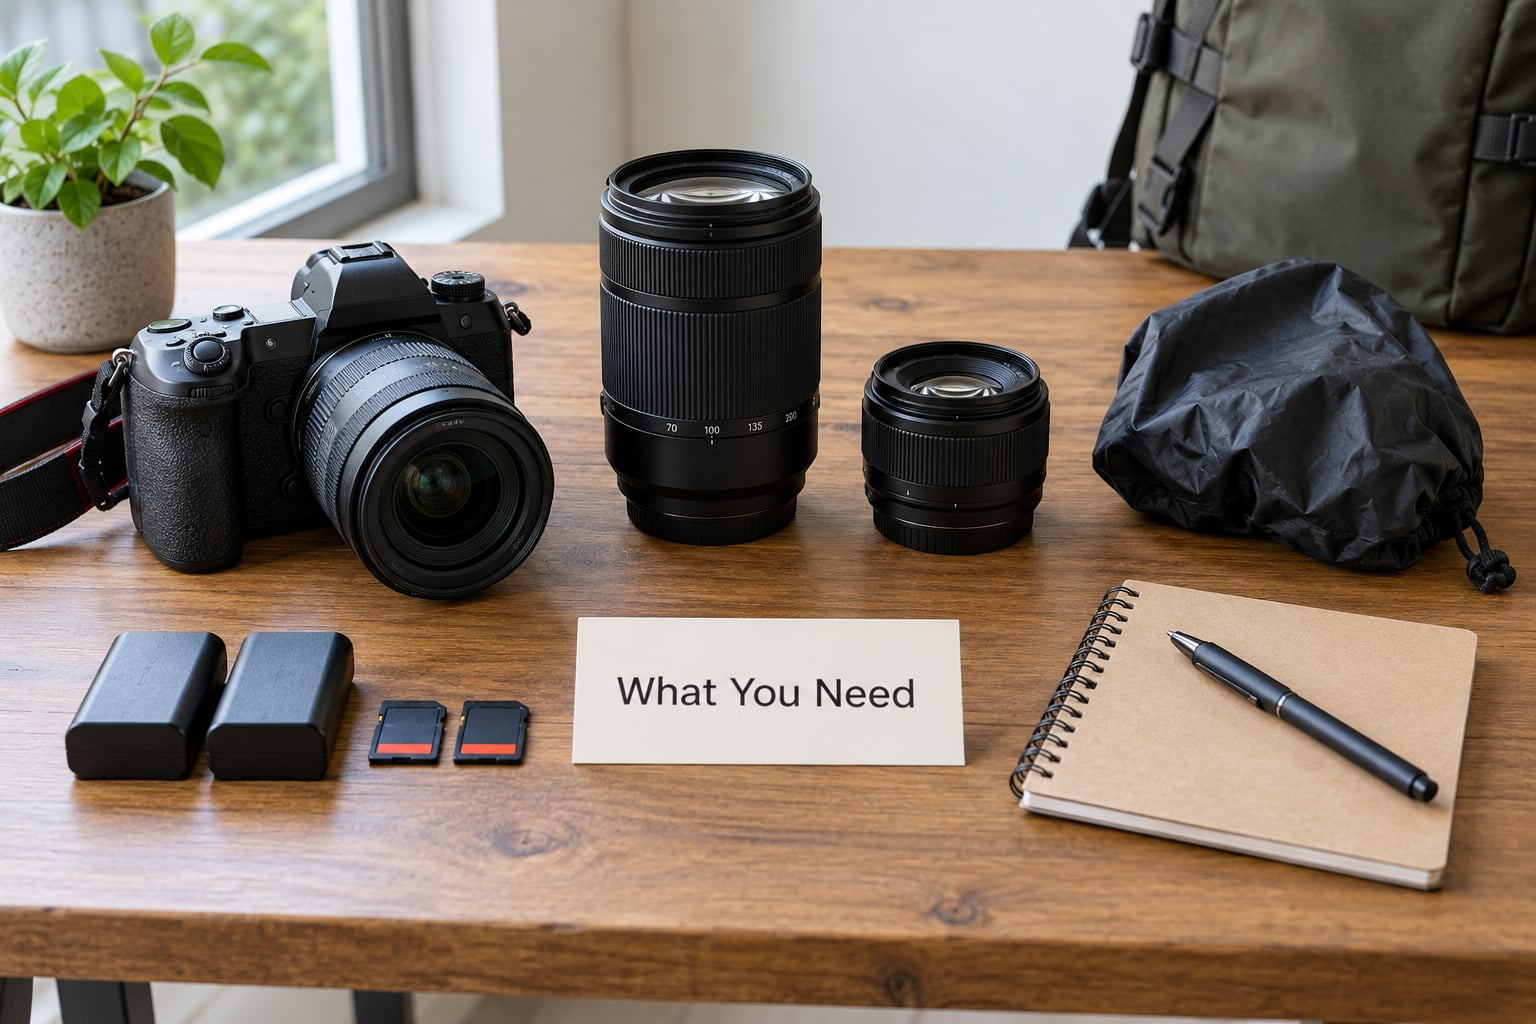
A wedding punishes anything with moving parts, so redundancy matters more than price. You need a body you can shoot all day without thinking, at least two ways to save each frame, and clothing you can stand in for ten hours.
Essential:
- A camera body plus a second body as a backup, even an older generation one you already own
- Two memory card slots filled with fast cards, or two cards swapped halfway through the day
- A zoom lens covering roughly 24 to 70mm for groups and venues, plus a 70 to 200mm for the ceremony
- One fast prime, usually a 50mm f/1.8, for low light and portraits
- Spare batteries, more than you think, and a charger you leave plugged in overnight
- A rain cover, a lens cloth, and a blower or microfiber cloth
- Comfortable shoes you can stand in for eight hours, and clothes in black, grey or navy
- A card and pen for the family photo list, written out and copied twice
Helpful but improviseable: a reflector or white foam board to lift shadows, a small off-camera flash, a snack and water, and comfortable socks. Flash can be rented the morning of. Shoes cannot.
What you can skip for a first wedding: a second shooter, a drone, an album, and any lens you have to borrow and have not tested. Renting a backup body and one flash costs less than a single missed moment costs you in reputation. If you enjoy working with light, our guide to photographing shadows is a good free exercise before the day.
Step-by-Step
1. Research the wedding schedule and shot priorities
Ask the couple, the planner, or both for a written run of show. Get times for hair and makeup, the ceremony start, the first look if there is one, portraits, dinner, speeches and the last dance, and write them on one page in order.
Then find the names. Which relatives matter most, which cultural or religious elements will happen, and where will they happen. A ceremony with a candle lighting or a veil change will surprise you if you did not know it was coming.
Build a prioritised checklist: things that cannot repeat (the ceremony, the first look, toasts, the first dance) at the top, repeatable moments (group photos, cake, details) below. You verify this step when you can recite the ceremony start time and name the three moments the couple would be most upset to miss.
2. Choose a camera setup and dependable exposure settings
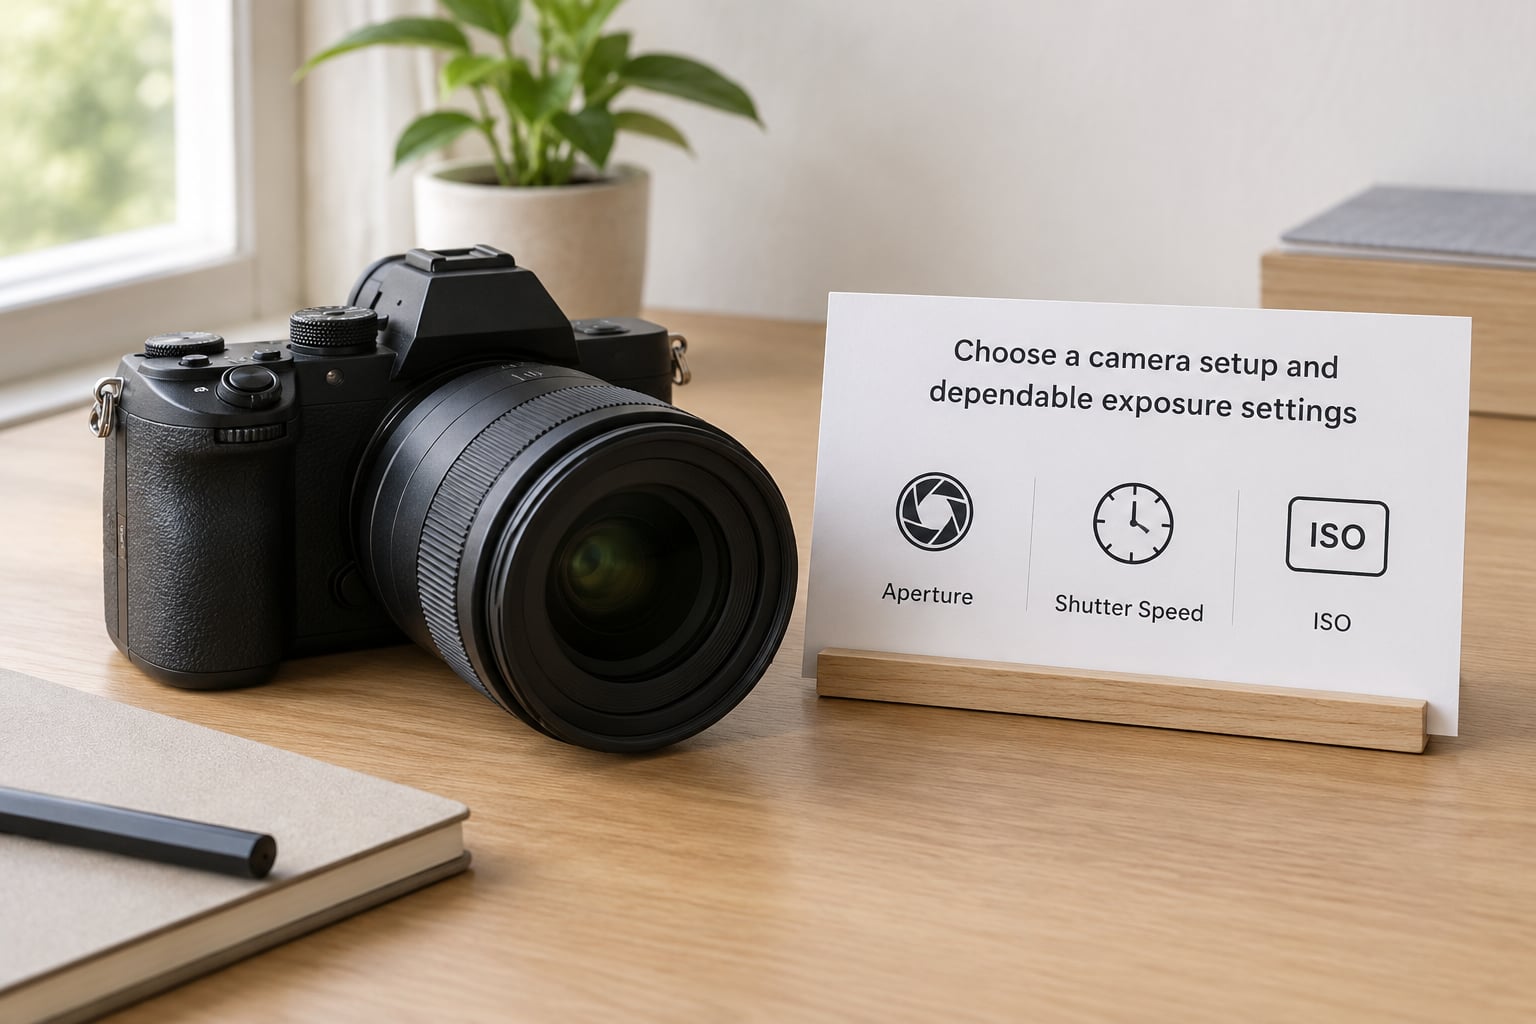
Pick one configuration before the wedding and stop fiddling with it. A zoom mounted on one body and a fast prime on the backup is a solid, boring setup for a beginner.
Use aperture priority most of the day. Set the widest aperture your lens offers, around f/1.8 to f/2.8, then let the camera handle shutter speed and ISO. Wide apertures throw the background out of focus, which hides a cluttered venue and forgives small focusing errors. If metering is still a blur, our guide to how to meter for film photography covers the same logic on a camera that shows you nothing but a needle.
For a ceremony you have to work around, f/2.8 is more forgiving than f/1.4 because the depth of field is deeper. For dancing and toasts, f/1.8 with the auto ISO you are trusting gives you one extra or two stops indoors, and it turns dim reception rooms from grey to usable.
Keep an eye on shutter speed. Below about 1/125 for people standing still, and 1/250 for anyone moving, you will get blur that no edit fixes. If the camera picks 1/30, raise the ISO instead. Shoot RAW, set white balance to auto or daylight depending on the venue, and turn off anything that might put the camera to sleep mid-ceremony.
You know the setup works when you can describe your starting settings in one sentence and change them once, deliberately, rather than constantly.
3. Arrive early and scout the venue
Aim to be at the venue an hour before the couple. Find the ceremony spot, the getting-ready rooms, and where portraits will happen, and walk the route between them so you are not sprinting in the dark at 4pm.
Stand where you plan to stand and look at where the light is coming from. Windows behind the couple give you flat backlight, so you want to shoot with the window behind you. Note the sun’s direction at ceremony time and where it will be at golden hour, which on a typical day is roughly an hour before sunset but arrives sooner at high latitudes and earlier in winter.
Look for obstacles too: a column that blocks the aisle, a lectern you cannot see past, a DJ booth that will block the first dance. Take ten test frames at your real settings so you are not guessing when it counts. You have done this step correctly when you can point to your ceremony position, your portrait position, and your backup position without walking.
4. Cover the preparation and getting-ready details
Details first, because the rooms are quiet and the light is soft. Invitations, the dress on its hanger, shoes, perfume, the bouquet, rings, a thank-you note, a gift. Shoot these close and slow while there is time.
Then the people. Shoes being tied, a mother helping with earrings, a straightening of a collar. These are quiet frames, and you get them by standing at the edge of the room and being patient rather than directing.
Work on one person at a time rather than the whole room, and keep talking to the room so nobody feels managed. You verify this stage by having at least one detail image of each item and a few candid frames of the morning before you leave the room.
5. Photograph the ceremony without distracting the participants
Your job during the ceremony is invisible. No flash unless the venue is genuinely dark, no shuffling, no step in front of anyone in the aisle, and no chat with other guests.
Set up before the processional starts: one position at the back for the wide shot, one at the side for close-ups. During the processional and the walk back down the aisle, stay put and zoom, because those are the only moments that happen once.
For the rest, work between your two positions with the telephoto. Watch the officiant and the couple for cues, since a glance, a laugh and the first kiss tend to be telegraphed a few seconds early. Hold your positions even when a great frame appears at an angle you have not tried, because a slightly imperfect shot from a planned spot beats a missed moment.
You did this right when you can look back and find the vows, the rings, the reaction and the kiss, all sharp, with nobody in your frame who should not be.
6. Make portraits that look natural and varied
Posed and candid are not opposites. Pose a couple for ten minutes, then put the camera down and watch them for another ten. That ratio is the whole trick.
Use the couple’s own shot list first, since it tells you which groupings they actually want. If nobody sent one, build it as a quick list by family name: immediate family, then each side, then friends. Photograph every grouping. The family photo session is where timelines slip, so a written list is what keeps you from losing twenty minutes.
For the couple, vary the angle and the distance rather than the pose. Walk them to a wall, a staircase, a patch of shade and back to the open field. Vary wide to full length to tight on hands and faces. Give two prompts at a time and make them specific: “walk toward me slowly, then look at each other”, not “be romantic”.
Backlight helps. Put the sun behind the couple and let it flare around them, then expose for the faces. Our piece on photographing reflections covers the indoor version, where a window, a mirror or a puddle gives you variety in bad weather.
Check this step by confirming the couple is still relaxed at the end and that you have a wide, a full length and a close frame of them.
7. Capture the transition, reception and small details
The gap between the ceremony and the reception is where albums get thin. Something small happens every time, so stay with the camera.
Shoot the transition itself: the walk back, the hugs on the lawn, guests drinking water, cousins finding each other, the confetti. Then work the reception in the order it happens, first dance, parent dances, dinner, toasts, cake, bouquet and garter tosses, grand exit.
Balance people with atmosphere. The speeches are the story; the string lights, the table settings, the cake texture and the dance floor are what people remember. During the first dance, stay on the edge and use the telephoto rather than circling them at close range.
Low light needs patience. Turn off the flash if the room has enough ambient light, keep the aperture wide, raise the ISO until the shutter speed is still safe, and let ISO go high before you accept motion blur. You will know you got the reception when your sequence has both the speeches and the room.
8. Back up, organize and deliver the finished gallery
Back up before you edit anything, and back up twice. Copy every card to a laptop, then copy that folder to a second drive, and leave the cards in the bag until you have verified the copy file count matches what the camera recorded.
Only then cull. Flag the keepers, drop the frames where someone’s blinking or blinking twice in a row, and build a sequence that tells the day in order. Edit for consistency: same warmth, same contrast, same black point across the whole set, because a gallery that jumps between looks feels broken even when the photographs are good.
Then deliver. Name the files sensibly, build a gallery in order, and tell the couple when to expect it. A sneak peek of eight or ten images within two days does more for your reputation than the full set does a year later, and it is a few minutes of work.
You are finished when the couple has every moment from the day, in sequence, with no missing family grouping.
Common Mistakes
1. Relying on one card slot or one card. A full or failed card mid-ceremony is the worst thing that can happen to you. Fill both slots on every body, and verify afterwards that the files actually landed on both before you celebrate.
2. Arriving when the couple does. The first hour of a wedding is flat light, quiet rooms and no waiting around. Arrive at least an hour early or you will shoot every detail in harsh midday sun.
3. Chasing a perfect shot during the ceremony. You will miss the vows while repositioning for a better angle. Set your two positions in advance and let a good enough frame win.
4. Using direct flash indoors. It flattens faces and announces you to the room. Bounce it off a wall or ceiling when you must use it, or stay with ambient light and a reflector.
5. No family photo list. You will invite the same group twice and forget somebody. Write the list out, hand a copy to the person assembling the photos, and name each person as you shoot the row.
6. Editing the whole day to the same warmth by hand. Start from a consistent base and adjust from there. The goal is consistency, not a look, so pick one treatment and stick to it.
7. Delivering late with no sneak peek. The couple is anxious for weeks. Send a handful of images quickly, then the full gallery on the date you promised.
Two habits keep the whole day calm: eat something and drink water at least twice, because hunger turns into panic around hour seven, and write down every time you change a setting so you can get back to a known-good setup fast.
Frequently Asked Questions
What gear do I need for my first wedding?
A camera body with a working backup, two memory card slots or two cards, a 24-70mm zoom, a fast prime such as a 50mm f/1.8, spare batteries, a rain cover and comfortable shoes. Renting a flash and a second body for the day is normal practice. Skip anything you have not tested, including a second shooter, a drone and a lens you would be borrowing for the first time.
How do I create a wedding photography shot list?
Ask the couple what matters to them, then list the names of every relative they want photographed, grouped by side of the family. Add the moments that cannot repeat: the ceremony, first look, ring exchange, first dance and toasts. Write the list on a card, keep a copy in your bag and photograph every grouping before the family sits down to eat.
What camera settings work for a wedding ceremony?
Use aperture priority at f/2.8 or f/4, set the shutter speed floor to 1/250 for anyone moving, and let auto ISO take the rest. Mount a 70-200mm so you can shoot the vows from the back of the room. Check the histogram on the first frame after the processional starts, because a dim chapel will fool the meter every time.
Should I use flash at a wedding?
Rarely during the ceremony, and never pointed straight at the couple. If a room is genuinely dark, bounce an off-camera flash off a wall or ceiling instead of firing it head-on, which flattens faces and draws attention to you. In most cases a wide aperture and a higher ISO give a better result than flash, especially during speeches and the first dance.
How do I shoot a wedding with only one camera?
You can, but treat the one camera as precious. Choose one versatile zoom rather than swapping lenses constantly, work from two planned positions instead of moving during the ceremony, and cover people rather than objects once the formal shots are done. A rented second body is cheap insurance and most beginners who skip it regret it after their first reception.
How long after a wedding should I deliver the photos?
Most couples expect a sneak peek of a few images within a few days and the full gallery within four to eight weeks, and you should put those dates in writing before the day. A quick preview set of eight to ten images is a small task and it removes most of the anxiety clients feel while they wait.
Conclusion
A wedding is one long sequence that cannot be repeated, so the work is mostly preparation: a written timeline, a prioritised shot list, gear with two ways to fail safely, and a setting you stop second-guessing.
If you only do four things before your first job, do these. Get the run of show and the family names. Settle on aperture priority at a wide aperture with a shutter floor, and leave it alone. Arrive an hour early and pick your two ceremony positions. Then protect the moments that only happen once and let the repeatable ones go if the day runs late. Everything else is practice, and practice comes from second shooting before you take the lead.