
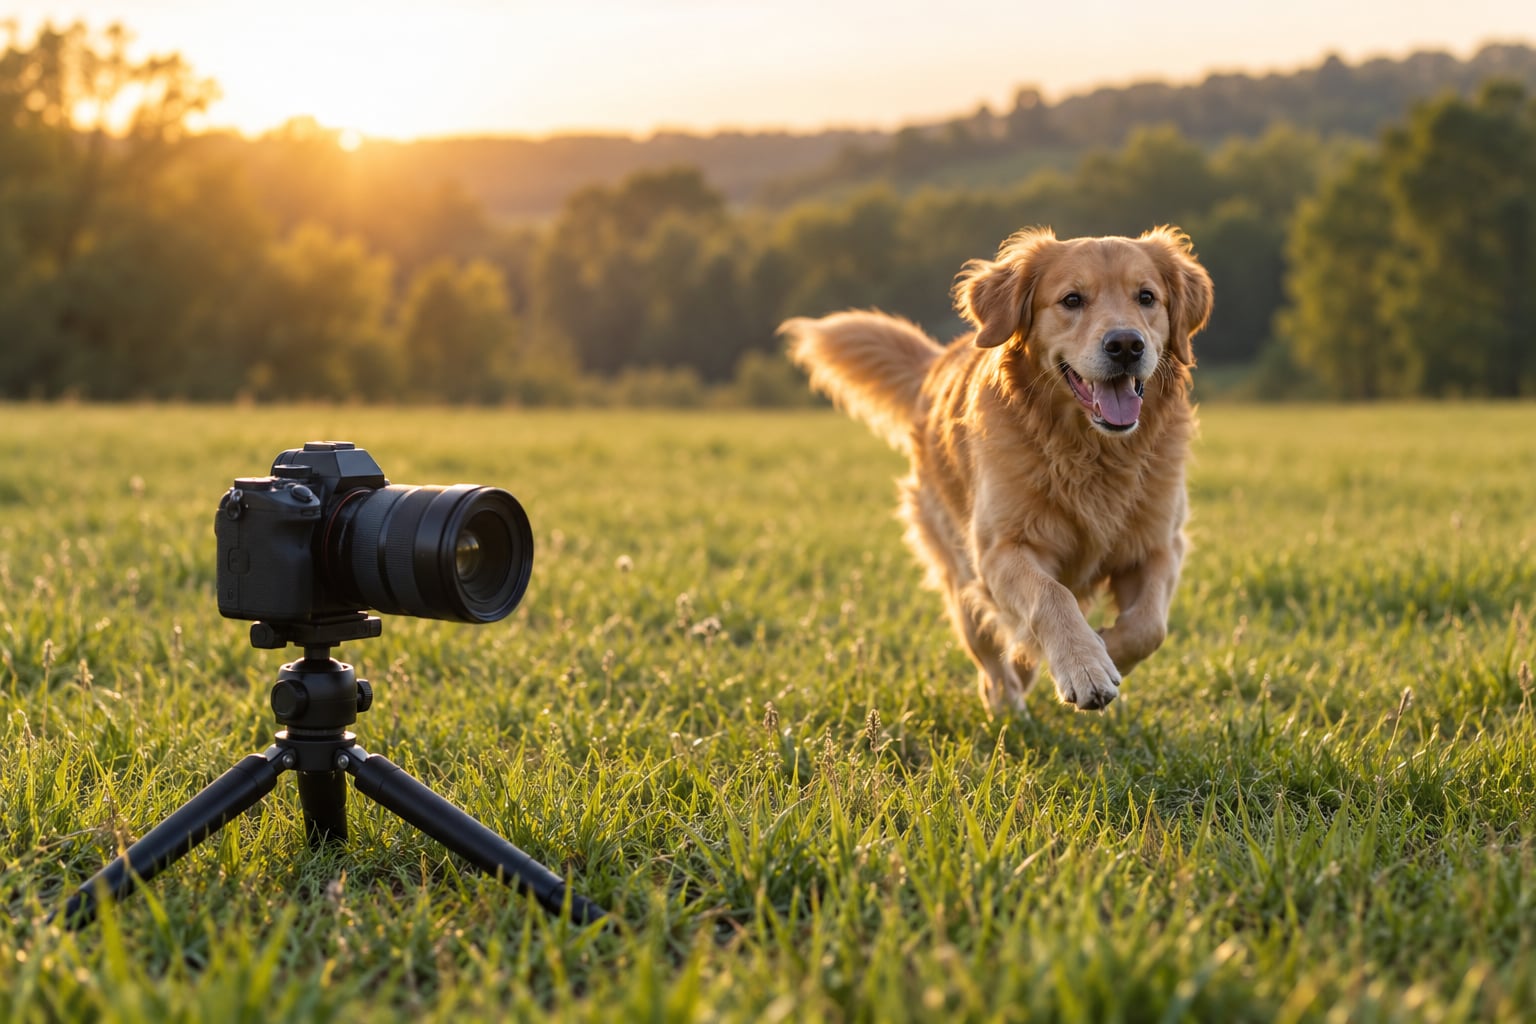
Learning how to photograph dogs outdoors comes down to three things: soft light, a shutter speed fast enough to stop a running dog, and a way to get the dog’s attention toward the lens. Get those right and almost any camera will do the job, including a phone. The hard part is never the gear. It is that dogs do not hold a pose, and the light changes faster than you expect.
A first session takes about 20 minutes once you know what to look for. Scout the spot, wait for the light to soften, and let the dog play for a few minutes before you lift the camera. If the forecast is wet, that is not a lost session. Working with how to photograph rain techniques gives you reflections, saturated colour and a very happy dog.
Table of Contents
- What You Need
- Step-by-Step
- Step 1: Plan a Location With a Simple Background
- Step 2: Watch the Light Before You Arrive
- Step 3: Get the Dog Comfortable and Familiar
- Step 4: Choose Camera Settings for Movement
- Step 5: Frame the Eyes and Body
- Step 6: Use Movement and Voice to Create Energy
- Step 7: Capture Expressions Instead of Waiting for a Pose
- Step 8: Review, Refine, and Keep Shooting
- Common Mistakes
- Frequently Asked Questions
- What are the best camera settings for photographing a dog outside?
- Can I take good dog photos with just my phone?
- How do I photograph a black dog without losing all the fur detail?
- How do I get my dog to look at the camera?
- What time of day is best for outdoor dog photos?
- Is it safe to photograph my dog outdoors in hot weather?
- Conclusion
What You Need
A heavy kit list is the most common reason people never take the photos. Here is what actually earns its place in the bag, and why.
- A camera with reliable continuous autofocus. Mirrorless and DSLR bodies with AF-C, called AI Servo on Canon, will track a moving dog far better than single-shoot autofocus. A phone works too, if you use burst mode and tap the dog’s face to lock focus and exposure.
- A short zoom or a 50mm prime. A 35-70mm or 24-70mm lets you fill the frame without stepping into a biting range. A 70-200mm or 70-300mm lets you stay far away and still get tight action frames of a dog off-leash.
- A fast shutter speed. Use 1/500s as your floor for anything moving and 1/1000s for a dog running straight at the lens. A calm dog standing in shade can hold 1/250s.
- An aperture between f/2.8 and f/5.6. Wide apertures blur the background into soft bokeh, which makes portraits look polished. Stop down toward f/8 when you are shooting two dogs together or want the whole face sharp.
- ISO the light gives you. Expect ISO 400-800 in open shade and ISO 1600-3200 near sunset. Noise in a small print looks far better than a blurred dog.
- A reflector or a piece of white foam board. Held low, it lifts the shadow under the jaw and puts catchlights in the eyes. It costs almost nothing and replaces a flash.
- The usual field kit. Spare battery, spare card, lens cloth, a rain cover for the body, and a wrist strap if the dog will be off-leash near you.
- For the dog: treats, a favourite toy, water and a towel. Cut treats small so a whole session does not fill the dog up, and bring water in summer. A second person who knows the dog is worth more than any accessory.
Add a poo bag to the kit. Long lenses mean long walks back to the car, and you will do them more than you think.
Step-by-Step
Step 1: Plan a Location With a Simple Background
Walk the spot before you unclip the leash. You are looking for four things: a background with no poles, bins, parked cars or litter, enough clear space for the dog to run in a straight line, safe footing with no holes, mud, glass or ice, and light that suits the shot you have in mind.
Edges work better than the middle of a park. A mown strip beside a hedge, a path with a plain fence, or an open lawn under a single tree gives you a background without depth, so the eye stays on the dog. If you want a blurred green background, put at least three metres between the dog and the trees behind.
You will know the location works when a test frame at your widest framing still looks clean. If it does not, move thirty metres and check again.
Step 2: Watch the Light Before You Arrive
Check the sun’s position on your phone before you leave. Low sun from the side gives you texture in the fur and a shaped face. Sun from directly behind the dog gives you a bright rim around the ears and shoulders, which looks wonderful, but you then need exposure compensation or you will get a dark silhouette. Sun from behind you gives the flattest, safest light of all.
Open shade is the most forgiving light outdoors. It means shade where you can still see the sky above the subject, so it stays bright and even rather than dim and blue. The edge of a building, a canopy of branches, or the shaded side of a hedge are all open shade. Harsh midday sun is the one to avoid: it makes dogs squint, blows out white fur, and throws hard shadows under the brow that no amount of editing fully rescues.
Light direction also shapes the shadows in your frame, so it is worth reading before you lift the camera. My rule is to spend a minute studying techniques for photographing shadows once and then simply avoiding whatever looks messy from where you plan to stand.
Step 3: Get the Dog Comfortable and Familiar
Let the dog explore the location for a few minutes before the first frame. Sniffing, marking and rolling are the dog settling in, and a dog that has just been told to sit rarely performs naturally.
Most dogs perform best after a few minutes of play, not before. Fetch or a short chase burns off the frantic energy that makes blurry frames. Then work quietly: calm voice, slow movements, no rushing towards the dog with the camera up.
If the dog is nervous, stop. Skittish dogs that are pushed to perform produce tense, panting, ears-back portraits, and the session is not worth the stress. Photographing a frightened animal for a picture is a bad trade, and a vet is the right person for any dog whose behaviour has changed suddenly.
Step 4: Choose Camera Settings for Movement
Pick one control and let the camera handle the rest. Shutter priority at 1/500s is the simplest reliable setup, because shutter speed is what decides whether a moving paw is sharp. Aperture priority with a minimum shutter speed of 1/500s set in the menu works just as well if you prefer to control the depth of field.
Set continuous autofocus with a tracking point on the dog’s face, switch the camera to RAW, and hold down the shutter for short bursts of five to ten frames rather than one frame at a time. The trade-off is straightforward: a faster shutter needs more ISO, and more ISO means more noise. Sharp with noise beats sharp-looking and blurred every time.
For a still portrait, drop to 1/250s and open the aperture to f/2.8 for a softer background. For two dogs running toward you, go to 1/1000s and accept ISO 3200.
Step 5: Frame the Eyes and Body
Focus on the nearest eye. One sharp eye carries a portrait; a sharp body with soft eyes does not. If your camera has animal eye detection, switch it on, but check the first ten frames to make sure it is locking onto the eye and not the nose.
Then look at the whole frame. Place the eyes near a line a third of the way up from the top, and leave room in the direction the dog is looking or moving, so the frame does not feel cramped against the edge. Get down to the dog’s eye level with your knees or lie on the ground. That one change does more for a portrait than any lens.
Leave a little space around paws and tail. Dogs that run off the edge of a frame look careless, even when the face was lovely.
Step 6: Use Movement and Voice to Create Energy
Movement makes better photographs than stillness, and it is much easier to direct. Ask the dog to walk toward you, then walk backwards while shooting. Ask for a recall, then trigger the burst as the dog closes the gap. Throw a toy in an arc and start shooting before the dog reaches the top of the jump.
Voice does a lot of the work. A short, bright cue works better than a long sentence. Walk, wait, spin. Shoot in short bursts that follow the movement rather than holding the button down for thirty frames of a dog standing in grass.
Try patterns too: a diagonal walk across the frame, a dog running past you and away, then a repeat coming back. Repetition gives you a set with variety, which is what makes a shoot feel intentional.
Step 7: Capture Expressions Instead of Waiting for a Pose
The expression you want is almost never the one you asked for. It happens in the second after a command, during a head turn, in a yawn, when the ears prick up at a bird, or in the moment the dog looks back over its shoulder.
So shoot sequences instead of single frames. Turn on continuous autofocus and continuous shooting, and follow the dog with the viewfinder through a whole burst. From twenty frames of a head turn you will get two keepers; from one frame you will get one coin flip.
Keep the camera ready at chest height with the lens already open, and stop pressing the shutter between actions. The half-second before the head turns is where the good frames live.
Step 8: Review, Refine, and Keep Shooting
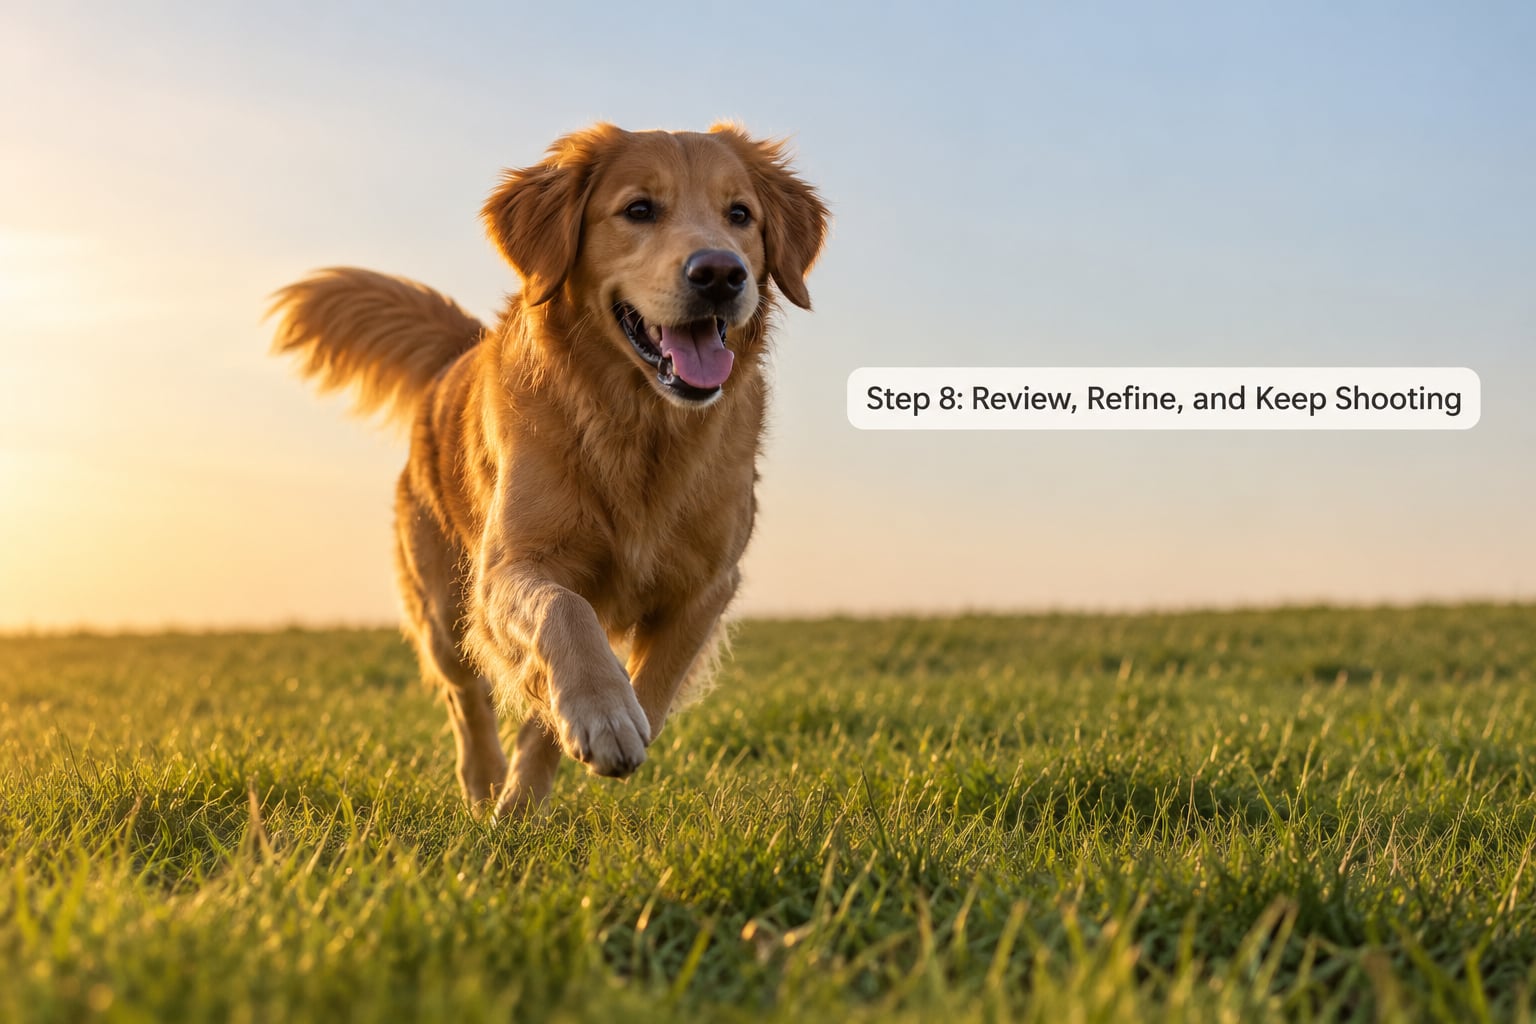
Check frames on the camera screen at full size rather than trusting the thumbnail. Four things decide whether a frame is usable: the eye is sharp, the exposure holds detail in white and black fur, the background has nothing distracting in it, and the dog is not half out of the frame.
Then change one thing. A blurred frame is usually shutter speed, a soft frame is usually focus mode, a flat frame is usually light direction. Adjusting three settings at once means you cannot tell what fixed it, and you will repeat the mistake next session.
Stop while the dog is still having fun. Twenty good minutes beats two hours of a tired, hot dog who has stopped playing.
Common Mistakes
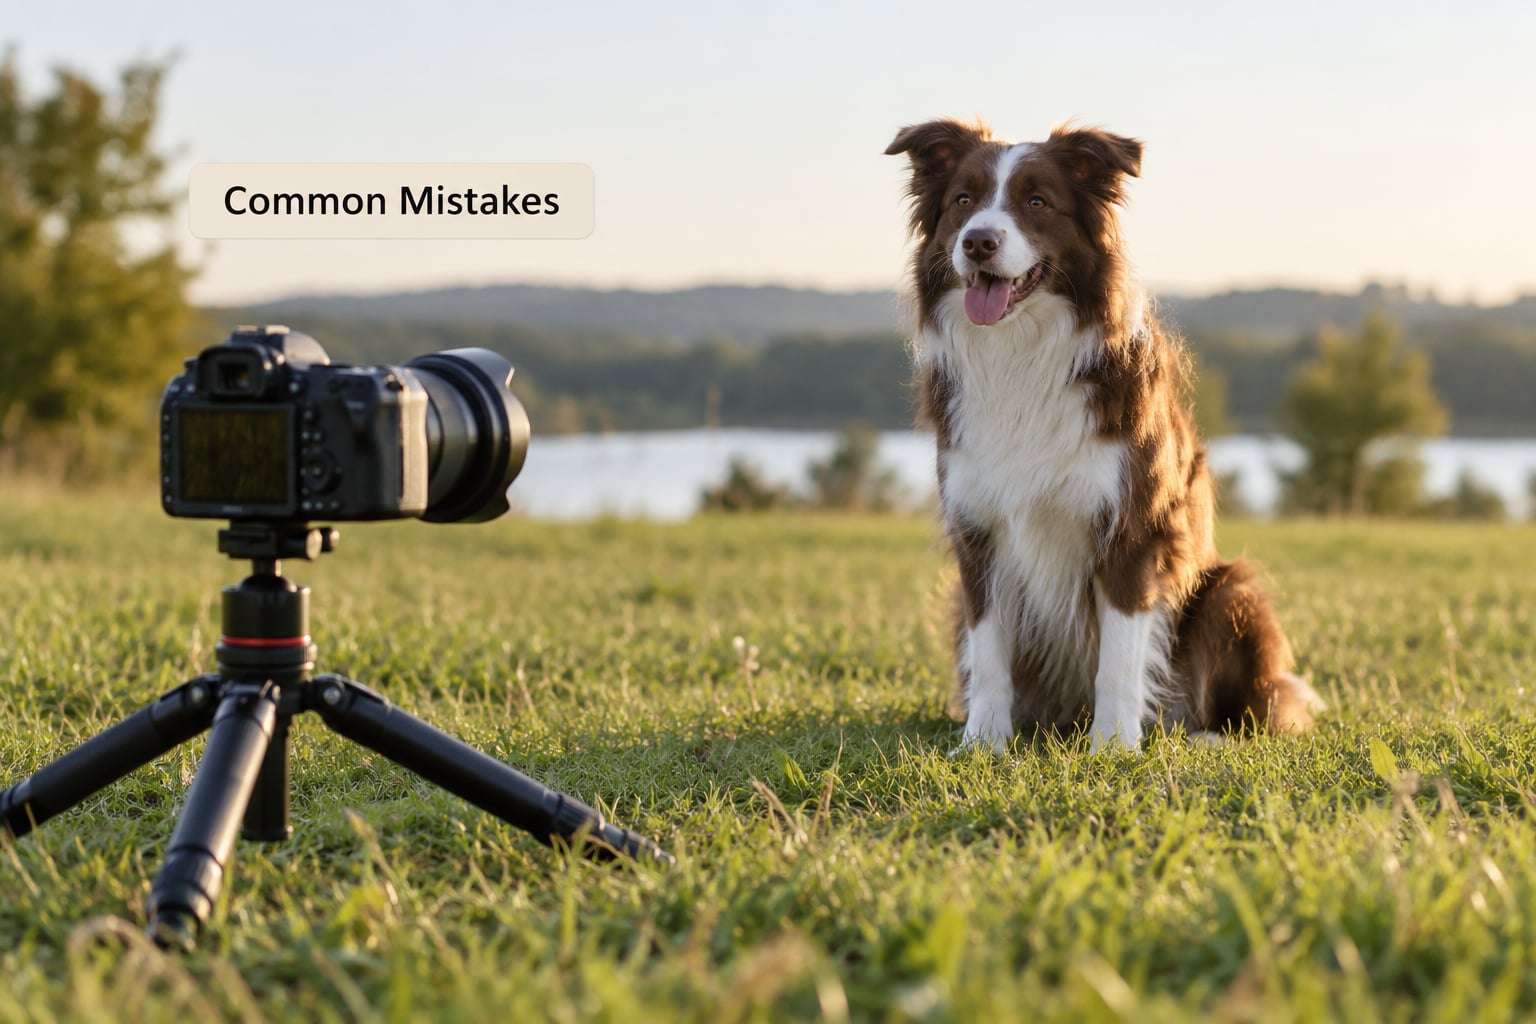
Almost every disappointing dog photo comes from one of these. Each has a quick fix.
- Motion blur. The shutter was too slow for the movement. Raise it to 1/500s or faster before you change anything else, and accept a higher ISO.
- Focus hunting. Single-shoot autofocus searched the background and gave up. Switch to continuous autofocus with a tracking point and let it work through a burst.
- Harsh midday light. Squinting dogs and hard shadows under the brow. Move into open shade, or wait until the sun is low and warm.
- Cropped paws and tails. You framed too tight. Zoom out a step before you shoot, then crop in afterwards.
- Cluttered backgrounds. A bin, a bicycle, another dog, a bright shirt. Change your angle rather than the aperture, because a wider lens makes the clutter bigger, not smaller.
- Over-directing the dog. Too many commands in a row produce a stiff, watchful animal. Give one cue, shoot, then let the dog move and start again.
- Unsafe ground. Hot asphalt, sharp rocks, thin ice, water with current. Check with the back of your hand before the dog steps on it, and move the session somewhere safer.
Two field tips that are worth more than any gear. First, get closer instead of zooming, and the background blur improves for free. Second, use a low tripod or a beanbag when you are shooting portraits of a calm dog, because it takes shake out of the frame and lets you shoot at a slower speed. When water is in the scene, work through shooting reflections in water and glass for a frame most people never think to take.
One more: shoot RAW. White fur clipped in a JPEG stays clipped, while a RAW file keeps enough information to recover highlights in a black dog or a snow background.
Frequently Asked Questions
What are the best camera settings for photographing a dog outside?
For most outdoor dog portraits, use shutter priority at 1/500s or faster, an aperture between f/2.8 and f/5.6, and whatever ISO the light demands, usually ISO 400 to 1600. Set continuous autofocus with a face or eye tracking point, hold the camera in burst mode and shoot RAW. Speed first, sharp eye second, blurred background third.
Can I take good dog photos with just my phone?
Yes. Most phones have burst mode, quick autofocus and a 1x or 2x lens that gives you enough reach. Tap the dog’s face on screen to lock focus and exposure, keep the lens clean, and shoot far more frames than you think you need. Shelter volunteers get usable adoption photos on a phone alone.
How do I photograph a black dog without losing all the fur detail?
Dark coats swallow light, so the camera meters for the bright grass and underexposes the dog. Add roughly plus 0.7 to plus 1.7 exposure compensation, or drag the brightness slider upward on a phone. Open shade helps more than any setting, and a reflector in front of the chest lifts the shadow side.
How do I get my dog to look at the camera?
Do not hold a treat where the dog can see it, or the eyes will follow the treat. Hold it just beside or behind the lens, say the dog’s name once in a bright voice, then fire a short burst the moment the head turns. Repeat ten times rather than two, because the good frame usually arrives late in the run.
What time of day is best for outdoor dog photos?
The hour after sunrise and the hour before sunset, when the sun is low and the light is warm and soft. Open shade works all day if you can see the sky above the subject, and a bright overcast sky is nearly as forgiving. Midday sun creates hard shadows, squinting and shiny hot fur.
Is it safe to photograph my dog outdoors in hot weather?
Yes, with limits. Asphalt can burn long before the air feels hot, so press the back of your hand to the ground for seven seconds before the dog walks on it. Keep sessions to ten or fifteen minutes, offer water often, stop at the first heavy panting, and skip the outing if your vet has advised against heat.
Conclusion
Start with the location and the light, because those two decisions explain most good and most bad outdoor dog photographs. Find somewhere with a simple background, a safe surface and enough room to move, then wait for open shade or a low sun.
From there the workflow is the same every time: let the dog settle, set 1/500s or faster with continuous autofocus, focus on the nearest eye, shoot bursts instead of single frames, and let movement and voice do the directing. Review the results, change one setting, keep going, and stop before the dog is tired.