
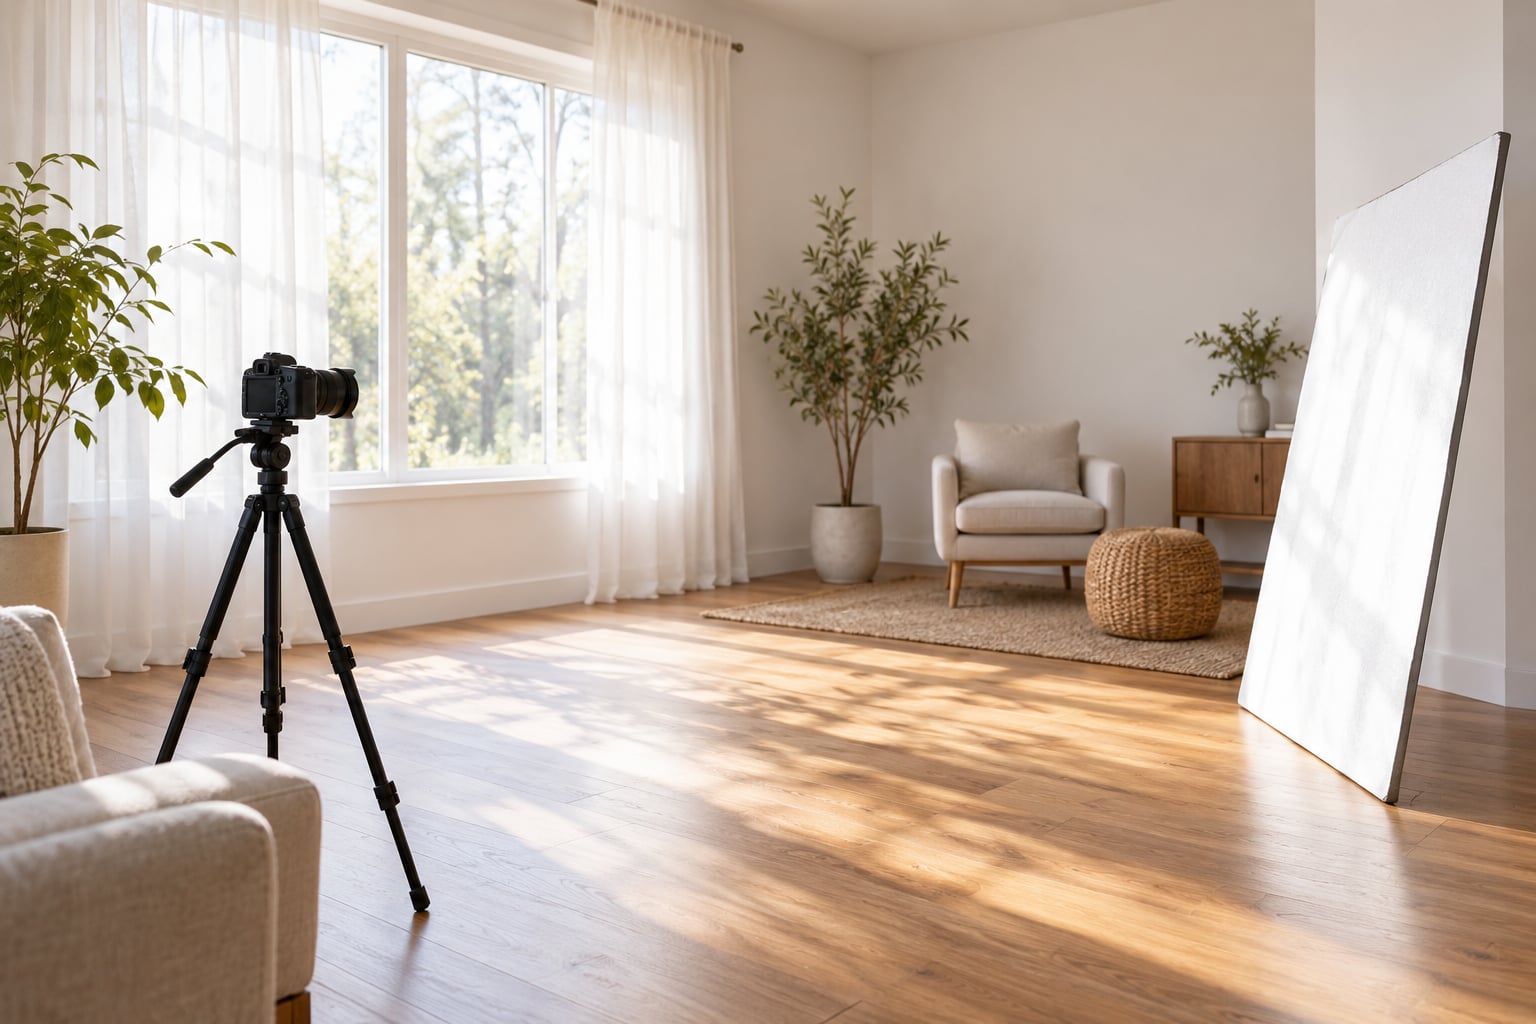
Photographing a room with window light comes down to one problem: the window is usually four to six stops brighter than the room, so a normal camera exposure turns the glass into a white hole and the furniture into a silhouette. Once you learn to read that gap, position the camera so room corners stay separate, and expose for the highlights, a single window is enough to light an entire interior. This guide walks through the whole workflow, from picking the window to fixing verticals in the edit, and it works with a phone, a mirrorless body, or anything with a manual exposure dial.
The whole session takes about ten minutes per room once you know the steps. The hard part is not the gear, it is the temptation to switch the lights on.
Table of Contents
- What You Need
- Step-by-Step: How to Photograph Interiors With Window Light
- Common Mistakes
- Frequently Asked Questions
- Can you photograph a room in bright direct sun?
- How do I stop my window being blown out?
- What ISO is best for indoor photography?
- Do I need a tripod to shoot interiors in daylight?
- Is it better to shoot with the window in front of me or behind me?
- Can I photograph a room at night with no artificial light?
What You Need
The kit list is short because window light is a single source. Everything below either steadies the camera, softens the source, or fills what the source misses. Most of it is cheap, and the reflector is the piece I would buy first out of my own pocket.
- A camera you can lock exposure on. Manual mode is ideal, but Aperture Priority with exposure compensation works fine if you understand what compensation does.
- A wide-angle lens. Roughly 16 to 24mm full frame equivalent covers most rooms. Anything longer will not fit a small space without stepping into the far corner, and going wider bends the room into a fishbowl.
- A tripod with a level. A bubble level on the camera, or the digital level in the viewfinder, keeps verticals straight before you ever touch the software. A stack of books works in a pinch.
- A reflector or white foam board. A cheap white board bounces window light back into the shadows on the far side of the room. It is the single highest-impact item on this list.
- Diffusion material. A sheer curtain, a translucent shower curtain, or a roll of white fabric softens harsh sun and stops hard-edged patches on the floor.
- Glass cleaner and a microfibre cloth. Windows are dirty. A smudge catches light and ruins an otherwise clean frame.
- Optional: light-blocking material. A black sheet or heavy fabric lets you subtract a second window that is fighting the first one.
You do not need flash to get good results. If you want to read about how shadows behave so you can place the reflector better, my guide on how to photograph shadows is worth a look.
Step-by-Step: How to Photograph Interiors With Window Light
Here is the short version. Scout the room for the best window first, choose your light direction, stage the space, set up the tripod and level it, expose for the window, add a reflector, then shoot and check the histogram before moving on.
- Scout the room and pick the window with the most even light.
- Decide on front, side, or back lighting from that window.
- Clear the frame and pull clutter out of the shot.
- Set the tripod, level the camera, and mount it in a corner or doorway.
- Set ISO 100 to 400, an aperture of f/8, and meter off the interior.
- Undershoot by two or three stops so the window keeps its detail.
- Bounce a reflector into the shadows and shoot RAW.
How to Prepare and Position the Room
Choose the window that gives you the most usable light, not the biggest one. Look at where the sun patch lands and at whether another window on the far wall is throwing a competing colour temperature into the same room.
Two windows facing roughly the same direction is the ideal setup. Two windows facing opposite directions means one is cool daylight and the other is warm daylight, and the room will never settle on one white balance.
Next, edit the room rather than the shot. Move chairs and cords out of the lower corners, stack the magazines, hang anything drooping, and push furniture that crowds the camera about thirty centimetres. Ten percent of interior photography is creativity, ninety percent is moving furniture.
Adjust the window treatment to match the weather. Direct sun through clear glass gives you hard-edged shadows and blown highlights, so hang a sheer across it. Overcast daylight is already soft, so pull the curtains fully open and use them for shape rather than diffusion.
How to Position Yourself Relative to the Window
Stand perpendicular to the window for side light, which is the most useful direction in most rooms. Side light gives shape to furniture and texture to walls, and it lets the camera sit in the darkest corner of the room looking back across the space.
Keep the camera close to a wall rather than in the middle of the room. When the lens sits in the middle, two walls merge into a single corner and the room looks flat and narrow. Shooting from a corner of the room, with the camera held level, keeps the walls separate and the room feeling wide.
If the side of the room you want faces away from the window and comes out too dark, turn around and shoot toward the light instead. Backlit frames look luminous precisely because you let the window be the brightest thing in the picture.
| Direction | What it looks like | How to shoot it |
|---|---|---|
| Front light | Flat, even, almost shadowless | Camera in the window, room facing you. Watch for featureless light on faces. |
| Side light | Texture, depth and shape on furniture | Camera at right angles to the window, ideally from the far corner. The most reliable starting point. |
| Back light | Glowing windows, silhouetted furniture, mood | Camera facing the window, exposed for the interior. Undershoot further than usual and lift shadows later. |
How to Set Exposure and Focus for Window Light
Start at ISO 100 to 400, f/8, and a shutter speed the camera picks for you in Aperture Priority with a minus two or minus three exposure compensation dialed in. On the tripod you do not need a fast shutter, and on a modern body ISO 400 still leaves plenty of room to lift shadows.
Meter off the interior, not the window. Pointing the meter at the glass gives you a reading designed to turn the outside into middle grey, which is why so many first attempts come back with a glowing sky. Meter for the wall you want to be properly exposed and accept that the outside will be brighter than middle grey.
Watch the histogram rather than the screen. Highlights should touch the right edge without stacking against it, and the shadows should sit off the far left without clipping. If the histogram piles up hard at the right edge, drop another stop.
For focus, set the camera to single point autofocus and place the point on the nearest corner of the room, then switch to manual focus so it does not hunt in the low light. Focus a third of the way into the room rather than on the back wall, and stop down to f/8 or f/11 if the front furniture is soft.
How to Control Highlights, Shadows, and Contrast
When the gap between window and room is more than about four stops, no single exposure will hold both. The honest options are to bracket, to let the window go, or to bring the room up with fill.
Bracketing means three to five frames at one or two stops apart, merged in editing. A typical sequence is five frames at two stops, which covers a ten-stop spread. Some working shooters call this a window pull, and it is the standard technique in real-estate work. The cost is time and a more careful merge.
Letting the window blow out is a legitimate choice when the view outside is unimportant and you are shooting a mood shot. Just do it deliberately, and accept that pure white windows can look like a mistake to some viewers.
Fill is the beginner-friendly option. Place a white reflector or foam board opposite the window, angled to bounce light into the dark side of the room, and it will recover one to two stops for free. If you need more than that, bounce a flash off the ceiling rather than firing it straight into the room, which flattens everything.
Light subtraction matters too. If a second window is throwing a cold, flat patch across the wall you are shooting, hang a black sheet or heavy curtain over it. Removing a bad source often beats adding a good one.
Waiting until the light balances is the simplest trick of all. In the half hour before sunset, interior and exterior levels come close together and the room stops looking like a cave with a hole in it. Beginners rarely think of twilight as an interior technique, but it is one of the best.
How to Compose Interiors That Look Spacious
Camera height changes how big a room feels. Mount the tripod so the sensor is around chest height, roughly one to one and a half metres, and keep it level. Shooting from above shrinks the floor, shooting from below exaggerates the ceiling and makes furniture look toy-like.
Do not tilt the camera up or down. Tilt is the single most common amateur error in this genre, and a tilted frame makes every vertical lean. If the framing does not work, move the tripod rather than tilting the camera.
Use the doorway or corner as a natural frame. Standing in a doorway with the frame edges dark around a bright room creates depth that a wide lens alone will not. Include some foreground, a chair back or a plant, to give the viewer a sense of scale and distance.
Leave negative space on the side of the room that feels emptiest. A window with clear floor and wall beside it reads calmer than a shot packed edge to edge. You can always crop tighter later, but you cannot invent floor space that was not in the frame.
Clean the glass before you shoot, and check for reflections of your own tripod, your car in the drive, or the neighbours’ fence. Reflections in a dark pane are the most common thing that ruins an otherwise good room shot. Moving two steps usually solves it.
How to Edit a Window-Lit Interior Photo
Edit in a fixed order so you do not chase your tail: exposure, then white balance, then verticals, then cleanup. Pull the highlights down while the histogram still has data in them, then lift the shadows, then deal with colour.
For white balance, start from the RAW file and pick a daylight or shade preset matching the light you saw. If you mixed in warm bulbs, pull the temp slider toward blue and the tint slider toward green until walls read neutral. Grey cards and white window frames are your references.
Straighten verticals last, with the guide lines on, and check the four corners rather than trusting the centre. Perspective corrections that are too aggressive bend furniture, so nudge rather than drag.
For cleanup, remove power cables, tidy the corners, and clone out the tripods in the reflection. If you shot several brackets, merge them before you grade, and apply any noise reduction to the shadows after the lift, not before.
If you shoot reflective objects or mirrors as part of a room, my piece on how to photograph reflections covers the tricks for keeping them controlled.
Common Mistakes
Almost every disappointing interior shot comes from one of seven problems, and each one has a quick fix. Here they are by symptom, cause, and fix.
Most of these I learned the same way, by checking the histogram after every frame and being annoyed at what it said.
| Symptom | Cause | Fix |
|---|---|---|
| Window is pure white | Metered off the glass | Meter off the interior and apply minus two to minus three stops of compensation. |
| Room is black and unusable | Gap of more than four stops between window and room | Bracket, bounce a reflector into the shadows, or return at twilight. |
| Walls lean and the floor curves | Camera tilted, lens too wide | Level the tripod, stay between 16 and 24mm, correct verticals in editing. |
| Confusing colour cast | Daylight mixed with tungsten or LEDs | Switch off the bulbs, or fix temperature and tint from the RAW file. |
| Hard-edged patches on the floor | Direct sun through clear glass | Hang a sheer curtain across the window and wait for the sun to move. |
| Grimy glow on the glass | Dirty windows and reflections | Clean the inside glass and move two steps to kill your own reflection. |
| Room looks cluttered | No staging before the shot | Clear lower corners, hide cables, and crop or shoot from a doorway. |
One last note on the room lights. The argument about switching them on is really about colour temperature, not brightness. If the bulbs are cool and modern, switch them on for fill and correct the white balance later. If they are warm tungsten, switching them on fights the daylight and the room never resolves into one white balance, so turn them off and use a reflector instead.
For the same reason, white walls need more care than most tutorials admit. If the walls are warm off-white or a pale grey, the colour cast shows twice as strongly as it would on a darker wall, and the fix is in the white balance step rather than in the exposure. My guide to how to photograph white on white goes deeper into it.
Frequently Asked Questions
Can you photograph a room in bright direct sun?
Yes, but hang a sheer curtain or thin white fabric across the window first. Direct sun through clear glass creates hard-edged shadows and small blown patches on the floor. Diffused sun is far bigger and softer, so it behaves more like an enormous softbox. If you want the drama of the sun patch, keep it in frame deliberately and expose around it.
How do I stop my window being blown out?
Meter off the interior instead of the window, then apply minus two to minus three stops of exposure compensation. Check the histogram rather than the camera screen, and keep highlights off the right-hand edge. If the gap between window and room exceeds about four stops, one frame cannot hold both, so bracket three to five exposures and merge them in editing.
What ISO is best for indoor photography?
Start at ISO 100 and work up to 400 for a bright room with large windows. Modern sensors handle ISO 400 cleanly and it keeps shadow noise low when you lift the dark side of the room. Above ISO 1600 you will be fighting noise, so put the camera on a tripod and slow the shutter instead of raising the ISO further.
Do I need a tripod to shoot interiors in daylight?
You need one, and the reason is not sharpness, it is control. With a tripod you can underexpose two or three stops to protect the window, lift the shadows in editing, and take a second frame for a bracket. Handheld, you have to keep the shutter fast, which forces the exposure up and blows the window no matter how carefully you compose.
Is it better to shoot with the window in front of me or behind me?
Side light, with the window at right angles to the camera, is the most useful and the most forgiving. It gives shape to furniture and lets you shoot from the darkest corner of the room. Shooting with the window behind you gives flat, featureless light. Shooting toward the window gives a luminous, moody result but needs a bigger exposure compensation.
Can I photograph a room at night with no artificial light?
Only lit rooms, so a night shot means using the lamps you have. Balance the exposure for those sources, set a white balance around 3000 to 4000 Kelvin depending on the bulbs, and expect warmer results than daylight. If you want the window to look right as well, the answer is blue hour, when the outside and the inside sit within a stop of each other.
Start with the room that has one big even window, turn off the bulbs, put the camera in the far corner on a levelled tripod, and expose minus two or three stops. That single setup will fix more of your problems than any piece of equipment. Pick up the reflector habit next, and the same window will carry you through a whole house. This guide is current for 2026, and the method has not changed much since the days of film.