
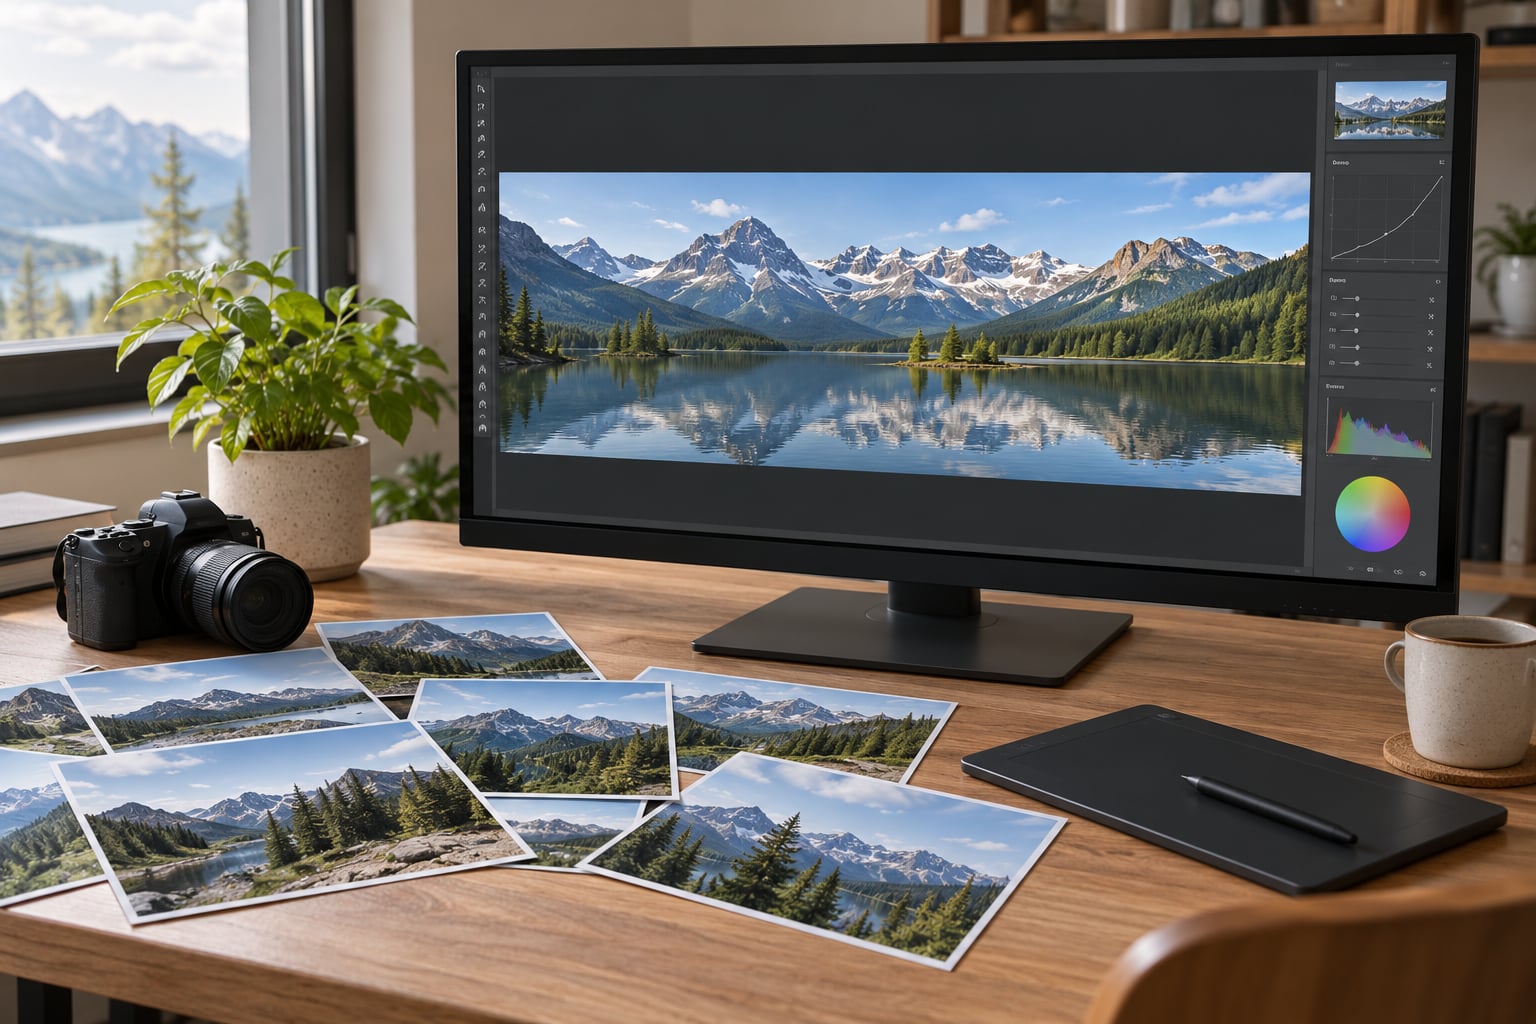
To make a panorama in Lightroom, select your overlapping frames in the Library grid, then choose Photo > Photo Merge > Panorama — or press Ctrl+M on Windows and Cmd+M on Mac — and click Merge. Lightroom stitches the frames into one wide DNG that you can still edit like any other raw file. The whole thing takes about two minutes once the frames are good.
This guide covers Lightroom Classic on desktop, tested in 2026 on a current release. Menu paths shift a little between versions, and plenty of older tutorials still print Ctrl+Shift+M, which is no longer the shortcut. Check the Photo menu if the keyboard route does nothing.
Table of Contents
- What You Need
- Step-by-Step
- Common Mistakes
- Frequently Asked Questions
- Can Lightroom make a panorama from photos taken without a tripod?
- How many photos do I need to make a panorama in Lightroom?
- What is the best amount of overlap for a Lightroom panorama?
- Should I use Auto, Stacked, or Panorama in Lightroom’s Merge dialog?
- Can I create a panorama in Lightroom on mobile?
- How do I fix a warped or uneven Lightroom panorama?
- Conclusion
What You Need
Most failed merges trace back to the shoot, not the software. Get these right first and the stitching step gets boring in a good way.
- Overlapping frames. Each photo should share roughly 20 to 30 percent of its width with the one before it. Without overlap, Lightroom has nothing to match.
- Fixed camera settings. Manual focus, a fixed ISO, a fixed white balance and a fixed aperture. Auto focus hunts, auto ISO changes brightness, auto white balance shifts colour — all three confuse the alignment.
- Support. A tripod is ideal, but a solid surface, a railing or braced elbows will do. The camera must not rotate between frames.
- Raw files. Merge from raw rather than JPEG so you keep full dynamic range in the result.
- Headroom in memory. A twenty-frame merge of 45-megapixel files needs a lot of RAM. On a machine with 8 GB, long merges get slow or stall.
Shoot a few extra frames past both ends of your intended view. Trimming a frame from the front or back later is easy; adding one after the merge is not.
Step-by-Step
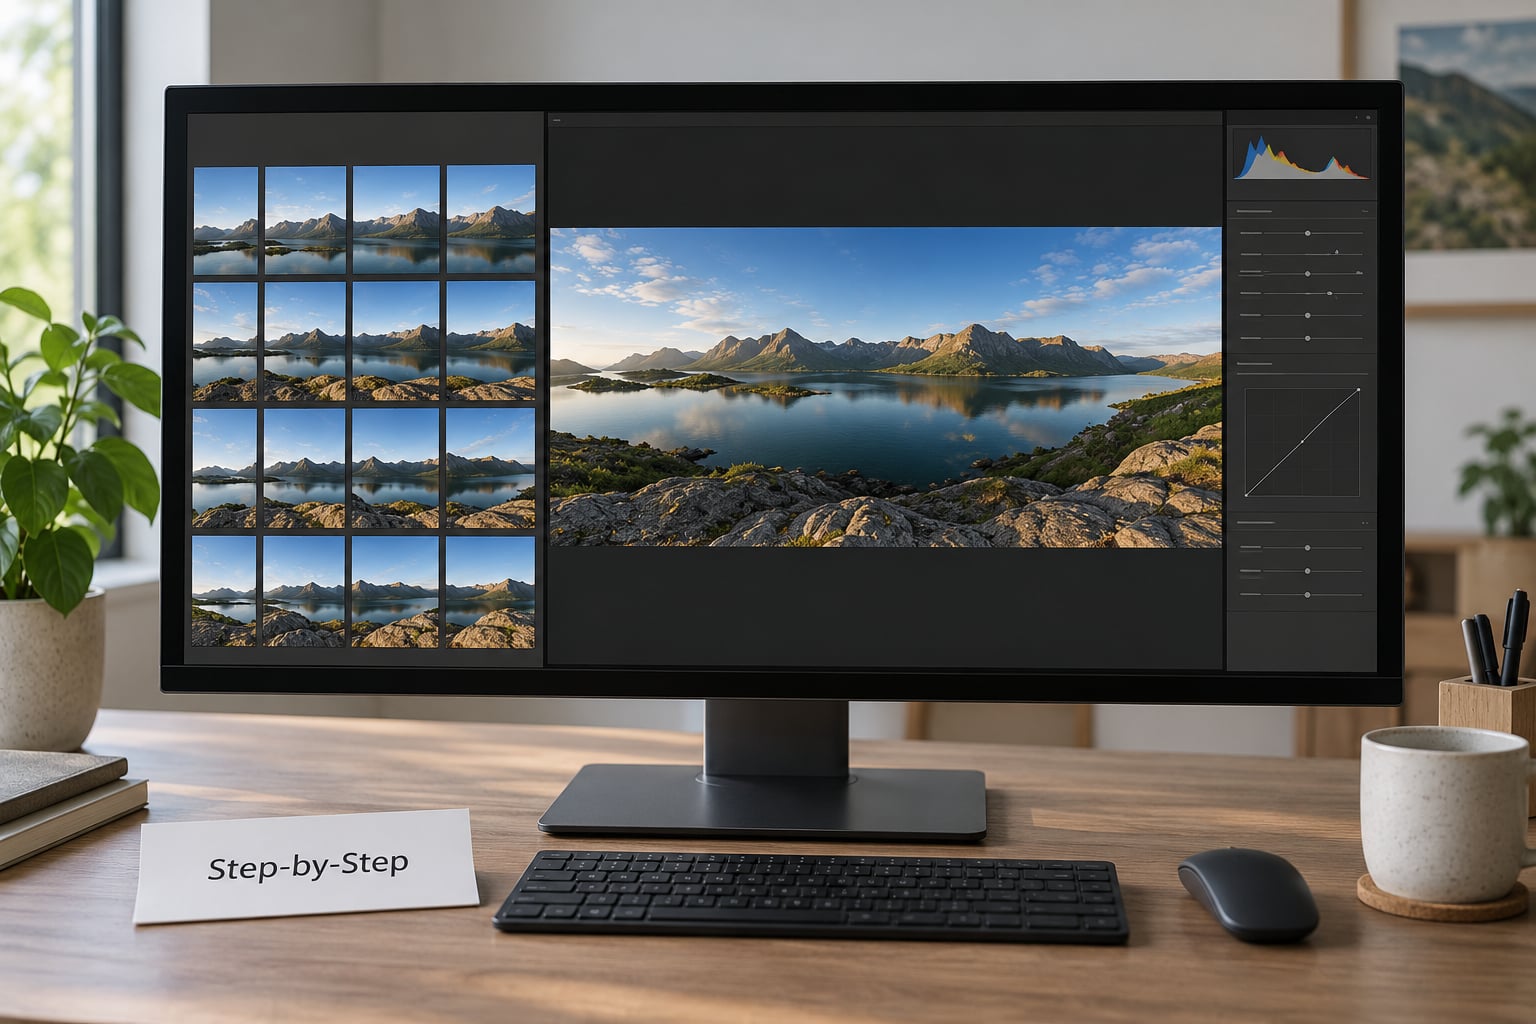
1. Select the Images for Your Panorama
Work in the Library module. Set the sort order to Capture Time so the frames fall in the order you shot them, then click the first frame, scroll to the last and shift-click it. Lightroom keeps a contiguous run selected, which matters because the merge assumes a sequence.
Do not select frames from two different shoots, and drop any accidental duplicates or misfires. If your set is buried in a big grid, apply the bookends trick: open the first and last frame in Loupe view, compare them, and use the filmstrip to walk backwards through the sequence.
Sticking frames into collections as you go is worth it. Once you import a full card, the set is hard to reassemble months later — see how we organize photos in a Lightroom workflow.
2. Check Alignment, Exposure, and Focus
Before merging, flip through the selected frames in Loupe view at 100 percent and look at the overlap areas. You are checking four things:
- Camera position. The tripod did not shift and nobody nudged the camera between frames.
- Exposure. No frame is a stop brighter or darker. Auto ISO on a changing sky causes this constantly.
- Focus. Every frame is sharp in the overlap zone. Autofocus drifting mid-sequence is a top cause of merge failures.
- Lens distortion. Wide lenses vary at the frame edges. Shoot with a consistent focal length and leave a little margin at the frame borders.
Do not apply noise reduction, healing or heavy local adjustments to the source frames first. Heavy noise reduction changes the pixel data frame to frame, and the aligner can no longer match the overlaps — which is why people report that a merge fails on three of seven frames after an edit pass.
3. Open Lightroom’s Merge Panorama Tool
With your frames selected, go to Photo > Photo Merge. Three commands live there:
| Command | What it does | When to use it |
|---|---|---|
| Auto | Examines the frames and picks HDR, Panorama or Stacked for you | Unsure which one your set is |
| HDR | Blends bracketed exposures at each camera position | Brackets, same framing throughout |
| Stacked | Focus stacks frames shot at different focus distances | Close-ups and macro work |
| Panorama | Stitches overlapping frames into one wide view | Any sequence with 20 to 30 percent overlap |
Choose Panorama. The Panorama Merge Preview dialog opens with a live preview, which means you can change options and watch the result redraw before committing to anything. The dialog is resizable — drag the corner bigger when you need to judge the seams.
4. Choose Projection and Merge Options
Projection determines how Lightroom bends each frame onto the virtual canvas. The wrong one bends your straight lines.
| Projection | Best for | Straight lines |
|---|---|---|
| Spherical | Wide sweeps, and anything approaching a 360-degree view | Bends noticeably at the edges |
| Perspective | Architecture, cityscapes, interiors | Keeps vertical and horizontal lines straight |
| Cylindrical | Sweeping vistas where the middle matters more than the edges | Bends lines toward the frame edges |
Start with Auto selected and only override it when you have a reason. Perspective is the one to switch to when a building leans after the merge.
Two options sit under the projection choices. Auto Crop trims the result down to the area covered by every frame, which removes the gaps — and quietly crops off whatever sat beyond the outermost frame. Boundary Warp pushes the edges outward to close the gaps while keeping the full frame. At 100 percent it usually gives the best-looking result.
| Edge option | Result | Cost | Best use |
|---|---|---|---|
| Fill Edges | Fills the gap with generated content | Can invent detail that was never there | Sky and water, where content matches easily |
| Boundary Warp | Stretches the existing edges outward | Extreme values distort the corners | Most scenic views; try 50 to 100 |
| Auto Crop | Cuts to the fully covered area | Loses the outer content permanently | Tight deadlines, or when a narrow aspect is what you want |
Tick Create Stack if you want the source frames grouped with the result — the thumbnail then carries a small stack badge showing how many images it holds. Leave it off if the frames belong to a different set and you want them separate.
5. Review and Correct the Merged Panorama
Click Merge. A rendering bar appears, and Lightroom builds the new file in the background, so you can keep browsing the grid while it works. When it finishes, the panorama sits in the same collection as the source frames.
Switch to the Develop module and inspect at 100 percent. Look for:
- Seams or gaps — thin bright lines where two frames failed to blend.
- Ghosting — double edges on people, trees or water that moved between exposures. Nothing in Lightroom removes it afterwards; you cannot unbake a moving subject.
- A wavy horizon — the camera drifted or tilted between frames.
- Clipped highlights — the sky blew out where frames met.
- Uneven colour — frames shot with shifting white balance or light that changed mid-sequence.
Fix what is fixable. Tone down the highlights with the Highlights slider, even out colour with a gentle white balance adjustment, and if you want a specific look, you can color grade photos in Lightroom once the whole frame responds as one image.
6. Crop, Sharpen, and Export the Final Panorama
Crop to a balanced aspect ratio. Panoramas are usually too tall at the top and bottom, and trimming the excess before you export cuts file size for free.
Apply sharpening with restraint. A panorama is stitched from several exposures, so noise along the edges of each frame is already present — pushing Clarity or sharpening hard amplifies it and you get a visible quilted texture. Detail masking keeps the texture smooth.
For export, use the Progressive or Standard JPEG at maximum quality for web delivery, and TIFF or 16-bit settings for printing. Go to File > Export, set the long edge to the size you actually need, and make sure sharpen for Standard sizing is on — sharpening for a 1:1 screen display over-sharpens a 12000-pixel-wide print.
Common Mistakes
- The merge does nothing or fails outright. Almost always mixing causes. Auto ISO, auto white balance or autofocus drift means the overlap regions do not actually match. Shoot again on manual, or at least lock exposure and focus before the sweep.
- Noise reduction was applied first. The aligner cannot match frames whose grain pattern changed. Merge from untouched raws, then denoise.
- Lightroom hangs mid-merge. This is almost always memory. Force-quit, close other large apps, and merge fewer frames per pass. Adobe’s own community forum threads on the topic converge on the same answer: the machine is short on RAM, not on processor.
- Ghosting and double edges. A person walked through the frame. There is no fix after the fact — shoot faster, or mask the moving subject out in each frame before merging.
- The horizon is wavy. The tripod crept. Crop the wobble out or use Boundary Warp, but the distortion is permanent.
- Auto Crop removed the detail you wanted. It happened in the preview, not the export. Undo, shoot wider frames, and go back to the merge.
- Stitching several bracketed groups at once. Lightroom builds one panorama per position instead of one HDR panorama. Merge the brackets first with Photo Merge > HDR, export those, then merge the exported results as a panorama.
Lightroom will not do depth-of-field focus stacking to a professional standard — the Stacked command handles simple cases only — and it will not handle very large merges on modest hardware. When the stitching keeps coming out rough, move the job to PTGui or the free Hugin, or use Photoshop’s Photomerge, which gives far more manual control over the control points. I keep a monochrome edit in mind for night scenes too; converting a panorama to black and white in Lightroom makes seam problems easier to spot.
Frequently Asked Questions
Can Lightroom make a panorama from photos taken without a tripod?
Yes, but keep the camera at a fixed height and rotate it around a single point rather than sliding it sideways. Pan from your body using your elbows locked against something solid, and shoot at a shorter focal length so minor movement is less visible. Handheld sweeps usually stitch fine at 20 to 30 percent overlap, but wide lenses with strong distortion produce the wobbliest results. If the preview looks straight but the horizon dips, you moved the camera in height between frames.
How many photos do I need to make a panorama in Lightroom?
Three frames is the practical minimum, and most scenic results sit between six and twelve. Each extra frame adds real width rather than just more pixels, so the output can run to several times the width of a single frame. Shoot about ten percent more frames than you think you need, because you will always want a slightly tighter crop at the end. Frame count matters less than overlap quality: twelve frames with sloppy overlap fail where six clean ones succeed.
What is the best amount of overlap for a Lightroom panorama?
Aim for 20 to 30 percent overlap between each frame. That gives the alignment algorithm enough shared detail to match one frame to the next without wasting much of the final resolution on duplicated pixels. Less than about 15 percent and you get misalignment or gaps between frames. More than 40 percent works fine but bloats the merged file. The exception is a very wide or very distant subject, where you can push overlap higher to keep matching features in frame.
Should I use Auto, Stacked, or Panorama in Lightroom’s Merge dialog?
Use Panorama for any sequence of overlapping views, which is the normal case. Auto simply inspects your frames and routes them to Panorama, HDR or Stacked on your behalf, so it is useful when you are unsure. Stacked is for focus stacks of a static subject at different focus distances. HDR is for bracketed exposures taken from the same position. If Auto lands on the wrong one, switch manually before the preview updates.
Can I create a panorama in Lightroom on mobile?
No. The Lightroom mobile app and the cloud-based Lightroom do not offer the Photo Merge command, so panorama stitching is a desktop Lightroom Classic feature only. On a phone or tablet you can still use the native camera panorama mode, but that does not stitch files you already shot. If you are away from your computer, shoot the sequence carefully with plenty of overlap and merge it later in Lightroom Classic.
How do I fix a warped or uneven Lightroom panorama?
Undo the merge and adjust the options in the Panorama Merge Preview dialog before rendering. Choose Perspective for straight architecture, and move away from Auto Crop toward Boundary Warp so the frame edges are stretched rather than cut. A wavy horizon from tripod drift cannot be corrected inside Lightroom — you crop into it or return to the Boundary Warp slider. Remember the preview updates live, so judge the seams there, not after the full render finishes.
Conclusion
Start in the Library module: select your frames in shooting order, check that exposure and focus are identical across the overlaps, then open Photo > Photo Merge > Panorama and judge the result in the live preview. Try the merge on a copy first, adjust the projection and edge options while you can still undo, and only click Merge once the preview looks clean.