
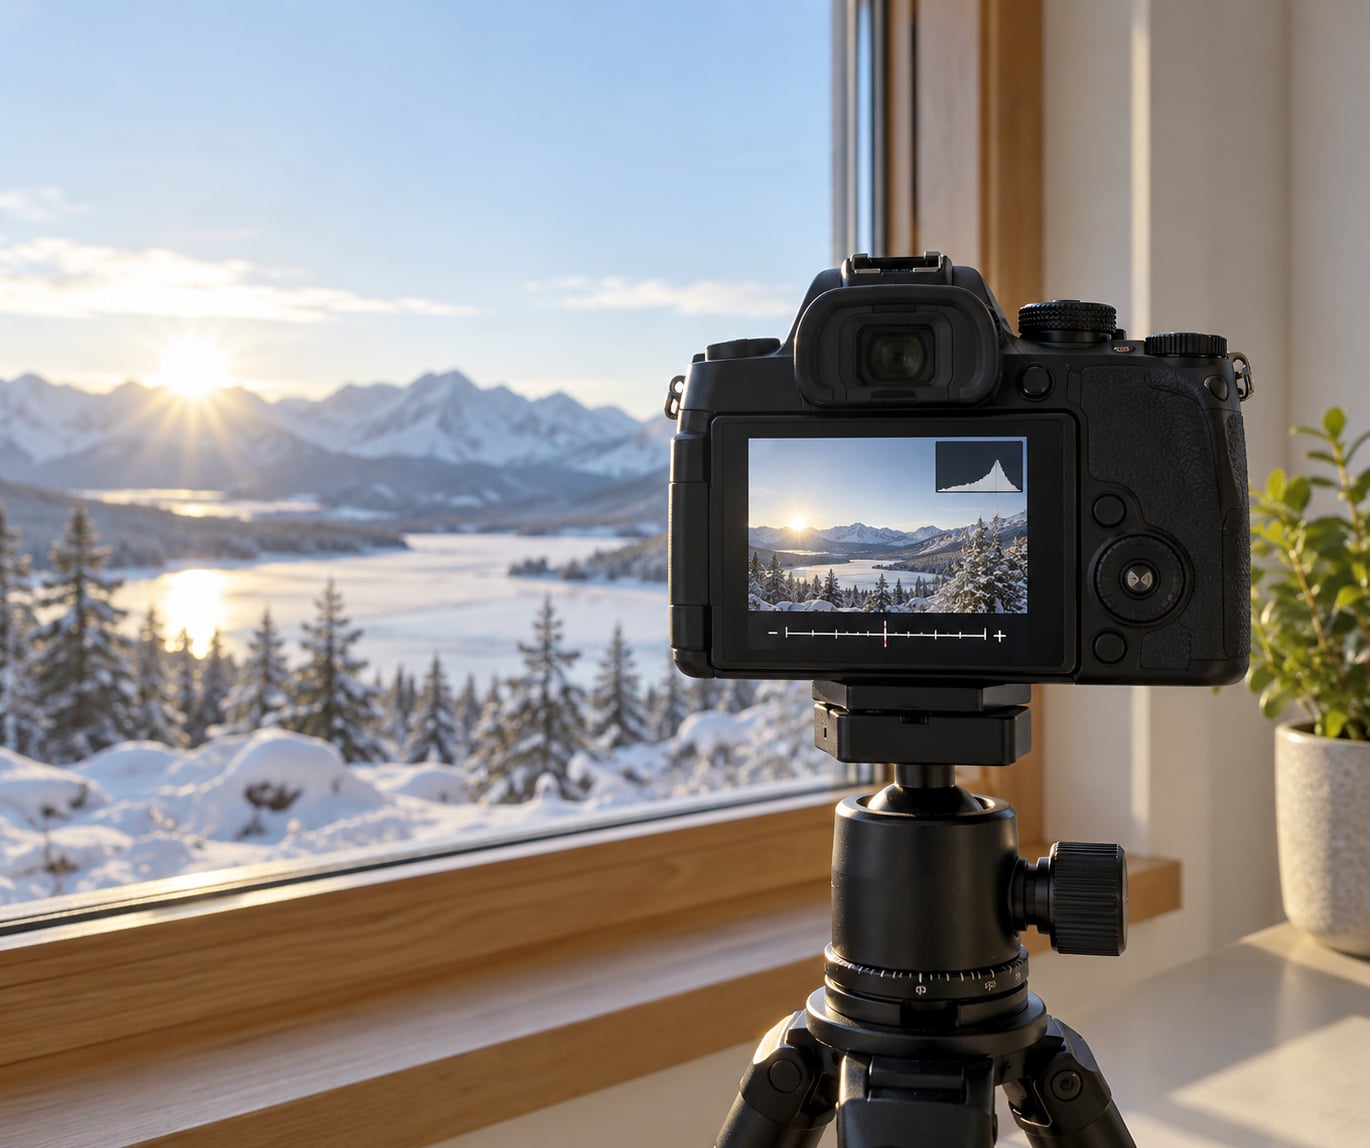
How to use exposure compensation is simpler than most tutorials make it sound: put your camera in a mode where the meter chooses the settings, find the small +/− control, and push it toward plus for a brighter picture or minus for a darker one. One stop is a doubling or halving of the light, so +1 EV doubles it and −1 EV cuts it in half. Ten minutes with a snow scene or a backlit face teaches it faster than reading about it.
Exposure compensation does not replace aperture, shutter speed or ISO. It tells the camera’s meter, “I know what I want, record it this much brighter or darker than your suggestion,” and the camera works out which of the three settings to move.
Table of Contents
What You Need
Any camera with a +/− control works: a DSLR, a mirrorless body, a bridge camera, or even the exposure slider on a phone. Nothing else is required, but you do need to know three things about your own camera before the controls make sense.
- The shooting mode. Compensation is meaningful in Aperture Priority (Av or A), Shutter Priority (Tv or S) and Program (P). It is only partly meaningful in Manual.
- The metering method. Every camera has a multi-segment or evaluative meter, and most add spot, partial and centre-weighted options. Which one you use decides how much of the frame the compensation applies to.
- The exposure information. Look for the exposure scale or exposure indicator, usually a row of marks running from −2 to +2 with a pointer in the middle, and a histogram on the rear screen.
One warning worth knowing up front: on most bodies the compensation value survives after you switch the camera off and turn it back on. Canon warns about this specifically. Treat the dial like a setting you have to put back, not like a temporary adjustment.
Control locations differ by brand. Canon, Nikon, Sony and Fujifilm all label it differently, and the exact buttons move between generations, so check your own manual for your body.
Step-by-Step: How to Use Exposure Compensation
1. Choose the Right Shooting Mode
Start in Aperture Priority or Shutter Priority, where the camera meters and you decide how the correction is applied. In Aperture Priority it will hold your f-number and move the shutter speed; in Shutter Priority it will hold your shutter speed and move the aperture. Program works the same way, distributing the change across both.
Manual is the awkward one, and this is the question that comes up most often on photography forums. With aperture, shutter speed and ISO all fixed by hand, compensation has no automatic exposure left to influence, so it just moves the exposure indicator on the scale and nothing else changes. With Auto ISO switched on in Manual, the behaviour is different again: the body can raise or lower ISO to honour the compensation, which is why some photographers think the dial is broken when the shutter speed sits still and the ISO number moves instead.
2. Set the Exposure Compensation Control
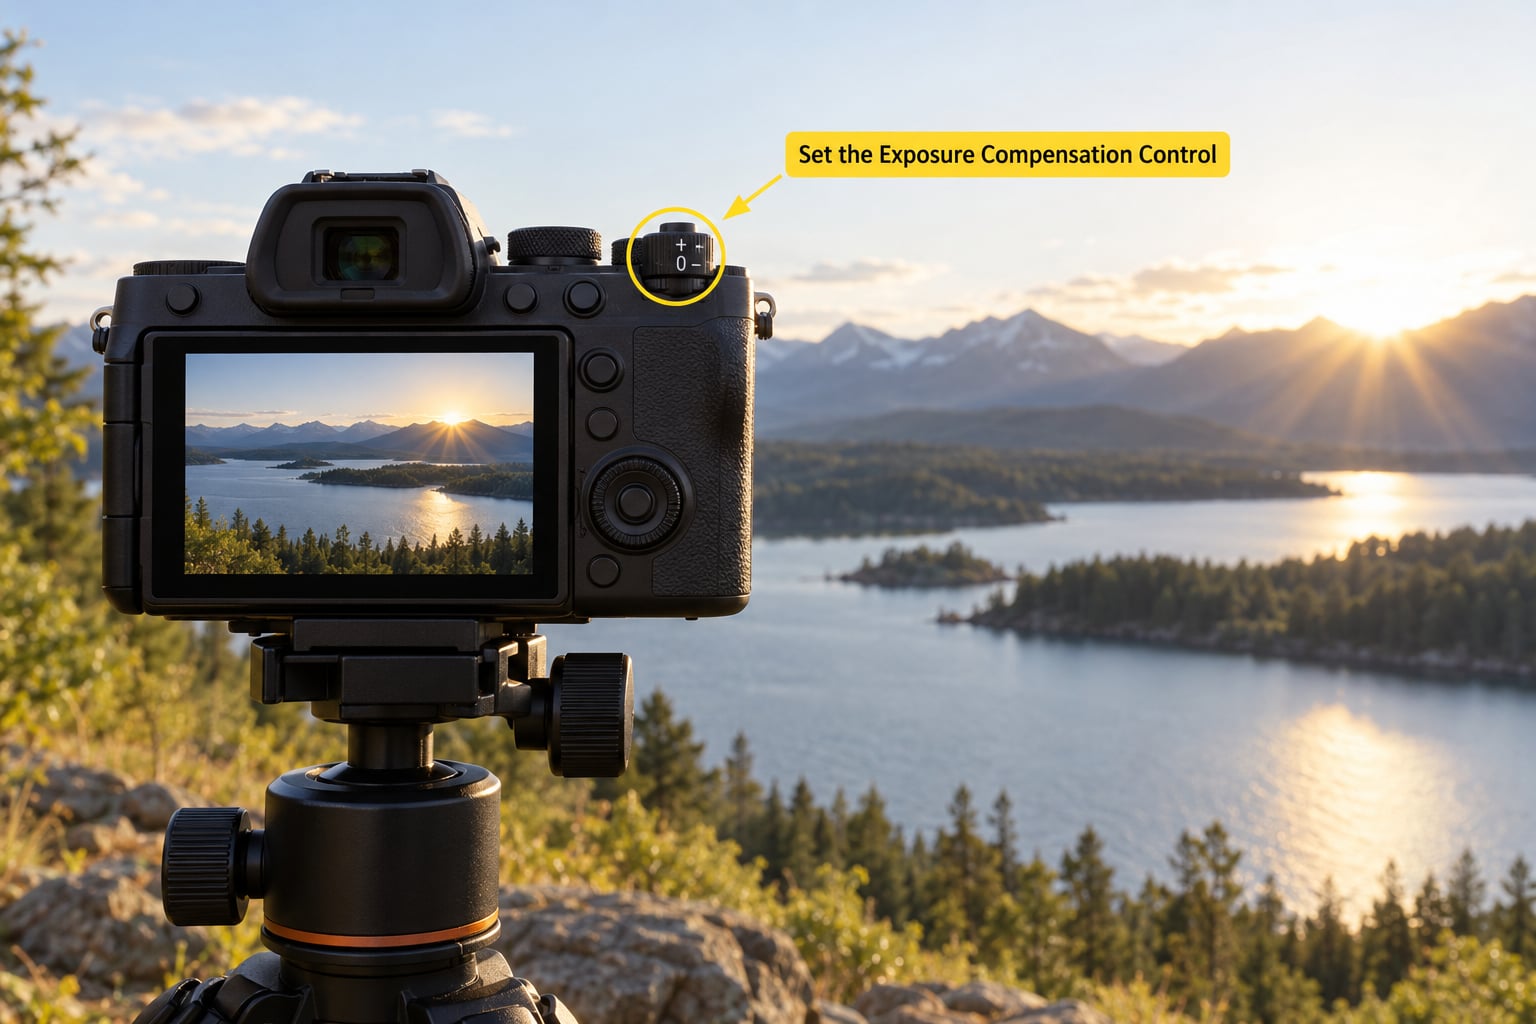
Find the control, then set it while the meter is reading. Most bodies need you to press the compensation button and turn a dial at the same time, or hold a button while a rear dial turns.
- Canon EOS: hold the +/− Av button on the top plate and turn the Electronic Input Dial (the top dial on an R-series body). On some models the Quick Control Dial on the back works without the button.
- Nikon: hold the E button and turn a command dial. Nikon’s Easy Exposure Compensation custom setting, labelled b4 on some bodies, lets you skip the button and turn a dial directly.
- Sony Alpha: exposure compensation sits on the control wheel. Press the plus or minus side of the wheel, or turn the wheel itself, until the scale shows the value you want.
- Fujifilm X-series: a dedicated exposure compensation dial on the top plate. Turn it directly, no button required.
3. Add Positive Compensation for Brighter Results
Add compensation when the scene is full of bright things and the picture still comes out dark. A camera’s meter is built on the assumption that the average subject reflects about 18% of the light, so a scene dominated by snow, white sand, a bright sky or a pale wall is read as too bright, and the camera shortens the exposure to protect an average that is not there.
For snow or white sand, start at +1 EV and work toward +2. For a backlit portrait where the face is falling into shadow, +1 to +1.7 usually lifts the face while keeping the background from going white. Birds against a bright sky need less, often +0.3 to +1. For fog, haze or a reflective beach, stay subtle at +0.3 to +0.7 because the fog already lifts shadows on its own.
If you have no mid-tone to meter from, spot meter a light or dark area and correct by hand: metering white snow usually needs about +1.5 to +2 added, and metering a deep shadow needs roughly −1.5 to −2.
4. Apply Negative Compensation for Darker Results
Go the other way when the picture comes out brighter than you want, especially when bright areas are already clipping. A sunset with a deep blue sky, a lit performer against a black stage, or a white wall filling the frame are all cases where the meter overestimates the subject and leaves you with a flat, washed-out file.
Start at −0.7 to −1 for concert and stage lighting, where a single bright lamp can push the rest of the frame into near-black. For sunsets and colourful skies, −0.3 to −1 keeps the colour and stops the sky going chalky. Night street scenes often want −0.7 to −2 so lit signs and windows keep their shape instead of blowing out into white blobs. For a deliberate silhouette, anything from −1 to −2 works.
Bright midday light is the case people forget. Under a clear sky at midday, a −0.3 to −0.7 correction gives you deeper sky colour and less haze than the metered version.
5. Check the Exposure Scale and Histogram
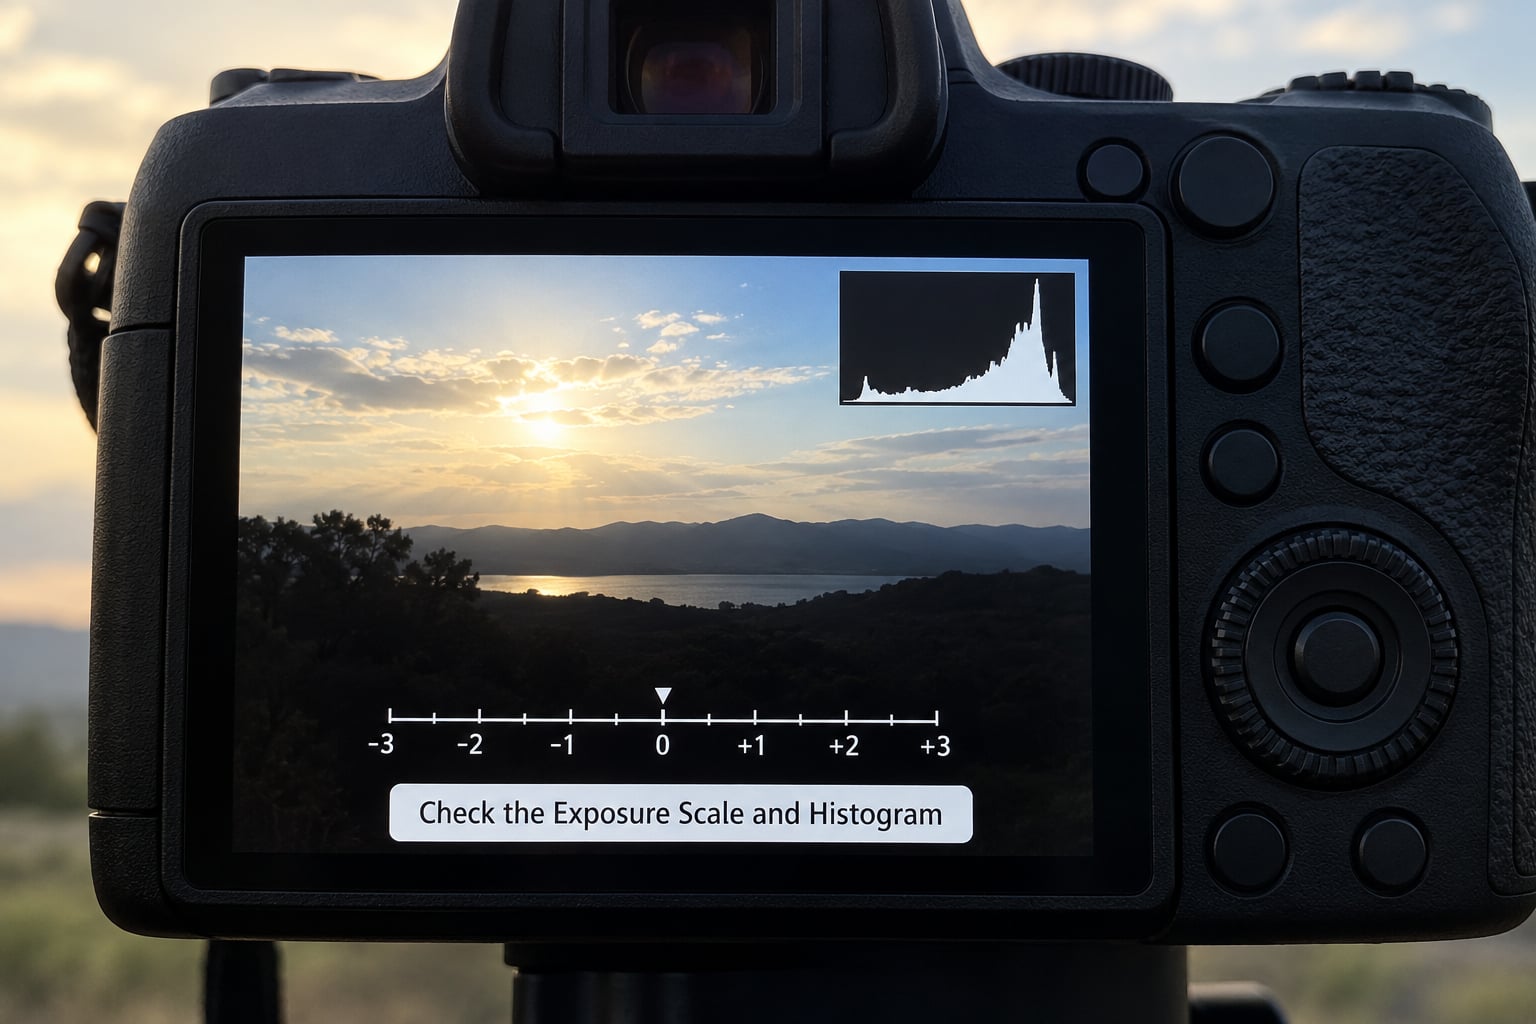
Judge compensation on evidence rather than on how the picture feels on the rear screen. That screen brightens in sunlight and dims in shade, which is exactly when you most need a trustworthy read.
- Exposure scale: the pointer should sit where you intended, usually between −1 and +1. If it is pegged at the end of the scale, the camera has run out of shutter speed or aperture and the dial is no longer doing anything.
- Histogram: for a normal scene the data should sit mostly in the middle and left, touching the right edge only in the brightest parts you deliberately kept bright.
- Blinkies or highlight alerts: blinking areas mean highlights have clipped to pure white. Below the visible threshold but above true white is also lost, so treat the histogram as the real test.
- Zebra stripes: where available, set the threshold to the level of clipping you want to avoid, usually around 100 or 102, rather than using the lowest setting.
If clipping is showing, pull compensation back a third of a stop at a time rather than a full stop. On a mirrorless body the viewfinder usually simulates the exposure before you shoot; on a DSLR you will need a test shot and the histogram.
6. Take a Test Shot and Refine the Adjustment
Shoot one frame, check the histogram, and adjust by a third of a stop. Most cameras step in thirds, so a full stop is three clicks and a half stop is a click and a half on the dial’s detents. Refining in thirds keeps you inside the part of the file where detail survives.
Repeat until the important parts hold their intended brightness. For a landscape that means the sky is bright but not clipped; for a backlit portrait that means the face sits around the middle of the scale; for a night street shot that means the brightest signs are white but not featureless.
Do not chase a perfectly centred histogram. A correct exposure has room above the midpoint, because that headroom is what you need for a later edit.
7. Reset or Save the Compensation Setting
When the scene changes, return the value to zero before moving on. On most cameras you can reset it with a button press combined with a dial turn, or by switching off the camera and back on, though not every model does that last part. Resetting to zero is the single habit that prevents a silent +1 from ruining a whole later shoot.
When you are shooting a consistent series, write the deliberate value down instead. If you are at −1/3 on purpose for a slightly more saturated file, or you are holding +0.7 across a twelve-frame sequence at the same light, note it in your shot list so you do not later convince yourself it was a mistake.
If you are going to layer multiple exposures of one scene into a composite, keep working through 10 Stunning Double Exposure Photography Ideas once your single-exposure discipline is solid.
Common Mistakes
Treating it as a raise in ISO. Compensation and ISO are separate controls. Exposure compensation tells the meter to change the exposure; ISO changes the sensor’s sensitivity. In Aperture Priority with fixed ISO, +1 EV usually slows your shutter instead of raising sensitivity, which can bring motion blur or camera shake. That is the difference photographers argue about most on forums, and it is the reason some people conclude the dial does nothing.
Adjusting without looking at the histogram. Judging brightness off the rear screen in sunlight is guesswork. One histogram check costs nothing.
Overcompensating in mixed light. A backlit portrait has a dark face and a bright sky in the same frame. Evaluative metering already tries to balance scenes like this, so adding a full stop on top can undo what the meter did correctly. Small steps, and a test shot.
Forgetting to reset to zero. The setting usually survives power cycling, so a forgotten +1 EV quietly brightens every frame for the rest of the day.
Expecting compensation to recover clipped detail. Once a highlight is clipped to pure white it is gone in a RAW file, and no amount of in-camera correction brings it back. Protection has to happen before the shot.
Assuming the dial is broken when it stops responding. If the camera is already at its fastest shutter speed of 1/8000, its widest aperture, or its Auto ISO ceiling, extra compensation has nowhere to go. Check the exposure scale for a pinned pointer.
Confusing it with flash exposure compensation. Flash exposure compensation is a separate setting that adjusts the power of your speedlight in TTL mode. It changes the flash, not the ambient exposure.
Quick Tips for Better Exposure Results
- Work in thirds. Most cameras click in one-third stop increments, and the steps between clipping and crushing detail are much finer than a full stop.
- Protect highlights. Let the histogram run right and the shadows stop short. A RAW file tolerates darkening far more than brightening, so underexposing a little is the cheaper mistake.
- Meter from a mid-tone. If you can find grey skin, a grey card or a mid-tone surface, meter that and leave compensation near zero. It is the most accurate starting point there is.
- Bracket when the range is wider than the sensor. Shoot at −1, 0 and +1 and blend them later for scenes with deep shadows and blown sky.
- Underexpose deliberately sometimes. A steady −1/3 gives slightly denser colour and a little more highlight headroom on digital files.
- Check what your mode is doing to the other settings. In Shutter Priority, compensation moves your aperture; at f/1.8 in dim light it can hit the wide-open limit quickly.
- Practice the sweep. Shoot the same static scene at −2, −1, 0, +1 and +2, then look at the five histograms together. Ten minutes of that teaches the scale faster than any chart.
If your scene needs a slow shutter rather than a correction, work through How to Shoot Long Exposure Photos: Beginner’s Guide instead of pushing compensation past the point where motion blur takes over.
Frequently Asked Questions
Why would you use exposure compensation?
You use it when your camera’s meter guesses wrong about the scene. The meter assumes an average subject reflecting about 18% of the light, so bright subjects like snow, white sand and backlit scenes come out dark, while dark subjects against bright light come out bright. Exposure compensation pushes the exposure deliberately brighter or darker by a set number of stops instead of leaving that decision to the meter.
Do you use exposure compensation in manual mode?
Usually not, and that is where most confusion comes from. In fully manual mode with aperture, shutter speed and ISO all set by hand, there is no automatic exposure left to influence, so the dial only moves the exposure indicator. With Auto ISO enabled in manual, the camera can change ISO to honour the compensation. Some forum answers say compensation does nothing in manual at all, which is right for fixed ISO and wrong for Auto ISO.
What should my exposure compensation be set to?
Start at zero and adjust from the histogram, using roughly +1 to +2 EV for snow and white sand, +1 to +1.7 for a backlit face, and u0026minus;0.7 to u0026minus;1 for concerts, sunsets and night streets. Treat those as starting points, not rules. Metering mode, the ratio of bright to dark areas and how much headroom your highlights already have all shift the answer.
Is it better to overexpose or under?
Underexpose slightly. Clipped highlights are unrecoverable in a RAW file, while shadows buried a stop or two under can often be lifted in editing. Watch the histogram rather than the rear screen, and if you are torn between two settings, take the darker one. A permanent preference of about u0026minus;1/3 EV also gives more saturated colour on digital files.
Is exposure compensation the same as changing ISO?
No. ISO changes the sensor’s sensitivity to light and affects noise and dynamic range. Exposure compensation changes how much light the camera lets in, and the camera applies it through shutter speed, aperture or Auto ISO depending on your mode. That is why adding +1 EV in Aperture Priority at a fixed ISO usually slows the shutter instead of raising the ISO number.
How does my metering mode change exposure compensation?
Evaluative or multi-segment metering reads the whole frame and may already correct for bright or dark areas, so compensation can double up on work the meter has done. Spot and partial metering read a small area, which makes them more predictable when you meter skin or a mid-tone and leave compensation near zero. Centre-weighted metering sits between the two. Either way, add compensation to a metered value, not to a guess.
Start tonight: put the camera in Aperture Priority, point it at the brightest thing in the room, dial in +1 EV, take a frame and watch the histogram move. Then repeat at −1. Once those two clicks feel obvious, the rest is just picking a starting number and refining it by thirds.