
Shutter priority mode is the semi-automatic setting where you choose the shutter speed and the camera chooses the aperture. Turn the mode dial to S, or Tv on Canon, then spin the top dial or command wheel to dial in your speed while watching the f-number change in the viewfinder.
It takes about five minutes to set up once you know which control does what, and it removes an entire decision from your head while you shoot. Once you can read a shutter speed like a sentence, the mode starts writing your photographs for you. Our beginner guide to shutter speed covers the number side of this if the fractions below feel unfamiliar.
Here is the short version before the details. You pick the speed that matches how fast your subject moves. The camera meters the light, stops the aperture down or opens it up to match, and (if Auto ISO is switched on) picks the ISO too. Every photo you take comes out at the same shutter speed, which is exactly what makes this mode predictable.
Table of Contents
- What You Need
- Step-by-Step
- Common Mistakes
- Frequently Asked Questions
- Is S mode the same as Tv mode?
- Does shutter priority mode change the ISO automatically?
- What are the main limitations of shutter priority mode?
- Is shutter priority better than aperture priority?
- What shutter speed avoids blur when shooting handheld?
- What should I do if the camera will not select a usable aperture?
- Conclusion
What You Need
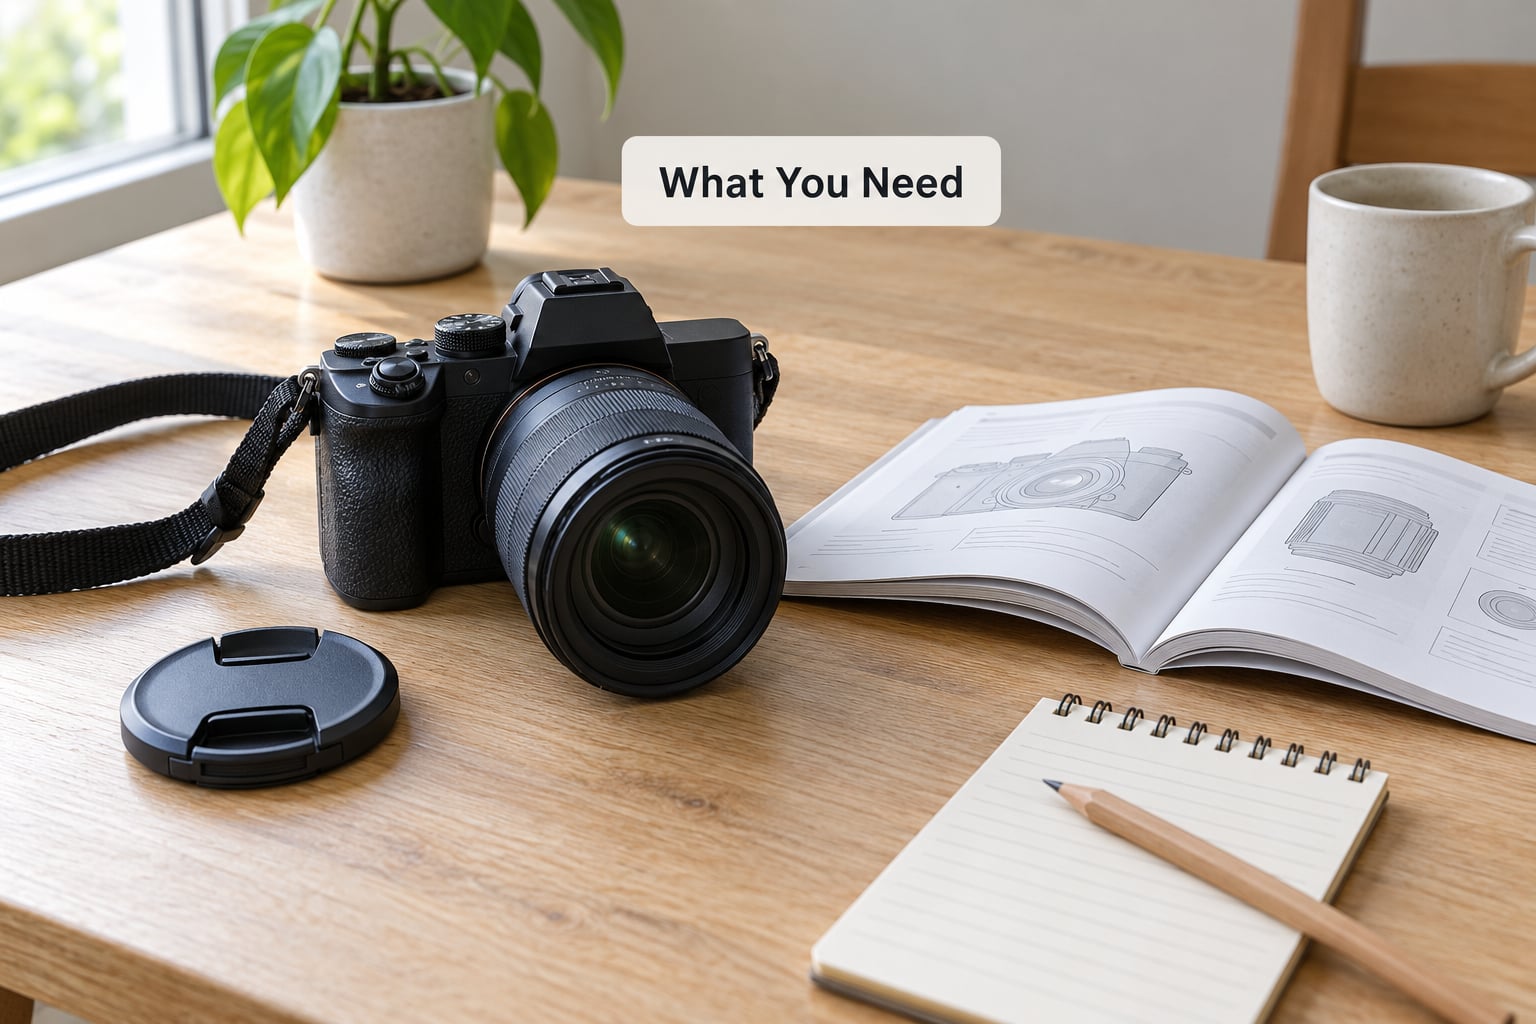
You need your camera, its lens, and a working battery. Everything else is already built into the body, so there is no gear list to buy your way into.
Before you change any settings, find these four readouts on the camera. You will be reading them constantly once the mode is active.
- The mode dial. This is the round dial on top of the body, usually on the right as you hold the camera. It holds P, A/Av, S/Tv, M and the scene modes.
- The shutter speed. Shown on the top LCD plate on a DSLR, or in the corner of the screen or viewfinder on a mirrorless body. It reads like 200, 60, 15 or 0.5, meaning 1/200 second down to half a second.
- The aperture (f-number). The small number that follows the shutter speed, often 5.6 or 8. Lower numbers mean a wider opening.
- The ISO. Another number, usually 100 to 3200. It is the camera or your own sensitivity dial in.
Also locate the exposure compensation dial or button and the metering switch. You will not need either for your first photo, but you will want them the first time the camera guesses wrong.
Mode dial labels by brand
Shutter priority is called S on most cameras and Tv on Canon and Pentax. That letter difference trips up anyone who switches between brands, so check the table below before you hunt for a missing S.
| Brand | Dial label | Shutter speed control |
|---|---|---|
| Canon (DSLR and EOS R) | Tv | Main dial, top plate |
| Nikon | S | Command dial near the shutter button, or touch control |
| Sony | S | Rear dial, or the top dial on some bodies |
| Fujifilm | S | Command dials, either side of the body |
| Pentax | Sv | Front dial, or the rear e-dial on newer bodies |
| OM System and Olympus | S | Rear dial, or the main dial in live view |
Two dial positions matter here. Tv on Canon means Time Value, which is simply another name for shutter speed. Nikon calls the aperture position A and Canon calls it Av, so do not confuse Av with Tv when you are setting up.
Step-by-Step
1. Switch the camera to shutter priority mode
Hold the camera in your right hand, find the mode dial on the top plate, and rotate it until S or Tv lines up with the white index mark on the body. The mark is usually a small white line or a dot beside the dial.
Check the mode is live before you touch anything else. On most bodies the S or Tv appears on the top LCD or in the corner of the live-view screen, next to your shutter speed. If you still see P or a green icon, the dial has not caught yet.
One quick check is to turn the dial and watch the shutter speed number move. If nothing changes, you are probably still in Program mode.
2. Choose a shutter speed for the subject
Choose a fast speed to freeze movement and a slow speed to show it as a blur. The rule of thumb is that fast motion needs a fast speed: a sprinting child usually needs 1/1000 or faster, while a walk needs 1/125.
The cheat sheet below maps the common speeds to what you actually see in the frame. If the fractions do not look like maths, read them as plain time: 200 means a two hundredth of a second, 15 means a fifteenth.
| Shutter speed | What you get | Typical use |
|---|---|---|
| 1/2000 to 1/4000 | Motion completely frozen, no blur at all | Birds in flight, water drops, sports at close range |
| 1/1000 to 1/500 | Action crisp, arms and legs sharp | Football, running children, pets mid-jump |
| 1/250 to 1/125 | Most everyday movement stays sharp | Candid street shots, people walking, casual portraits |
| 1/60 to 1/30 | Slight softness on fast limbs, still usable | People at rest, indoor rooms, group shots |
| 1/15 to 1/4 | Visible streaking in anything that moves | Panning with a cyclist, softening crowds on a beach |
| 1/2 to 2 seconds | Water turns silky, clouds drift | Waterfalls, rivers, ocean, moving clouds |
| 4 seconds and longer | Handheld blur unless you use a tripod | Light trails, fireworks, light painting |
Never forget your own hands. Use the reciprocal rule: keep the shutter speed at least as fast as one over the focal length. On a 50mm lens that means 1/50 or faster, on a 200mm lens 1/200 or faster. This is the fastest you can shoot before camera shake shows.
Stabilisation buys you a few stops, not a rescue. If your camera has IS, VR or OSS, you can hand-hold about two to three stops slower than the reciprocal rule before blur creeps in, but it will not save a subject moving at 1/15.
3. Check the aperture the camera selects
The camera chooses the aperture for you, so your job is to read it and decide whether you like the result. Watch the f-number next to your shutter speed as you dial the speed in.
A wide aperture such as f/2.8 gives a shallow depth of field: the subject is sharp and the background melts away. A narrow aperture such as f/11 gives more depth of field so everything from foreground to background stays sharp, but demands slower speeds or more ISO. Small openings also bring out lens softness on older glass.
Here is the trap nobody warns you about. Set 1/8000 in bright midday sun and the camera can only stop down so far. Once it reaches its narrowest aperture and the picture is still too bright, it has nowhere else to go and your highlights blow out. The exposure indicator in the viewfinder will flash to show you.
The reverse happens at the other end. Set 1/15 indoors and the camera opens to its widest aperture, runs out of light, and then raises ISO if Auto ISO is on. Push ISO to 12800 or 25600 and you get a correctly bright frame full of noise.
If you need a very fast speed in bright light, three fixes work: use a lens with a smaller maximum aperture (an f/1.4 rather than f/4), put on an ND filter, or drop to 1/4000 and accept that the sunlit parts are bright. Exposing for a white shirt does not protect a white sky, so watch the histogram rather than guessing.
4. Adjust ISO only when needed
ISO controls how sensitive the sensor is. Raise it and the picture gets brighter without changing the aperture or the speed, but you also get more noise and less dynamic range in the shadows.
Start at Auto ISO with a ceiling you choose, rather than at a fixed number. Auto ISO with an upper limit is the safety net for this mode: the camera raises sensitivity to hold your chosen shutter speed instead of silently slowing it down. Set the ceiling to the highest you are willing to tolerate, often 3200 or 6400 on an older body.
If you shoot in good daylight, set ISO 100 or ISO 200 and leave it there. Then reach for Auto ISO when you move indoors and the light drops.
5. Use exposure compensation when the camera meters incorrectly
Meters read the light as an average, and average is not always right. Snow, a white wall or a backlit window all read darker than they actually are, so the camera over-brightens them. Dark coats and deep shade push the other way.
Turn the compensation dial a third of a stop negative for snow, using the minus button or dial marked with a small minus sign. A third of a stop positive for a dark subject. Press the button halfway to return to zero. On Sony and Nikon bodies you may need to hold a button while turning the dial instead of using a dedicated compensation ring.
Verify the change in the live view or on the rear screen before you commit. A quick histogram check is faster than coming home with 200 frames of the same mistake.
6. Take a test shot and evaluate the result
Take one frame, look at it, and change one setting only. This is the habit that fixes settings faster than any tutorial. Ask four questions in this order.
- Is the subject sharp? If it is not, decide whether the cause is your hands or the subject moving. Zoom in on the image to tell. Background blur with a sharp subject is fine; a double-edged blur across the whole frame is camera shake.
- Is the aperture where you wanted it? If the camera picked something much wider than expected in dim light, the scene needed more light than the lens could give, so Auto ISO or a tripod is the fix.
- Is the brightness right? Check the histogram for clipped whites on the left side and heavy shadow clipping on the right.
- Are the highlights holding detail? Bright windows and white shirts clip first, and no edit brings those pixels back.
If the shutter speed is what you want and only the brightness is off, adjust exposure compensation rather than the speed. Changing the speed changes the motion rendering too.
Once a shot works, adjust your picture style for contrast and colour in that same review pass, so one shot answers several questions.
For anything longer than a second, use a tripod and a two-second timer or remote shutter release. Touching the camera during a slow exposure is the most common cause of a blurry long shot.
Common Mistakes
Assuming S means the same thing everywhere. It nearly does, but Pentax uses Sv and Canon uses Tv. A glance at the dial lettering saves a long search. Pentax users sometimes report an aperture that will not adjust when the camera is left in Sv with a minimum aperture limit set for a screw-on lens.
Blaming the mode for blurry photos. Four causes account for nearly all of them: the shutter speed was too slow for the subject, too slow for your hands, focus landed on the wrong thing, or the subject moved between focusing and the shot. Only the first two are about the mode.
Picking 1/1000 in a dim room and wondering why the image is noisy. The camera kept your speed by widening the aperture and then lifting ISO. Slowing to 1/250 and letting Auto ISO work is usually the better trade.
Choosing 1/8000 in full sun and getting white skies. The aperture ran out of stops. Stop down manually with the exposure compensation dial, add a filter, or accept a slightly faster speed with ND glass.
Leaving Auto ISO switched on without a ceiling. The camera will happily climb to an ISO you would never choose by hand, and you will find out in the edit.
Fighting the meter instead of fixing the light. For a static scene under even light, Program or aperture priority with Auto ISO is less work. Treat shutter priority as a situational mode rather than a permanent one, and use it where the motion matters more than the depth of field.
Frequently Asked Questions
Is S mode the same as Tv mode?
Yes, they are two names for the same thing. Tv stands for Time Value and sits on Canon and Pentax dials, while Nikon, Sony, Fujifilm and OM System use S for shutter. Both are semi-automatic modes: you set the shutter speed and the camera selects the aperture. Only the lettering on the dial changes, not the behaviour.
Does shutter priority mode change the ISO automatically?
Only if you ask it to. With a fixed ISO set, the camera adjusts the aperture to expose correctly at your chosen speed. Switch Auto ISO on and give it a ceiling, and the camera may raise or lower ISO instead, which keeps your shutter speed fixed when the light changes. That combination is the most predictable way to work in this mode.
What are the main limitations of shutter priority mode?
The camera can only balance exposure with the aperture, so very fast speeds in bright sun can outrun the lens and blow out your highlights, while very slow speeds force the widest opening and then push ISO until the image gets noisy. You also give up direct control of depth of field. For those reasons many shooters move to manual with Auto ISO once they outgrow the mode.
Is shutter priority better than aperture priority?
Use shutter priority when motion is your priority and depth of field does not matter much: children, pets, sport, wildlife, waterfalls and light trails. Use aperture priority when you want everything sharp from front to back, such as landscapes, architecture and group portraits. If you find yourself constantly overriding what the camera picks, switch to manual with Auto ISO.
What shutter speed avoids blur when shooting handheld?
Keep the speed at least as fast as the reciprocal of your focal length: 1/50 for a 50mm lens, 1/200 for a 200mm lens. Stabilisation adds roughly two to three stops of hand-held latitude, but it cannot rescue a subject that is moving during the exposure. For children running around, 1/500 or faster is the safer starting point.
What should I do if the camera will not select a usable aperture?
Check the exposure indicator in the viewfinder for a warning, then look at the f-number. If it is pinned at the widest or narrowest value, the camera has run out of stops. Either slow the shutter speed down, add an ND filter to let in less light, or set exposure compensation negative so the frame stops clipping. Some bodies also have a minimum aperture limit you can change in the menu.
Conclusion
Turn the dial to S or Tv, pick the shutter speed that matches your subject, and read the aperture the camera hands you. Start somewhere safe: 1/500 handheld in daylight with Auto ISO capped at 3200.
Then make one deliberate change before the next frame. It is the only way to learn how the mode behaves in your hands, and how to use shutter priority mode stops being a list of steps and becomes something you just do.