
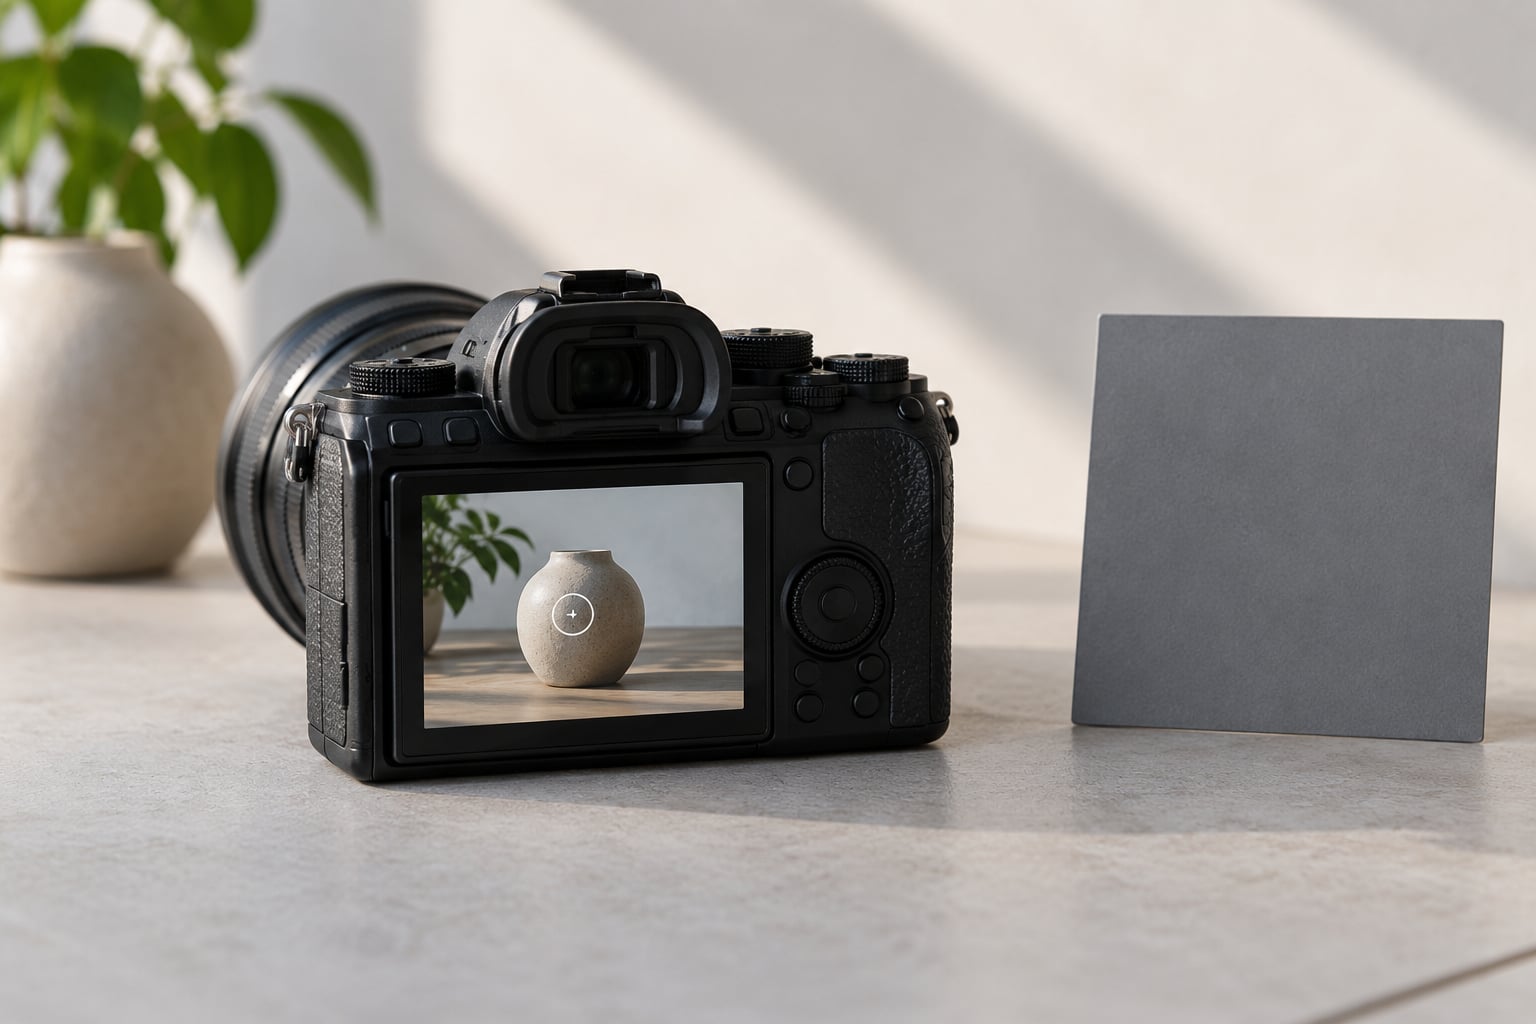
Learning how to use spot metering takes about ten minutes of practice, and it is the skill that turns a blown-out backlit portrait into a usable frame. Spot metering tells your camera to read the light from one small circle — roughly 1% to 5% of the frame — and ignore everything else. Place that circle on the subject, adjust until the exposure indicator reads zero, and the camera sets your aperture, shutter speed, or ISO so that patch reads as 18% gray.
That last part is where most beginners get stuck. The camera does not decide what looks good. It decides what should sit in the middle of the tonal range. Everything else in this guide builds on that one rule.
Table of Contents
What You Need
Almost any camera with a manual mode can do this. What you really need is the ability to see two things while you work: the meter reading and the result.
- A camera with a spot metering mode. Every DSLR and mirrorless body made in the last twenty years has one. It may be labelled Spot, Spot Metering, or sometimes a small circle icon on the mode dial. The exact name varies by brand.
- A lens at a working aperture. Spot metering only sets one end of the exposure triangle at a time. Pick your aperture first for the look you want, then let the meter find a shutter speed.
- A way to review exposure before it matters. That means the exposure level indicator in your viewfinder or on the rear screen, plus histogram and highlight warnings in playback. RAW files with a histogram are far more forgiving than JPEGs.
- Optional but useful: an 18% gray card and a hand light meter. Neither is required. The gray card is a calibration check, and the handheld meter lets you shoot scenes too dark for the camera meter to read confidently.
One more piece of gear matters more than people expect: a subject that stays still for a second or two. Spot metering asks you to keep a tiny circle on one area. That is easy on a tripod or a portrait sitter and hard on a bird at 400mm.
Step-by-Step: How to Use Spot Metering on Any Camera
The order below is the one that survives contact with real scenes. Each step assumes the last one worked, so if a step fails, go back rather than piling on exposure compensation.
Switch the Camera to Spot Metering
Find the metering mode control and choose spot. On Canon bodies a metering button sits near the shutter release with a circle-and-dot icon, and pressing it cycles through Evaluative, Partial, Center-weighted, and Spot. Nikon bodies put the same cycle on a button on the top plate, often labelled with a dot inside a rectangle. Sony and Fujifilm hide it in the menu instead — Sony under Camera Settings, Fujifilm under Photometry.
Menu locations move between model years, so treat the brand-level path as a starting point and confirm the label in your own manual. What you should see once spot is active: a small circle in the centre of the viewfinder, or a circle attached to the active autofocus point if you have enabled spot-to-AF-point linking.
If linking is available, turn it on. With linking off, the meter stays in the middle of the frame while focus follows wherever you point, which is a common reason people say the spot missed the subject.
Place the Meter Over the Area That Matters
Put the circle on the tone you want sitting in the middle of the range. For a portrait that is usually a patch of cheek or forehead lit evenly, not the shadowed side of the face. For a landscape with the sun in frame, meter the brightest area that still has to hold detail. For snow, meter the snow.
Where you should avoid pointing is as informative as where you should. A bright window behind the subject, a white wall, a clear sky, and a specular highlight on skin or metal will all pull the reading down hard, because the camera treats that patch as if it should be mid-gray.
Aim for a flat, evenly lit patch of about the same brightness as the subject overall. Skin is forgiving because it is roughly uniform. A face in half shadow is not, and you will need compensation later.
Review the Exposure and Adjust the Camera
Read the exposure level indicator at the bottom or side of the viewfinder. Zero means the metered area will render as middle gray. A reading of plus one means the camera wants to give you a stop more light than middle gray needs; minus one means a stop less.
Change one setting at a time, in this order: set aperture for depth of field, set ISO for noise tolerance, then let shutter speed absorb the rest. That order means you are not fighting your own decisions with the meter.
Check the histogram before you commit. In RAW, you want the important tones clustered to the left of the right edge with headroom on both sides. In JPEG, anything pinned at the right edge is gone forever. Highlight warnings and zebras, where your camera has them, are faster than squinting at a thumbnail.
Lock the Exposure and Take the Photograph
Once the reading is right, do not lose it. On most cameras, holding the shutter halfway locks the exposure on the current AF point. Some bodies have a dedicated AE lock button that does the same thing and keeps the lock while you reframe.
Lock first, then recompose. The reverse order is the classic mistake — you compose, meter, and accidentally shift the camera slightly while pressing the shutter, so the reading no longer describes the frame you are shooting.
Make small compensation adjustments with the dial if the subject calls for it, then check the finished image for clipped highlights and blocked shadows. When the light changes — a cloud moves, a performer steps into a follow spot — repeat the whole sequence.
Common Mistakes
- Metering the background instead of the subject. A bright sky or a white wall behind the subject pushes the whole frame dark.
- Reading a bright meter needle as overexposure. The indicator shows a relative value. What matters is where the tone lands, and where that lands is the histogram.
- Ignoring the histogram. The meter and the file can disagree once tone curves, RAW development, or in-camera picture settings are involved.
- Leaving exposure compensation dialled in from the last shot. Half of all unexpected spot-metered results are a plus or minus dial the photographer forgot to reset.
- Assuming the spot follows focus. On many bodies it only follows the active AF point if linking is switched on.
- Forgetting middle gray. The camera renders whatever is under the circle as 18% gray. If your subject is not 18% gray, it will not look correct until you compensate.
Common Mistakes and Quick Fixes
If your spot-metered photo comes back too dark, work through these in order rather than dialling in more compensation blindly.
The subject is genuinely brighter or darker than middle gray. A white shirt, snow, or pale skin all sit well above 18%, so the camera underexposes them on purpose. Add positive compensation: about +1 stop for light skin or a white shirt, closer to +2 for snow or a white wall filling the frame.
The subject is genuinely darker than middle gray. Black hair, a dark jacket, and deep shadows need negative compensation, typically -0.5 to -1 stop. Beginners rarely go the other way and accept this as the natural look.
The spot landed on the wrong patch. Check the frame for a bright window, a light-coloured wall, or sky. Re-meter on the face or the product and compare.
The mode is not linked to the focus point. If the AF moved but the meter circle stayed centred, your reading described empty background.
The ISO or shutter speed was set before the aperture. The meter can only change the setting you have left free. Fix the order and the reading becomes predictable.
A red or grey colour cast on a spot-metered file is usually not a metering fault at all. Auto white balance has locked to whatever was under the circle, so a warm face in shade gets rendered with sky-balanced colour. Set white balance to a fixed value or shoot RAW and adjust later.
Two quick scenes worth practising, because they show opposite ends of the range:
- Metering snow. Place the spot on snow, shoot, expect the snow to sit near middle gray — slightly darker than your eye expects. Add +1 to +2 stops depending on how much texture you want to keep, and check for clipping.
- Metering dark clothing. Place the spot on a face or a lit hand rather than the black jacket, or take -1 stop if the face itself is in shadow. A black sweater rendered as 18% gray looks like grey felt.
When Spot Metering Is Useful
Spot metering earns its keep when one area of the frame is genuinely more important than the rest. That is a narrower situation than most tutorials admit, and the forum consensus is worth repeating: most photographers use evaluative or center-weighted metering most of the time and reach for spot when the frame gets genuinely hard.
- Backlit portraits. The sun is behind the subject and the face is in shade. Evaluative metering sees the bright sky and lets the face go dark. Spot on the face fixes it.
- Stage and concert light. A performer under a tight follow spot against a dark hall is the definition of one tone that matters.
- Sunsets and high-contrast coastal scenes. Meter the brightest area that must hold detail and let the sky and foreground fall where they fall.
- Snow and white architecture. Big areas of a single tone that the meter will always render too dark.
- Small subjects in a large frame. A bird against open sky, a product on a busy surface. Partial metering, at roughly 10% of the frame, is often the better tool here because it averages some surroundings with the subject.
- Repeatable baseline exposures in manual mode. When you are shooting flash plus ambient in manual, spot metering gives you a consistent starting number instead of a different exposure every frame.
Evaluative or matrix metering is faster and more forgiving when light is even, the scene has no single dominant subject, or you are shooting quickly and cannot hold the circle steady. Center-weighted average metering is the sensible middle ground: it reads the centre of the frame generously, which handles a subject surrounded by clutter without the fuss of a tiny circle.
Partial metering is the underrated one. When the spot is too small to land cleanly, partial covers roughly a tenth of the frame and still keeps the frame’s bright edges from dominating.
Spot Metering vs. Other Metering Modes
All four standard modes read light through the lens and produce the same kind of meter reading. They differ only in how much of the frame the reading is based on.
| Mode | Area of frame read | Best for | Watch out for |
|---|---|---|---|
| Evaluative, matrix, multi-zone | Whole frame, divided into zones | Even light, general shooting, moving subjects | Backlight and bright backgrounds pull the whole frame dark |
| Center-weighted average | Centre of frame, weighted heavily | Subject in the middle with busy surroundings | Large bright areas at the edges still shift the reading |
| Partial | Roughly 10% of frame | Small subjects, when spot is too fiddly to aim | Still averages in some background |
| Spot | Roughly 1% to 5% of frame | One tone that must be exact: faces, snow, stage light, sunsets | Middle gray assumption, hard to land on moving subjects |
One clarification that confuses a lot of people: in manual mode, the metering mode does not change your exposure at all. The sensor receives the same light either way. Changing modes only changes what the little meter at the bottom of the viewfinder is telling you. Many experienced photographers work almost entirely in manual and treat the spot meter as a reference reading that confirms their own judgment.
Frequently Asked Questions
What does spot metering measure?
Spot metering measures reflected light from a small circle in the frame, usually about 1% to 5% of the viewfinder area, centred in the frame or attached to the active autofocus point. It then sets exposure so that patch renders as 18% middle gray. It is a through-the-lens reading, so it changes constantly as you move or the light shifts.
Where should I point spot metering on a portrait?
Point the circle at a flat, evenly lit patch of the face, such as the cheek or forehead, not the shadowed side and not the background. Skin tone sits close enough to middle gray that the reading is usually close on its own. If the face is in deep shade, meter the lit cheek and accept a brighter background, then add positive compensation if you want more detail.
Is spot metering better than evaluative metering?
Neither is better; they suit different frames. Evaluative and matrix metering read the whole scene in zones and is faster and more forgiving when light is even or you are shooting quickly. Spot metering is the right choice when one tone must be exact, such as a backlit face, snow, or a performer under a follow spot. Most working photographers use evaluative as their default.
Can I use spot metering in manual exposure mode?
Yes, and it is a genuinely useful habit. In manual mode the metering mode does not change the exposure your camera records, because your settings are fixed. It only changes what the meter reading displays, which makes the spot circle a calibration tool: set aperture and ISO yourself, then aim at your subject and see whether the reading sits at zero. Many photographers use that to confirm their own judgment in difficult contrast.
Why does my image look too dark when I use spot metering?
Usually the spot is landing on something much brighter than your subject, such as a sky, a white wall, or a window, so the camera protects that highlight and darkens everything else. If the spot is correctly placed, the subject itself is probably brighter than 18% gray, and it is being rendered at middle gray by design. Add positive compensation, roughly +1 stop for light skin or a white shirt and closer to +2 for snow.
Should I use exposure compensation with spot metering?
Often, yes. The meter renders whatever is under the circle as middle gray, so a subject that is genuinely much brighter or darker than that will need an offset. Use about +1 to +2 EV for snow, white walls, or pale skin, and -0.5 to -1 EV for black hair, dark clothing, or deep shadows. Reset the dial after the shot, because a forgotten compensation setting is a common cause of unexpected results.
Conclusion: Check the Meter, Then Check the Histogram
If you do one thing, do this: select spot metering, put the circle on the subject, make the smallest adjustment that gets the reading to zero, then confirm the tones in the histogram before you take the frame for granted. That sequence takes five seconds and fixes most of the problems people blame on the camera.
Keep evaluative metering for most frames. Reach for spot when one tone in the picture genuinely matters more than the rest. If you tell me which camera you shoot and what the lighting situation is, I can point you to the exact menu path for your body.