
A handheld panorama is one wide image built from several overlapping photographs taken while you rotate the camera by hand around a single axis, then stitched together in software. Set everything manual first, keep the lens level, and the whole thing takes about ten minutes in the field and five more at the desk. Learning how to shoot a panorama handheld is mostly a stability and consistency problem, not a gear problem.
It matters because most wide scenes refuse to fit one frame, and because a tripod is often just not an option: a narrow clifftop, a crowded street, a moving vehicle, a freezing wind. Stitch frames instead and you also end up with far more usable detail than a crop from an ultra-wide lens gives you.
Everything below still holds in 2026, and the settings have not moved much since film. What changed is the stitching software, which now handles tight overlap better than it used to.
Table of Contents
What You Need
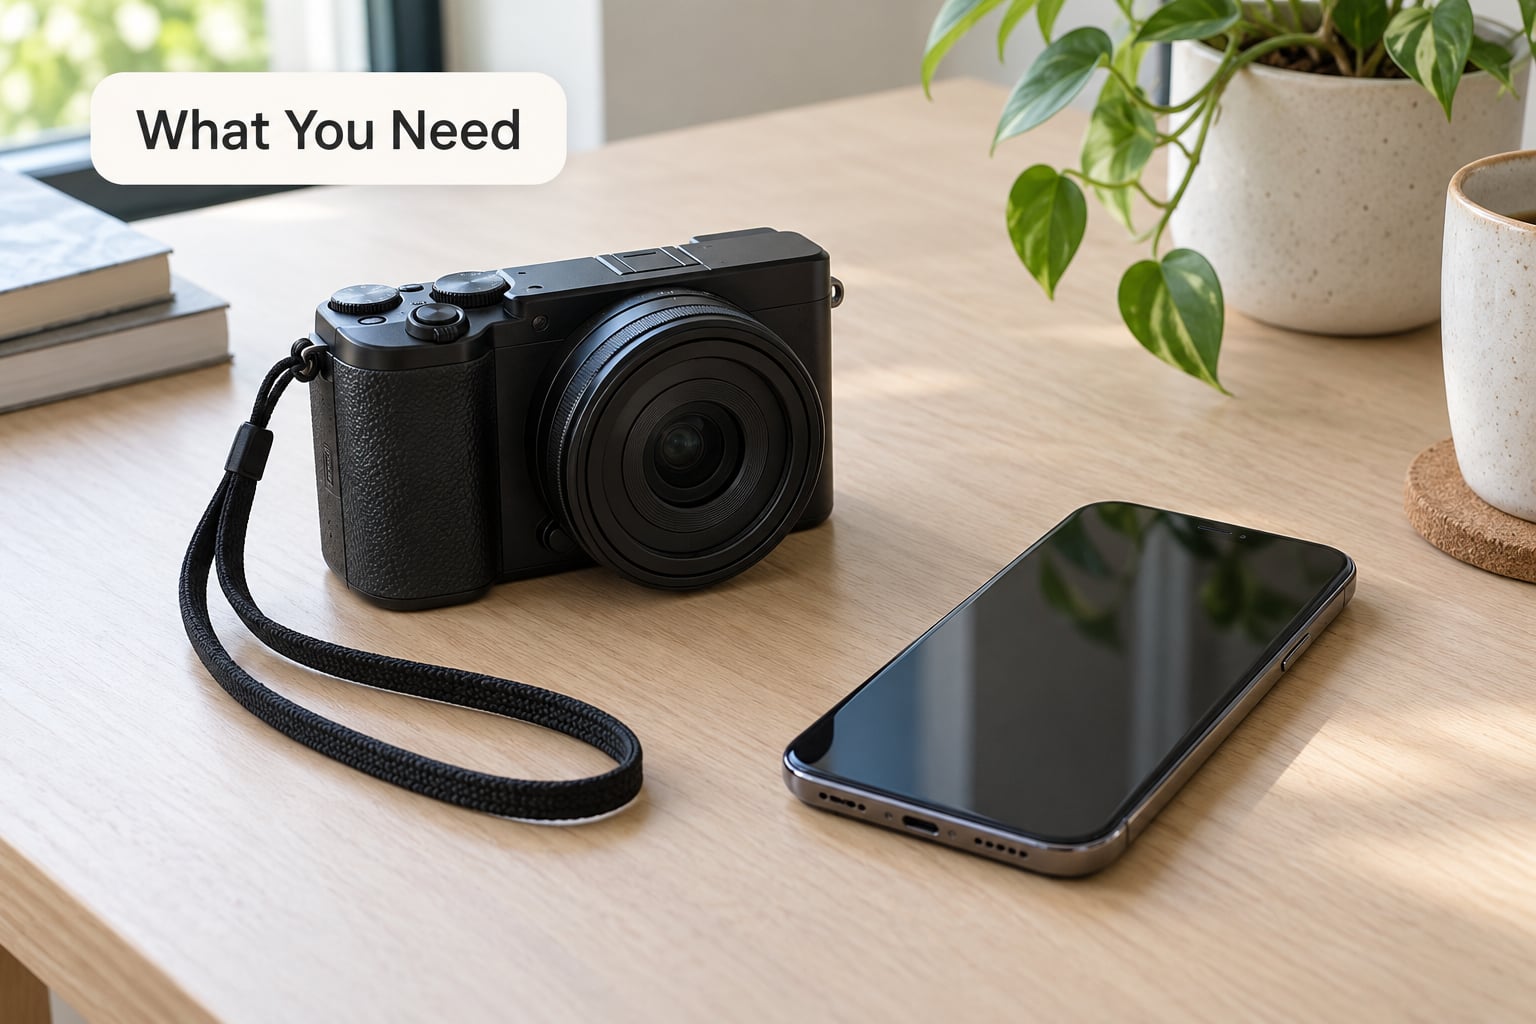
Almost anything works. A camera or phone with manual exposure controls is the useful baseline, since the whole technique depends on every frame sharing the same brightness and color.
- A camera or phone with manual mode. Phones that only offer auto exposure can still work, but you accept a brightness seam where the frames meet.
- A wrist strap. It is the cheapest stabilizer you own, and it saves the frame when a gust hits mid-sweep.
- Two hands and a two-point grip. One hand on the grip, one on the lens barrel.
- A stitching program. Adobe Lightroom has Photo Merge built in, Photoshop has Photomerge, and free options like Hugin and Microsoft ICE do the same job.
- A grid overlay and an electronic level if your camera has them. Both are worth turning on.
A tripod is optional, not required. If one is already in the car and the terrain allows, use it and save the effort. But every step below works standing up, and plenty of people never leave the house with one.
Prepare for uneven handheld movement rather than pretending it will not happen. Check the light before you commit to a sweep, since a panorama takes far longer to shoot than a single frame. A calm, evenly lit moment gives you much more usable material than a dramatic sky that changes while you pan. If you have never read the ground before turning up, [How to Scout a Location Before a Shoot: 7 Steps](https://kwadrart.com/how-to-scout-a-location-before-a-shoot/) takes about ten minutes and saves a wasted sweep.
Step-by-Step: How to Shoot a Panorama Handheld
The sequence below keeps everything identical across frames: one exposure, one focus distance, one white balance, one camera height. Read the settings table once and you have a working starting point for most outdoor scenes in daylight.
| Setting | Starting value | Why it matters |
|---|---|---|
| Mode | Manual | Stops the camera changing brightness partway through the sweep |
| Shutter speed | 1/250 second or faster | Keeps hand movement from softening each frame |
| Aperture | f/5.6 to f/8 | Deep enough depth of field that focus holds as you turn |
| ISO | 100 to 400, fixed | Auto ISO drifts and creates visible noise shifts across the sweep |
| White balance | Fixed, about 5200K for daylight | Auto white balance shifts color between frames |
| Focus | Single shot, then locked | Refocusing mid-sweep blurs the far edge of the final image |
| Orientation | Portrait (camera turned on its side) | Gives you extra vertical pixels for cropping afterward |
| Overlap | 30 to 40 percent | Gives stitching software matching detail to work with |
1. Choose a Stable Position
Stand with your feet about shoulder-width apart and your weight even on both feet. Hold the camera in both hands, tuck your elbows against your ribs, and turn the upper body from the waist.
The mistake almost everyone makes first is swinging the arms. Arms push the lens sideways as you turn, and that sideways shift is what makes near objects lean in the finished file. Turning from the torso keeps the lens travelling along an arc much closer to a true pivot.
Keep the camera level, breathe normally instead of holding your breath for the whole sweep, and do not step or shift weight while the shutter is working. Checkpoint: shoot two frames while turning from the waist, and the horizon should sit at nearly the same height in both. The wider grip and stance logic here is the same one used for any fast-moving subject, and [How to Get Sharp Photos Handheld: 7 Proven Tricks](https://kwadrart.com/how-to-get-sharp-photos-handheld/) covers it in more depth.
2. Set Manual Exposure
Switch to manual, then dial in a shutter speed, aperture and ISO that hold the highlights. A useful starting point is 1/250 second at f/5.6 with ISO set low and left there, adjusted only if the light demands it.
Watch the histogram instead of guessing. If the brightest parts are clipping, close the aperture or drop the shutter a fraction and check again, because clipped highlights cannot be recovered in the stitch. If your camera offers a minimum shutter speed with auto ISO, set the minimum to 1/250 and cap the ISO range.
Lock white balance too. Daylight around 5200K works well outdoors, and setting it manually removes the color drift that shows up as a faint seam between frames. Checkpoint: take three frames while turning, and the screen brightness should not change at all.
3. Focus Before You Begin
Focus once at the center of the scene, where your sweep will start, then hold that distance. Single autofocus with the focus lock engaged works well; manual focus at a set distance works just as well and never hunts.
Anything closer than about a meter should not be in the frame. A railing, a fence post or a nearby branch will shift visibly against the background as you turn, and stitching software cannot repair that reliably. Turn your body to position yourself so the near clutter is out of frame.
Do not refocus or re-expose per frame. Checkpoint: zoom in on the first and last frames and confirm the sharpness at the far edge is close to the sharpness in the middle.
4. Frame the First Image
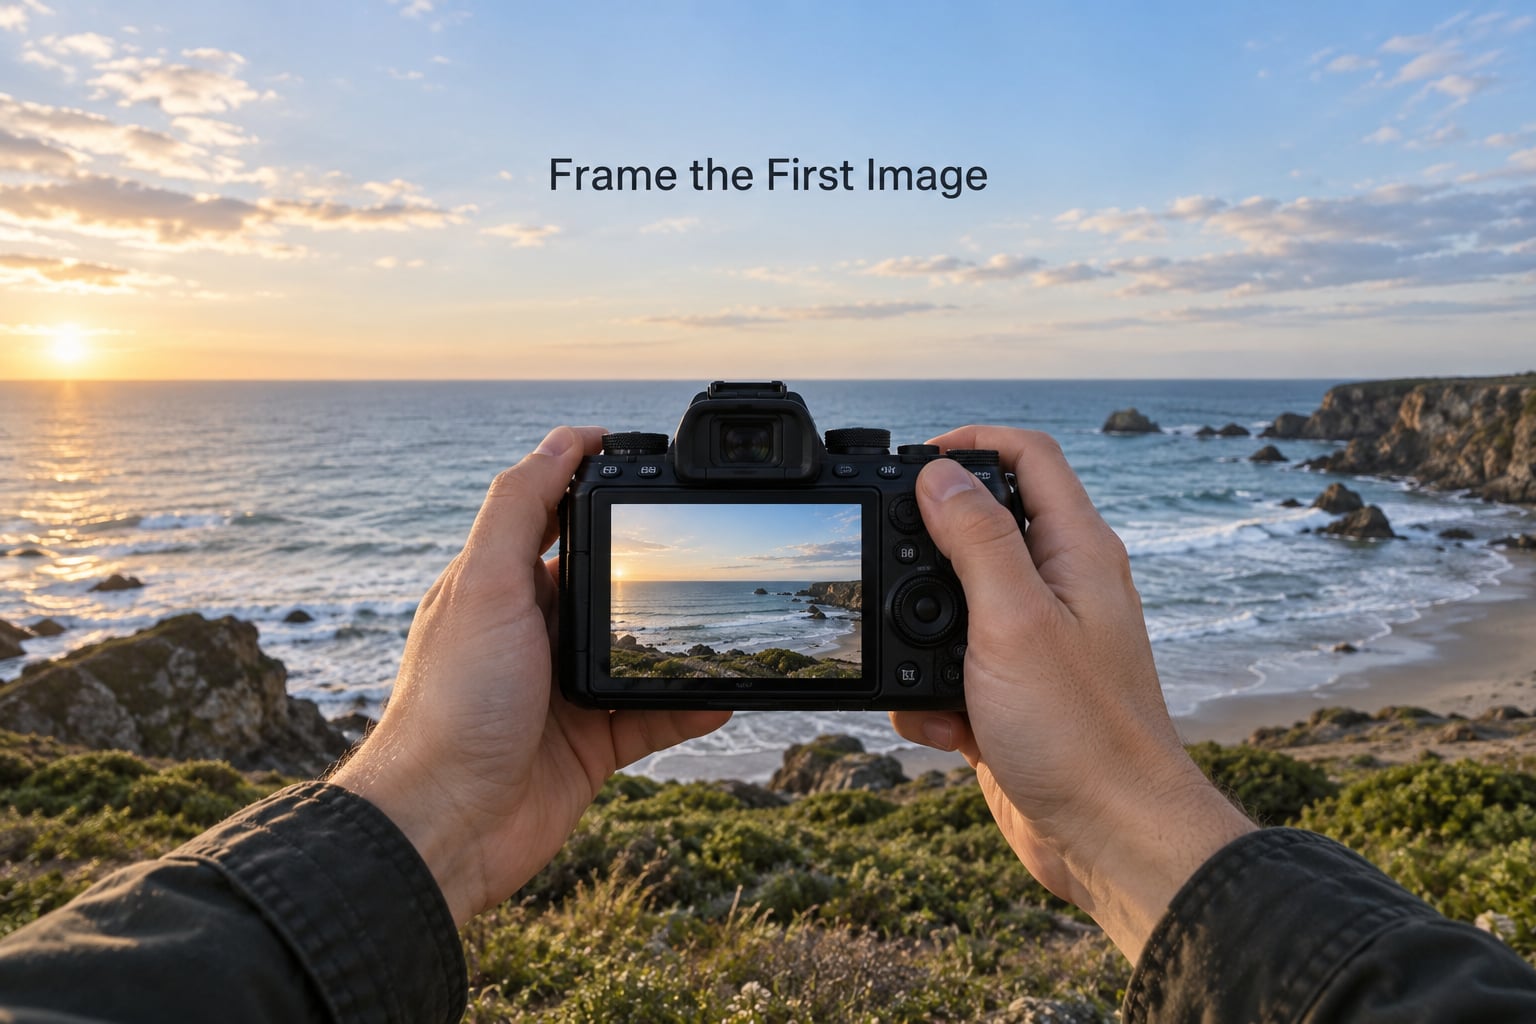
Hold the camera upright, in portrait orientation if you want the extra vertical pixels for cropping later. Keep the horizon straight in the frame, using the electronic level, the viewfinder grid, or the level of a distant object as a reference.
Start where you want the finished image to start, and leave enough scene detail at the edge to overlap the second frame. Overshoot the far end of the sweep for the same reason: extra frames are easy to crop, missing ones are gone.
Checkpoint: take the first frame, then take a second after a small deliberate turn and compare. Both should show a level horizon and the same brightness.
5. Overlap Each Frame by 30-40%
Overlap is the whole game. Each new frame should share roughly a third to two fifths of its width with the previous one, which means rotating about a fifth to a quarter of the frame width between shots.
The grid overlay makes this easy to judge. Turn until the edge of the view has reached roughly a third of the way across the frame, and that is about right. Users on photography forums report that 20 to 30 percent works fine with modern stitchers, so you can push a little faster, but generous overlap is cheaper insurance when a wave or a walker crosses two frames.
Keep the camera at the same height the whole way and rotate at the same rate. Checkpoint: pick any two adjacent frames and confirm a recognizable chunk of scenery, not just a strip of sky, appears in both.
6. Move Slowly Through the Scene
Wait for each frame to finish and display before moving again. A camera still writing the file while you turn will capture part of the frame at one angle and part at another, and no stitching software fixes that.
If you are still getting the hang of how to shoot a panorama handheld, a steady rhythm helps far more than speed. Try one count of breath per frame, and count one, two, three, four through a wider sweep. The pace that matters is evenness, not speed, and a two second gap between frames is entirely reasonable.
Checkpoint: play the frames back at arm’s length and look only at the horizon line. If it steps up or down between frames, your camera height changed and you need to reset your stance.
7. Check the Sequence and Stitch It
Review before you stitch. Look for gaps with no overlap, doubled edges, tilted horizons, brightness jumps and any frame where you moved during the exposure. Delete those frames; more frames does not rescue a broken sequence.
In Lightroom, select the keepers in the grid, right-click and choose Photo Merge, then Panorama. Let it place the images automatically, check the result, and accept. In Photoshop, use Photomerge with the same auto layout. Hugin, Microsoft ICE and PTGui give you manual control over the blend and are worth opening when auto alignment fails.
Only once the panorama is assembled do you crop and straighten. Straightening at this stage is far easier than trying to fix a tilted sweep frame by frame. Shoot two full sweeps when you can and stitch both, because one soft frame in a twelve frame panorama is a frustrating way to lose a good light. If the finished file ends up high contrast and graphic rather than natural, [How to Shoot Landscapes in Black and White](https://kwadrart.com/how-to-shoot-landscapes-in-black-and-white/) picks up the next stage.
Common Mistakes and How to Fix Them
Almost every failed handheld panorama comes down to one of six things: the camera moved, the settings changed, the overlap ran out, the focus drifted, someone walked through the frame, or the horizon tilted. Find the symptom, then fix the cause before you shoot again.
| Symptom | Likely cause | Fix |
|---|---|---|
| Wavy or bent horizon | Camera not held level through the sweep | Use the electronic level, keep the same body position, straighten after stitching |
| Bright or dark seam | Auto exposure, auto ISO or auto white balance | Set all three manually and leave them alone |
| Stitching error or failed merge | Overlap too thin, or a subject moved between frames | Overlap 30 to 40 percent and clear the frame of people and traffic |
| Leaning or doubled near objects | Parallax from something too close | Move back until nothing within about a meter is in the shot |
| Soft frames, sharp middle | Shutter speed too slow for the sweep | Hold 1/250 second or faster, or 1/200 second at minimum |
| Uneven scale or sudden zoom | Focal length drifted, often from a zoom ring | Lock the lens at one focal length and do not touch the ring |
| Corners that do not match | Frames not kept on a single axis | Turn from the torso rather than swinging the arms |
How to Shoot a Panorama Handheld When the Wind Picks Up
A steady sweep over a long sweep of seconds is exactly what gusty air ruins. Brace your elbows into your ribs, shorten your legs if you can reach, or rest your forearms on a railing, a wall or a vehicle roof. A partial rest beats no rest, and holding your breath for the few seconds of the sweep is worth trying.
Where you cannot reposition at all, shoot two or three frame pans instead of a long one. Fewer frames per sweep means less time exposed to movement, and two frames stitched cleanly often beat eight shaky ones.
Tripods remain the right call for interiors with close furniture, very wide sweeps, long telephoto lenses, or any scene where you have room and time to set one up. Handheld is the right call everywhere else.
Practice the mechanics before a trip: run two or three sweeps of a familiar street, keep the raw files, and stitch each one. It costs nothing and it tells you how much time your particular setup needs. Save the original files rather than editing in place, because the stitch is where the rescue decisions happen.
Frequently Asked Questions
How do I shoot a handheld panorama without a tripod?
Stand with your feet apart, hold the camera in both hands with elbows tucked in, and turn from the waist instead of swinging your arms. Set manual exposure, lock focus, hold the horizon level, and overlap each frame by 30 to 40 percent. Keep the camera height identical across the sweep.
How much overlap should I use when shooting a panorama?
Thirty to forty percent is the reliable range, which usually means rotating about a fifth to a quarter of the frame width between shots. Forum shooters report success with 20 to 30 percent and modern stitchers, so you can push tighter, but extra overlap costs only a few extra frames and protects you when a wave or a walker crosses two images.
What shutter speed do I need for a handheld panorama?
Keep the shutter speed at 1/250 second or faster, and treat 1/200 second as the absolute floor. That threshold comes from long-running discussion on the dpreview forums, where contributors consistently put the handheld limit near 1/200 second. If the light will not allow it, widen the aperture or raise ISO rather than dragging the shutter speed down.
How many photos do I need for a stitched panorama?
For a single row handheld panorama, most scenes need four to eight frames. The number depends on how wide the view is compared with the angle of view of your lens, plus the overlap you use. A short telephoto lens needs fewer frames than a wide one for the same coverage, and extra frames beyond the last one you need are useful for cropping.
How do I shoot a panorama on my iPhone?
Open the camera, switch to panorama mode, tap the shutter, and turn slowly in one direction at a steady pace. Move slower than feels natural, because the phone is usually still recording as you shift position. Keep the sweep in a single flat plane, then tap stop when the phone tells you the sweep is finished.
Why does my stitched panorama look wavy?
A wavy horizon almost always means the camera was not held level through the sweep, so each frame tilted by a different amount. Turn on the electronic level if your camera has one and keep the same stance from the first frame to the last. If the wave is already in the file, straighten and crop the assembled panorama rather than trying to correct individual frames.
Conclusion
A clean handheld panorama comes from consistency rather than speed. Same exposure, same focus, same camera height, same even pace, and enough overlap for the software to match the frames.
Start with one thing on your next attempt: set manual exposure at 1/250 second or faster, lock the focus, and confirm the horizon is level before the first frame. Get those three right and the rest of the sweep usually follows. Everything else about how to shoot a panorama handheld becomes easier with practice, not better gear.