
An HDR image looks overdone when its tone mapping is pushed too hard: colour goes surreal, the blacks lift to grey, shadows read brighter than highlights, and hard edges sprout glowing halos. Avoiding the overdone HDR look is mostly restraint plus a correct slider order, and most of the repair happens after the merge, in Lightroom or Photoshop.
The fix is not one setting. It is a short sequence: merge to 32-bit float, denoise the dark frames before anything else, pull the black point back down, tame highlights and dehaze locally, then walk the whole frame at 100% and undo the last 10% of what made you feel clever.
That last part is the part people skip. Brad Goldpaint, writing on goldpaintphotography.com, described his own first HDR as one where “the entire image looked fake and was nothing like what I saw at the time I took this photograph.” Every photographer on the forums chasing a natural result says the same thing: the look comes from restraint, not from the software.
Table of Contents
What You Need
You do not need a dedicated HDR application to fix an overdone HDR look, though having one helps. You do need the source frames rather than the flattened JPEG, because the flattened version has already thrown away the highlight data you need.
- A photo editor. Lightroom Classic, Adobe Camera Raw, Capture One or Photoshop all handle the corrective work. Photomatix Pro, Aurora HDR and Nik HDR Efex are worth having if you merge often.
- Your bracketed RAW frames or one single RAW file. If you only have the merged or exported JPEG, recovery is guesswork.
- A decent display and a neutral one. A bright laptop panel next to a window will make you push contrast and saturation you do not want. If your output is a print, read why prints look darker than the screen first.
- A non-destructive pipeline. Merge to 32-bit float, work on a copy, keep the originals. Tone mapping you want to undo is tone mapping you should never have committed to disk.
- Ten quiet minutes. Most of these edits happen in one focused sitting. Rushed passes are where clarity and texture get pushed too far.
Step-by-Step: How to Avoid the Overdone HDR Look
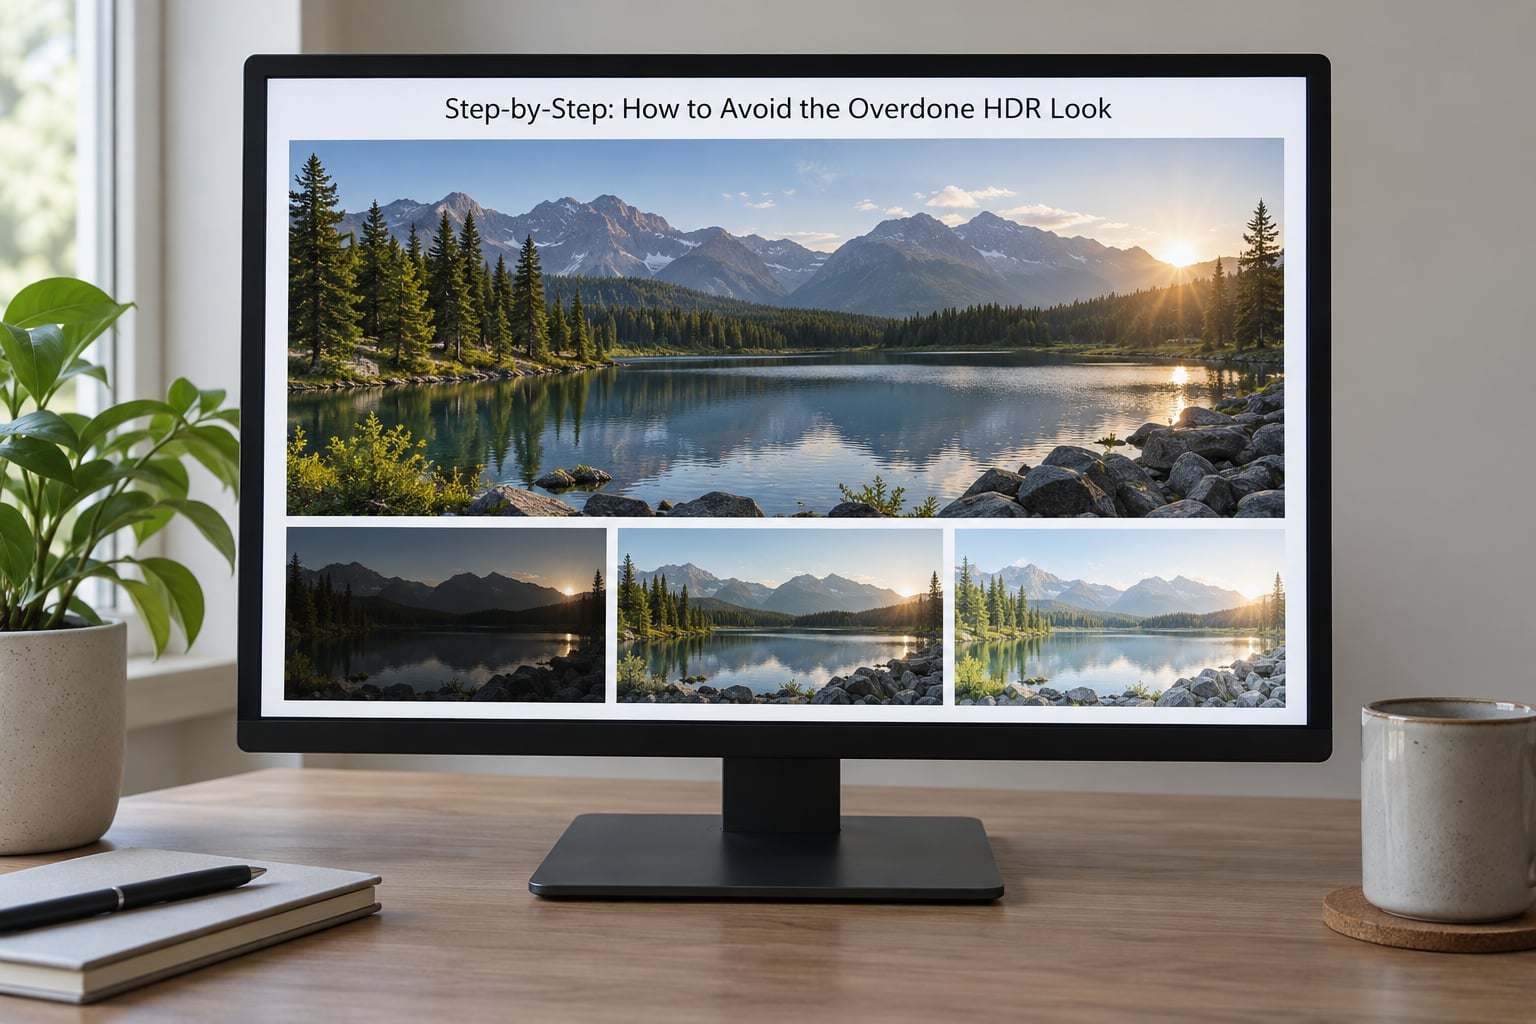
Work in this order and stop at each stage long enough to look at the frame at normal size. Every stage after the first exists to undo a specific habit, so rushing forward just re-adds the problem further down the chain.
1. Start With a Natural HDR Base
Merge your bracketed frames to 32-bit float rather than to 8-bit. A 32-bit float merge holds roughly 16 stops of intermediate data and lets you recover highlights and re-balance shadows later without posterised banding.
Before you merge, apply noise reduction to the dark frames. The underexposed brackets are the ones carrying shadow detail, and they are the noisiest. mu-43 forum users report the cleanest results come from denoising before the merge, not after, which matches the reason: the merge averages the noise down only if the frames are already reasonable.
Next, handle alignment and movement. Turn on deburr if any foliage moved between frames, and check the alignment preview before committing. Then set the tone mapping strength to its lowest useful setting, or choose a neutral or natural preset rather than the punchy default that most HDR applications load.
How it worked out: the merged file should look slightly flat at this point. If it looks dramatic already, you have started too far in one direction and everything downstream will be repair work.
2. Reduce Contrast and Recover Highlight Detail
Darlene Hildebrandt at Digital Photography School argues the core mistake is darkening every highlight at once, which produces “a flat, muddy looking mess.” The reason is mechanical: pull all the highlights down and the midtones have nowhere to sit, so the whole image goes grey.
Use this order instead, in Lightroom Classic’s Basic panel:
- Black point first. Drop it until the darkest areas are truly dark. Oversaturated HDR images usually show lifted, milky blacks, and this single slider fixes more of them than anything else.
- Highlights next. Come down until the brightest non-sky areas hold detail without glow. Rough starting range is minus 30 to minus 70.
- Whites, lightly. Minus 10 to minus 25 sets the brightest point in the image without crushing the top end.
- Shadows last, and never globally. Lifting shadows everywhere is what makes shadows brighter than highlights, which the eye instantly reads as false. Use a graduated filter, radial filter or adjustment brush on the specific areas that need it, instead.
- Contrast, last and sparingly. Minus 10 is usually enough.
Check the histogram as you go. A natural image has a black point that touches the left edge and a white point that reaches the right edge without a stack of pixels sitting against either wall.
3. Control Colour Without Making It Look Harsh
Oversaturation is the most recognisable fingerprint of an overdone HDR look, and it is also the easiest to reverse. In the saturation menu of any editor, start at minus 15 to minus 25 rather than zero, then use vibrance to bring specific dull areas back up.
Vibrance protects already-saturated skin tones and intense sky colours while lifting muted greens and greys, which is why it beats a flat saturation boost on almost every scene.
Three more things worth checking:
- White balance first, colour second. A warm cast pushed to 7000K and then saturated is the recipe for a poster-like sky and orange grass.
- Dehaze is a precision tool, not a default. Values between 5 and 15 rescue a hazy scene. Above 30 you get the crunchy, painterly texture people complain about.
- Use HSL on the band that reads wrong. Pull the saturation and luminance of the one channel that shouts, such as a green grass hue, and leave the rest of the frame alone. Global saturation drops flatten everything at once.
4. Tone Down Halos, Microcontrast and Texture
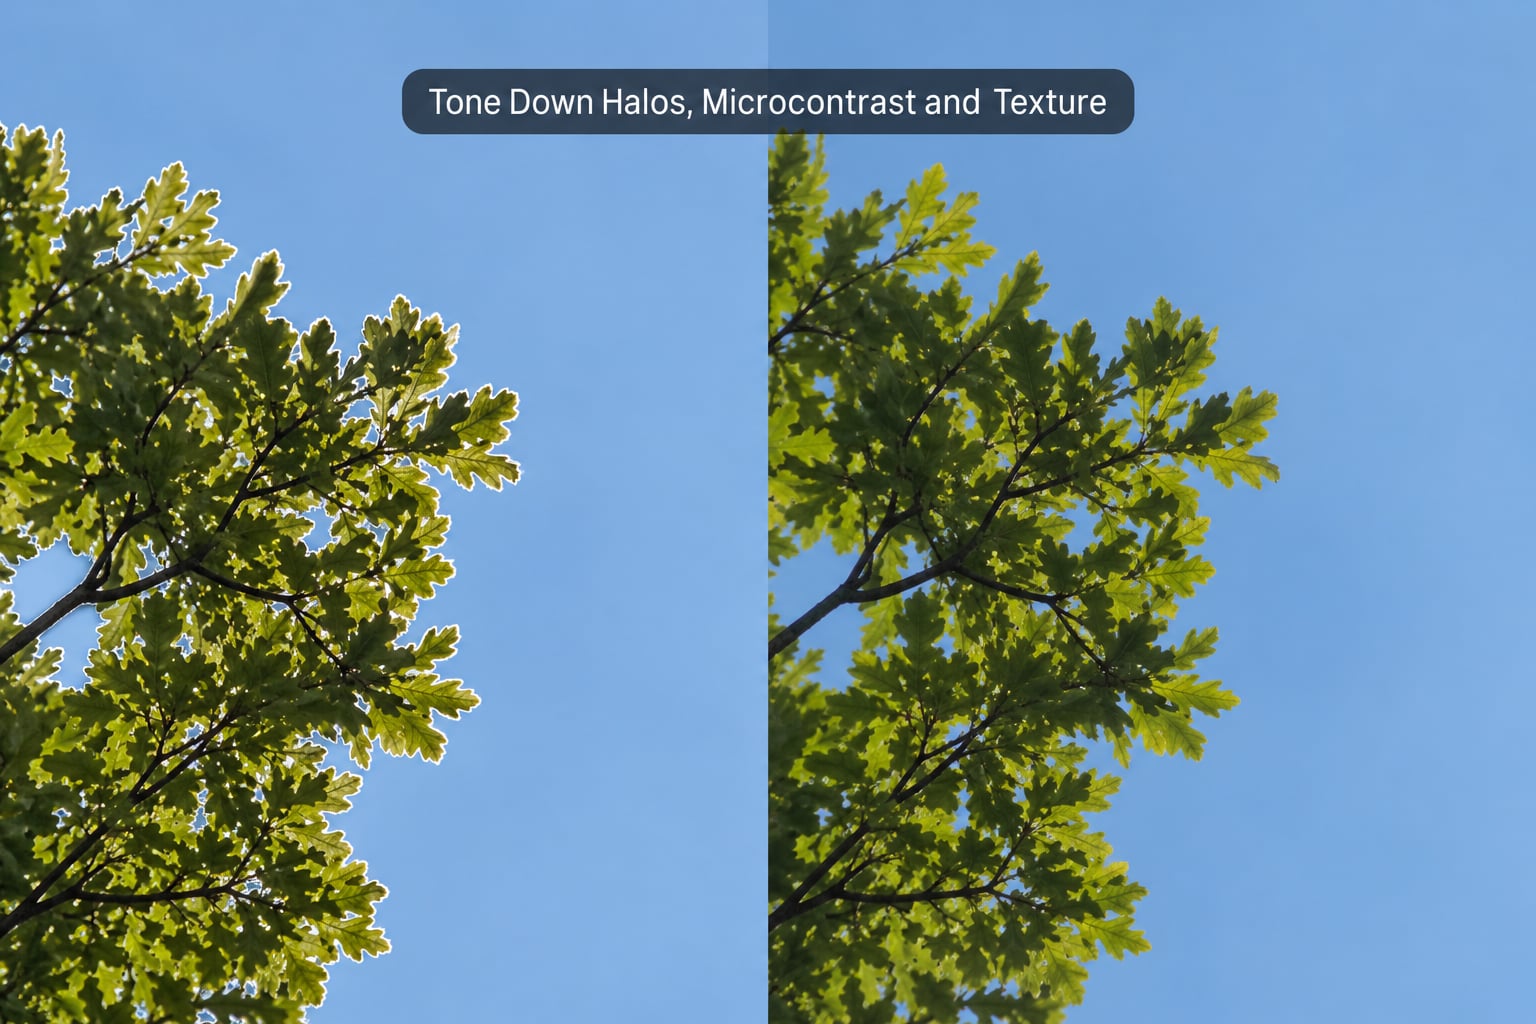
Halos come from two different problems, and they need different fixes. A glow outline around branches, wires or railings is an alignment artefact: the merge blended pixels from mismatched positions. Fix it at the source with deburr set to its strongest useful setting, or by masking the edge and feathering the transition with a soft brush.
A dark or light ring around a person who moved between frames is ghosting. There is no slider that repairs it well. Exclude the moving subject from the merge, shoot shorter exposures, or blend the clean bracketed subject back in from a single frame afterwards.
Microcontrast is a style choice, and the overdone HDR look is mostly made of it. Clarity and structure boost local contrast and, pushed together, produce that gritty painted quality. Drop clarity to minus 10 or below and structure to minus 15, then raise texture only if the frame genuinely needs it. If sharpening is also part of the problem, how to avoid oversharpening photos without harsh edges covers the masking step in detail.
Judge the result at 100% on the sharpest part of the frame and then step back a foot from the screen. Grit that only shows under a loupe is far less damaging than grit visible at normal viewing size.
5. Make One Final Naturalizing Adjustment
Switch the image to black and white for ten seconds. Tone problems jump out instantly in greyscale, while colour problems stay hidden. Then check the transitions: shadows should stay darker than the midtones, and the midtones should stay darker than the highlights.
Squint at the frame and if your eye lands on a small bright patch with a dark ring around it, that is a local contrast artefact worth a small correction brush.
Finally, put the image next to a straight single-exposure version of the same scene if you have one. The side-by-side is the honest test of whether HDR earned its place. If you like making digital photos look like film, you already know the value of a defined look: a strong, consistent style beats an image that simply looks over-touched.
Common Mistakes
These five signs account for most overdone HDR images I see, and each one has a specific correction rather than a general instruction to dial things back.
- Lifted grey or milky blacks. Caused by shadows raised globally across the frame. Drop the black point, then lift shadows with a local mask instead.
- Surreal, poster-like colour. Caused by global saturation plus a warm white balance. Set saturation to minus 20, then use vibrance to recover dull areas.
- Bright halos around branches or wires. Caused by frame misalignment during the merge. Increase deburr and refine the edge with a soft mask.
- Ghosted shapes where someone moved. Caused by the subject shifting between bracketed frames. Exclude the subject from the merge and composite from one frame.
- Gritty, crunchy texture at 100%. Caused by dehaze, clarity and structure stacked together. Take dehaze to 10 or below, clarity to minus 10 and structure to minus 15.
Two more habits cause trouble. The first is judging an edit at high zoom, which makes normal detail look soft and pushes you toward over-sharpening. The second is reducing every strength setting by the same amount, which flattens the image rather than correcting it, as photographers on photography forums describe repeatedly.
Frequently Asked Questions
How do I stop my HDR images from looking fake?
Turn the tone mapping strength down at the merge, merge to 32-bit float, and then work the tonal sliders in order: black point first, highlights second, shadows locally through a graduated or radial filter last. Global contrast changes applied all at once are what produce the flat, grey, muddy look the eye rejects. Judge the result at normal viewing size, not at 100%.
Why do my HDR photos have halos around edges?
Halos form when the merge blends pixels from slightly different positions, which happens with tripod drift or subject movement between bracketed frames. Increase the deburr or alignment strength in your HDR software, and mask the edge with a soft brush to feather the transition. Dark or light rings around moving subjects are ghosting rather than halos, and those need the subject excluded from the merge.
What tone mapping settings give a natural HDR look?
Start around 40 to 50 percent strength in Photomatix, 60 to 70 in Aurora HDR, and a mild Detail and Colors range in Nik HDR Efex. Treat those as floors rather than targets. In Lightroom Classic after the merge, start with highlights at minus 50, shadows around minus 20 to plus 20 by mask, clarity at minus 10, dehaze at 10 or below, and saturation at minus 20.
Can you undo an overdone HDR look?
Usually yes, if you still have the bracketed RAW files or a 32-bit float merge. Re-merge from the originals with lower tone mapping strength, then correct tone and colour. If the only file left is an 8-bit JPEG or TIFF, highlights that were clipped are gone, and you can reduce the look but not fully recover the data.
Do professional photographers use HDR?
Plenty of them, with restraint. Most use it for landscape, interiors and architecture where the scene genuinely exceeds sensor dynamic range, and they dial the effect back far enough that the image still reads as a photograph. The overdone look came from aggressive tone mapping in the early 2010s, not from bracketing itself, and that style now dates an image.
Is HDR photography still worth it with modern sensors?
Often not. Sensors with 12 to 15 stops of dynamic range handle many scenes in a single RAW file, especially at base ISO, and a single exposure avoids alignment problems and noise in the dark frames entirely. Exposure blending, where software picks the best pixels from each frame rather than tone mapping the whole image, usually gives a more believable result with less corrective work.
Conclusion: Change One Thing First
If you do nothing else in this workflow, drop the black point until the blacks are genuinely dark. Lifted blacks are the single clearest marker of an overdone HDR look, and that one slider fixes more images than any amount of colour work. From there, keep the dehaze low, rescue shadows with local masks instead of global sliders, and check the frame at normal size before you call it finished.