
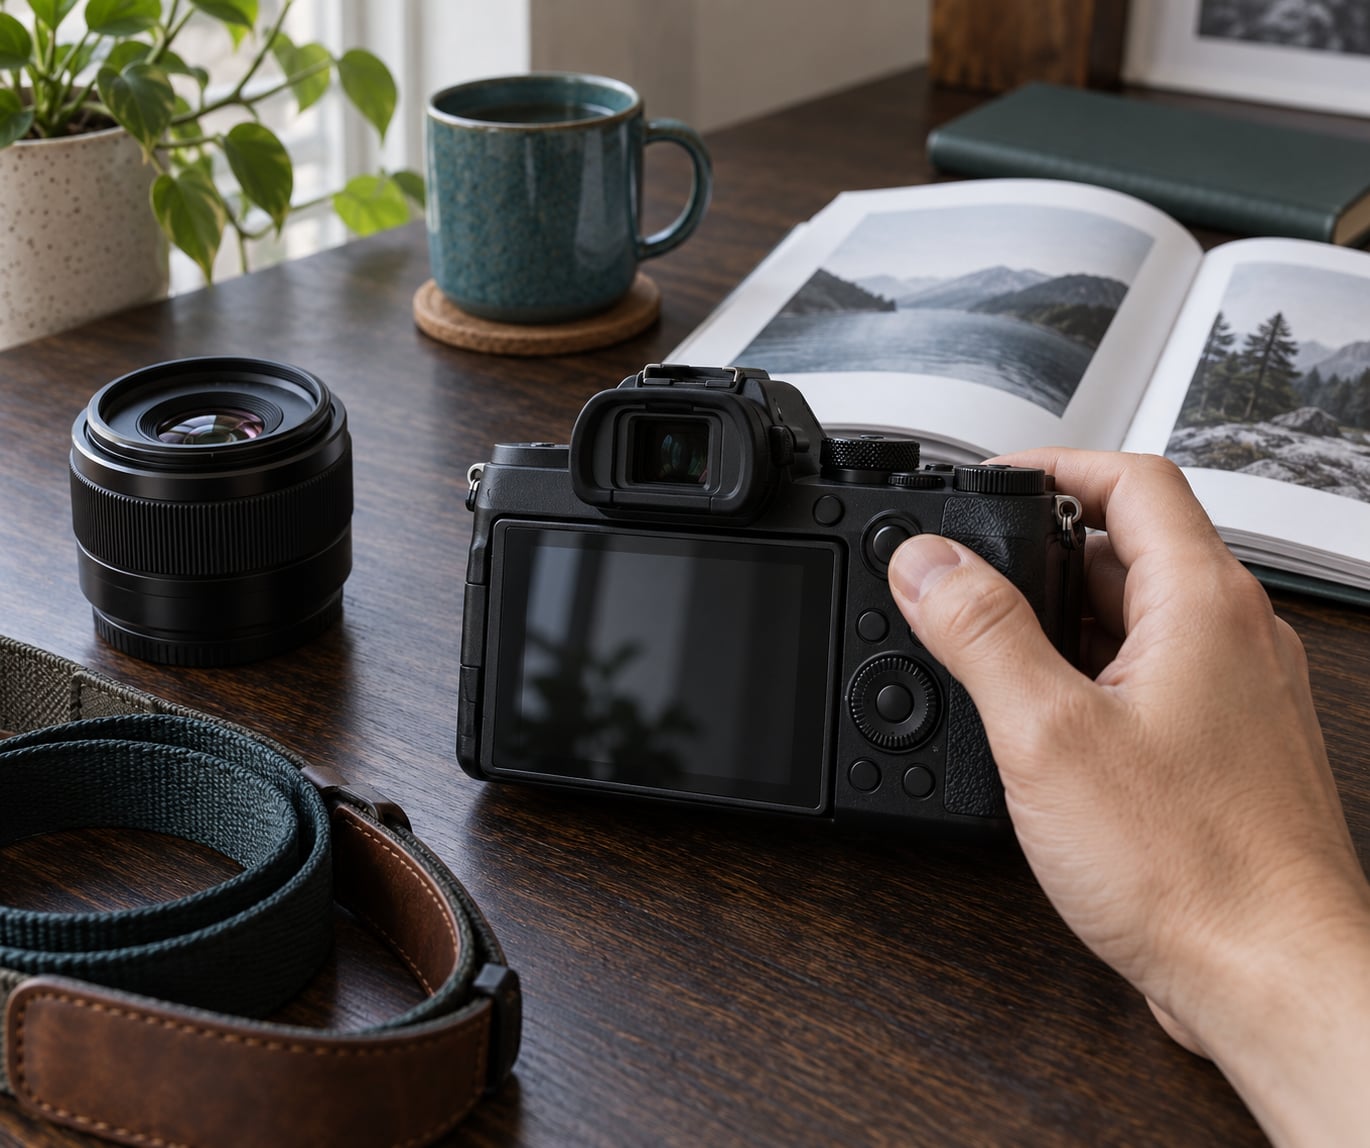
Back button focus is simply this: you move autofocus activation off the shutter button and onto a rear button like AF-ON or AE-L/AF-L, so your thumb decides when the camera focuses. Set it up in about ten minutes, and the rest is practice. Most mirrorless and DSLR bodies made in the last decade have the custom controls menu needed to do it.
Table of Contents
What You Need
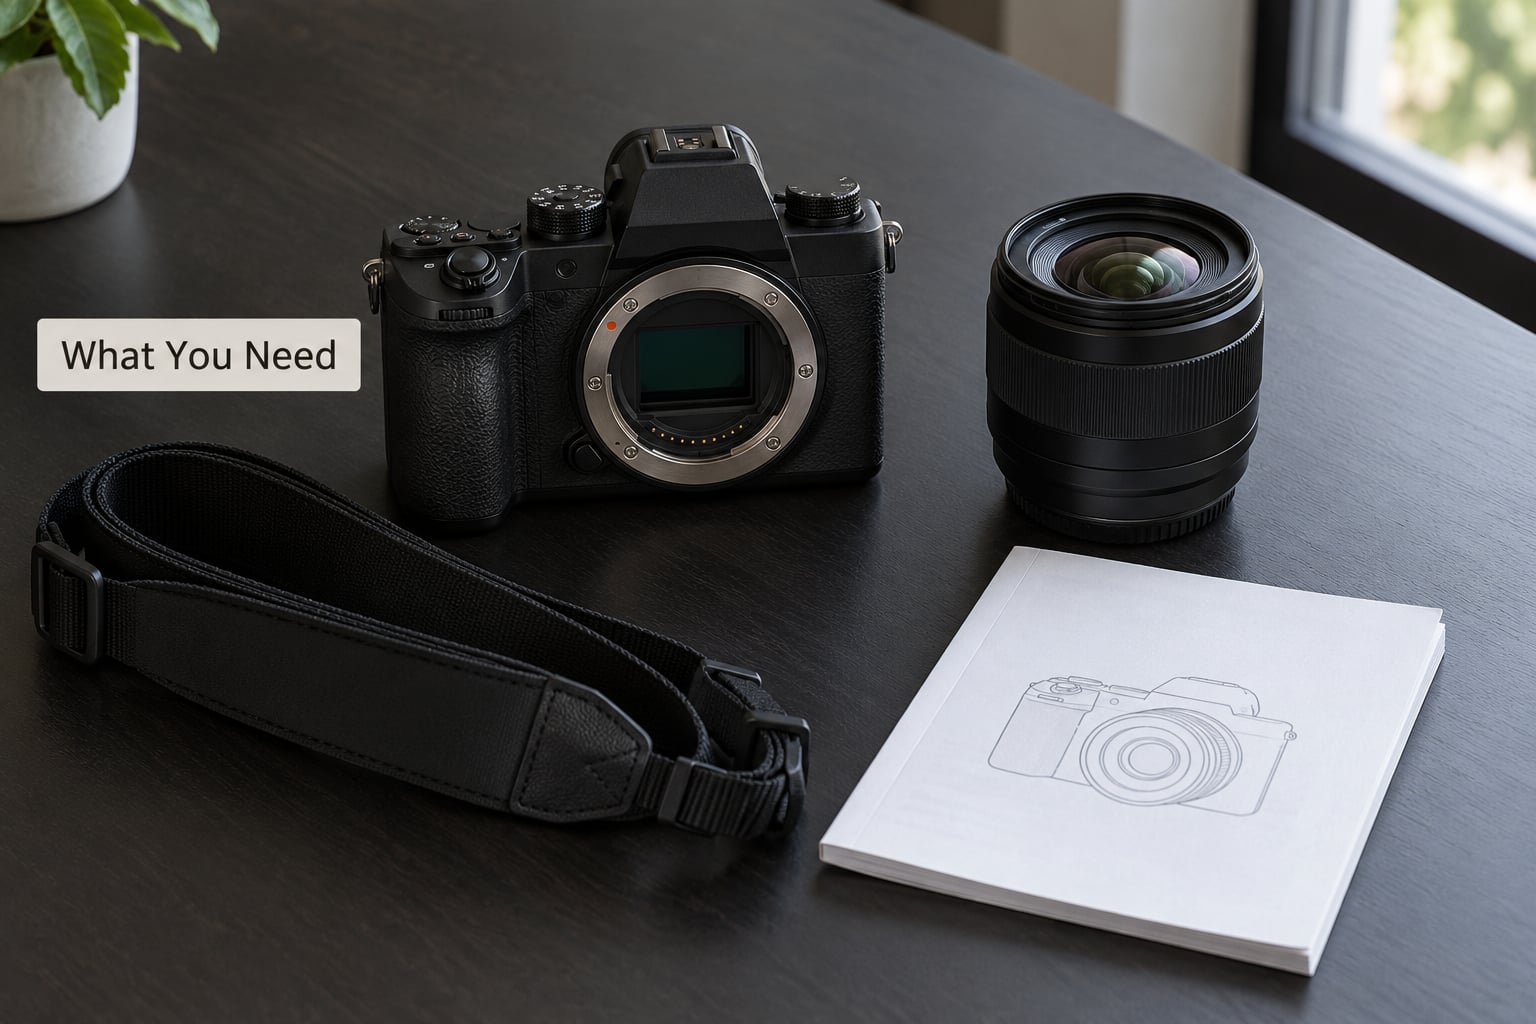
You need a camera body with customizable buttons, an autofocus lens, and about ten minutes.
- A camera body with customizable buttons. That covers Canon EOS DSLRs and R-series, Nikon F and Z, Sony E-mount, Fujifilm X, OM System, Panasonic Lumix, and most Pentax and Sigma bodies. Older or entry-level models may limit which buttons you can reassign.
- An autofocus lens. AF-ON does nothing on a manual-focus lens unless you have a body that offers focus-peaking assist. Any kit zoom with AF will work.
- The manual or a menu to hand. Useful, because the setting name differs by brand: Canon calls it Shutter AF, Sony calls it AF w/ Shutter, Fujifilm calls it Shutter AF, and Nikon hides it under a custom control called AF activation.
- Optional: a spare card, a tripod, and a subject 10 to 15 meters away for testing. The distance matters more than you would think.
One thing worth sorting before you start: if you have never focused manually on purpose, how to focus manually in seven simple steps is a useful companion read. Back button focus and manual focus solve different problems, but knowing where focus sits on the lens makes BBF easier to trust.
Step-by-Step: How to Use Back Button Focus
Choose the Right Focus Mode for Back Button Focus
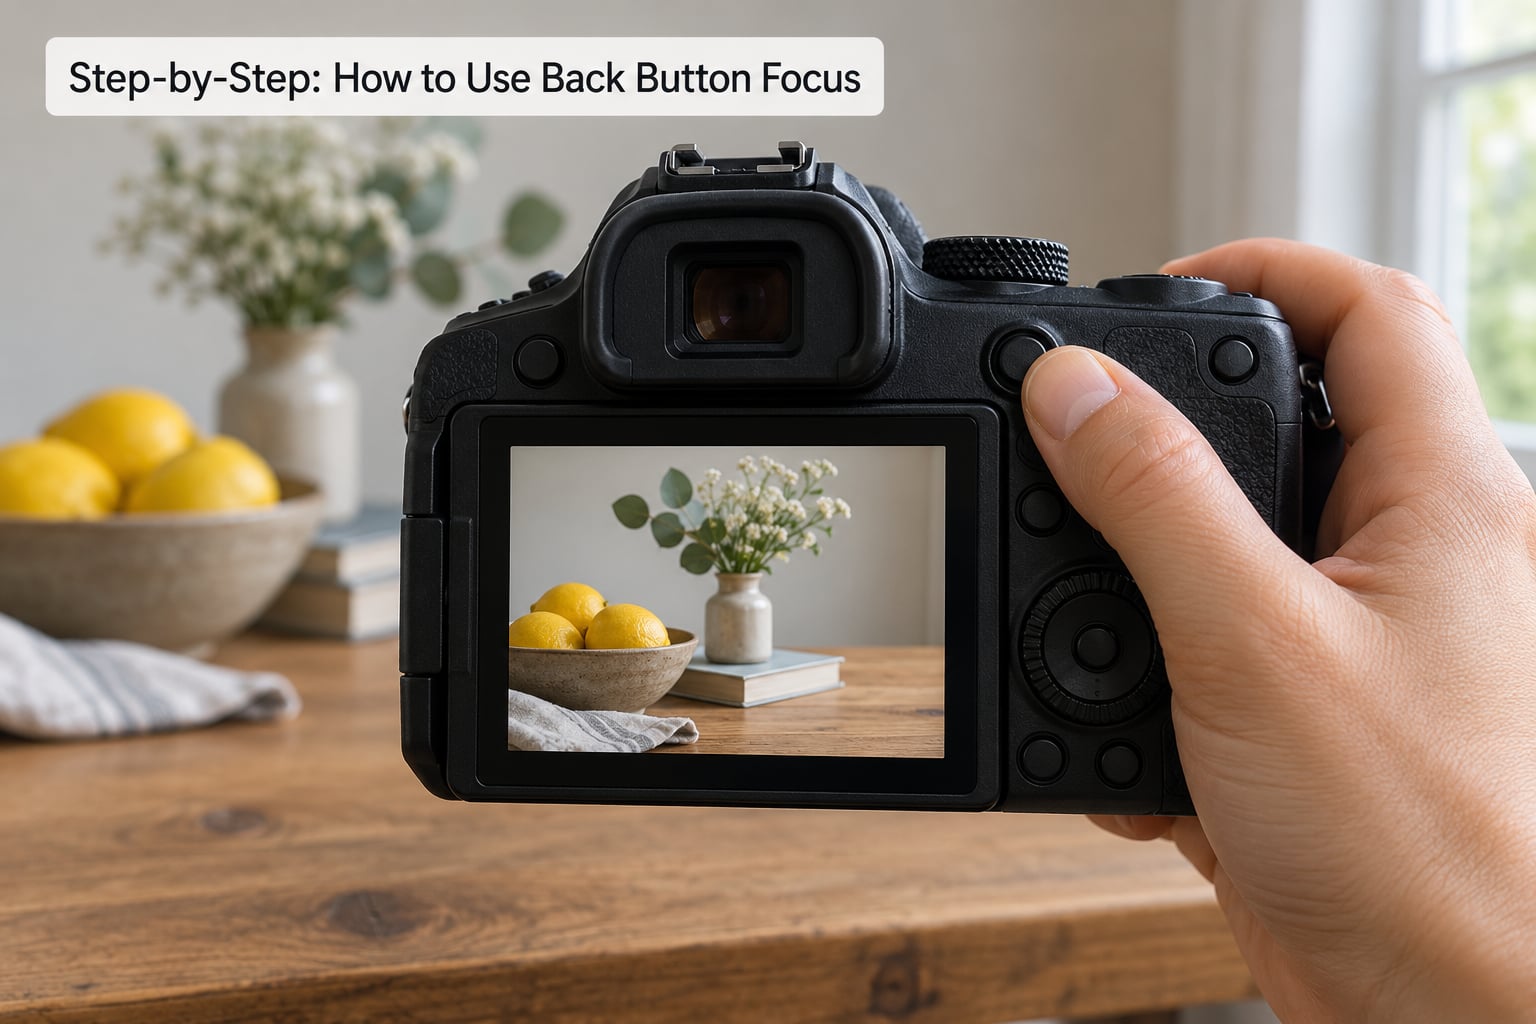
Pick AF-S (One-Shot) for subjects that hold still and AF-C (AI Servo, Servo AF) for subjects that move. That single choice decides what happens after your thumb hits the button.
In AF-S, the camera focuses once when you press AF-ON and then holds that distance. You can raise the camera, recompose, and shoot several frames without the lens hunting again. This is the mode for portraits, still-life, wide scenes, architecture, and product work where focus-and-recompose is the technique.
In AF-C, focus begins when you press and keeps running while you hold. Tracking works the whole time your thumb is down, which is what you want for wildlife, running children, sport, and street photography. Release the button and tracking stops immediately.
One thing surprises people: the focus mode is not locked by the button. You can hold AF-ON, check the viewfinder, and if the subject is standing still, switch to AF-S without ever touching the shutter.
The focus area matters just as much as the mode. A single point gives you the smallest target and the least camera guesswork, which suits portraits and still life. A small flexible spot is faster when you are moving around and need to nudge the box a few millimetres. Wide or auto area modes let the camera pick the subject for you, and while that is fine on a full-frame body with reliable subject detection, it is the setting most likely to pull focus onto the wrong thing behind your subject.
On bodies with a separate AF-ON joystick or rear control, put the focus point where it belongs and hold the button. That combination is the core of back button focus: the point is chosen by your hand and the activation is chosen by your thumb.
It helps to know what each mode is actually doing. AF-S drives the lens to a distance and stops. Nothing in the system is looking for changes after that, so a subject who steps toward you stays soft until you focus again. AF-C keeps comparing what is in front of the sensor against what is in focus and corrects continuously, which is why it can follow a subject across the frame but also why it can drift onto a background if the point slips.
That difference explains the most common complaint about back button focus. Someone switches to AF-C, holds AF-ON on a static portrait, and blames the technique when the lens hunts. Nothing is wrong with the setup; the mode was doing exactly what it was told. One extra mode change fixes it.
Assign AF-ON to a Rear Button
Enter your camera’s custom controls or button assignment menu, choose a rear button that your thumb can reach, and assign AF-ON or its equivalent to it. Then turn shutter-button autofocus off. That second part is the step people miss, and it is the reason their camera still focuses when they half-press the shutter.
Exact paths change between generations, so check your own body’s menu. Canon:
- EOS DSLRs and R-series: Press the MENU button, go to the Custom Functions (C.Fn) tab, then Control Shutter Button, and set Shutter AF to Disable AF w/ Shutter Button. AF-ON is already assigned on most bodies and only needs reassigning if you have remapped it.
Nikon:
- F-series and Z: Open Custom Settings (a menu marked with a pencil icon), then choose Assign AF-ON Button or Assign AE-L/AF-L Button, or Assign the AF-ON button to whatever you prefer. In AF activation options, set AF activation to AF-ON button only.
Sony:
- E-mount: Go to the orange Custom Key menu, highlight AF-ON Button or Rear Button, and choose the function AF-On. Separately, set Focus Mode, then AF w/ Shutter to Off under AF/MF Control Settings.
Fujifilm:
- X-T and X-H/X-Pro/X-E series: Open the Setup menu, choose Buttons/Dials & Controls, then Shutter AF, and set it to AF-S or Off depending on whether you want a safety net. Button assignments live under Operation > Fn Button Assignment.
OM System and Panasonic Lumix share the same Olympus-era menu layout:
- Both brands: Open the Setup menu, find Custom Menu, then Key Customisation, and set a rear button to AF-ON. Then go to AF/MF and set Shutter AF to Off.
If your body already has a dedicated AF-ON button, use it. Learning one button is faster than relearning two.
Set the shutter button to release without focusing
With shutter AF off, a half-press no longer focuses. You still want that press to meter the light, so keep metering start assigned to the shutter button rather than moving it to AF-ON along with focusing.
Then check the release itself. On most bodies the default is still a single half-press, and pressing to the second stage only fires the shutter if focus was already established. Setting the shutter to activate focus only in manual focus mode is a popular safety net: with an AF lens in autofocus, nothing changes, but if the lens is switched to MF the camera will still grab focus.
Make sure your rear button is not also set to something you press by accident while shooting vertically. Rotating the camera changes which finger lands where, and that is the usual reason people pull the grip out and re-check the buttons before an event shoot.
Test and Fine-Tune the Setup
Test before you trust it. Aim at a well-lit subject roughly 10 to 15 meters away, with something at a different distance behind it, then run this short routine.
First, half-press the shutter. Nothing should focus. If the lens drives, shutter-button AF is still on and the setup is only half done. Next, press AF-ON and watch the focus indicator turn green or the focus box fill. Release, then compose the shot and fire. The focus distance should not change.
That behavior is the whole point. Without BBF, every half-press refocuses at the new subject position and your lens hunts. With BBF, focus is held where you put it, which kills focus shift when you recompose for a portrait.
If focus feels sluggish, switch the AF area to a single point or a small zone rather than a wide auto area. Wide areas make the camera choose for you, which partly defeats the purpose. If your lens hunts on macro or close focus, check that the focus limiter switch is off.
Then use it in the field, in two distinct patterns.
For a still subject: press and release AF-ON, recompose, adjust aperture and shutter, shoot. Press AF-ON again the moment your subject shifts. In AF-S this whole sequence takes about a second.
For a moving subject: set AF-C, hold AF-ON down, keep the focus point on your subject, and fire frames without lifting your thumb. Keep holding through short breaks in movement so tracking does not restart.
Mirrorsless bodies add one more layer. Modern subject detection and eye AF can be assigned to a second button so one button does normal focus and the other grabs and holds a face, eye, or animal. Photo and video AF behave differently on most bodies, so re-test after switching to video.
A Short Practice Routine
Ten minutes a day for a week is enough. The skill is not knowledge, it is finger timing, and that only settles through repetition with real shots.
Day one and two. Stay indoors, use a tripod, and shoot a static subject 10 to 15 meters away in AF-S. Press AF-ON, recompose, shoot. The whole point is that the focus does not move when you reframe. Do fifty frames and check a third of them at 100 percent on your screen.
Day three and four. Add a second subject at a different distance behind the first one. Focus on the near subject, recompose, and make sure the lens stays put. This is the focus shift test, and it is where most of the real improvement shows up.
Day five. Walk. Hold the camera at chest height, find a street scene, and pre-focus on something in the middle distance with AF-ON. Raise the camera and wait. Release the shutter only when the composition works.
Day six. Track a moving subject with AF-C. Walking dog, football in the park, or a child on a swing. Hold AF-ON the whole time and do not release between frames.
Day seven. Use the camera normally and make no conscious checks. Shoot what you would shoot anyway. If you catch yourself reaching for the shutter first, the habit is not there yet.
Keep it out of a specific situation. Nobody wants a new focusing system on the day of an important event or a first session with a client. Learn it in the situations where a missed frame costs you nothing.
Common Mistakes
You assigned a button you cannot reach with a glove on. That is the most common reason people quietly abandon BBF. Pick the button nearest your index finger rather than the deepest one on the thumb rest, and check it with cold hands before a winter shoot.
The camera still focuses when you half-press the shutter. Shutter-button AF was never turned off. Go back to the menu item from your brand above and set it to Off or Disable.
You use one focus mode for everything. Using AF-C for static portraits gives you a hunting lens and blurred faces. Using AF-S on a bird means one attempt at focus and nothing after that. Match the mode to the subject every time.
You miss shots because your thumb did not move. If you are mid-gesture without back button focus, the camera focuses instantly. With BBF, forgetting the button produces an out-of-focus frame instead. That is the honest downside, and it is why the first week matters.
You expect every photo to get sharper automatically. BBF fixes focus placement and focus timing. It does not fix shutter speed, subject motion, or depth of field. A 1/15 second exposure of a walking child is still blurred.
You hand the camera to someone else and they shoot out-of-focus frames. Know your quickest revert: your custom shooting profile or mode dial slot can restore a shutter-button setup in one press. Save a dedicated mode for that.
It does nothing with your lens. Three usual causes. A third-party adapter with no electronics can block autofocus commands. Manual-focus or macro-only lenses have nothing for AF-ON to drive. And lenses with a focus limiter switch set to a narrow range refuse to focus beyond that distance, which looks identical to a broken button.
Adapters and third-party lenses are worth a separate check. Before a shoot, run one frame on every body and lens combination you plan to carry. Focus manually to infinity, switch to AF-ON, and confirm the lens actually moves.
Switching between two cameras breaks the habit. This is the quiet one. The AE-L/AF-L button sits in a different place on a Nikon than the AF-ON on a Canon, and after a week of switching you will misfire on whichever body you grab first. The fix is boring: give each body the same assignment and re-test for five minutes each time you change.
You reach for BBF in a situation that does not suit it. Very fast action with people running toward you, indoor sports where light is marginal, or a wedding where you are managing ten moving subjects at once. The shutter button gets focus and fires in one press, and that is worth more than a perfectly placed focus point when the frame lasts a twentieth of a second.
On the learning curve, shooters commonly report that back button focus feels unnatural for about two weeks of daily shooting before it becomes automatic. Keep the camera in a custom shooting profile, use it for a week of ordinary shooting, and check the resulting focus rather than judging it in the moment.
Two habits speed it up. Change focus modes with the thumb button rather than the mode dial, and shoot a short burst deliberately at the start of every session so your hand wakes up. Once your photographs are on the card, how to back up your photo library on a simple 3-2-1 plan is worth ten minutes of your afternoon.
Frequently Asked Questions
Can I use back button focus on any camera?
Almost any camera with a customizable rear button can do it, which covers Canon EOS DSLRs and R-series, Nikon F and Z, Sony E-mount, Fujifilm X, OM System, Panasonic Lumix, Pentax, and recent Sigma bodies. You also need a lens with autofocus, because AF-ON only drives an AF motor. Older or budget bodies may restrict which buttons can be remapped, and a few have no AF-ON button at all, so check the custom controls menu first.
Which button should I assign to back button focus?
Use AF-ON if your camera has one, since it is the least confusing choice and your thumb will find it fast. Otherwise assign the star button, the AE-L/AF-L button, or the manual focus button, depending on which ones your body offers. The star button is a popular second assignment for eye AF or subject detection, so keep AF-ON separate from it. Avoid buttons you have to stretch for or press through gloves.
What focus mode should I use with back button focus?
Use AF-S, called One-Shot on Canon, for still subjects. It focuses once when you press and then holds that distance, which makes focus-and-recompose portraits and landscapes reliable. Use AF-C, called AI Servo or Servo AF, for moving subjects. Focus runs continuously while you hold the button, so tracking works for wildlife, sport, and street photography. The mode is independent of the button, so you can change either one at any time.
Does back button focus work with eye autofocus?
Yes, and this is where it pays off on newer mirrorless bodies. Assign one rear button to normal focus and a second, often the star button, to eye AF or subject detection. Holding the eye AF button starts tracking a face, eye, animal, or vehicle, while the main focus button keeps working as a manual override. Behavior varies by brand and body generation, so test the combination at a party or a football match before relying on it at work.
Is back button focus better than shutter button focus?
For portraits, still lifes, and situations where you need to lock focus and recompose, back button focus is clearly better because focus stops moving the moment your thumb lifts. For general casual shooting and fast-moving action, the shutter button is faster because focusing and shooting happen in one press. Many working photographers keep back button focus on a separate mode or shooting profile and switch depending on the assignment. Test both on your own subjects and decide.
Conclusion
Start simple. Assign AF-ON, or your nearest reachable rear button, to autofocus activation. Turn shutter-button autofocus off so only the new button starts focusing. Choose AF-S for a subject standing still and AF-C for one that moves, then test the whole thing in the lighting you shoot in most before a shoot that matters. Give it a week of ordinary shooting and the awkwardness fades.