
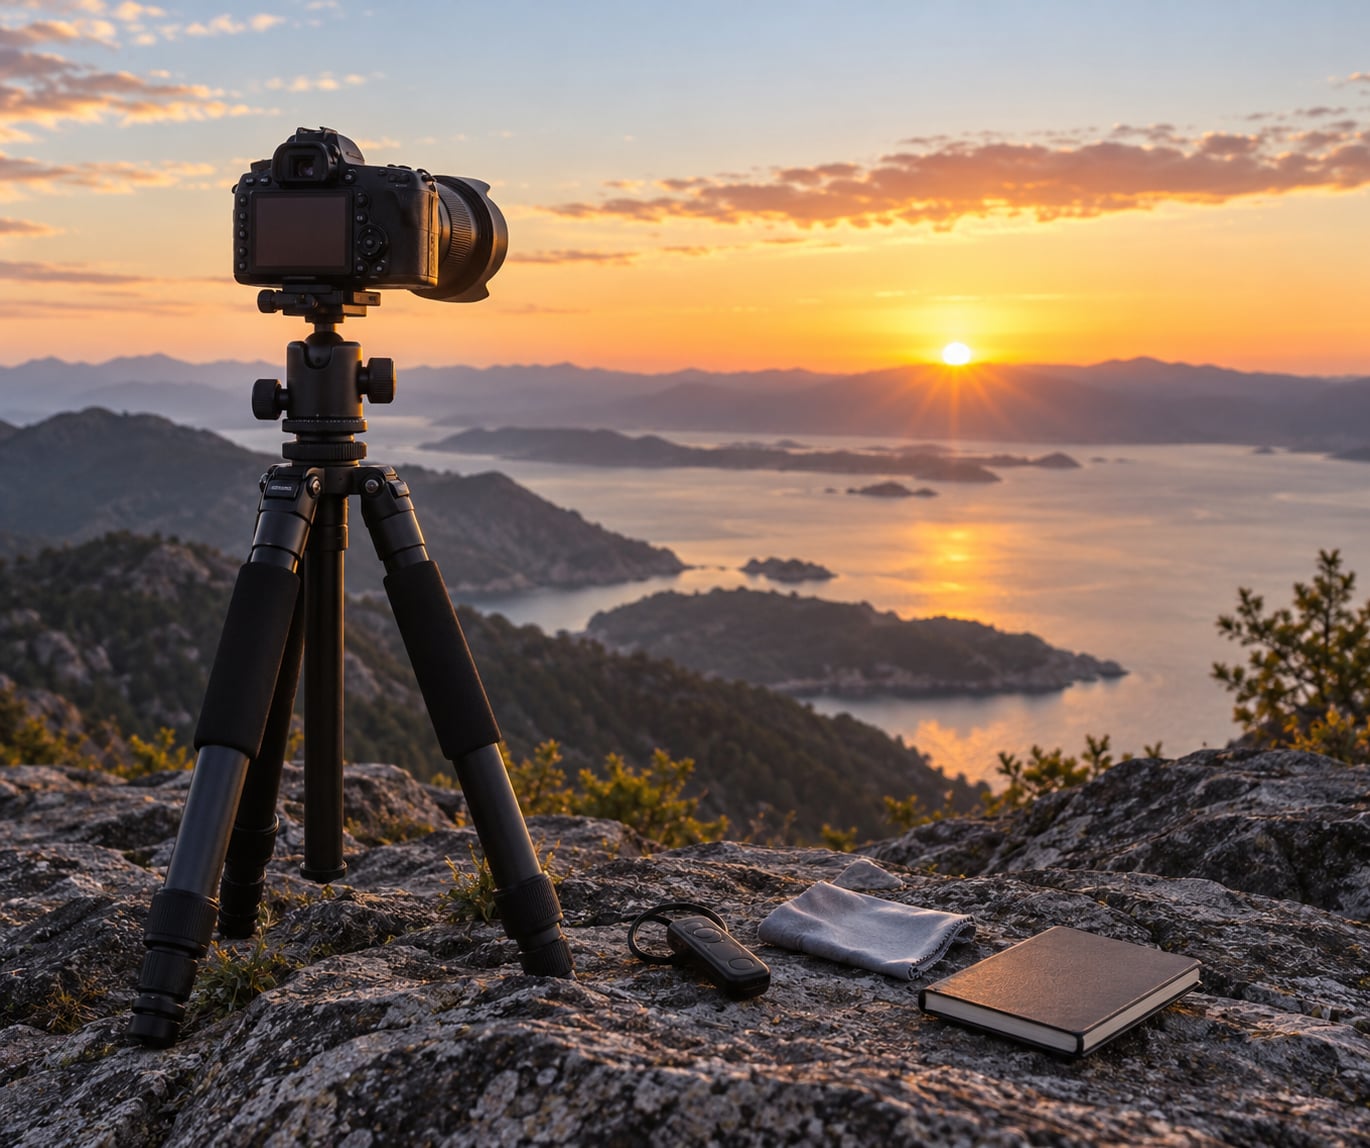
Bracketing exposures for HDR means shooting the same scene several times at different exposures, then merging those frames into one image that keeps detail in the brightest sky and the deepest foreground shadow at the same time. Learning how to bracket exposures for HDR takes a stable tripod, manual exposure mode, and about 20 minutes of setup on location.
A solid starting sequence is three or five frames spaced two stops apart, with framing, focus, ISO, and white balance locked so nothing shifts between shots. Most of the real work happens after you get home, in the merge step, which is exactly where a flat, overprocessed look comes from if you rush.
This guide covers the whole path: deciding whether your scene even needs a bracket, setting a base exposure the camera’s meter would never pick, choosing an EV spacing, and merging frames without halos. If you are starting from scratch, do steps 1 through 4 with a static scene first and get that right before you try anything with wind in the trees.
What You Need
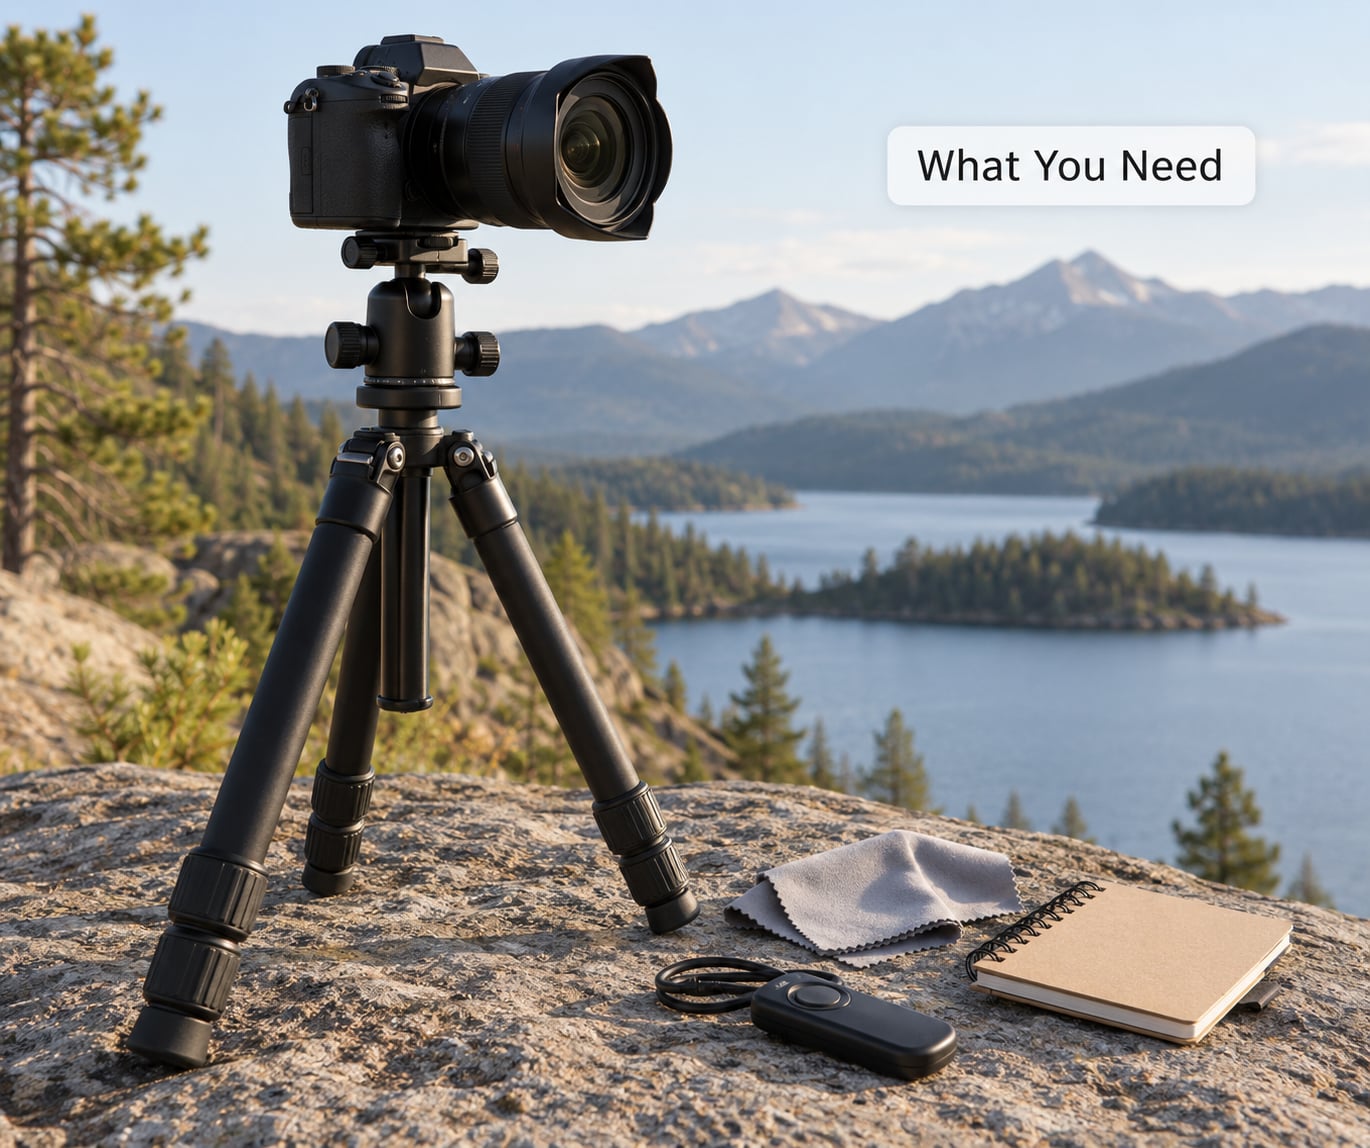
Four things matter here, and only two of them are truly essential.
- A tripod (essential). Every frame has to land on identical pixels. A tripod with a solid ball head will not flex noticeably between shots, but a lightweight travel tripod under a heavy zoom will, and that one-pixel shift causes merge failures that look like ghosting.
- A camera with manual exposure and RAW capture (essential). Every current camera has both. What varies is auto exposure bracketing, or AEB, the built-in mode that fires a series at set EV steps; some bodies limit it to three frames at plus or minus two, others allow seven frames at one stop.
- A release mechanism. The camera’s two-second self-timer works everywhere. An intervalometer or remote release is better because it removes the shake of pressing the shutter, and a wired release is more reliable in cold weather than a wireless one.
- HDR merge software. Your choice of editor with a built-in merge tool, plus a dedicated tone mapper if you want more control. Most people settle on one of those two and never need the other.
- Optional: a lens cloth and a reflector. A microfibre cloth costs nothing and matters more than people expect when you are shooting close to sea spray or mist. A white reflector lets you lift the shadow side during the merge instead of relying on the software.
Skip the intervalometer if your camera fires a burst, and skip the reflector entirely if you are photographing a landscape with no subject you can bounce light into.
Step-by-Step
1. Prepare the camera and scene
Mount the camera, level it, and clean the front element before you compose anything. Then compose once, in manual zoom, and do not touch the tripod again.
Switch to single autofocus and lock focus on the subject, or use manual focus and tape it. Autofocus will hunt back and forth during a bracket if the meter’s brightness changes between frames, and a focus shift ruins the merge even when the exposures are perfect.
Set drive mode to single frame, RAW file type, and disable anything automatic that could change mid-sequence: auto ISO, auto white balance, lens stabilisation on some bodies, and any in-camera HDR or shadow/highlight adjustment.
2. Choose the right exposure mode
Use manual exposure for the sequence. It is the only mode that guarantees each frame differs by exactly the amount of light you asked for.
Aperture priority works if you keep ISO fixed and tolerate the shutter speed the camera picks, but it can jump by two or three stops in a way you did not plan. Shutter priority is worse: bright sky, wide-open aperture, and the camera can pick a shutter speed far too slow for the foreground.
Auto exposure bracketing is convenient, not accurate. The common complaint is that the camera centres the sequence on its own idea of a correct exposure, which on a bright sky means the top frames are wasted and the bottom frames clip.
3. Set the base exposure
Set the base frame so the brightest part of the scene sits just below clipping, then let the rest of the bracket fall below it.
The practical method is exposure to the right: switch on the live histogram, disable highlight warnings, and raise the exposure until the brightest areas sit roughly 80 to 90 percent of the way across the scale. That fills the RAW file with shadow and midtone data while leaving just enough room so the sky does not clip.
Check that the darkest areas you care about still register something on the histogram at the underexposed end. If they sit hard against the left wall at minus two stops, you need more stops of latitude or a longer bracket, not a faster merge.
4. Set the bracketing increment
Pick one, two, or three stop spacing based on how much range the scene holds, not on how many frames you feel like shooting.
- 1 EV spacing gives the most overlap between frames and the most forgiving merge. Interiors with a window in shot, and real estate work, usually need five to seven frames here.
- 2 EV spacing is the default for a sunrise or sunset. Three to five frames cover most outdoor scenes at this spacing.
- 3 EV spacing is for very high contrast, such as a bright sky over a shaded canyon floor. Keep it to three or four frames; the gaps get large enough that you can see the seams.
Working out the count is simple. Measure the scene contrast with the base exposure, note where the histogram hits the left wall, then divide that many stops by your spacing and round up.
5. Capture the exposure sequence
With AEB enabled, the camera does the arithmetic: press the shutter once and it fires the series, underexposed frame first, then base, then overexposed.
Setting AEB on Canon cameras is quick: open the red shooting menu tab, find exposure compensation, and change the step to 2 EV, then set the bracketing mode and number of shots. On Nikon, look under photo shooting menu, then bracketing, then auto exposure bracketing. Sony puts it in camera settings one, under bracketing, where you also choose the order and the shutter behaviour. Fujifilm places AE bracket in its shooting menu. Menu names shift with firmware and body models, so check the manual for the camera you actually own, especially if it has had a 2026 firmware update.
For manual bracketing, there are two methods. The meter method: shoot the metered exposure, then add a stop, subtract a stop, and keep moving by the same increment in both directions. The manual base method, which I prefer: ignore the meter entirely, set the base frame by eye or by histogram as above, then rotate the shutter speed dial by one marked increment per frame. The dial’s marked stops are already a one-stop step on most bodies.
Between frames, do not touch the tripod, reframe, refocus, or trigger autofocus. Keep the shutter button held down with the drive mode on a low-speed continuous burst, or let the intervalometer run, so the sequence finishes before the light changes noticeably.
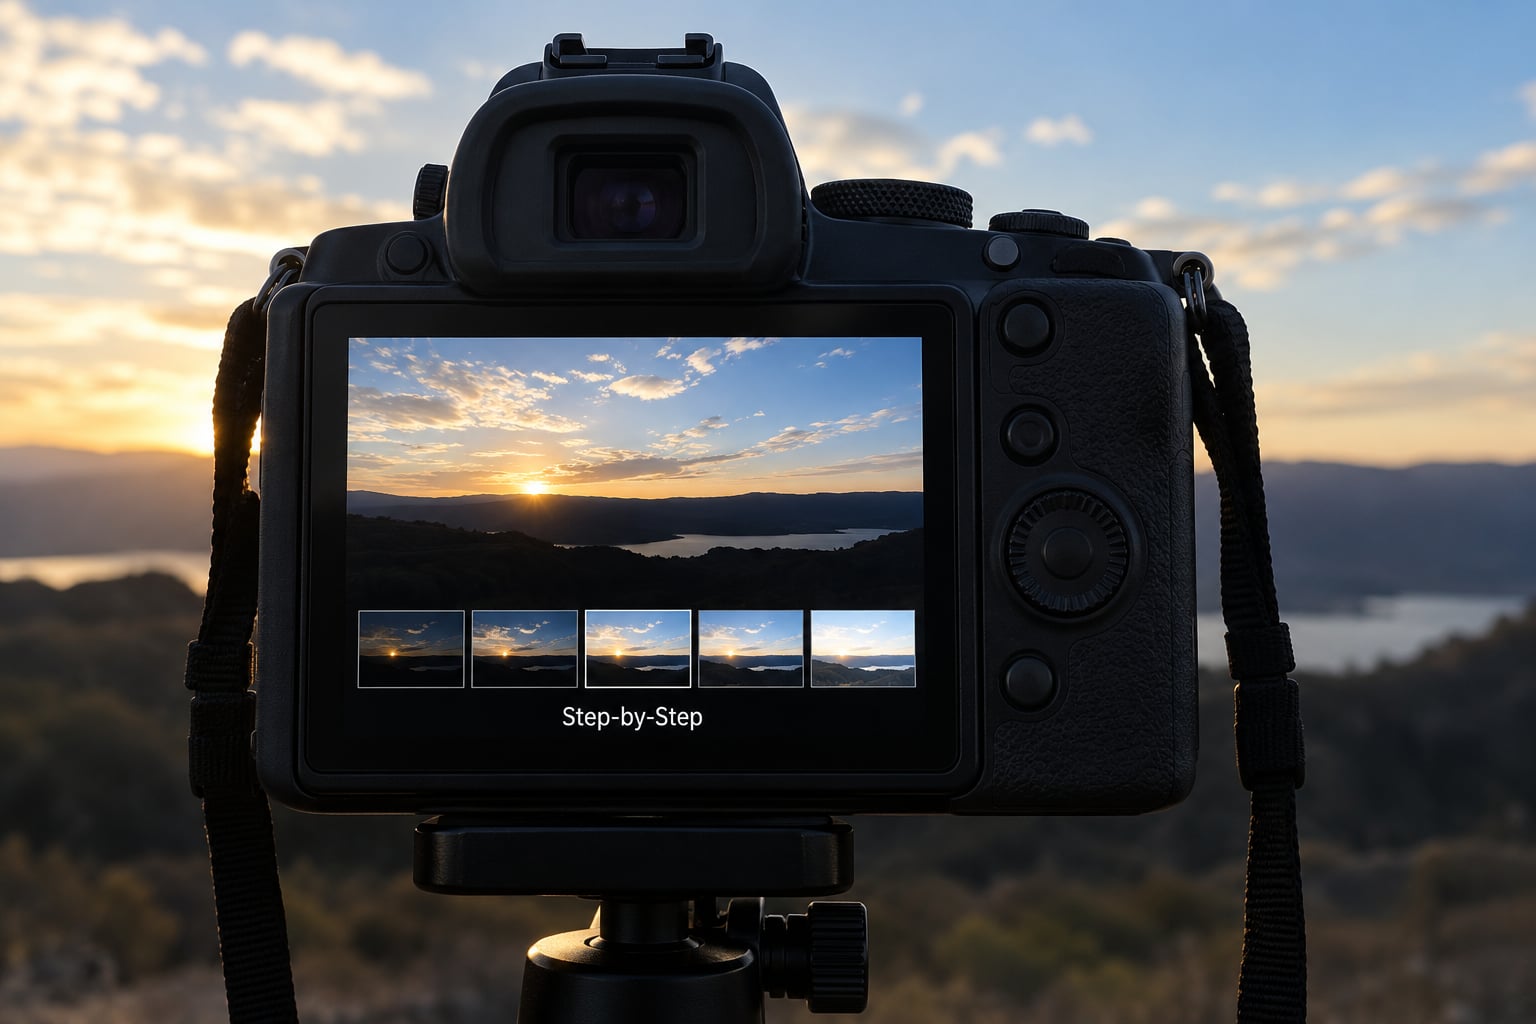
6. Review the bracket
Zoom in at 100 percent on the brightest frame and check the sky for clipped pixels. If the sky is solid white with no texture, you need to reshoot with a lower base exposure.
Then check the darkest frame for blocked shadows in the foreground. If the frame is completely black where you wanted detail, extend the range by one frame on that side.
Look at the edges of the frame across all shots. Any shift in position means the tripod moved, and the fix is a stiffer support or a heavier camera strap tension, not a better merge algorithm. Check for anything that moved between frames too: water, flags, leaves in wind, a person who blinked.
7. Merge the HDR frames
Import the frames as a group and let the software align them. Automatic alignment handles small shifts, but if you are using frames that include moving elements, open the deghosting control and pick a region to tell the software what moved.
Most editors do this in one command: select the group, choose photo merge, HDR, then align and merge. Some ask for a deghosting strength, and the honest answer is to keep it low, because pushing it aggressively smears whatever actually moved across the frame.
Then tone map. Start with the default local tone mapping and adjust from there, because the defaults are usually closer than a strong global adjustment. Watch for three tells of overprocessing: bright halos along hard edges where sky meets tree, shadow noise lifted into visible grain, and a foreground that looks brighter than the sky in front of it.
If the merge keeps producing halos, the frames were too far apart or too few. Go back and add one frame at 1 EV spacing rather than trying to fix it in post.
Common Mistakes
Mistaking in-camera HDR for bracketing. Most cameras’ built-in HDR mode combines a few frames with heavy shadow and highlight sliders applied, and the result is the flat look people mean when they say HDR looks fake. Raw bracketing merged in software gives you the actual range; the in-camera mode does not save you the tripod and it does not save you the merge.
Letting the meter choose the base exposure. A scene with a bright sky pushes the meter down, which is right for a JPEG and wrong for a bracket, because you want the top frames free of clipping. Set the base frame yourself and the meter becomes a rough check only.
Changing something between frames. Auto ISO, auto white balance, autofocus, lens stabilisation, and a bumped tripod are the usual culprits. Turn each one off before the first shot, not during it.
Using 3 EV spacing as a default. Wide gaps look efficient and leave you with dark, noisy frames and visible seams. Two stops is the safer default for outdoor work; drop to one stop when the scene range is genuinely large.
Handholding the sequence. It works occasionally and fails silently in the other files. If you have to move quickly, take three frames at one stop spacing and accept a softer result rather than missing the light entirely.
Ignoring what moves. Clouds, water, and people shift between frames and create ghosting that looks like an alignment failure. Shoot when the water is still, use a longer interval between frames when the clouds are moving fast, or accept the artifact and mask it later.
Overlapping too many frames. Highly aggressive deghosting plus deep tone mapping gives you the plastic, glowing look. Lower both values and let the data look the way the scene looked.
Frequently Asked Questions
Do I need a tripod to bracket exposures for HDR?
In practice, yes. Every frame in the sequence needs to land on identical pixels, and handholding shifts are usually too small to see at 100 percent but large enough to break alignment in the merge. A tripod plus a two-second timer is the cheapest fix available. If you must shoot handheld, keep the sequence to three frames at one stop spacing so the software has more overlap to correct for.
What EV spacing should I use for HDR bracketing?
One stop for interiors and real estate work where a bright window sits against a dark room, two stops for most outdoor scenes such as sunrise or sunset, and three stops only for extreme contrast like a bright sky over a shaded canyon. More frames at tighter spacing is usually better than fewer frames at wide spacing, because it gives the merge more overlapping data to work with.
Should I shoot brackets in RAW or JPEG?
RAW, every time. JPEG files are already tone mapped and compressed, so lifting a dark frame back up pulls out noise and blocked shadows that the file never held. RAW gives you the headroom that makes bracketing worthwhile, and merging several RAW files still costs you very little time compared with fixing a JPEG merge that has gone flat.
How do I set exposure compensation when bracketing?
Set the base exposure first, then apply exposure compensation as part of that base rather than as an extra adjustment on top of a metered frame. In manual exposure mode, exposure compensation is usually ignored, so dial the exposure in directly through the shutter speed, ISO, or aperture. In aperture or shutter priority with AEB, check the compensation scale on your camera, because some bodies apply it only to the first frame of the sequence.
How many brackets do I need for an HDR photo?
Three frames at two stops covers a moderate scene, five frames at two stops handles a typical sunrise or sunset, and five to seven frames at one stop covers an interior with a window in shot. The deciding factor is the scene contrast, not the frame count: measure where the histogram touches the left wall at your base exposure and divide by your spacing.
Conclusion
Start tonight or on your next bright morning: set the camera to manual, exposure to the right, and shoot three frames at two stops around your base exposure. Check the brightest frame for a clipped sky before you pack up, because that check is the one thing that cannot be fixed later.
Once a three-frame bracket merges cleanly, widen to five frames at one stop spacing only when the scene actually holds more range than three frames can cover. That is the whole method for how to bracket exposures for HDR, and the rest is practice on scenes where nothing moves.