
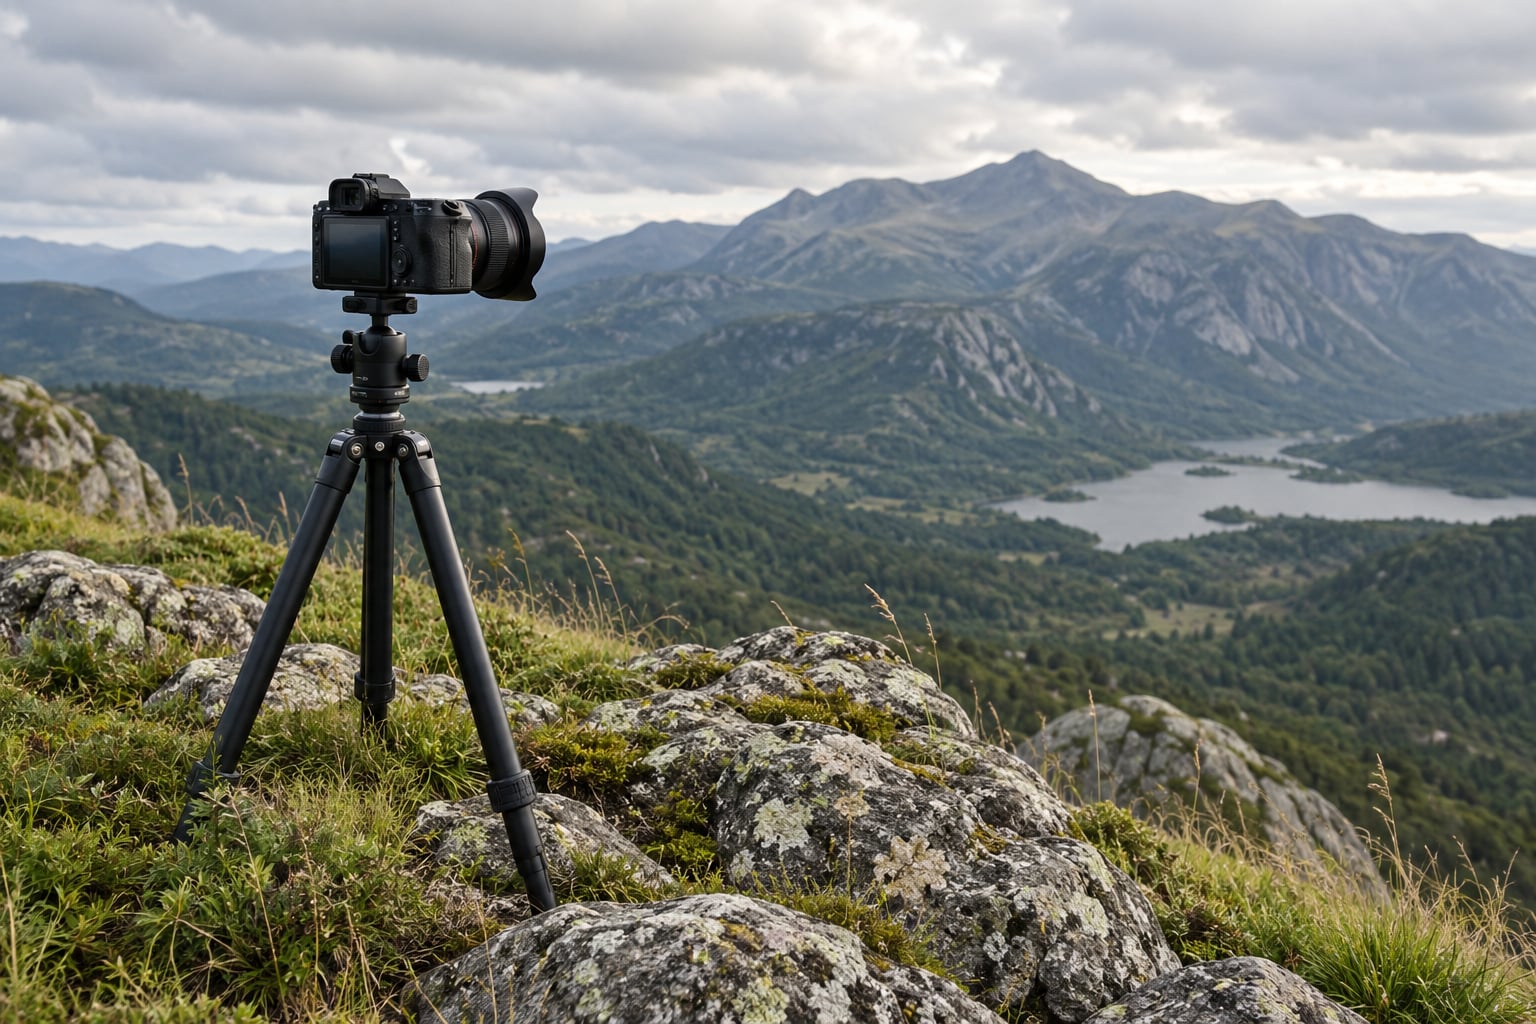
Hyperfocal distance is the closest point you can focus your lens and still have everything from half that distance all the way to infinity acceptably sharp. Learning how to use hyperfocal distance for landscapes means picking an aperture, running one formula, and setting manual focus once, so a foreground rock and a ridge ten kilometres away land sharp in the same frame.
It takes about five minutes to set up per lens, and the second time you do it you will have the numbers memorised. The technique is old, but it still beats guessing on a wide-angle lens because it turns a vague decision into two settings you can verify at 100% magnification before the light changes.
Table of Contents
- What You Need
- Step-by-Step: How to Use Hyperfocal Distance for Landscapes
- Common Mistakes
- Frequently Asked Questions
- Is hyperfocal distance the same as infinity focus?
- What aperture should I use for hyperfocal landscape photography?
- Should I use hyperfocal distance or focus stacking for a landscape?
- How do I account for a lens that zooms after focusing?
- Does hyperfocal focusing work for foreground and background in windy scenes?
- Can I use hyperfocal distance with a telephoto lens?
- Conclusion
What You Need
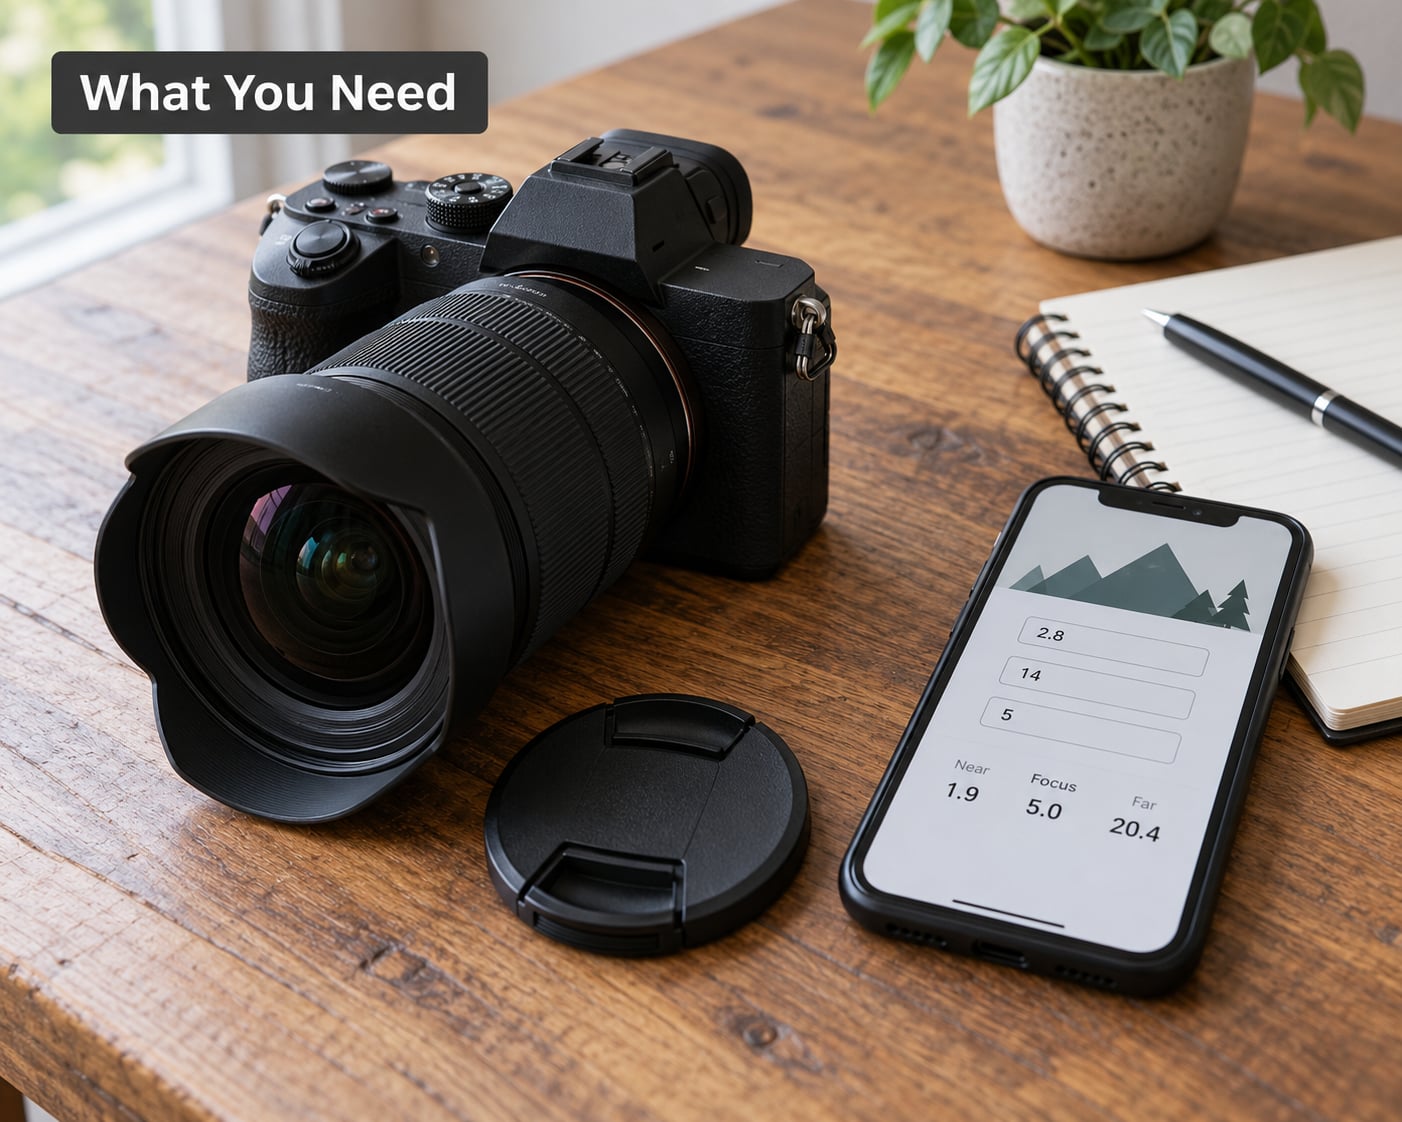
The short answer is a camera, a wide-angle lens, a number, and a way to check your work. Everything else is optional. Here is what actually matters and why.
- A camera with manual focus. Almost every modern interchangeable lens has an M/A or A/M switch. Check it before you walk out, because switching the ring out of autofocus mode after you have set the distance undoes the whole calculation.
- The widest lens you own. A 16-35mm gives you usable depth of field at sane distances. At 200mm the numbers stop being practical, which is why hyperfocal is a wide-angle technique first and foremost.
- An aperture decision. Pick this before you calculate anything, because it is one of the two numbers in the formula. For most scenes that means f/8 or f/11.
- A calculation tool. A depth of field calculator app, a printed hyperfocal chart in your camera bag, or the arithmetic on your phone. Apps such as PhotoPills, HyperFocal Pro or a generic depth of field calculator all return the same result as long as the circle of confusion matches your sensor.
- Live view magnification. This is the single most reliable field check. Zoom to 100% on the foreground and on the background, and you see sharpness instead of guessing at it.
- Your circle of confusion. The number that decides how much detail counts as sharp, and the reason a 45MP body needs a tighter value than a 24MP one. Covered in step 3.
One thing worth knowing before you start: how the circle of confusion affects the result is not subtle. Double the circle of confusion and the calculated hyperfocal distance roughly halves, which buys you a much nearer near limit and a much softer image. Treat that number as a promise about your prints, not a technicality.
Step-by-Step: How to Use Hyperfocal Distance for Landscapes
1. Decide How Much of the Scene Must Be Sharp
Hyperfocal focusing earns its keep when you want detail from the foreground through the middle distance and into the background: a wet boulder with lichen at the bottom of the frame, a line of trees at mid-distance, and a snowfield at the horizon. If that is your frame, hyperfocal is the right method.
It is the wrong method when the scene has one thing worth looking at. A lone tree against a blurred ridge, an isolated barn, a person on a ridge line. Spot focus gives you a softer, more deliberate result there, and it is faster. A single autofocus point on the subject is the better choice.
The practical test: can you name three elements in the frame at three different distances that all need to look sharp? If yes, calculate. If you can only name one, focus on it.
2. Choose a Small Aperture and Check the Lens Limit
Depth of field grows as you stop down, which is why f/8, f/11 and f/16 are the landscape defaults. The catch is diffraction: past a certain point, light bending around the aperture blades softens the whole image faster than extra depth of field adds detail.
Where that point sits depends on your camera, not on a rule of thumb. A 24MP full-frame body usually holds fine detail to f/11 and softens visibly by f/22. A 60MP body reaches its diffraction limit earlier because each pixel is smaller and catches the softening sooner. That is the answer to what F stop is best for landscapes: for most bodies f/8 or f/11, then check a test frame at 100% before pushing further.
Do one test rather than guessing. Photograph a high-contrast subject at f/8, f/11 and f/16, open each file at 100%, and compare the fine detail. Whatever stops improving is your lens and sensor limit, and that becomes your working aperture.
3. Measure the Circle of Confusion
The circle of confusion is the size of the blur spot your sensor records when something is slightly out of focus. Below a threshold, the eye cannot tell it from a sharp point, so it counts as sharp. Set the threshold smaller and more of the frame passes that test, which means a further focus distance and a shallower near limit.
Standard values, assuming a sharp print viewed at arm’s length:
| Sensor | Circle of confusion | What it assumes |
|---|---|---|
| Medium format | 0.050 mm | Large prints, close viewing |
| Full frame | 0.030 mm | Standard use |
| APS-C | 0.019-0.020 mm | Standard use |
| Micro Four Thirds | 0.015 mm | Small prints, screen viewing |
If you print large and inspect closely, drop one step: use 0.020 mm on full frame or 0.015 mm on APS-C. If you mostly view images on a phone or laptop, the standard value is already generous and you can use it without worry.
4. Calculate the Hyperfocal Distance
The formula is H = f² / (N × c) + f. Focal length f and the circle of confusion c go in millimetres, the aperture number N goes in as f/11 means N = 11, and H comes back in millimetres too. Divide by 1000 for metres.
Worked example: a 24mm lens at f/11 on full frame with a 0.030 mm circle of confusion. f² is 576, N × c is 11 × 0.030 = 0.33, so 576 / 0.33 = 1745 mm, plus the 24mm of focal length gives about 1769 mm. That is 1.77 metres, with the near limit at roughly half of it, 0.88 metres, and the far limit at infinity.
Full-frame reference values at a 0.030 mm circle of confusion, so you can skip the maths on a normal morning:
| Focal length | f/8 | f/11 | f/16 |
|---|---|---|---|
| 16mm | 1.08 m | 0.79 m | 0.55 m |
| 20mm | 1.69 m | 1.23 m | 0.85 m |
| 24mm | 2.42 m | 1.77 m | 1.22 m |
| 35mm | 5.14 m | 3.75 m | 2.59 m |
| 50mm | 10.5 m | 7.63 m | 5.26 m |
| 200mm | 167 m | 121 m | 84 m |
If your body is smaller than full frame, use the real focal length printed on the lens, not the 35mm equivalent. APS-C crops the frame after the fact; the lens is still working with the same glass and the same 24mm.
There is a shortcut for when you have no calculator and no chart: focus on something at the calculated distance, then switch to manual and refocus at roughly twice that distance. The result is very close, and some experienced photographers work this way permanently.
5. Set the Lens to the Calculated Distance
Switch the lens to manual, use live view at 100% magnification, and focus at the distance you calculated. Do not rely on the distance scale printed on the lens for precision. A typical scale marks 1 m, 1.5 m, 2 m and infinity, so a calculated 1.91 m lands halfway between two marks, and so does your error.
If your lens has a proper focus throw or a smooth manual ring, focus roughly and then refine in live view. On the magnification screen, find the point where the foreground texture stops tightening as you rack back. That is your edge of acceptably sharp.
Once you are set, treat the lens as locked. Zooming changes your focal length and therefore your hyperfocal distance, and many zooms also shift slightly under their own weight. Focus first, compose second, or re-check after any zoom.
6. Compose the Frame and Test the Focus
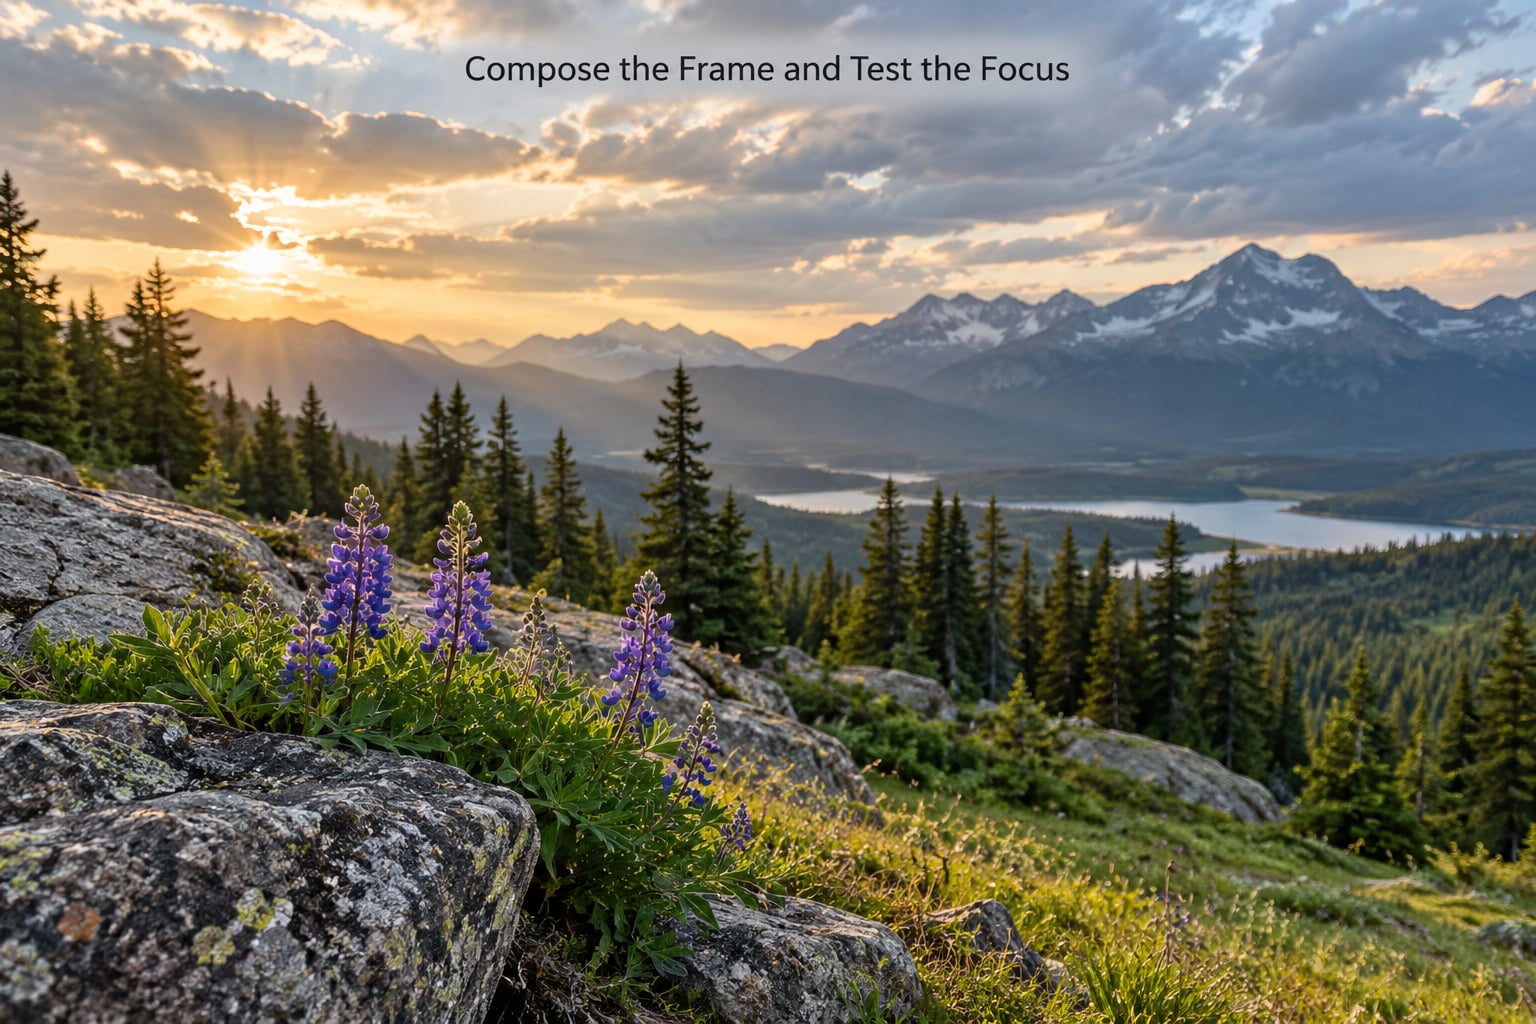
Arrange the frame before you worry about the focus. Find a foreground with texture close to the lens, keep a middle-ground element for scale, and leave room for the background. A frame with three depth layers is a frame where hyperfocal is visibly working; a frame with a hedge and a sky is not.
Take one test frame and check it properly. At 100% magnification, look at the nearest detail and the farthest detail in the same image. If the foreground is soft, you are focused too close or your circle of confusion was too large. If the background is soft while the foreground is sharp, focus further out and check again.
Adjust in small steps: quarter-stop aperture changes, a few centimetres of focus, one re-test frame each time. The workflow that works is repeatable rather than clever. There is more on converting the same scene to a different treatment in shooting in black and white, where edge definition matters even more than it does in colour.
Common Mistakes
- Swapping the near and far limits. Focus at the hyperfocal distance and the near limit sits at half that distance, with infinity on the far side. People routinely read this backwards and conclude the foreground is not covered. Check the arithmetic once: 1.77 m focus gives 0.88 m near limit.
- Using a circle of confusion that is too generous. Entering 0.030 mm on a 45MP body you intend to print at a metre wide gives you a soft file that looks fine on screen and falls apart in the print. Use 0.020 mm or tighter for high-resolution bodies and large prints.
- Focusing closer than the scene requires. Pulling focus to the nearest metre to keep one dramatic rock sharp throws away the depth of field you just calculated. Decide whether the rock or the whole frame is the subject.
- Ignoring focal length changes. Zooming after setting focus invalidates the number. Recalculate or refocus after every zoom, and re-check at 100% magnification before committing to a bracket.
- Believing a tiny aperture solves everything. f/22 adds diffraction softness across the entire frame, including the background that was already sharp at f/11. Stop at the diffraction limit your test frames identified.
- Trusting a coarse distance scale. Lens scales are printed to look like a ruler, not a measuring instrument. On a long-running talkphotography.co.uk thread, photographers described calculating 1.91 m while their lens marked only 1 m and 2 m. Live view magnification removes the guesswork.
- Following the one-third-into-the-frame rule. Placing the focus point a third of the way into the frame is a quick spot-focus shortcut, not hyperfocal. It ignores focal length and aperture entirely, and it fails badly on wide lenses.
- Combining with stacking without checking focus breathing. If you shoot a hyperfocal frame and then a second frame at a different focus distance for stacking, lenses that breathe on focus shifts change your framing between shots. That is a common reason auto-align fails. Shoot the stack in a fixed position and re-align by hand when breathing shows up.
Two habits cut most of these problems. Set focus once and leave the camera alone while you compose, and take the test frame before you start worrying about exposure. Focus is the thing that cannot be fixed in post; exposure can.
Frequently Asked Questions
Is hyperfocal distance the same as infinity focus?
No. Focusing at infinity only puts the far background at its sharpest and leaves the foreground soft. Focusing at the hyperfocal distance extends sharpness from half that distance all the way to infinity, so the near rocks and the far ridge hold detail together. On a wide lens at f/11 the difference is obvious; on a long lens at f/2.8 it is nearly invisible.
What aperture should I use for hyperfocal landscape photography?
Start at f/8 or f/11 on a standard-resolution body. Stopping down buys depth of field but costs detail to diffraction, and small pixels lose that detail sooner. If you shoot 40MP or higher, f/11 is usually the ceiling rather than the starting point. Test three apertures at 100% magnification and pick the last one that still looks clean.
Should I use hyperfocal distance or focus stacking for a landscape?
Use hyperfocal when your foreground sits comfortably inside the calculated near limit, which is most wide-angle scenes shot at f/8 or f/11. Stack when you are closer than that limit, using a macro or a close-focusing wide lens with a subject a few centimetres from the front element. Stacking costs time, wind exposure and alignment effort, so reach for it only when one frame cannot cover the range.
How do I account for a lens that zooms after focusing?
Recalculate for the new focal length or focus again once the zoom is settled. Zoom rings can also shift the lens under its own weight, which moves the focus plane slightly. The safe order is zoom first, then focus, then compose around a tripod-mounted frame. Recheck at 100% magnification if anything moved after you set the distance.
Does hyperfocal focusing work for foreground and background in windy scenes?
Hyperfocal still works, but it changes your shutter speed. A small aperture such as f/11 pushes you to longer exposures, and grass or water in the foreground then blurs no matter how exact the focus is. In wind, stop down less, raise ISO, or bracket exposures for the foreground separately. Focus accuracy solves one problem in a windy frame and leaves the movement problem untouched.
Can I use hyperfocal distance with a telephoto lens?
Technically yes, practically rarely. A 200mm at f/11 on full frame gives a hyperfocal distance near 121 metres, so nothing closer than about 60 metres is sharp. Unless you are compressing layers in a distant vista with nothing in front, spot focus or a background-focused approach gives a better image in less time. Hyperfocal earns its keep on wide and standard lenses.
Conclusion
Start with one lens, one aperture and one number: your widest focal length at f/11 with a 0.030 mm circle of confusion on full frame. Write it on a card in your bag, find a scene with foreground, middle ground and background, and take one test frame at 100% magnification before you trust it.
Once those two or three combinations are familiar, the calculation stops being a task and becomes part of setting up the camera. If the foreground is closer than your near limit, you are out of hyperfocal territory and a focus stack is the honest answer.