
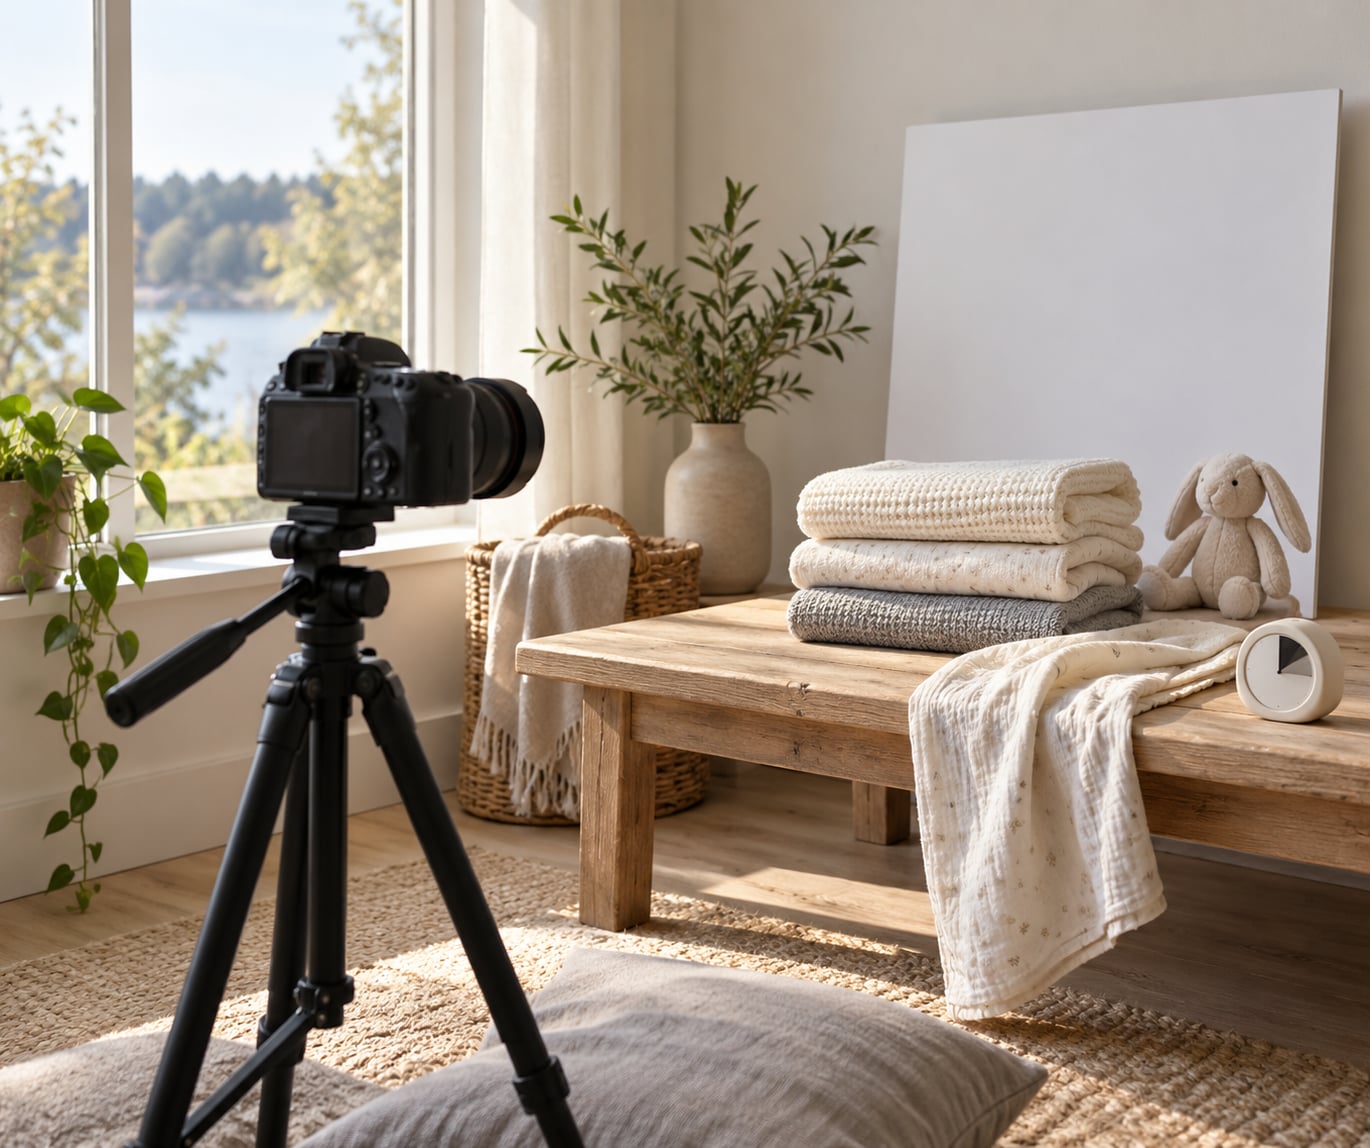
The safest way to photograph a newborn is to keep the whole session built around the baby: a warm room, soft light from a window, simple poses where the head and neck are supported in every frame, and an adult’s hand in contact with your baby at all times. Stop the moment your baby resists, and follow your paediatric clinician’s guidance. This guide covers the practical setup, updated for 2026.
It is written for parents shooting at home with a phone, for hobbyist photographers shooting their first newborn session, and for professionals who want one clear protocol instead of advice scattered across a dozen blog posts.
A note before we start: this is photography guidance, not medical advice. If your baby has any medical concern, prematurity, reflux or a condition your clinician has flagged, follow their instructions rather than anything here.
If you are chasing a particular look, how to photograph shadows covers what light does on its own. Here we are working out how to keep a person, and a very small person, comfortable while it happens.
Table of Contents
- What You Need to Photograph Newborns Safely
- Step-by-Step: Photographing a Newborn Safely
- 1. Plan the Session Around the Baby’s Comfort
- 2. Prepare a Warm, Clutter-Free Space Before the Baby Arrives
- 3. Check the Lighting Before the Baby Arrives
- 4. Support the Head, Neck and Body at All Times
- 5. Use Simple, Supportive Poses
- 6. Set the Camera and Take the Shot Quickly
- 7. Watch Cues and Take Frequent Breaks
- 8. Finish, Review and Store the Images
- Common Mistakes and How to Fix Them
- Frequently Asked Questions
- How long should a newborn photo session last?
- When should I stop photographing my newborn?
- Do I need professional equipment to photograph a newborn at home?
- Are newborn poses safe for a baby under six weeks old?
- Should I use flash when photographing a newborn?
- What should I check before posting newborn photos online?
- Conclusion
What You Need to Photograph Newborns Safely
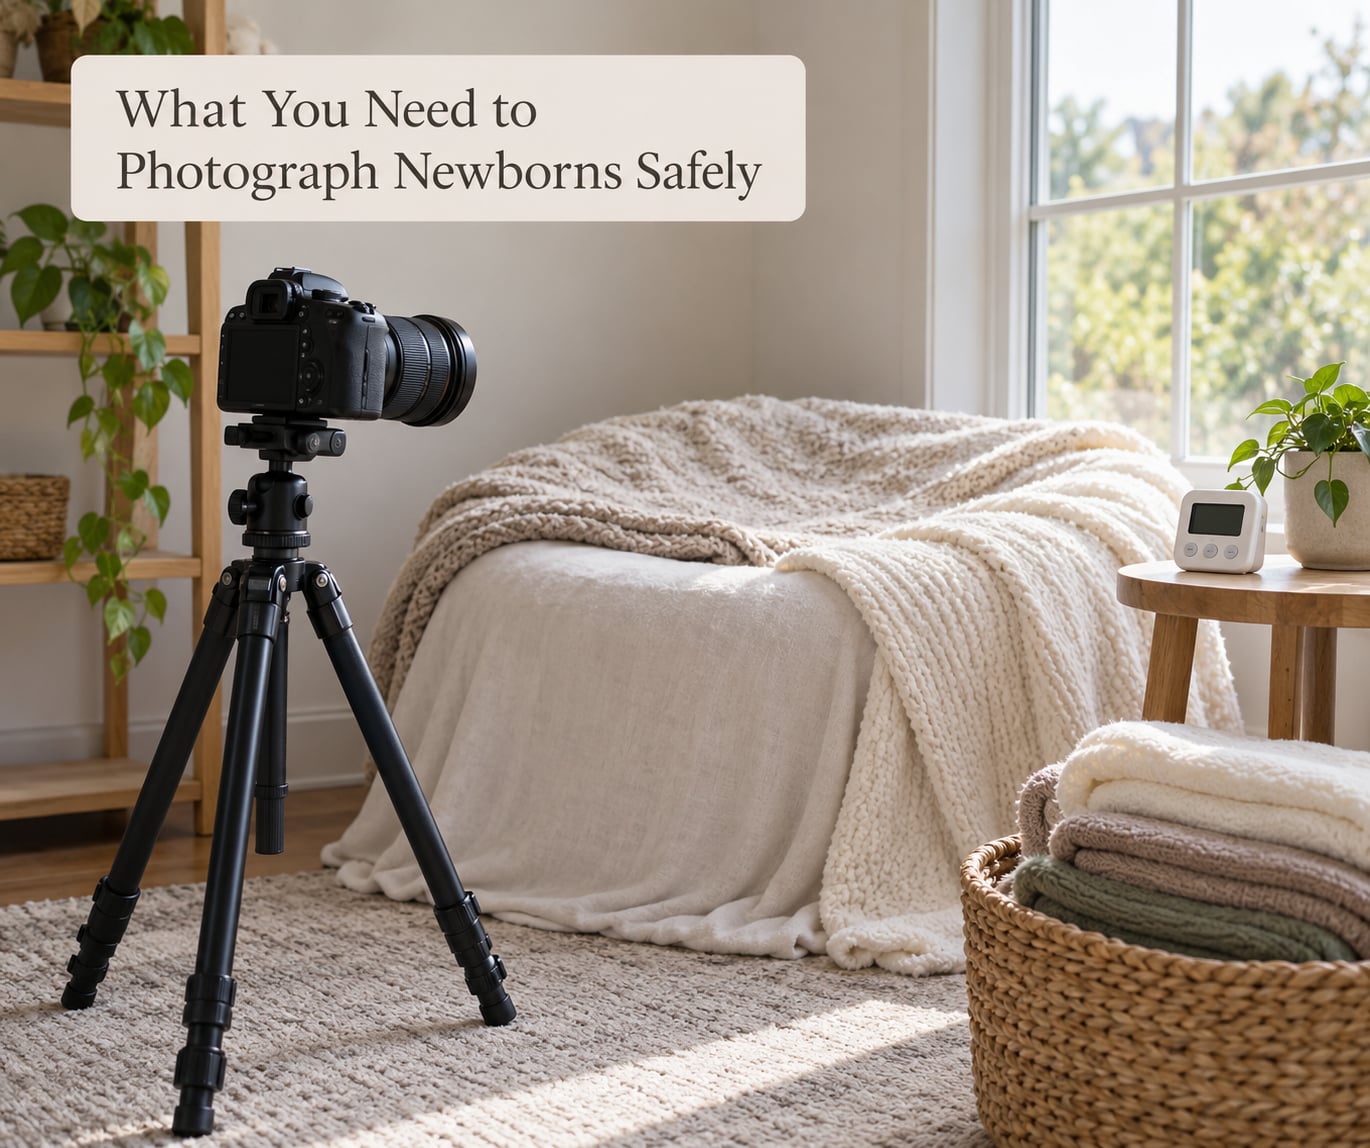
The short answer: you need very little. Most elaborate newborn sets are built for the photograph, not for the baby, and every extra object is another thing that can tip, fall or get in the way. A calm room and a capable adult matter far more than gear.
Here is the short list.
- A responsible helper. Ideally another adult whose only job is to stay near the baby and keep a hand on them. This is the single most important item on the list.
- A stable, safe shooting space. A clear floor, a solid surface at the right height, no trailing cables and no drafts.
- A camera or phone you already own. Either one works. A recent phone with burst mode is genuinely enough.
- A simple lens. A moderate wide angle or short telephoto on a camera. Nothing exotic.
- Diffused window light. A large window with no direct sun on the baby, plus a white card or sheet to lift the shadow side.
- Plain blankets and wraps in one or two neutral colours, washed and ready.
- Optional posing support. A firm pillow or rolled towel for a gentle lean. That is the whole list.
What you do not need: baskets that swing, hoops, chairs balanced on one leg, hanging frames, and any pose that depends on prop physics rather than an adult hand.
Step-by-Step: Photographing a Newborn Safely
Work through these in order. Each step tells you what to do and how you will know it worked.
1. Plan the Session Around the Baby’s Comfort
Book the session when your baby is usually settled, not when you want photographs. A fed, rested baby with a full tummy is the easiest subject you will ever work with.
Keep the first session short and flexible. Have a rough idea of the shots you want, then treat that list as a suggestion rather than a schedule. If your baby becomes distressed, overheated, tired or unsettled, the session is over regardless of how many frames are still missing.
You will know it worked when the shoot ends with a settled baby rather than a finished shot list.
2. Prepare a Warm, Clutter-Free Space Before the Baby Arrives
Set everything up first, then bring the baby into the finished room. You do not want to be moving furniture with a newborn in your arms.
Naked newborns cannot regulate their own body temperature, so the room needs to feel warm to you before your baby is placed on any surface. Roughly 24 to 28 degrees Celsius is the working range most newborn photographers aim for; you can read more about the reasoning behind room temperature in guides to newborn photography temperature safety.
Clear the floor, remove anything that could tip, and get rid of loose cables. Check that no lamp, heater or light stand is close enough to reach the shooting area, and that no light or modifier hangs above the baby.
If you plan to shoot near a window, think about what happens when the light changes. It helps to read how to shoot in the rain safely for the same habit of planning around conditions you cannot control.
Wash your hands, remove rings, bracelets and watches, and skip strong fragrance. Wipe down any surface the baby will touch, especially if you shoot for more than one family.
You’ll know it worked when you can walk the route from door to shooting spot without stepping on or into anything.
3. Check the Lighting Before the Baby Arrives
Set your camera on a tripod or a stack of books, put a folded blanket where the baby will go, and take a test frame without the baby in it.
Place the shooting surface about 45 degrees to the window rather than directly in front of it. That angle keeps shadows soft on the baby’s face. Turn off overhead lights, because they flatten skin and add their own hard shadow under the chin.
Now put the back of your hand on the blanket and hold it there for a few seconds. If it feels uncomfortably hot, move the surface. You are checking the temperature before the baby arrives, not after.
You will know it worked when the test frame shows even light across the blanket, with a gentle falloff rather than a bright patch and a dark one.
4. Support the Head, Neck and Body at All Times
Newborns have no head control for roughly the first three months. That means your supporting hand is not optional, it is the pose.
Learn one safe lift and use it every time: one hand cups the head and neck from below, the other supports the body at the hips and back. Move slowly, keep your baby’s face visible to you the whole time, and never lift from the arms or hands alone.
Use both hands when you adjust a blanket or reach for a camera setting. If you need to step away from the camera, either take the baby with you or have your helper take over with their hands on the baby.
An adult should be within arm’s reach for the entire shoot, not only during the posing. If you are photographing newborns safely in your own home, keep the same standard you would want from a stranger in your living room.
You will know it worked when your helper can tell you the baby is fine without looking up from the camera.
5. Use Simple, Supportive Poses
Keep every position fully supported with the face and airway unobstructed. Swaddled on the back, curled gently to one side with the head supported, lying on a forearm with two hands steadying the head and chest, or resting in a parent’s arms: these are the poses that work without argument.
Skip anything that requires force. Do not force a limb into a position, stack or hang objects from the setup, hold a baby in a prolonged back bend, or suspend a baby above a surface. Those poses need composites, and a composite is an image built from several frames in which an adult was supporting the baby in every single shot.
If a pose requires you to take both hands off your baby to make it work, it is the wrong pose. Follow your paediatric clinician’s advice on any positioning, and let your baby decide how the session goes.
You will know it worked when you can describe how both hands stayed on your baby through the entire shot.
6. Set the Camera and Take the Shot Quickly
The goal is to make the photograph, not to keep your baby still while you fiddle. Decide exposure, focus mode, burst and white balance before you begin, then leave the camera alone.
Use burst mode, continuous autofocus and a timer or remote release so your baby does not have to stay in one position while you adjust anything. Test focus and exposure on a nearby object first. On a phone, burst mode plus the 2x lens and a short timer covers most of what you need.
Learning how to photograph newborns safely comes down to this: fewer adjustments, faster frames, shorter time on the surface.
You will know it worked when you can get a usable frame in a short burst rather than one perfect held pose.
7. Watch Cues and Take Frequent Breaks
Pause often. Feeding, nappy changes, cuddles with a caregiver and settling time all belong in the schedule, and a baby who has been asked to hold still for forty minutes has had enough.
Stop and return the baby to a caregiver when you see crying that will not settle, repeated arching, turning away, skin flushing or redness, damp or flushed skin from overheating, unusual breathing, or fussiness that builds across the session.
Those are stop signals, not challenges to work around. If a health concern is what prompted them, contact your baby’s paediatrician rather than the internet.
A good session has more breaks than you strictly needed.
8. Finish, Review and Store the Images
Hand the baby back to a caregiver before you touch the camera or the card. Then check the baby over: skin temperature, colour, and whether anything is bunched under or around them.
Back the files up to two separate places the same day, before you start editing. Keeping originals safe and backed up matters more than any filter; you can read how to store photo prints safely once you have prints in hand.
Before anything goes online, confirm the birth date, the name and every identifying detail. Newborn images get reposted and stripped of context constantly, so decide deliberately what you are sharing and strip location details and hospital identifiers from the file itself.
You will know it worked when you can find any single image in two seconds on two different devices.
Common Mistakes and How to Fix Them
Almost every unsafe newborn photograph comes from one of a handful of habits. These are the ones that show up again and again, with the fix for each.
Trying too many complex poses. The classic curled poses are only possible in the first couple of weeks, and they still need support. Fix: pick three simple positions, shoot them well, and stop there.
Leaning on unstable props. A basket on a stand, a hoop balanced on a chair, or anything with weight above the baby can tip. Fix: put weight in the base or drop the prop. Your hands are the safe prop.
Shooting in harsh light. Direct sun and bare overhead bulbs create hard shadows and hot spots on skin. Fix: window light at about 45 degrees, overheads off, white card on the shadow side.
Keeping the baby in one position too long. Even a comfortable pose becomes uncomfortable. Fix: shoot in short bursts and change position often.
Walking away to adjust settings. Every step away is time the baby is unsupervised or held badly. Fix: set everything in advance, then use burst, a timer or a remote release.
Using flash or putting equipment close to the baby. A hot lamp near an infant’s eyes is a real concern, and equipment within reach is a hazard. Fix: work with window light and keep gear at a distance.
Skipping the identity check. Sharing an image with the wrong date or a visible hospital bracelet is more common than anyone admits. Fix: verify details before the file leaves your device.
Leaving the newborn unattended. Even for the few seconds it takes to check a screen. Fix: the baby is always in sight and in arm’s reach.
One last framing note. Keep the session short, keep the plan flexible, and keep your own tone calm. Babies read the room, and a tense photographer produces tense handling. If you take nothing else from this guide, take the stop rule: the photograph never outranks your baby’s comfort.
Frequently Asked Questions
How long should a newborn photo session last?
Most newborn sessions run 45 to 90 minutes of actual shooting, and you should allow a longer block, roughly two to three hours, for a baby under two weeks old because feeds and changes will interrupt you. Work in short bursts of a few minutes with breaks in between rather than holding poses. If your baby is settled and warm, staying a little longer is fine. This is general photography guidance, not medical advice; follow your paediatric clinician’s instructions.
When should I stop photographing my newborn?
Stop as soon as your baby cries and will not settle, arches repeatedly, turns away, flushes or looks hot, breathes unusually, or becomes progressively more fussy. Those are signals, not setbacks to push through. Hand the baby back to a caregiver and finish later or another day. If you noticed a health sign that worried you, contact your baby’s paediatrician rather than waiting for a photo session.
Do I need professional equipment to photograph a newborn at home?
No. A phone with burst mode and a timer handles a whole session, and window light plus a white card is all the lighting most families need. A camera with a moderate wide or short telephoto lens gives you more control, and a tripod and reflector make life easier, but neither changes the safety rules. The things that actually matter are a warm room, a stable surface and an adult whose only job is the baby.
Are newborn poses safe for a baby under six weeks old?
Curled, cocooned poses are easiest in roughly the first 10 to 21 days, and they always require full support of the head, neck and body with the face and airway clear. After that a baby stiffens and the same poses stop being achievable, which is a cue to switch to swaddled, held and lying-on-a-forearm positions. Avoid force, suspended positions and prolonged back bends. Ask your paediatric clinician about your own baby, especially if born early.
Should I use flash when photographing a newborn?
Window light is the better answer for almost every session, and it removes the question of placing a light source close to an infant’s eyes. If you do use a flash, keep the unit away from the baby and the shooting surface, never fire it near the face, and remember that bounced and diffused light gives far better skin tones anyway. This is general safety information, not medical advice, so raise any eye concerns with your paediatric clinician.
What should I check before posting newborn photos online?
Confirm the birth date, the name and every identifying detail, and crop out hospital bracelets, wristbands, name tags, room numbers and location data before you upload. Decide whether you want the images searchable and permanent, since they can be reposted without context years later. Restrict the audience to people you trust, and leave metadata stripped. If you printed any of these frames, storing them properly matters too.
Conclusion
Start before your baby arrives. Clear the room, warm it to roughly 24 to 28 degrees Celsius, set the camera with burst mode and a timer, and find the window. Have a second adult whose only job is the baby.
Then keep handling gentle, keep every position fully supported, keep sessions short, and lead with your baby’s comfort rather than your shot list. Photographing newborns safely is mostly preparation done in advance and the confidence to stop. Follow your paediatric clinician’s guidance, and stop whenever your baby looks uncomfortable.