
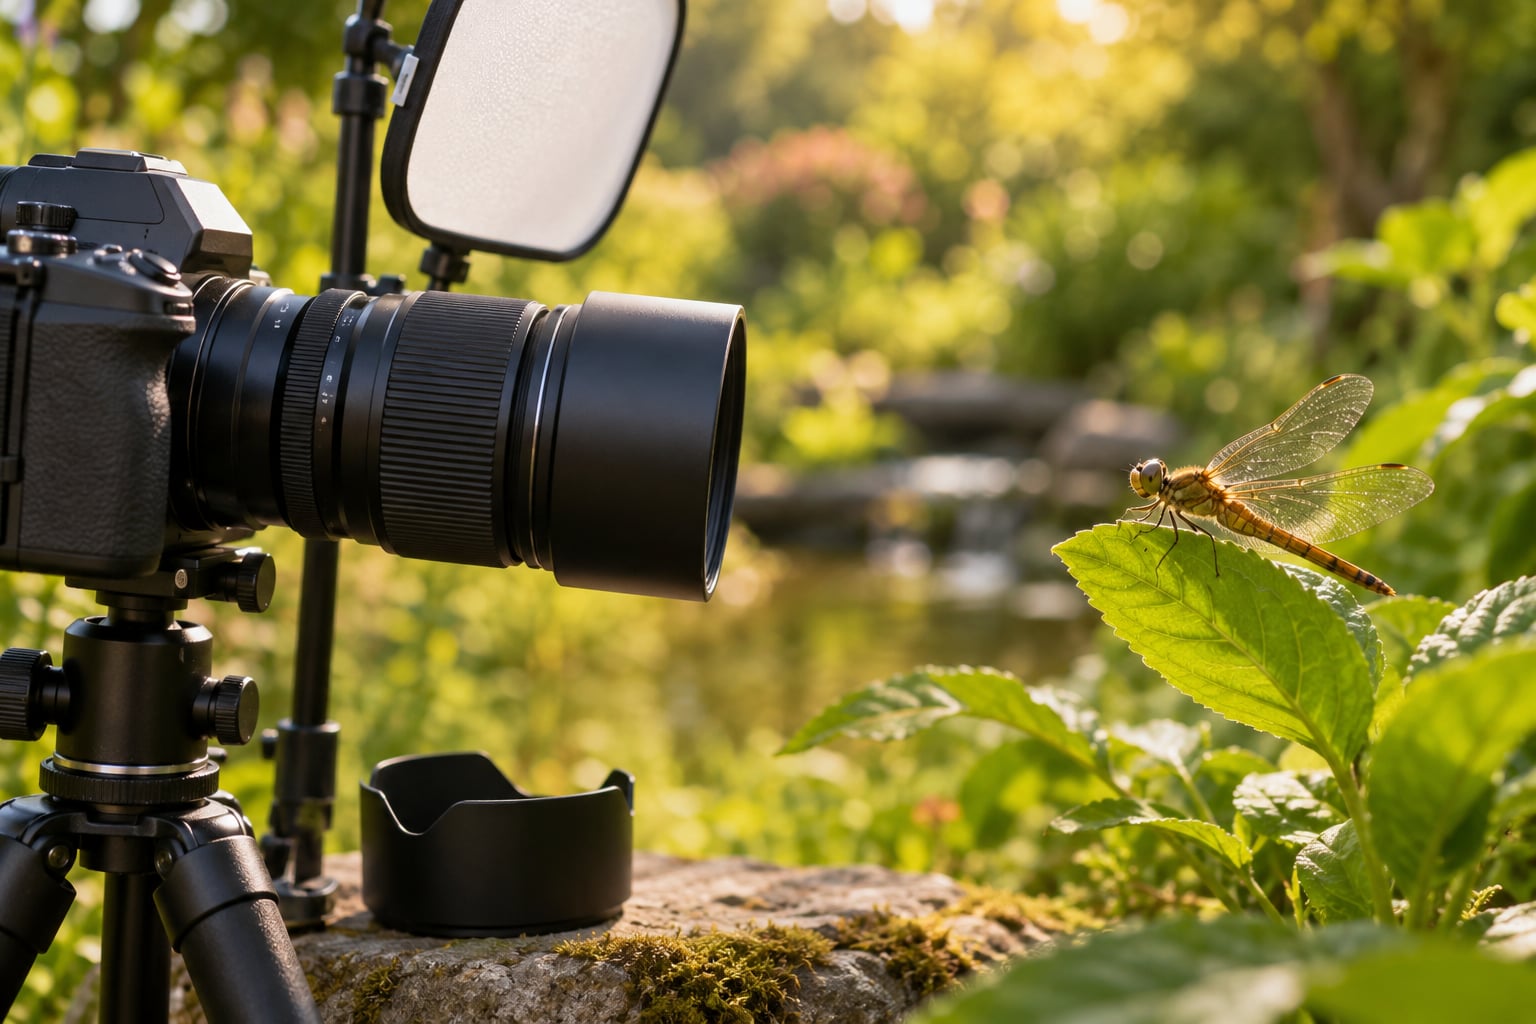
To photograph insects up close, find one that has settled, get a true macro lens or a phone with a close-up clip-on, and shoot in open shade with the camera held parallel to the subject. Focus on the eyes, keep the light soft and diffused, and take a burst of frames rather than a single careful shot.
That whole process takes about ten minutes once you know the routine. The hard part was never the equipment. It was learning to move slowly, to notice where insects actually settle, and to stop trying to force a shot instead of waiting for the insect to give you one.
This guide covers the field setup, the eight steps in order, the mistakes that cost beginners most of their frames, and how to work without disturbing what you are photographing.
Table of Contents
- What You Need
- Step-by-Step: How to Photograph Insects Up Close
- 1. Find Active Insects and Observe Their Behavior
- 2. Choose the Right Camera and Lens Setup
- 3. Get Close Without Startling the Insect
- 4. Use Natural Light or a Gentle Filler
- 5. Stabilize the Camera and Track the Subject
- 6. Focus on the Eyes and Details
- 7. Compose the Image Around the Insect
- 8. Take a Series and Review Your Results
- Common Mistakes
- Field Tips for Ethical Insect Photography
- Frequently Asked Questions
- Conclusion
What You Need
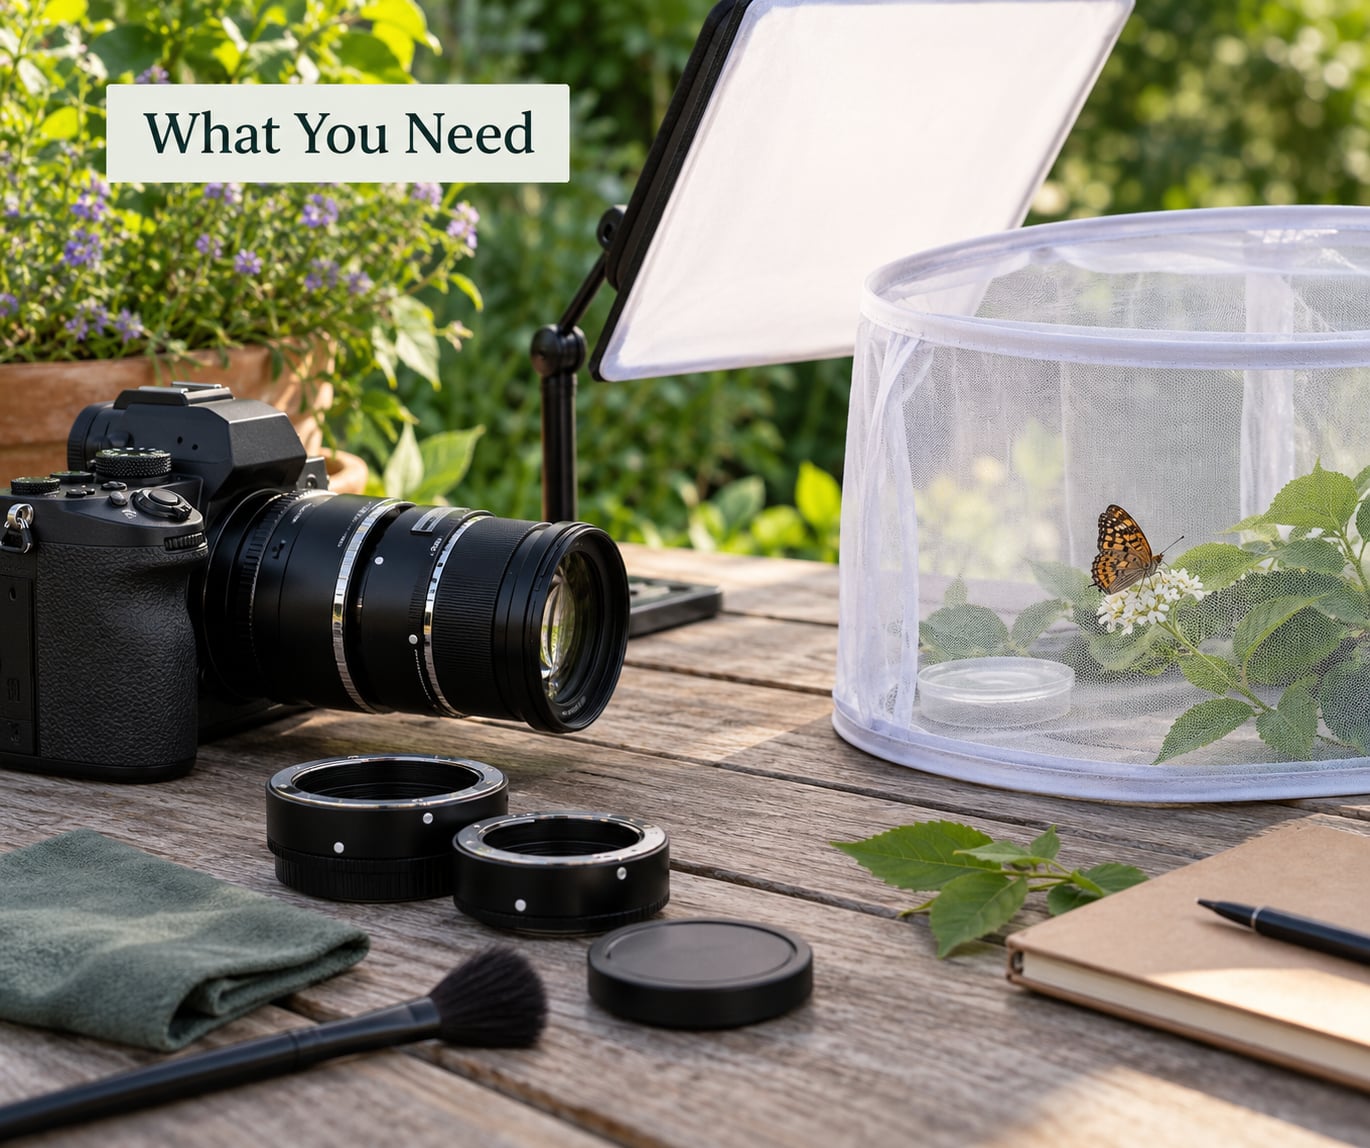
A dedicated macro lens is the one upgrade that matters. Anything rated 1:1 reproduces the subject at life size on the sensor, so a bee fills the frame the way it looks to the bee itself. A 100mm macro is the classic choice because the longer focal length gives you more working distance, which means you can photograph bees and wasps without your shadow falling across them.
You do not need one to start. Extension tubes slip between your camera body and an existing lens and cut the minimum focus distance, giving you macro capability for very little money. The tradeoff is uneven framing and light loss at the edges, so a prime or short telephoto on a tube beats a wide zoom.
Two more cheap options work fine for learning. Reversing a lens with an adapter flips the optics for surprisingly close focus, and clip-on close-up filters attach to a phone camera for pocket-change prices. If you want a deeper look at why shadows behave the way they do at magnification, my guide to how to photograph shadows is worth a read.
On the lighting side, open shade is free and often better than a flash. When you do want artificial light, a small speedlight with a diffuser or a folded sheet of white tissue paper wrapped around the head will soften the hard edges that make macro shots look clinical.
Stabilization matters more at macro than at any other distance, because magnification amplifies every wobble. A low tripod, a stack of books, or a beanbag under the lens hood does the same job for nothing. A remote release or the camera’s two-second timer keeps your hand away from the shutter button at the moment of exposure.
Bring a spray bottle of water for dew-covered leaves, a kneeling mat or a folded jacket for comfort, and a small notebook. The notebook is for recording which plants had activity and at what hour, and that log is what turns a lucky afternoon into a repeatable one.
Step-by-Step: How to Photograph Insects Up Close
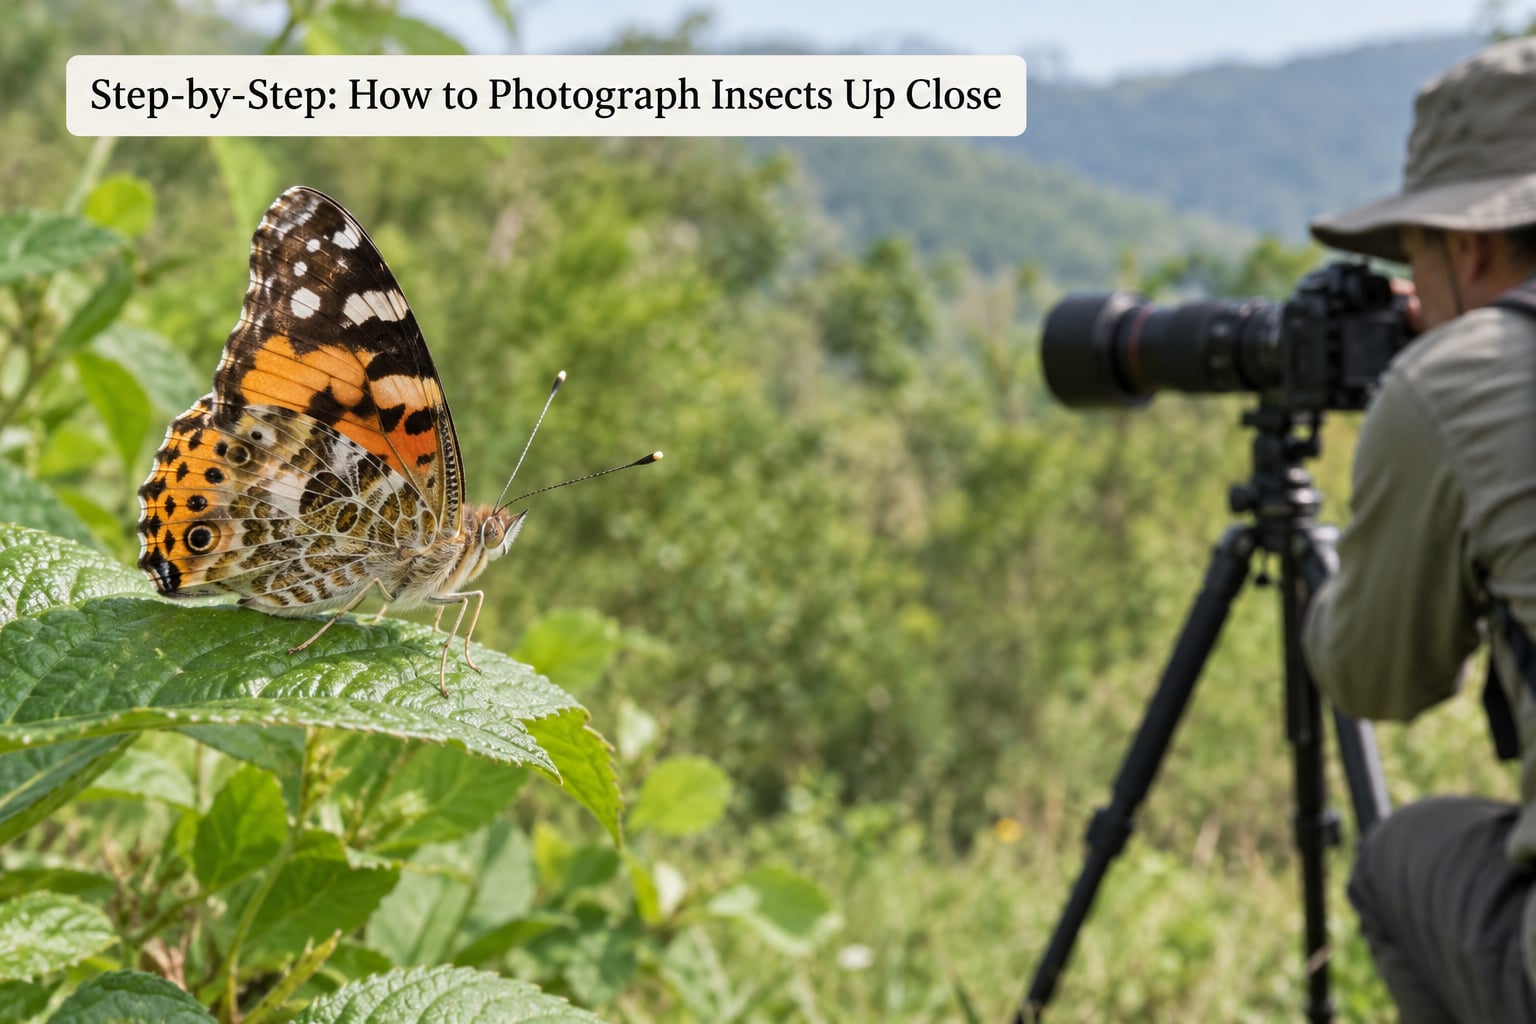
1. Find Active Insects and Observe Their Behavior
Watch before you raise the camera. Insects that are actively feeding, grooming or moving are poor subjects, while ones that are stationary are usually doing something worth photographing. Look along the undersides of leaves, at flower heads, at bark crevices and at anything that reflects light, because insects often cluster on warm surfaces in the morning.
Early morning is the easiest window for beginners. Dew slows many insects down and covers surfaces with fresh water droplets that add texture and catchlights. Overcast midday light is also forgiving, since it moves slowly and never produces harsh shadow edges.
You will know a subject is settled if it stays in place through two slow approaches without shifting its body. If it changes posture the second time you near it, give it space and come back from a different angle.
2. Choose the Right Camera and Lens Setup
Set manual exposure mode and manual focus, and turn off image stabilization if you are working from a tripod, since stabilization hunts for movement and softens the final frame at macro distances. On cameras with in-body stabilization, most manuals explain how to switch it to a detection mode that accounts for the tripod.
Aperture sets the depth of field, and depth of field at true macro is measured in millimetres rather than stops. Start around f/8 and check the actual result by zooming in at 100 percent on your screen. Stop down further only if you can genuinely see more of the insect in focus.
Shutter speed controls whether movement freezes. For a settled insect in shade, anything from 1/60 upward works. For a bee in flight you need fast shutter speeds, which means raising ISO, and a flash lets you keep a wide enough aperture for depth of field while the flash duration shortens the exposure.
3. Get Close Without Startling the Insect
Move at walking pace and freeze your feet when the insect notices you. Sudden motion is what triggers flight, not proximity, and a photographer who moves slowly can get closer than one who strides in.
Fill the frame with the optical zoom before you step in closer rather than after. If your lens cannot focus close enough at full magnification, step forward slowly until the subject is as large as you need, then check focus. Position the sensor parallel to the insect’s body, because a tilted camera turns the far side of the subject soft.
Never pick an insect up to reposition it, and never move a leaf or stem to bend it into a better angle. You can work around the geometry instead of changing it.
4. Use Natural Light or a Gentle Filler
Direct sun makes insect bodies look like shiny plastic, so work in open shade or overcast light whenever you can. Position yourself so the light falls from the side or slightly behind the subject. Backlighting works beautifully on wings and antennae because thin structures transmit light.
A white card or a piece of foil held out of frame bounces soft light into the shadow side. It costs nothing and it is often the difference between a flat frame and one with shape. I use the same approach I write about in how to photograph black objects, where dark subjects lose detail without a reflector.
For dark insects like beetles and black spiders, watch for specular highlights in the eyes and exoskeleton. Understanding how reflections behave in photos helps you decide whether to angle the light to include a catchlight or to avoid one entirely.
If you use flash, diffuse it hard and keep it off to one side rather than dead on. A ring light gives even, shadowless illumination that looks clinical, while a twin flash setup at roughly 45 degrees on both sides produces more natural catchlights in the eyes.
5. Stabilize the Camera and Track the Subject
Set the tripod low and check that the macro rail or focusing collar is locked before you load weight onto it. A loose collar lets the lens drift mid-frame, and you will spend an hour blaming your technique.
For a subject that will not hold still, pan smoothly instead of chasing. Follow the insect with the camera at constant speed, keep the sensor parallel to the flight path and fire a burst as you go. High-speed continuous autofocus helps here, though it still hunts on insects with low contrast against leaves.
If you are photographing insects in flight specifically, pre-focus on a fixed point and use a wider aperture so the depth of field covers more space, then track with manual focus. Flash duration rather than shutter speed is what actually freezes the wings in a lit shot.
6. Focus on the Eyes and Details
The eyes are where a viewer looks first, so put your single focus point on them. On most cameras, use a single-point or small-area autofocus mode rather than auto or zone modes, which tend to jump between the insect and the background.
Switch on focus peaking, which highlights in-focus areas in colour, and use live view magnification to check at 100 percent before you commit. Back-button focus separates focusing from the shutter press, which stops the camera from refocusing every time you shoot a new frame.
At high magnification, the plane of sharp focus is so thin that you may want to combine several frames. Focus stacking merges multiple shots at different distances into one image with more depth of field than a single frame can hold. It only works on insects that stay completely still, so save it for sleeping moths, resting bees and dew-covered spiders.
7. Compose the Image Around the Insect
Place the insect on a third rather than dead centre, and leave space in the direction it is facing or moving. That is the lead room principle, and it gives the frame a sense of intent.
Simplify the background before you do anything else. Move a step sideways until the background is an even wash of colour rather than a jumble of stems and other insects. A distant green background separates a red-and-black insect better than any amount of post-processing.
Include scale where it helps. A shot of a bee beside a coin, or a dragonfly next to your thumb, tells the viewer how small the subject really is, and those images often outperform the tightest portraits for impact.
8. Take a Series and Review Your Results
Shoot a dozen frames from slightly different angles instead of composing one perfect exposure. Focus depth is measured in millimetres, so a half-centimetre of movement between frames gives you several usable options.
Review at full size on your screen and note what worked. Record the aperture, shutter speed, ISO, time of day and location, then check the settings that produced the sharpest frame and work from there next time.
Keep the settings notes simple: one written line per session. Most photographers improve faster by changing one variable at a time than by changing all of them at once.
Common Mistakes
Shallow depth of field at high magnification. Fix: stop down a stop or two and check with live view. If the diffraction softening that comes with very small apertures ruins the detail, go the other way and stack frames.
Camera shake. Fix: use a tripod or solid support, a two-second timer or remote release, and turn off stabilization when the camera is on a tripod.
Harsh, flat light. Fix: move into open shade, or diffuse the flash with tissue paper so the light wraps around the subject.
Missed focus. Fix: single-point autofocus placed on the eye, focus peaking switched on, and manual focus as a fallback once you have found the plane.
A cluttered background. Fix: change your position rather than your aperture. A metre of lateral movement usually does more than two stops.
Disturbing the subject. Fix: approach slowly, work from a distance with a longer lens, and accept that some insects are simply not photographable today.
Waiting for the perfect shot. Fix: take the burst. Insects rarely hold a pose twice in a row, and a sequence of ordinary frames beats one perfect frame you never take.
Field Tips for Ethical Insect Photography
Leave the insect exactly where you found it. No handling, no repositioning of legs, no moving it to a prettier leaf and no catching flight with cold hands.
Watch what you walk through. Step around flowering plants rather than standing on them, because crushing one stem can end a whole food source for everything that visits it.
Stay out of flight paths. An insect forced to change course burns energy it may not get back, and a route you block repeatedly is a route the colony learns to avoid.
Never bait with honey or sugar water. It brings insects into contact with each other and with predators, and it can spread disease between colonies.
Do not chill or freeze insects to slow them down, which a few older tips still suggest. Whatever you are trying to photograph, a stressed insect that survives your session will not be there next week.
Stay aware of stings and bites. Wasps, bees, soldier ants and some spiders are dangerous to handle even accidentally, so watch where you put your hands in dense vegetation.
Pack out everything you bring in, including any stems you cut for staging. If you photograph a habitat, leave it intact for the photographers who come after you.
Frequently Asked Questions
What is the best way to take macro photos of insects?
Get a true macro lens rated 1:1, work in open shade so the light stays soft, and focus on the insect’s eyes using a single autofocus point. Shoot in bursts, keep the camera on a tripod, and position the sensor parallel to the insect’s body for the deepest possible focus.
What camera is best for photographing insects?
Any mirrorless or DSLR with manual focus, live view magnification and a mechanical or electronic shutter will do. The body matters far less than the lens. If your camera has focus peaking or focus shift shooting, both help enormously at high magnification, but a used macro lens paired with an older body is a solid starting combination.
Can I take good insect photos with my phone?
Yes. Clean the lens, use the rear camera rather than the digital zoom, and hold the phone a few centimetres away so the subject fills more of the frame. Lock exposure and focus with a long press on the screen, then move the phone a few millimetres to hunt for the sharp point. Adding a clip-on close-up lens gets you closer still.
How do I find bugs worth photographing?
Look under leaves, at flower heads, on tree bark, at any damp surface and on warm sunlit walls. Early morning with dew is the easiest time, and a single flowering plant in your own garden will produce more subjects than a whole forest. Watch one patch for several minutes before you start, since insects settle and move in predictable patterns.
Should I use flash for insect photography?
Flash is useful in shade and it freezes wing movement instantly, since the flash duration is much shorter than the shutter speed suggests. Diffuse it with tissue paper and offset it from the lens axis to avoid a ring of reflected light across the insect’s eyes. In bright sun, ambient light is usually cleaner and easier to control.
Why are my macro photos blurry?
Almost always it is movement, camera shake, or both. Use a tripod with a two-second timer or remote release, turn off image stabilization when tripod-mounted, and check your shutter speed against how fast the insect moves. Raise ISO rather than dropping the shutter speed, and confirm focus by zooming into the live view at 100 percent.
Conclusion
Start with one settled insect and nothing more complicated than a stable camera in open shade. Diffuse the light with a piece of white paper, focus on the eyes, and take a dozen frames rather than one.
That routine takes about ten minutes and it works with a phone, a kit lens with extension tubes, or a dedicated 100mm macro. Upgrade your lens when the technique stops being the limiting factor, not before.