
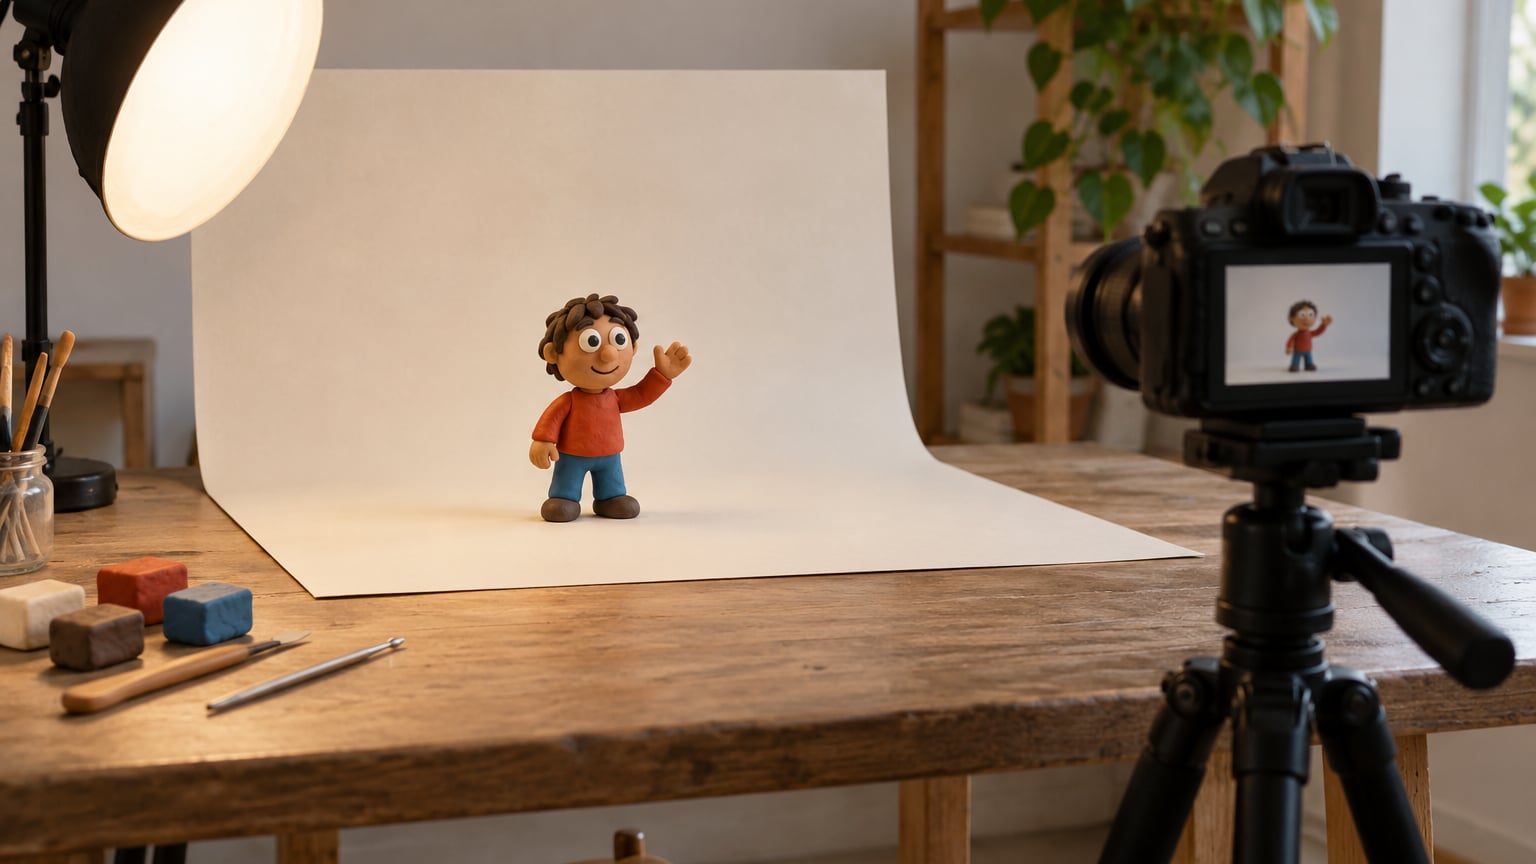
To make a stop motion animation with a camera, mount the camera on a tripod in manual mode, lock focus and exposure, then move your subject a tiny amount and take one photo at a time. Import the photos in order and play them back at 12 or 24 frames per second so the separate stills read as one movement.
Here is the honest part nobody mentions: 10 seconds of finished animation at 12 fps means 120 photographs, plus the frames you retake. A first project usually takes an afternoon. Nobody’s first attempt looks smooth, and the ones that do look smooth did not do it on the first try either.
The good news is that almost all the problems beginners hit — flickering, drift, wobbling props — come from one mistake: letting the camera decide something. Everything below is about taking those decisions away from the camera and giving them to you.
Table of Contents
- What You Need
- Step-by-Step
- 1. Choose a Simple Animation Idea
- 2. Create a Storyboard and Set the Frame Size
- 3. Set Up a Stable Camera and Controlled Workspace
- 4. Light the Scene and Test the Exposure
- 5. Photograph Each Frame in Sequence
- 6. Import, Name, and Arrange the Frames
- 7. Set the Frame Rate and Add Movement
- 8. Edit the Stop Motion Sequence
- 9. Add Sound, Titles, and a Final Export
- Common Mistakes
- Frequently Asked Questions
- How can I create my own stop motion animation?
- What type of camera is used for stop motion animation?
- What equipment do you need for stop motion animation?
- How do I get my camera to stop taking motion pictures?
- What fps should I shoot stop motion at?
- How long does it take to make a stop motion animation?
- Conclusion
What You Need
You need far less gear than the videos suggest. A phone, a stack of books, a window and a desk lamp will produce a finished animation. The list below is what the setup actually requires, not what a studio would use.
| Item | What it does | Cost tier | Needed? |
|---|---|---|---|
| Camera with manual mode | Fixes exposure, focus and white balance across every frame | Free to low | Essential |
| Rigid tripod or mount | Holds the camera in the identical position for every frame | Free to low | Essential |
| Remote release or 2-second timer | Triggers the shutter without touching the camera | Free | Essential |
| Two lights plus diffusers | Holds brightness and shadow shape constant | Low to pro | Strongly recommended |
| Table and plain backdrop | Gives props a stable, marked stage | Free | Essential |
| Editing software | Assembles frames, sets frame rate, adds sound | Free to pro | Essential |
| Clay, blocks, paper or figures | Your subject and the things it interacts with | Free to low | Essential |
| Motion control rig | Moves the camera a repeatable amount per frame | Pro | Optional |
What Camera Do You Need for Stop Motion?
Any camera that exposes manual control works: a DSLR, a mirrorless body, a bridge camera, or a phone with a native stop motion mode. Manual mode is the requirement, not megapixels. What matters is that aperture, shutter speed, ISO, focus and white balance stay fixed from the first frame to the last, because any automatic decision that changes mid-shoot shows up as flicker.
A phone is genuinely capable here. Most current phones shoot stills at full sensor resolution in burst sequences, which is all a frame capture needs, and a small clamp or stack of books holds one perfectly steady. Cameras with a tilting screen or a live view overlay help, because you can see the frame without crouching.
The backdrop matters less than most people expect. If you have no seamless paper, a painted wall, a shelf, or even a large sheet of card propped behind the set works — you mainly need a surface with no visible seams and no pattern. If you want something smoother, this guide on how to make a DIY backdrop for stunning photos indoors covers the cheap options that hold up under a locked camera.
Step-by-Step
1. Choose a Simple Animation Idea
Pick one subject, one action, one camera angle. A figure turning a head, a ball bouncing twice, a paper flower opening. Beginners reliably fail by trying to animate a whole scene with a walk cycle, a facial expression change and a moving background in the first sitting.
Write a shot list before you build anything: three to six shots, each two to four seconds finished, each with a single move. If the list takes longer than ten minutes to write, the project is too big.
2. Create a Storyboard and Set the Frame Size
Sketch the start, middle and end positions of each shot on paper. That is usually enough; full character sheets are for projects with puppets that move across many shots.
Decide the final frame size before you shoot anything, because a cropped frame wastes photographed frames. A 16:9 frame at 1920 by 1080 suits YouTube and most feeds. A vertical 9:16 frame suits Reels, Shorts and TikTok. Set the camera to that exact ratio and match it in your editing project, and never change it midway.
3. Set Up a Stable Camera and Controlled Workspace
Mount the camera and lock every joint. Then mark the frame position on the floor or table with tape, and mark where each prop sits. Marked positions solve the single most common beginner failure: nudging a figure during an adjustment, then returning it a few millimetres off and not noticing until playback.
Switch the camera to manual. Focus manually on the spot your subject occupies and leave the focus ring alone for the rest of the shoot; autofocus hunting after a hand enters the frame is the usual reason focus drifts.
Use a remote release, a cable release, or the two-second self-timer so your hand never touches the camera between frames. Triggering the shutter from the same button each time also keeps the mirror or shutter mechanism behaving consistently, which matters more on mechanical DSLRs than most people expect.
4. Light the Scene and Test the Exposure
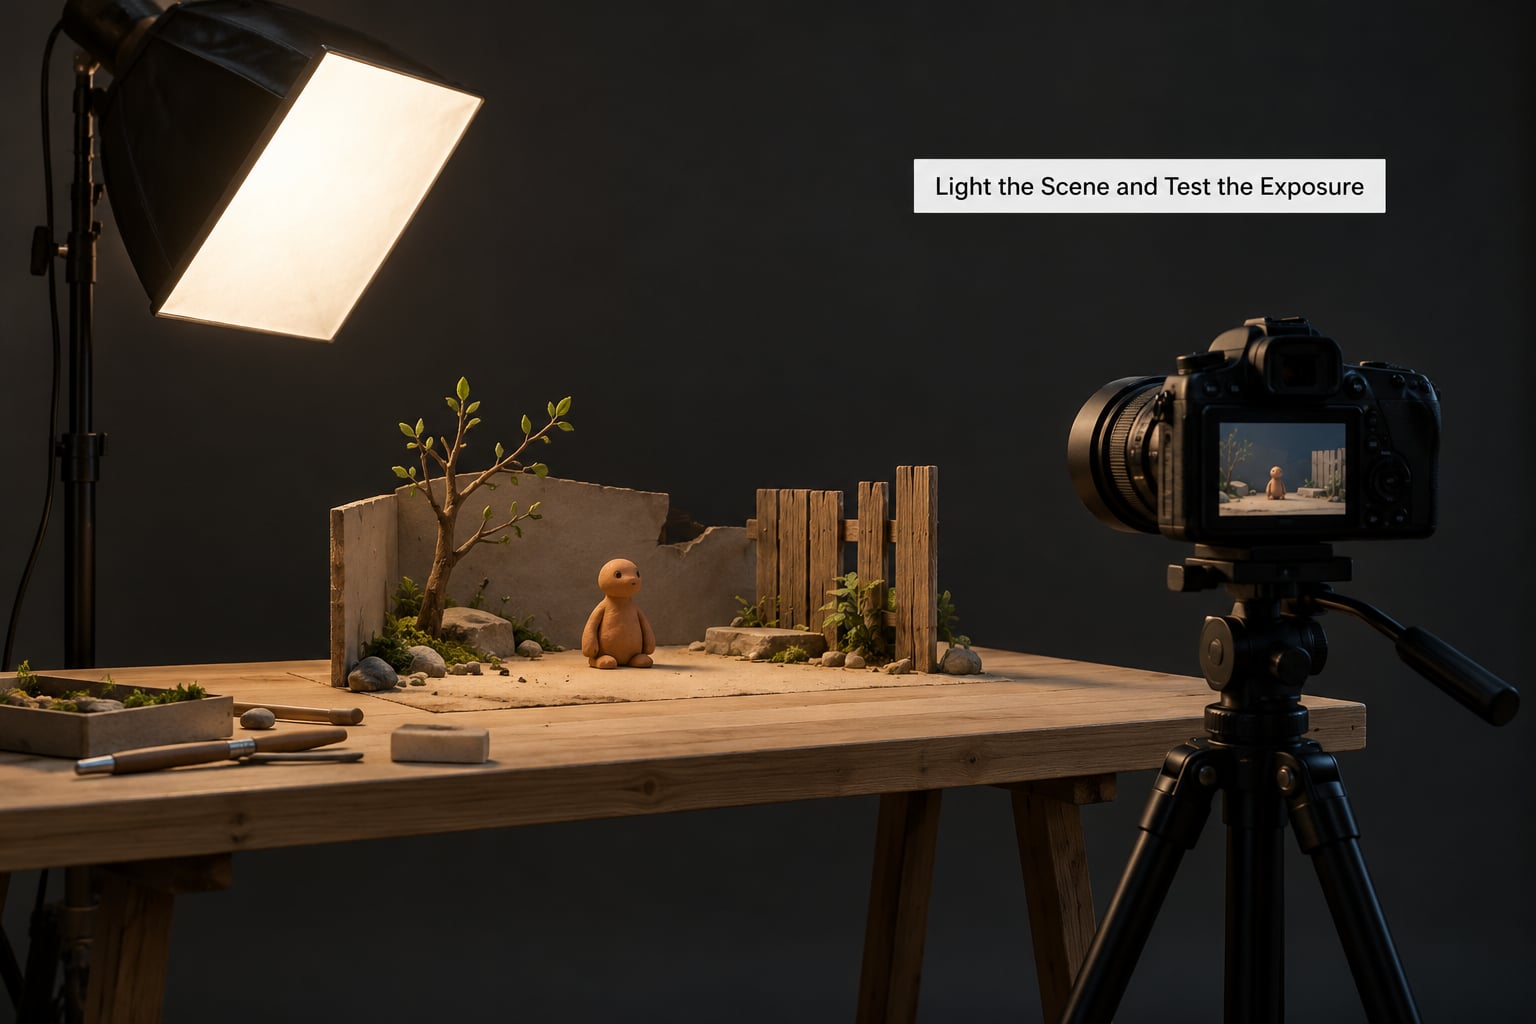
Light the set so nothing about the light changes between frames. Two lamps at roughly 45 degrees to the subject give soft, even light with predictable shadows. Put a sheet of baking paper or a white bedsheet between each lamp and the set to diffuse it, which softens shadows and hides small focus shifts.
If you have not rigged lamps yet, window light works too, provided the weather holds steady for the length of a shot. This guide to photographing interiors with window light covers how to position a single source so its brightness holds steady rather than shifting with passing cloud.
Switch off anything that changes on its own: auto white balance, auto ISO, any daylight-saving or room light flicker. Set white balance to a fixed Kelvin value or a custom reading from a grey card, then leave it there. Photograph a plain mid-grey card first, check the histogram, and aim for the grey landing near the middle with a small gap on the side you want detail.
A useful starting point for a camera-based setup: manual mode, ISO 100 to 400, aperture around f/5.6 to f/8 for enough depth of field that a hand entering the frame does not shift the focal plane, and a shutter speed of at least 1/60 second so a nudge cannot blur the frame. Adjust until the test shot is correctly exposed, then change nothing else.
5. Photograph Each Frame in Sequence
Settle into a repeatable routine: move the subject a small amount, take one photo, check that the position is right, and move on. Keep the increments small and even. Consistent small moves read as smooth motion; uneven large moves read as a jump cut no matter how good the lighting is.
Never touch the camera, the lights, or the backdrop between frames. If your hand passes in front of the light or you need to reposition something, wait a moment and take the frame again. A 20-second delay costs nothing compared with discarding 200 frames later.
Name each file as you go, numbered in order. If your software supports onion skinning, meaning a semi-transparent overlay of the previous frame on the live view, turn it on: it lets you see the previous pose and line up the next one, which cuts retakes more than any other single feature.
6. Import, Name, and Arrange the Frames
Copy the files rather than moving them from the camera card, so a card failure does not take the shoot with it. Rename them into a zero-padded sequence — 0001, 0002, 0003 — because unpadded numbering sorts 1, 10, 100, 2 in many programs and scrambles your animation.
Delete duplicates and near-blank frames immediately rather than leaving them to remove later. Then drop the sequence into your timeline at the interval you chose in step 7 and check that the first and last frames match what you intended.
7. Set the Frame Rate and Add Movement
Frame rate is the number of frames your software shows each second, and it is decided at playback, not at capture. You photograph one pose per frame, then choose how fast to run them.
| Frame rate | How it looks | Best for | Frames photographed per second of finished video |
|---|---|---|---|
| 12 fps | Deliberate, slightly stylised, visible texture | Clay, puppets, small movements, anything aiming at a handmade feel | 12 on ones, 6 on twos |
| 24 fps | Smooth and cinematic | Object and product work, movements that need to read as natural | 24 on ones, 12 on twos |
| 30 fps | Smoother still, and unforgiving of wobble | Final exports where the platform expects it; fastest workflow on set | 30 on ones, 15 on twos |
Working on twos means each photographed pose is shown for two frames, halving the number of shots you need and smoothing the motion for a limited style. Working on ones shows every frame. Most beginners shoot on twos at 12 fps and get more usable footage per hour of work.
8. Edit the Stop Motion Sequence
Trim each shot at its extremes, removing the frames where a hand was still leaving the frame. Fix colour consistency across the whole sequence with a single adjustment layer rather than per-shot corrections, because per-shot fixes create visible jumps.
Use transitions sparingly. A hard cut between two clean shots reads as intentional; a cross dissolve on every cut hides the very thing you worked for. Add camera movement by physically repositioning the tripod a few millimetres between some frames, never by panning in software, which stretches and softens a frame that was only sharp in one place. If you plan a mixed-media finish where the animation sits inside a photographed scene, how to make a photo composite in Photoshop covers the blending step.
9. Add Sound, Titles, and a Final Export
Add sound last. Music sets the timing of your edit, so doing audio first means re-cutting the animation to fit a track that should have followed it. Lay a track against the picture, mark the beats, and trim clips to land on them.
Sound effects carry most of the weight in a small animation, because viewers read a sound as physical contact. Record or source a few Foley sounds and place one on each action. For dialogue or lip sync, record the audio first against a rough frame count, then animate to the audio.
Watch the whole thing once at full size before exporting, then export a test file and watch it on the device you will post to. A 1080p H.264 MP4 at a standard frame rate works across most platforms; keep the audio sample rate at the same value as your timeline to avoid a small sync drift.
Common Mistakes
Nearly every problem in a beginner stop motion animation traces back to something changing that should not have. Here is what to look for and what to change.
Flickering between frames. Auto exposure or auto white balance is adjusting per frame. Switch both off, set them manually, and photograph a grey card to check.
Objects drifting out of position. Props are being nudged and returned imprecisely. Mark every prop’s position with tape or a pencil dot and use onion skinning to line up each move.
Uneven lighting or moving shadows. A lamp is being bumped, or daylight is creeping in from a window. Use two fixed diffused lights and work with no daylight source in the room.
Focus shifting after you touch the set. Autofocus is hunting. Switch to manual focus, focus where the subject will be, and stop adjusting it.
Jump cuts mid-action. Increments are uneven or a transition frame is missing. Move in consistent small steps and check the previous pose before shooting the next.
Props wobbling or tipping. Figures are too tall or the surface too slick. Add a hidden wire, a dab of removable putty at the base, or a weighted foot, and keep the surface matte.
Motion that looks too fast or too slow. Frame rate or on-twos choice does not suit the shot. Add or remove frames between poses, or change the playback rate before you re-shoot anything.
Software effects hiding weak animation. Filters and transitions cannot fix a shakier frame. Re-shoot the weak shot instead.
Before a real shoot, run this test: photograph one frame, move the subject, photograph again, and check on the camera screen that nothing about the exposure changed. Ten minutes of that check saves hours of retakes.
Frequently Asked Questions
How can I create my own stop motion animation?
Pick a simple subject, mount the camera on a tripod in manual mode, lock focus, exposure and white balance, then move the subject a few millimetres and take one photo. Repeat until the move is complete, import the frames in numbered order, and play them back at 12 or 24 frames per second. The camera staying perfectly still between frames is what separates clean animation from flickering footage.
What type of camera is used for stop motion animation?
Any camera with full manual control: a DSLR, a mirrorless camera, a bridge camera, or a phone with a native stop motion mode. Manual aperture, shutter speed, ISO, focus and white balance are what matter, not resolution. A phone with a clamp or simple mount produces the same kind of footage as a body camera, because the stop motion process depends on a locked frame, not on sensor quality.
What equipment do you need for stop motion animation?
The essentials are a camera with manual mode, a rigid tripod, a remote release or self-timer, a plain backdrop with marked prop positions, an even light source, and editing software that plays a frame sequence at a set frame rate. Two diffused lamps, clay or paper subjects, and a motion control rig improve results but are not needed to finish a first piece. A phone and a stack of books cover the core list.
How do I get my camera to stop taking motion pictures?
Motion blur comes from the subject or the camera moving during the exposure, not from the frame rate. Use manual mode, set the shutter speed to at least 1/60 second, and mount the camera on a tripod with a remote release or the two-second timer so your hand never rests on it. Set focus manually as well, since autofocus refocusing mid-shot also softens the frame.
What fps should I shoot stop motion at?
Shoot at the rate your software will play back at, and choose the look you want. Twelve frames per second gives a deliberate, textured feel suited to clay and puppets. Twenty-four reads as smooth and natural, and thirty is fastest to work in and least forgiving of wobble. Beginners usually get the most usable footage by photographing on twos, so each pose is held for two frames.
How long does it take to make a stop motion animation?
Ten seconds finished at 12 frames per second means 120 photographed frames, and at 24 frames per second it means 240. Allow time for retakes, and a first project realistically takes an afternoon for a few seconds of finished animation. Building the set, lighting it and locking the framing usually eats the first hour, after which frames come faster until fatigue sets in.
Conclusion
Making a stop motion animation with a camera is a discipline of repetition: choose one small move, keep the camera perfectly still, and let constant light and exposure do the work the software cannot. Every flickering or drifting frame you have seen traces back to something changing mid-shoot.
Start with a ten-frame test today. Pick one figure, lock the tripod, set manual mode, and photograph a single small turn from start to finish. Watch it back at 12 frames per second. Once that one move looks clean, you have the only setup that matters for everything that follows.