
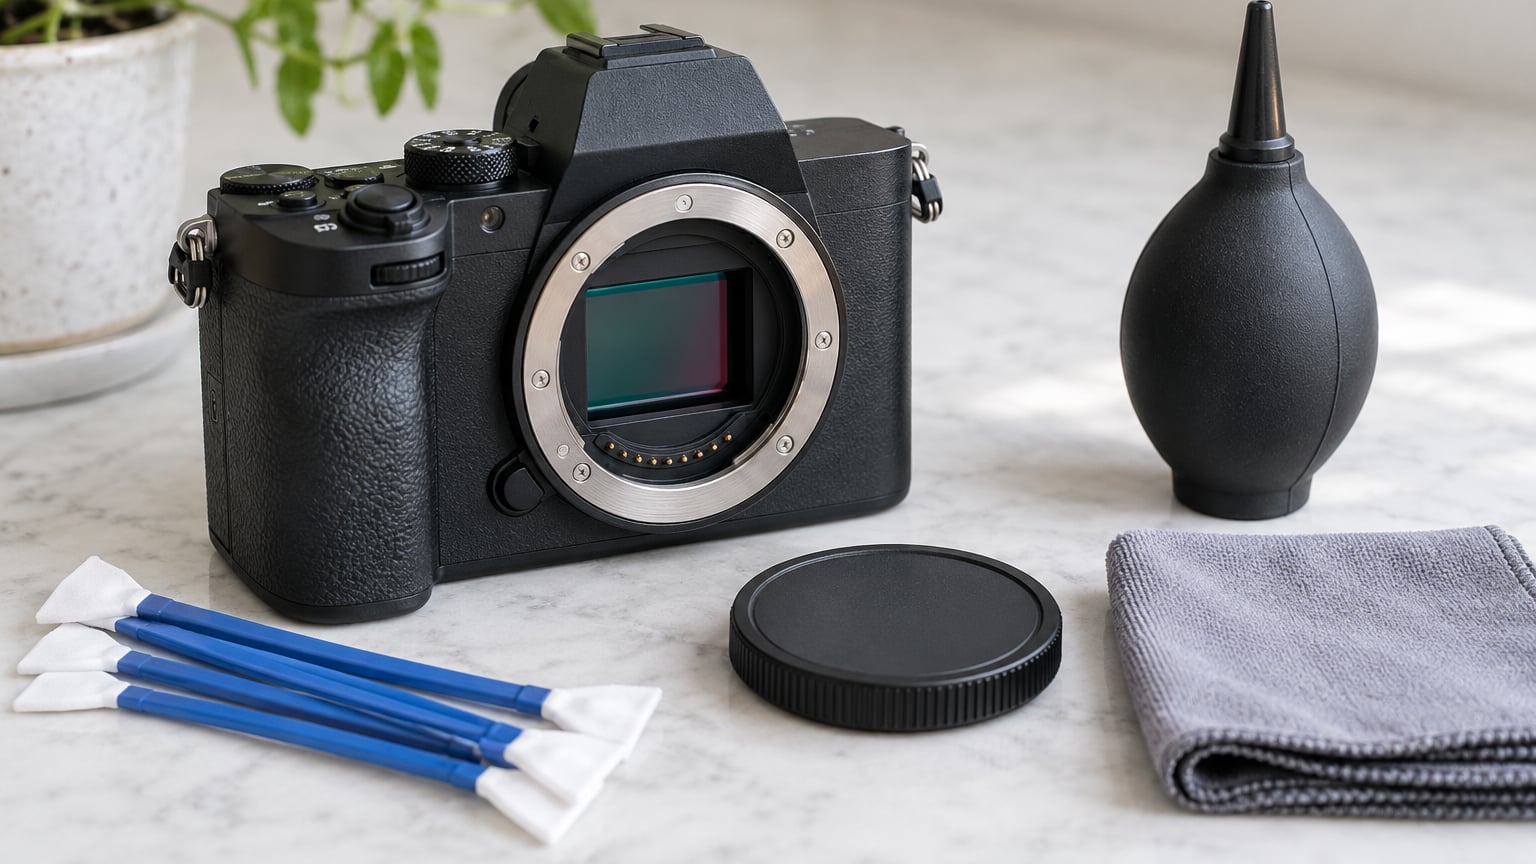
The short version: start with a hand-operated air blower, and reach for a sensor swab and cleaning fluid only when dust spots survive the blow. On any DSLR or mirrorless body with a removable lens, most sensor dust comes off in under five minutes without a finger ever touching the glass.
Plenty of photographers put off cleaning for years because they imagine the worst case, a scratched sensor and a ruined camera. Learning how to clean a camera sensor safely is a short, repeatable process, and the fear that keeps people from doing it is mostly misplaced. A sensor is covered by glass, it is recessed behind a shutter and a filter, and the cleaning methods that actually work are gentle ones.
What follows is the whole process in the order I would do it: test for dust, set up on a clean surface, blow, inspect, swab only if needed, then verify. Budget about ten minutes the first time, less after that.
Table of Contents
What You Need
Four items cover nearly every home cleaning job. Buy them once and keep them together, ideally in a small pouch that lives in the same bag as your cables. If you are still building that kit, my guide to what to pack in a camera bag covers where a cleaning kit fits alongside the rest of the essentials.
- A manual air blower. Look for a hand-operated model with a one-way silicone valve and a brush attachment you can twist over the nozzle. The valve matters: it stops you from ever sucking moisture or dust back in, and it keeps liquid propellant out of the equation entirely.
- Sensor swabs matched to your sensor size. These are lint-free, foam-tipped, and made to be used once and thrown away. A swab that is too wide for the sensor well will not reach the edges, which is exactly where stubborn dust hides.
- Sensor cleaning fluid. A pure, low-residue solution made for coated sensor glass and low-pass filters. Use the fluid named by your camera or swab maker rather than anything improvised.
- A clean, lint-free cloth. For the body, the lens mount and the rear element of the lens you were about to mount.
Optional but useful: a loupe or sensor loupe with a bright LED ring. It turns a two-minute guess into a two-minute certainty, and most of the visible dust on a sensor is only visible under magnification anyway.
Keep these away from the camera entirely: compressed air cans, mouth blowing, cotton swabs from the bathroom, lens-cleaning wipes, alcohol of any kind, and any cleaner with an oil or surfactant base. None of them belong on a sensor, and several of them cause the damage people are afraid of.
Swab size is the one detail beginners get wrong most often, so match it before you start.
| Sensor type | Approximate sensor size | Swab to use |
|---|---|---|
| Full frame | 36 by 24 mm | Full-frame swabs, size 3 or 4 |
| APS-C | 23.5 by 15.6 mm | APS-C swabs, size 2 |
| Micro Four Thirds | 17.3 by 13 mm | Size 1 swabs |
| Medium format | 43.8 by 32.9 mm | Size 5 or the maker’s full-frame-plus swab |
Compact, bridge and fixed-sensor cameras do not take swabs at all, and we will get to those further down.
How to Clean a Camera Sensor Step by Step
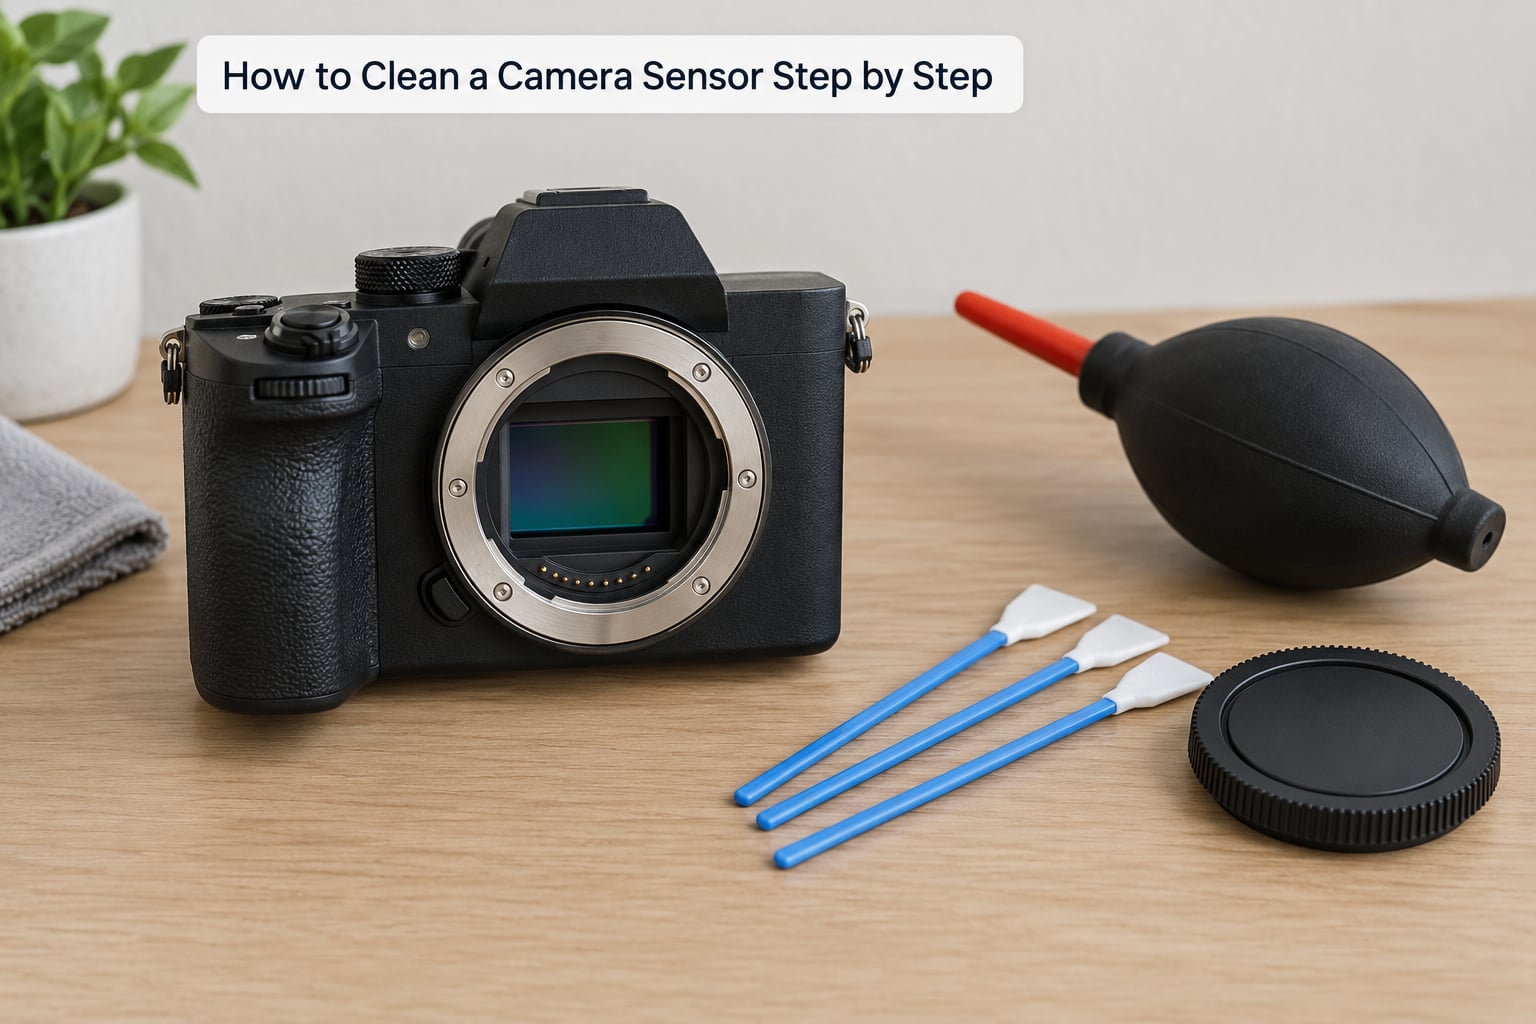
Work at a table you can wipe down, in a room where you are not actively cooking, smoking or dusting. Dust you cannot see is exactly the dust you are about to blow onto the sensor. Give yourself a clean surface and let the camera cool to room temperature before anything else.
How to clean a camera sensor with an air blower
Start by confirming the marks really are on the sensor. Point the camera at a plain bright wall or a sheet of white paper, set manual exposure, switch to the widest aperture you have, and take a few frames. Then check the files at full size, zoomed in, at the corner where the spot first appeared.
If the spots are gone, you were seeing your own lens or the rear element. If they are still there, and they sit at exactly the same place in every frame, that is sensor dust: the sensor never moves while the lens is attached, so a fixed speck means a fixed particle.
Now open the body. On most cameras the menu has a sensor cleaning or dust removal mode that vibrates the shutter against the sensor; run it once. DSLRs also have a mirror lock-up setting that holds the mirror up while the sensor is exposed. Whatever the mechanism, the point is the same: the sensor is now exposed to air and unprotected.
- Switch off automatic sensor cleaning on power-up if you want to control the timing yourself, and remove the lens in the usual way.
- Hold the camera so the open chamber faces down and away from your face. Dust settles, it does not levitate.
- Take the blower 10 to 15 cm away from the sensor and give it firm squeezes. Never insert the nozzle into the chamber, and never let the tip touch the sensor, the shutter curtain or the filter.
- Work around the edges in short bursts, then move away from the camera to let any disturbed dust settle before you inspect again.
You will know it worked the moment you retake the wall test. If the spots vanish, you are finished and you never need a swab.
Use a sensor swab only when loose dust remains
A swab is the second step, not the first. It is justified when dry blowing leaves stubborn specks, when you see something stuck to the glass that will not move, or when you are dealing with oily residue from the shutter mechanism, which a blower cannot lift at all.
Dampen the swab with one or two drops of sensor cleaning fluid. Not a soaked tip: you want a damp swab, and you want no fluid loose in the sensor well.
- Open the sensor again and keep the chamber facing downward.
- Place the swab gently against one corner of the sensor and drag it straight across in a single slow pass.
- Flip the swab so you are using a clean side, then drag straight back along the same line. Each pass should be one movement, not scrubbing.
- Rotate the swab 90 degrees and repeat with fresh sides until a pass comes away visibly clean. Expect to use two or three swabs on a long-neglected sensor.
- Clean the edges last with a swab folded or trimmed so it can reach into the corners without touching anything but the glass.
Never reuse a swab, even if it looks clean. That is the single habit that turns a routine cleaning into a smearing job. Follow the swab maker’s and your camera maker’s guidance on fluid and on how long a dampened swab may sit before use.
Note the swab discipline in my batch editing workflow: whatever the method, every spot you clone out of a frame is a spot you should not be paying for twice. Cleaning once properly beats spot-removal passes on every image from the shoot.
Reassemble the camera and check the result
Close the chamber by reattaching the body cap or the lens the correct way. If you used mirror lock-up, return it to its normal setting before you shoot, and reset the sensor cleaning preference if you changed it.
Power the camera on and confirm it recognises the lens, focuses and fires normally at every shutter speed you use. A camera that errors out on a full battery charge needs service attention, not more cleaning.
Then repeat the exact test you ran before: same wall, same exposure, same aperture, same magnification. Comparing like with like is the only honest verification. A spot that has moved to a different corner of the frame was probably on the rear element of the lens you just remounted, not on the sensor.
Monochrome work is the harshest check there is. When you shoot black and white photos with a digital camera, every remaining speck shows up as a hard white or black dot on a flat grey background, which makes it obvious whether your cleaning actually worked.
Insisting on the same aperture matters most if you shoot narrow. Dust reads clearly at f/11 or f/16 and disappears at f/2.8, which is why some people think the sensor is clean until a landscape job arrives.
Common Mistakes
Nearly every damaged sensor traces back to one of these, and nearly every disappointing cleaning does too.
| The mistake | Why it goes wrong | The fix |
|---|---|---|
| Touching the sensor or filter with a finger, swab tip or tool | Skin oils and pressure marks stay on the coated glass | Clean by blower and swab only, never by contact with a fingertip |
| Blowing from your mouth | Droplets and warm moisture land on the filter and attract more dust | Use a hand-operated blower from 10 to 15 cm away |
| Using a compressed air can | Propellant, condensation and shock waves drive dust deeper or damage coatings, and it cannot be controlled at the sensor | Skip it entirely; a manual blower does the same job safely |
| Pouring or spraying fluid onto the sensor | Liquid floods the chamber and can reach electronics and the shutter | Dampen the swab, one or two drops, away from the camera |
| Reusing a dirty swab | It redistributes grit and smears the fluid into streaks | Flip to a clean side, and discard the swab when it is finished |
| Swabbing before blowing | You push loose dust into a smear and then clean twice | Dry blow first, swab only what remains |
| Cleaning the front-surface mirror | On a DSLR the mirror coating is extremely fragile and shows marks instantly | Clean the mirror, not the sensor, only with a method your camera maker approves |
How often should you clean your camera sensor?
Routine sensor cleaning is usually unnecessary. Plenty of photographers go years between cleanings and never think about it, because a sealed body, a filter on the front of the lens and a modest number of lens changes keep dust away in the first place.
Cleaning earns its place when specific things are true: you change lenses often, you shoot in dusty conditions such as beaches, construction sites or deserts, you work on white seamless backgrounds where every speck shows, or you see persistent dark dots at f/11 or narrower that never move between frames.
The test I use is simple and costs nothing. Check the corner of a bright frame once a month at full magnification. If the frame is clean, stop thinking about it. If it is not, run the built-in cleaning mode and the blower, then recheck. Very few sessions need more than that.
If dust is showing up in every shoot and you keep editing it out, that is a workflow problem, not a cleaning problem. Working through a consistent batch edit routine speeds that up, but it is still extra time that one blower session can cancel out.
Can you clean a camera sensor with a blower?
Yes, and for most dust it is the whole job. A hand-operated blower with a one-way valve is the only cleaning tool I would call risk-free, because nothing contacts the sensor and nothing but air moves across it.
Aerosol compressed air is a different product and a different risk. It sprays cold propellant that can condense, it drives dust further into the chamber, and the shock of a burst near the shutter is not something you control. Sensor makers say the same thing in their manuals.
Blowing is enough when dust looks light and scattered and moves after a burst. It is not enough when a speck sits stubbornly in one spot, when you see residue or oily marks from the shutter, or when a burst leaves the frame looking smudged rather than cleaner.
Should I clean the sensor myself or use a professional?
Clean it yourself if you have a removable lens, a full battery, a clean table and a few swabs in the correct size. That covers most DSLR and mirrorless bodies, and the risk on a camera you have owned for years is modest.
Use a professional when the sensor is fixed and sealed inside the body, as it is in most compact and bridge cameras, when debris is oily or smeared, when a camera is under warranty you would rather not disturb, or when the body is worth enough that you would never open it yourself. Manufacturer service centres often clean with the same adhesive and swab products sold to the public, which is a good sign about how routine the work is.
A fixed sensor is not cleanable by you, and no amount of blower will change that. Do not attempt to pry a compact camera open for it.
Do lens-cleaning wipes or a blower clean the sensor?
Lens wipes are made for glass surfaces with a known coating, a size and a curvature. A sensor sits at the bottom of a chamber where a wipe cannot be placed safely, and the chemicals are not formulated for the filters and adhesives around it. They are for the front and rear elements of your lens, and only as the maker intends.
Similarly, alcohol is not a substitute for sensor cleaning fluid. Ordinary isopropyl alcohol carries water and additives, and camera makers specify their own solution for coated sensor glass. Use the fluid the camera or swab manufacturer recommends, and nothing else.
A blower, by contrast, is sensor-appropriate. It is the safest first move precisely because it does not touch anything.
Frequently Asked Questions
Can I clean a camera sensor with lens-cleaning wipes?
No. Lens wipes are designed for the coated glass in a lens barrel, where you can lay them flat and control the pressure. A sensor sits recessed at the bottom of the sensor chamber, out of reach of a wipe, and the solution on those wipes is not tested against sensor filters or the adhesives around them. Use a hand blower first and, if you need more, a sensor swab dampened with cleaning fluid specified by your camera maker.
Do camera sensors need frequent cleaning?
Usually not. Most photographers go long stretches without cleaning a sensor, and cleaning on a schedule adds handling risk for no benefit. Inspect instead: check a corner of a bright frame at full magnification about once a month. Clean when you see persistent dots at the same position in every frame, when you change lenses constantly, or when you shoot in dusty conditions or on white backgrounds.
Is it safe to use a compressed-air can on a camera sensor?
No. Aerosol cans spray cold propellant that can carry moisture and particles, and the burst can push loose dust deeper into the chamber or toward the shutter. Camera manufacturers do not recommend them for sensor cleaning. A hand-operated blower with a one-way valve moves the same dust safely, gives you control over the force, and cannot spray anything at all.
How do I remove sensor dust without touching the sensor?
Use airflow and swabs only. Open the sensor with the camera’s cleaning mode or mirror lock-up, hold the chamber facing downward, and squeeze a manual blower from 10 to 15 cm away without inserting the nozzle. For dust that will not move, dampen a correctly sized sensor swab with one or two drops of approved cleaning fluid and drag it across in one pass, flipping to a clean side each time. Never reuse a swab.
Can I clean a fixed sensor in a compact or bridge camera?
Not without opening the camera, which you should not attempt. Fixed sensors in compacts and bridge cameras are sealed behind the lens assembly, with no menu command, mirror lock-up or removable lens to expose them. Blowing air into the front of the lens can shift dust but will not remove stuck particles. If spots persist, have the body serviced rather than trying to reach the sensor yourself.
Conclusion
The safest first action is also the simplest one: confirm the marks show up only at high magnification on a bright frame, then blow them off with a manual blower and inspect again at the same aperture. Most of the time that is the entire job.
If spots remain after the blower, a correctly sized swab with a dampened clean side is the next step, and if the debris is oily, smeared or the sensor is sealed inside the body, hand it to a service centre. Ten careful minutes at a clean table beats a worried camera you never open.