
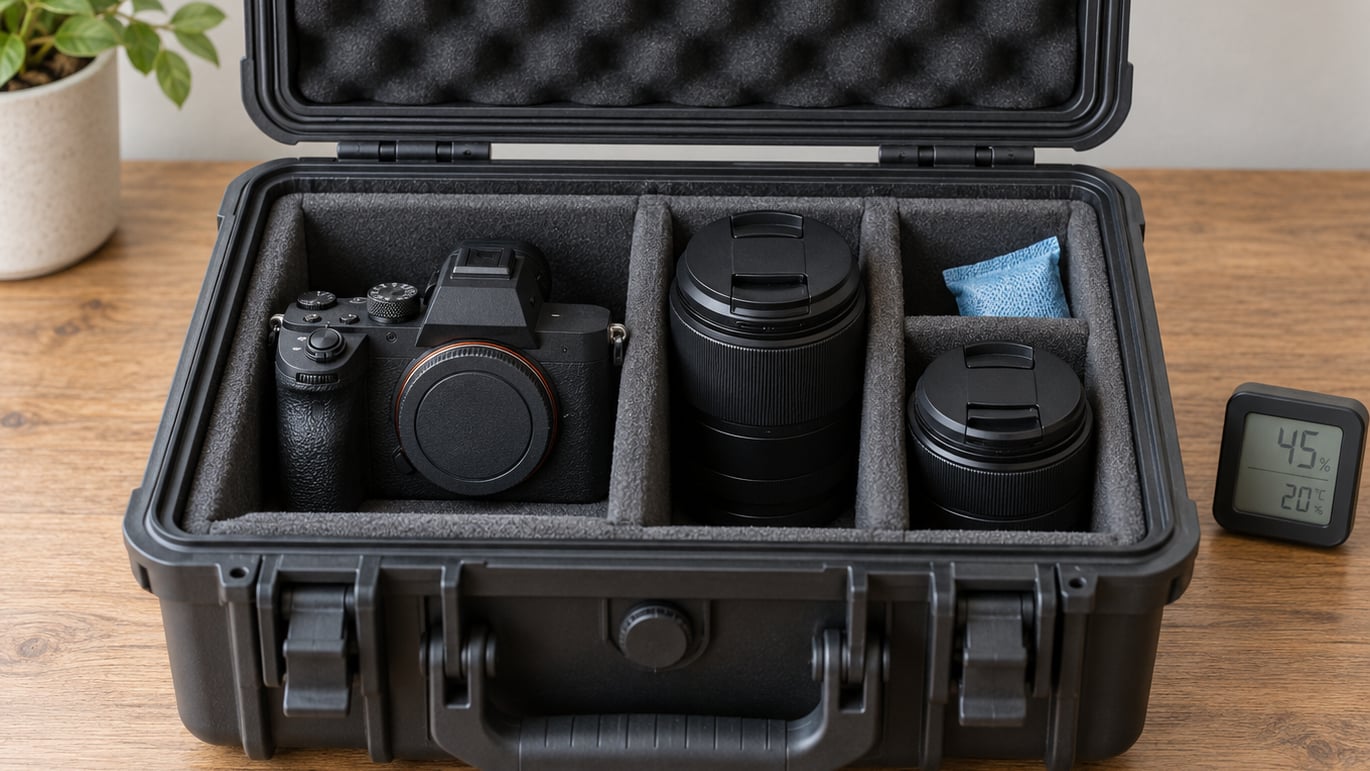
To store cameras long term, clean and fully dry every piece of gear, remove the batteries from the body, seal the equipment in a non-corrosive airtight container with regenerable silica gel, and keep that container in a stable room where relative humidity stays between 40 and 55 percent. Add a label with the date, then check the setup once a month.
The whole job takes about 30 minutes per camera. Most of the damage happens in the first month after you put gear away, and it happens quietly, in the dark, inside a lens barrel.
Here is the short version of why the method matters. Relative humidity is the number that decides how long your gear survives. Above roughly 60 percent, mould finds the anti-reflective coating on your lens elements and starts to eat it. That etching cannot be cleaned off, and manufacturers treat fungus as improper storage, so it usually kills the warranty claim. On the electronics side, damp air turns battery contacts green and turns camera sensor boards into expensive paperweights.
Photography forums fill up with the same two stories: someone who left a lens in a padded bag inside a closed cupboard and found white growth on the front element, and someone who stored a body with dead batteries in it and later found electrolyte creeping across the compartment. Neither story needed an expensive dry cabinet to prevent. A clean, dry, sealed box with silica gel does most of the work.
This guide covers the supplies, the seven-step routine, the humidity numbers that actually matter, and the mistakes that quietly destroy stored gear.
Table of Contents
What You Need
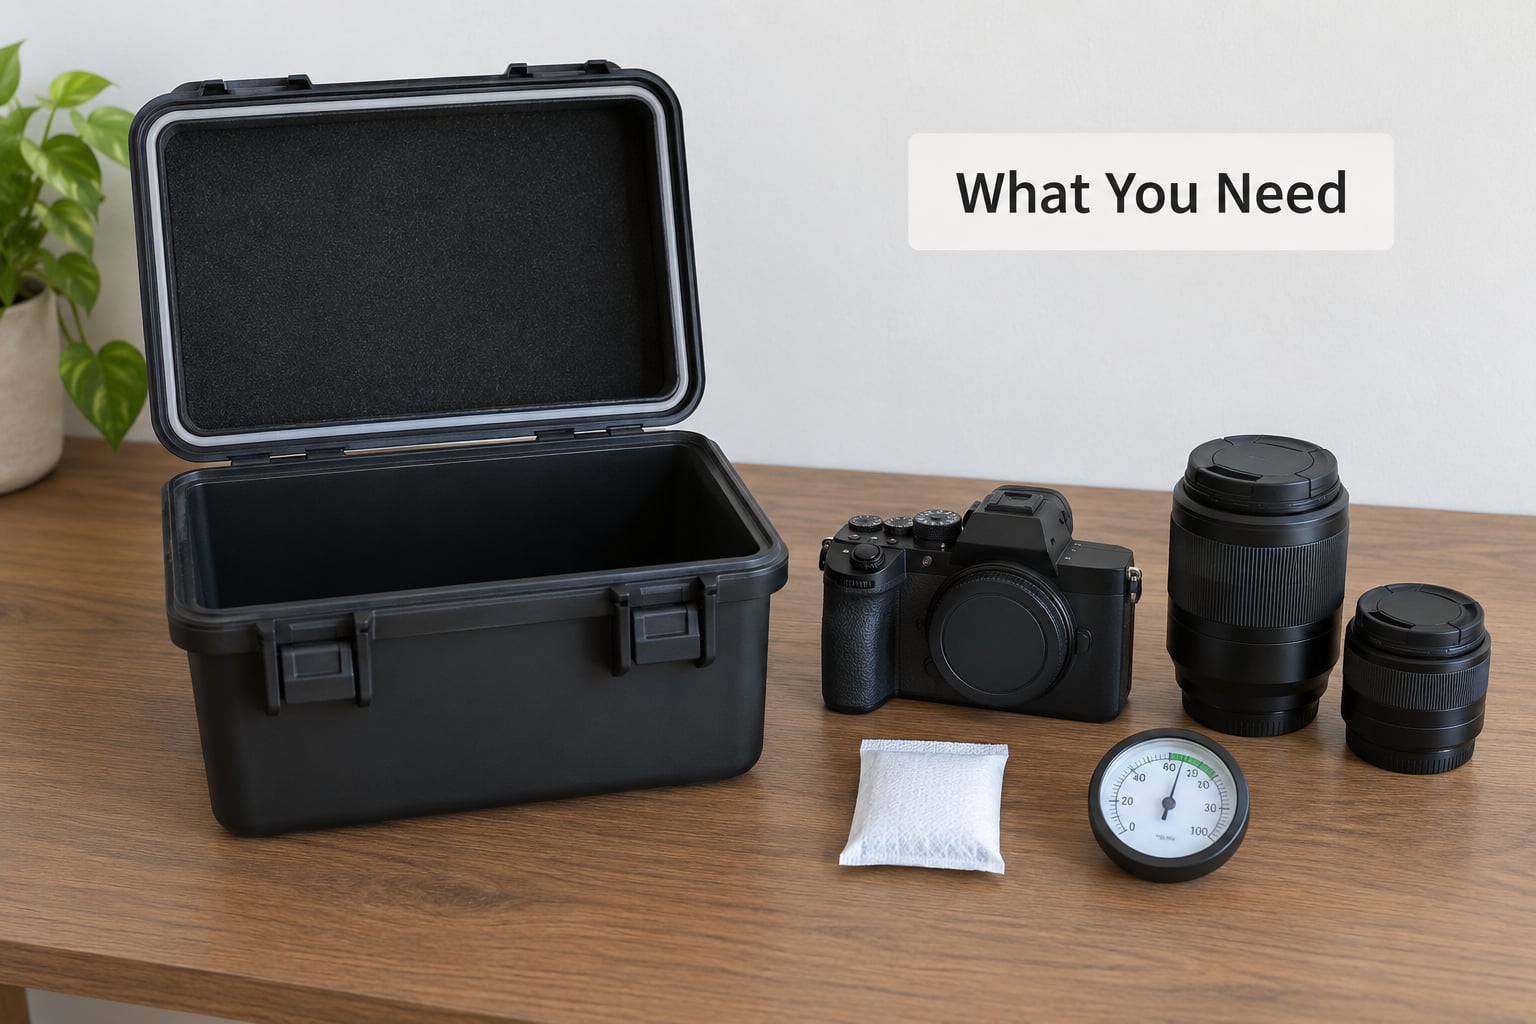
Gather these before you start. Every item on the list has a specific job, and skipping the hygrometer is the most common reason people think their setup is working when it is not.
- A clean, dry workspace. A table you can wipe down, away from the kitchen and away from direct sun. Do this in a room that is already at normal humidity, not a garage.
- An air blower, a microfibre cloth and sensor-safe cleaning fluid. A bulb blower gets dust off without touching coatings. Skip aerosol air sprays near sensors if you can; the propellant leaves residue.
- A hygrometer that reads relative humidity. Any small digital unit in a sealed box is fine. The reading inside the container is the one that counts, not the reading in the room.
- An airtight, non-corrosive container. A sealable plastic tote with a gasket, a dry box, or a padded hard case. Skip anything made of bare cardboard or unlined fabric for long storage.
- Colour-indicating regenerable silica gel. The blue-to-pink packets, not loose granules. Loose beads collect in corners, scratch things and cannot be regenerated properly. Roughly 20 to 50 grams for a small box, 100 to 200 grams for a large case.
- A battery storage box and a marker pen. Any small box with separate slots. Labels beat memory every time.
- An inventory sheet. Serial numbers, purchase dates, insurance values. If you ever need to make a claim, a photo of the serial plate and the receipt does more work than memory does.
One more thing worth having: a small torch or flashlight with a bright beam. Two of the three problems you are trying to prevent show up as haze or webbing under a light, and you can only spot them early if you look.
Step-by-Step: How to Store Cameras Long Term
How to store cameras long term comes down to seven steps: inspect, clean and dry, remove the batteries, pack the body and lenses separately, seal the container with desiccant, choose a stable room, and set a monthly check. Budget 30 minutes for a single body plus two lenses, and follow the order exactly, because each step depends on the one before it.
1. Inspect the Camera Before Storage
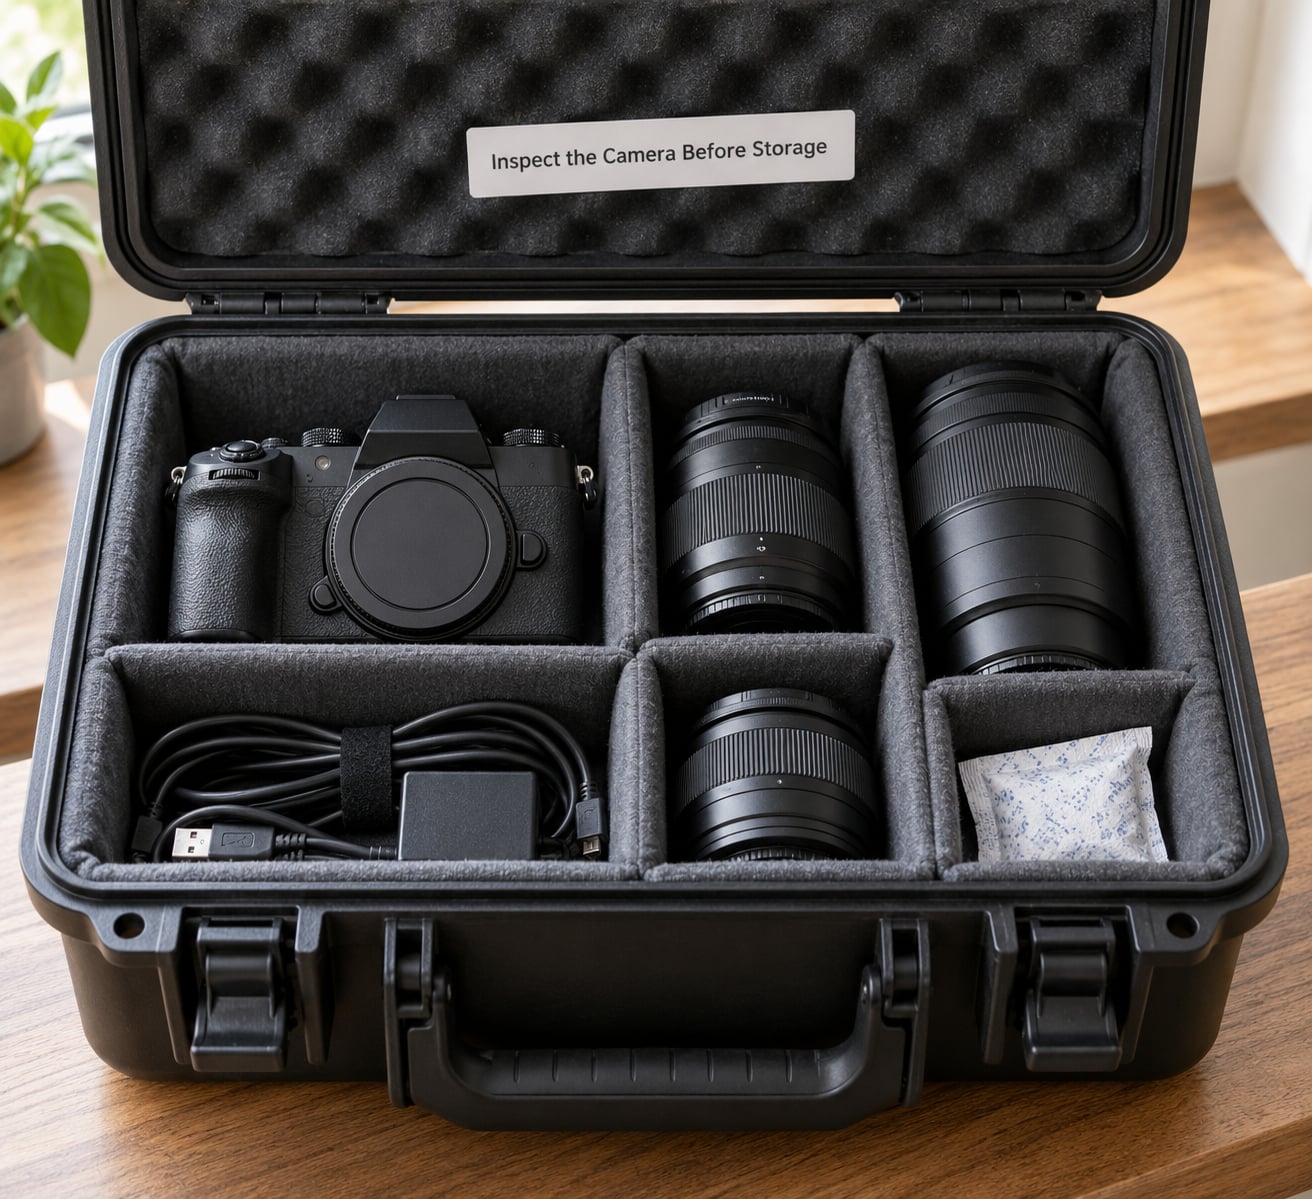
Look at the gear before anything else. Check the body for dents, and open the battery compartment and the card door to look for white or green residue, rust bloom on the contacts, or a soft battery that has swollen.
Shine your torch through the lens from the rear element, looking for a spiderweb pattern, milky patches near the edges of the glass, or a haze that does not move when you tilt the barrel. Fogging that sits on the front element and clears after an hour in dry air is condensation. Fogging inside the barrel is a different problem, and it will not clear itself.
If you find corrosion, clean it before you store the gear rather than after. Dried electrolyte on a battery contact holds moisture, and moisture finds its way along the power path. If a contact is pitted or a battery compartment is swollen and lumpy, stop and have the camera serviced. Storage does not fix damage; it just preserves it.
Photographers who rotate several bodies usually log the condition as they go. It takes two minutes and it tells you later whether a mark was there before the box was sealed or arrived after.
2. Clean and Dry the Equipment
Clean the body, the front and rear lens elements, the viewfinder eyepiece and the rear screen. Use the blower first, then a lightly dampened microfibre cloth on the glass, then a dry cloth to finish. Work from the centre of the element outwards so you are not dragging grit across the coating.
Never push moisture into an opening. Keep the cloth barely damp, and stay away from the lens mount, the battery door and the ports. If you clean a sensor, follow the camera’s own sensor-cleaning menu rather than opening the body, and skip it entirely if the body has a self-cleaning filter that already ran.
The gear must be bone dry before you close anything. That means leaving it open to room air for a few hours, not five minutes. Put it somewhere with airflow, away from direct heat, and only pack it when the metal feels room temperature and no fogging appears when you look through the rear element.
If the camera came out of a damp place, give it a full day before packing. Sealing damp gear traps the moisture in a microclimate you just built, and you have made the problem worse in a container you thought was protecting it.
3. Remove and Protect Batteries
Batteries are the most common avoidable loss in stored gear. Take them out of the body, the grip and every flash unit.
Charge each lithium-ion pack to around 40 to 60 percent before it goes into storage. A cell stored completely empty can sag into deep discharge and refuse to take a charge months later, and a cell stored at 100 percent sits at the top of its range where heat stress does the most damage. Forty to sixty percent is the middle of the curve, where it ages slowest.
Label each battery with a marker and note the date. Store them in a battery box in a separate small container, somewhere cool and dry, away from direct sunlight, radiators, and car interiors. Keep the coin cells that live in flash units and wireless triggers out of the body if the maker lets you, and note the removal date on the compartment door.
If a battery was already swollen before storage, do not box it with your gear. Dispose of it through a battery recycling point. A swelling lithium cell is a pressure problem, and a year in a sealed case is not a fair test.
4. Use a Suitable Camera Storage Box
Pick a container that is padded inside, non-corrosive, and large enough that nothing presses against anything else. A body should sit alone in its compartment. Two lenses should never touch each other, and neither should touch the body.
Wrap each lens in a clean microfibre cloth or a lens wrap, and cap both ends. Front and rear caps in loose fabric pouches are better than nothing; leather and fabric pouches on their own are not, because they hold moisture against the barrel in warm weather. That is not folklore. Manufacturer care guidance and camera technicians keep repeating it: soft pouches raise fungus risk, while caps and a dry container lower it.
Loosen or detach the neck strap and tuck it separately, because a strap left under tension slowly presses the body and can distort a barrel over months. Coiled cables and loose battery grips go in their own slots.
Drop the silica gel into a corner of the container, not on top of the gear. If it sits against a body it can press a mark into the finish. Close the lid, then check the seal by looking for the gasket squeezed evenly all the way round.
If you want the gear available in the next few weeks rather than next few years, a padded hard case with a pressure-equalising valve handles humidity better than fabric. For years, a sealable tote or dry box wins on simplicity.
5. Control Moisture in the Storage Area
Relative humidity is the number to watch, and it is easy to measure. Aim for 40 to 55 percent inside the container or cabinet. Above 55 to 60 percent, act: add desiccant, move the box, or run a dehumidifier in the room. Below about 30 percent, you are drying out rubber seals and thinning the lubricants that keep focus rings and shutter blades moving smoothly, which causes its own set of long-term problems.
| Humidity band | What it means for camera gear | What to do |
|---|---|---|
| Below 30% RH | Rubber seals stiffen, lubricants thicken, sticky focus rings | Move away from heated rooms, leave the container partly open for a few hours |
| 40 to 55% RH | The target band for long-term storage | Seal the box, check the hygrometer monthly |
| 55 to 60% RH | Watch zone, risk climbs if it sits here for months | Add silica gel, move to a drier room |
| Above 60% RH | Fungus, internal haze, corroded contacts, mould in padded compartments | Act now: dry cabinet, dehumidified room, or professional drying |
Five storage setups cover almost everyone, and they differ more than the marketing suggests:
| Option | Humidity control | Relative spend | Best for |
|---|---|---|---|
| Interior shelf or wardrobe with a room dehumidifier | Depends entirely on the room | Low | Dry climates, gear that still gets used monthly |
| Sealable plastic tote with silica gel | Good once sealed, needs monthly checks | Low | A single body and a couple of lenses |
| Dry box | Strong passive control with a good seal | Mid | Seasonal rotation, small collections |
| Electronic dry cabinet | Holds a set RH level continuously | High | Large collections, humid climates, collectors |
| Climate-controlled off-site unit | Good, but verify their humidity claims | Highest, billed monthly | Moving house, travel, insurance purposes |
Silica gel only works inside a sealed container. In an open cupboard it simply reaches the same humidity as the room. Use colour-indicating packets so you can see saturation at a glance, and regenerate them in a low oven following the packet instructions, then let them cool sealed so they do not reabsorb moisture on the way back into the box.
Dry cabinets are the answer people reach for when fungus has already cost them a professional cleaning. It works, and plenty of photographers in the r/Cameras community store gear in dry boxes for years with no fungus. The honest version is that a dry cabinet is the reliable option, not the required one, in climates where the indoor reading stays under 60 percent.
6. Choose a Stable, Climate-Controlled Environment
Aim for a room that stays roughly 15 to 22 degrees Celsius with small daily swings, ideally with relative humidity between 40 and 55 percent. Avoid swings rather than chasing a single perfect number, because every swing pushes moisture into and out of the gear.
An interior closet on an internal wall is usually fine once you have measured it. Put a hygrometer in the closet for a week before you trust it, since cupboards on exterior walls, behind radiators and under stairs can read far higher than the rest of the room.
Attics, garages, unheated basements, sheds, exterior-wall cupboards and car boots all fail the same test for the same reason: they swing hard between day and night or season to season. Forum members in northern and central Europe report indoor readings of 60 to 75 percent through autumn and winter in exactly those spaces, which is fungus weather.
Never store cameras in a padded camera bag that is zipped shut and pushed into a cupboard. A closed bag traps body heat and the last of the moisture, and the padded compartments become a small greenhouse. That is the single most common way a lens ends up with white growth on the front element.
7. Check the Camera Periodically
Once a month, take two minutes. Open the container, look at the silica gel (regenerate or replace if it has gone pink), read the hygrometer, and look through one lens with your torch. Any time you lift a lens, check that it still focuses smoothly and that the aperture blades snap closed crisply.
Look for condensation on the inside of the lid, mould in any fabric, green or white residue on contacts, insect activity, and any battery that has puffed. Replace desiccant before it is fully spent rather than after you see haze.
When you bring gear back into use, leave it sealed for one to two hours if the trip has been cold. That lets it acclimatise slowly, so you avoid pulling warm damp air across a cold element and coating the inside of the lens with fresh condensation. Then open it, check the glass, and run a test shot. If your next job is a long exposure, working through a beginner’s guide to long exposure photography gives you a checklist to run the camera through, and it is worth doing before a session rather than during one.
If a lens comes out of storage with internal haze, stop. Do not shoot through it and do not keep hoping it clears. Send it for cleaning while the coating is only lightly affected; once etching sets, no amount of money brings the contrast back.
Common Mistakes When Storing Cameras Long Term
Most ruined gear was ruined by one of these, usually a combination.
Leaving batteries in the body. Dead cells leak electrolyte, and corrosion grows from there through the compartment and onto the power contacts. The fix is simple: remove every battery, charge each to about half, and store them separately.
Sealing gear that is still damp. A closed container around wet gear holds the moisture exactly where you wanted it gone. Fix: leave everything open, at room temperature, with airflow for at least a few hours. Days if it came from somewhere humid.
Using loose silica granules. They scratch, they settle into corners, they cannot be regenerated, and a spill of them does nothing useful. Fix: colour-indicating regenerable packets only, kept in a breathable pouch or sachet away from the gear surface.
Using a hot car, attic, garage or shed. Heat shortens battery life, expands and contracts plastics and adhesives, and the nightly temperature swing pumps moisture in and out of every barrel. Fix: an interior room with a measured hygrometer.
Crushing straps and dividers. A strap stored under tension presses into a body over months, and tight foam dividers can bow a lens barrel. Fix: detach or loosen straps and pack with enough room that nothing presses on anything.
Leaving the camera in a padded bag. Padded compartments and closed pockets trap moisture, and dark, damp, still air is exactly what fungus needs. Fix: bag for transport only. Storage is a sealed dry container, never a bag.
Sealing everything and forgetting it. A sealed box can hold a problem for years without warning. Fix: a calendar reminder, monthly, with the hygrometer reading written down next to it.
Assuming humidity is the only risk. Heat, dust, pests, direct sun through a window, and a failing lid seal all matter. Fix: store off the floor, out of sunlight, and check the seal each time you open the box.
Two folklore fixes are worth skipping. Sunlight does not sterilise a lens; UV through a window in a warm room adds heat stress while doing nothing reliable to embedded fungus. Rice does not desiccate a sealed container in any useful way, and the starch dust it leaves on a body ends up on your sensor.
If prints from the same shoot are going into the box as well, give them their own routine. Paper and gear fail for different reasons, and the archival side has its own rules you can read in how to store photo prints safely.
Frequently Asked Questions
Where should I store a camera when not in use?
In a clean, dry interior room inside an airtight container, with the batteries removed and regenerable silica gel inside. Measure the space with a hygrometer first and aim for 40 to 55 percent relative humidity. An interior closet on an internal wall usually works. Avoid attics, garages, basements, sheds, exterior-wall cupboards and car boots, where temperatures and humidity swing hard between day and night.
Do you need to remove the battery before long-term storage?
Yes. Remove every battery from the body, the grip and any flash units, and charge each lithium-ion pack to about 40 to 60 percent before storing it. A cell left empty can sag into deep discharge and refuse to take a charge later, while a cell left at full sits at the top of its range where heat does the most damage. Store the batteries separately, labelled, somewhere cool and dry.
Is 30% humidity good for a camera?
It is too dry for long-term storage, even though it kills fungus. Below roughly 30 percent relative humidity, rubber weather seals stiffen and crack, and the lubricants that keep focus rings, shutter blades and aperture mechanisms moving smoothly thicken. The useful target is 40 to 55 percent, where nothing dries out and mould still cannot establish itself. Measure inside the container, not just in the room.
What causes fungus in a camera lens?
Fungus needs three things together: sustained relative humidity above about 60 percent, warm room temperature, and darkness. That is why it appears in a padded camera bag zipped into a closed cupboard, on an exterior-wall shelf in winter, or in a lens that sat damp for weeks. It feeds on the anti-reflective coating on the elements. Light etching cannot be cleaned off, and it usually counts as improper storage for warranty purposes.
Is it okay to store cameras in a plastic container?
A sealable plastic tote with a gasket is one of the better options, as long as the gear is completely dry first and you add regenerable colour-indicating silica gel inside. It gives you a sealed microclimate you can control for very little. Use a container that does not shed anything onto the gear, and skip plain cardboard for anything stored longer than a season.
How often should I check on stored camera gear?
Once a month takes two minutes: check the silica gel colour, read the hygrometer, and look through one lens with a torch for haze or webbing. Look for mould in fabric, residue on contacts, insect activity, and any battery that has puffed. Twice a year is the absolute minimum. If a reading goes above 60 percent, open the box, dry the gear and solve the room problem.
Conclusion
To store cameras long term you do five things: clean the gear and let it dry completely, remove every battery and store it at around half charge, seal the body and lenses in an airtight container with regenerable silica gel, keep that container in a room measuring 40 to 55 percent humidity, and spend two minutes a month checking the reading and the glass.
Everything else is detail. Start with those five and your gear will still work when you pull it back out.